
Animals · Step-by-step guide
Tiny Cat Face Ring
Fold a small cat face into the center of a paper band, then close the band into a wearable ring.
What you’ll need
- One paper square, 7.5 × 7.5 cm
- Craft glue
- Fine markers
Origami · Creasing, collapse folds & shaping
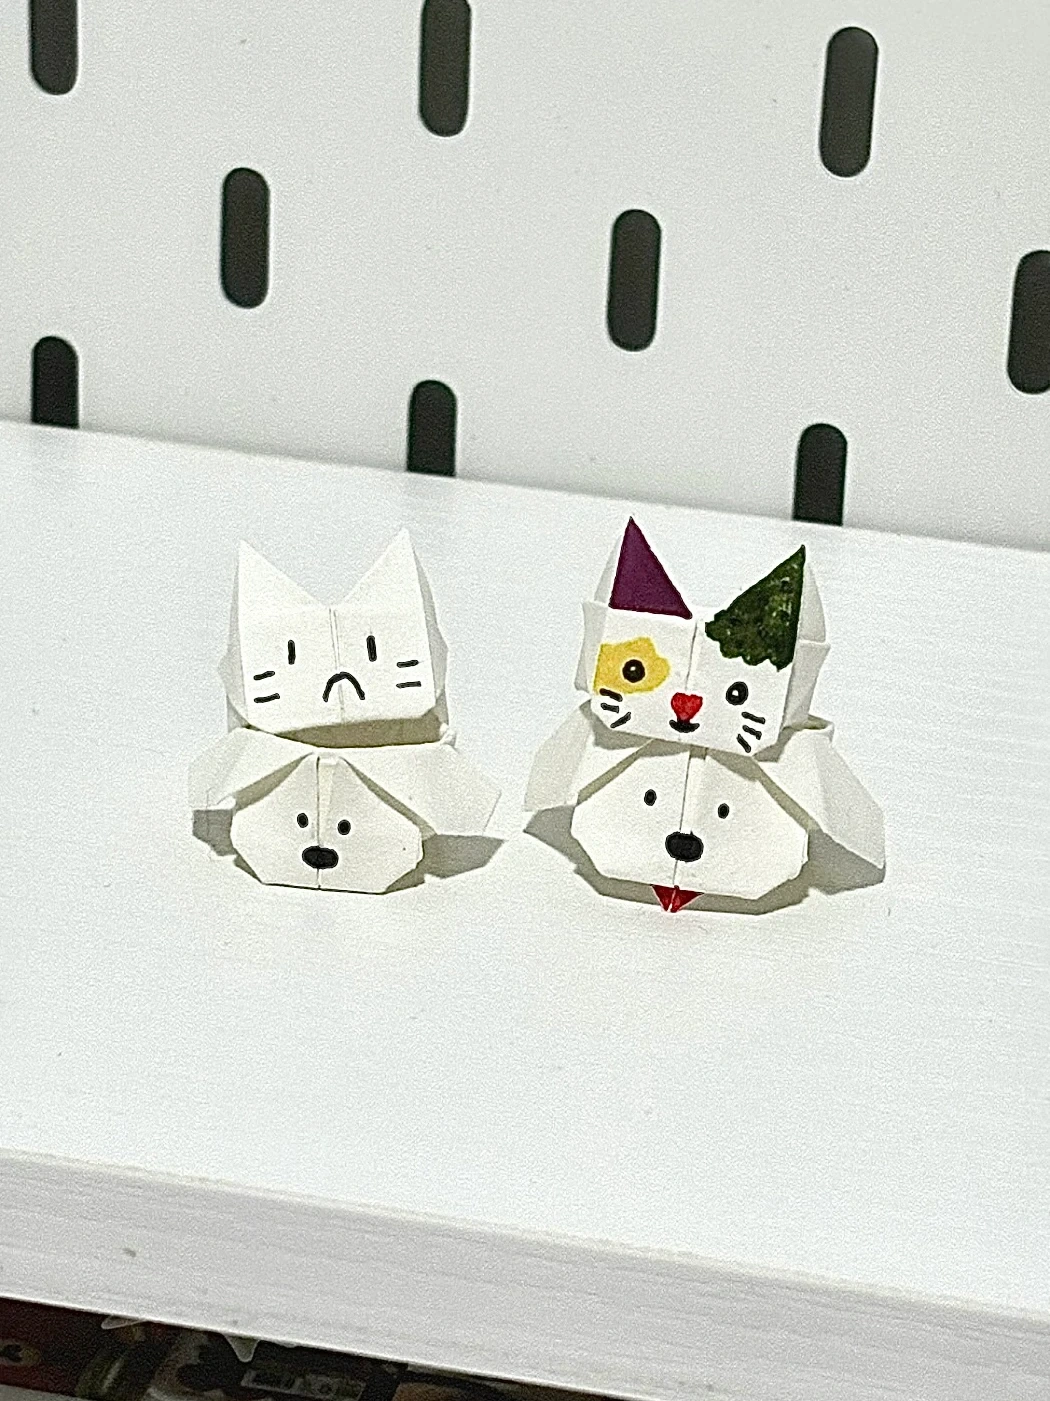
Make it, step by step.
14 steps · Original diagrams with English instructions
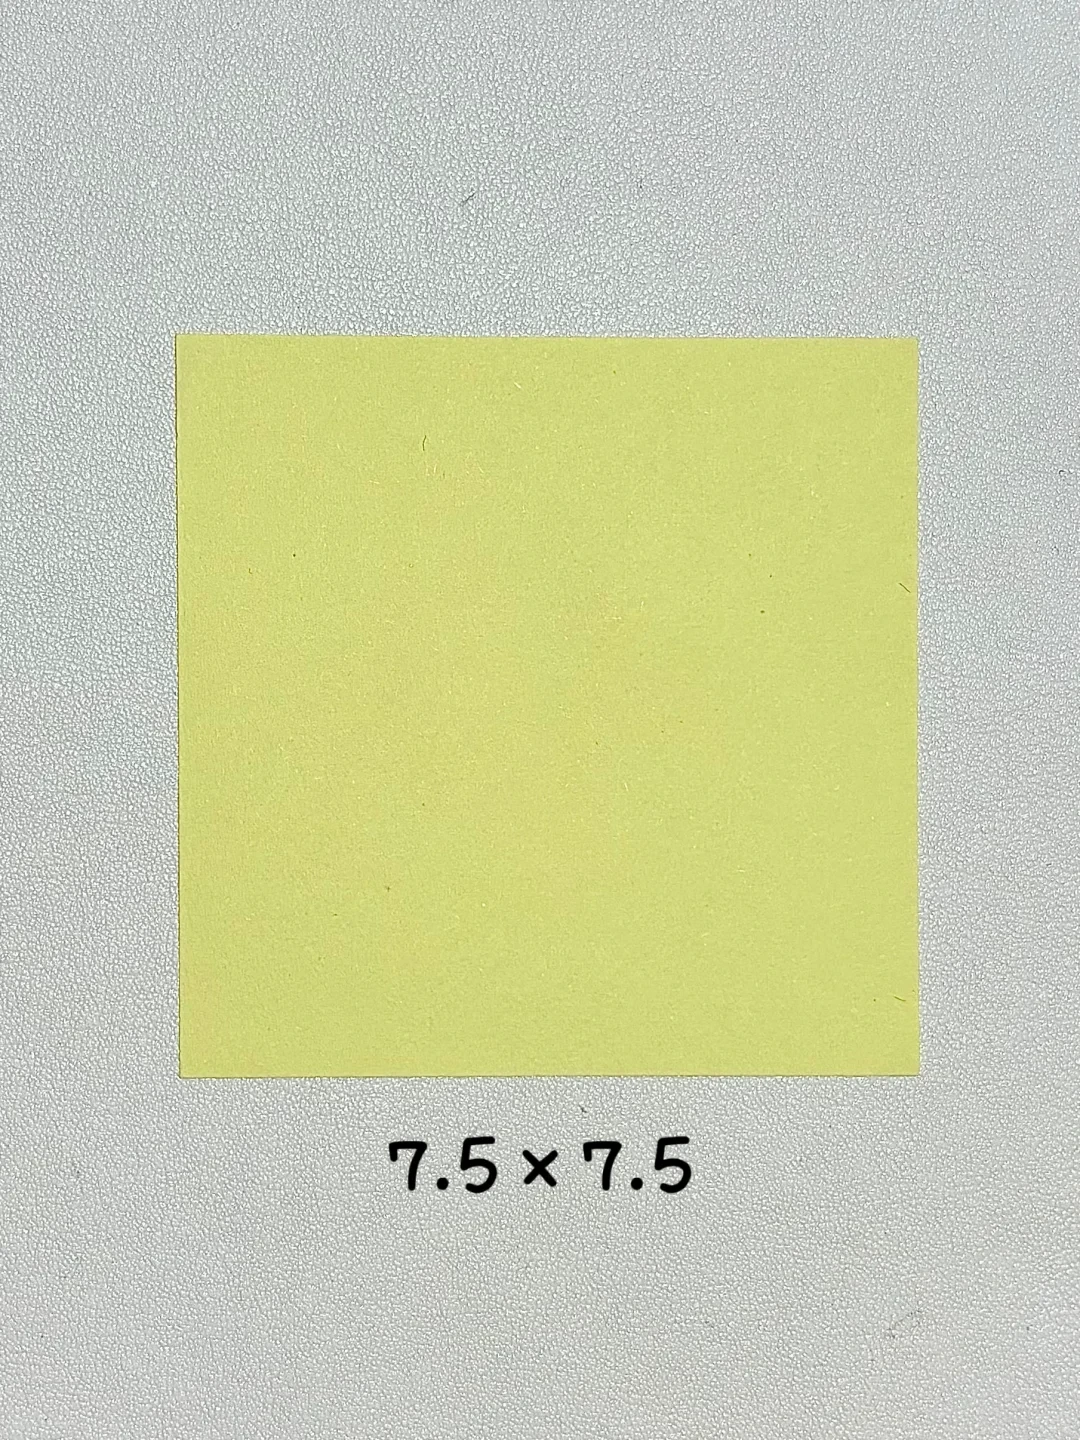
Choose a square
 Open image at full size ↗
Use a 7.5 cm square of paper. A light color makes the drawn face easier to see.
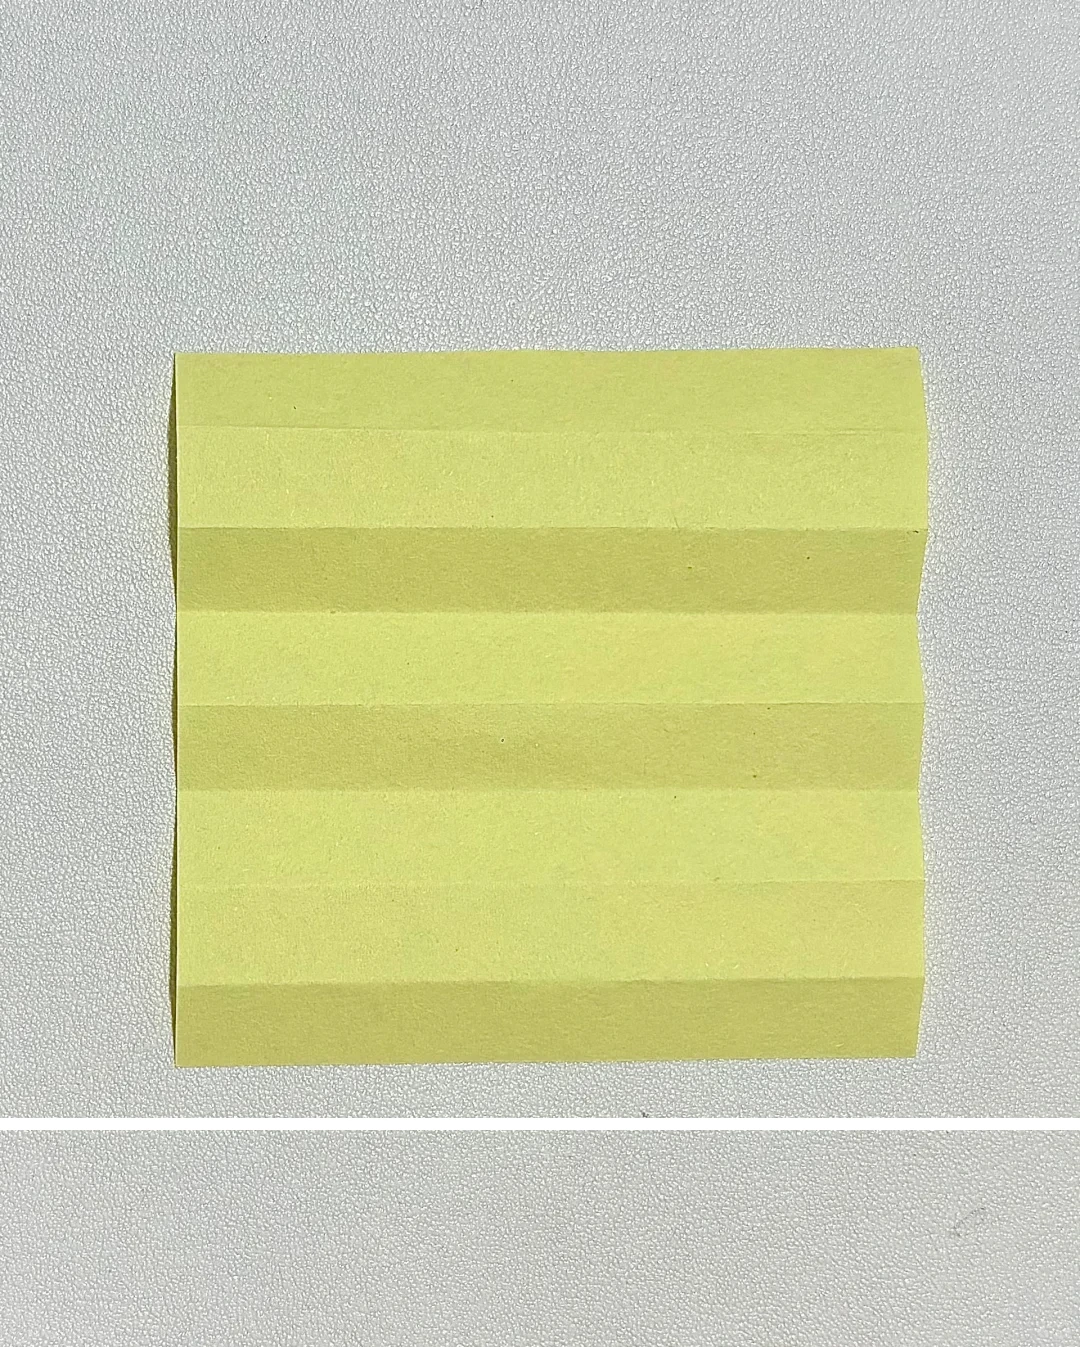
Crease eight bands
 Open image at full size ↗
Divide the square into eight equal horizontal strips by repeated folding and unfolding.
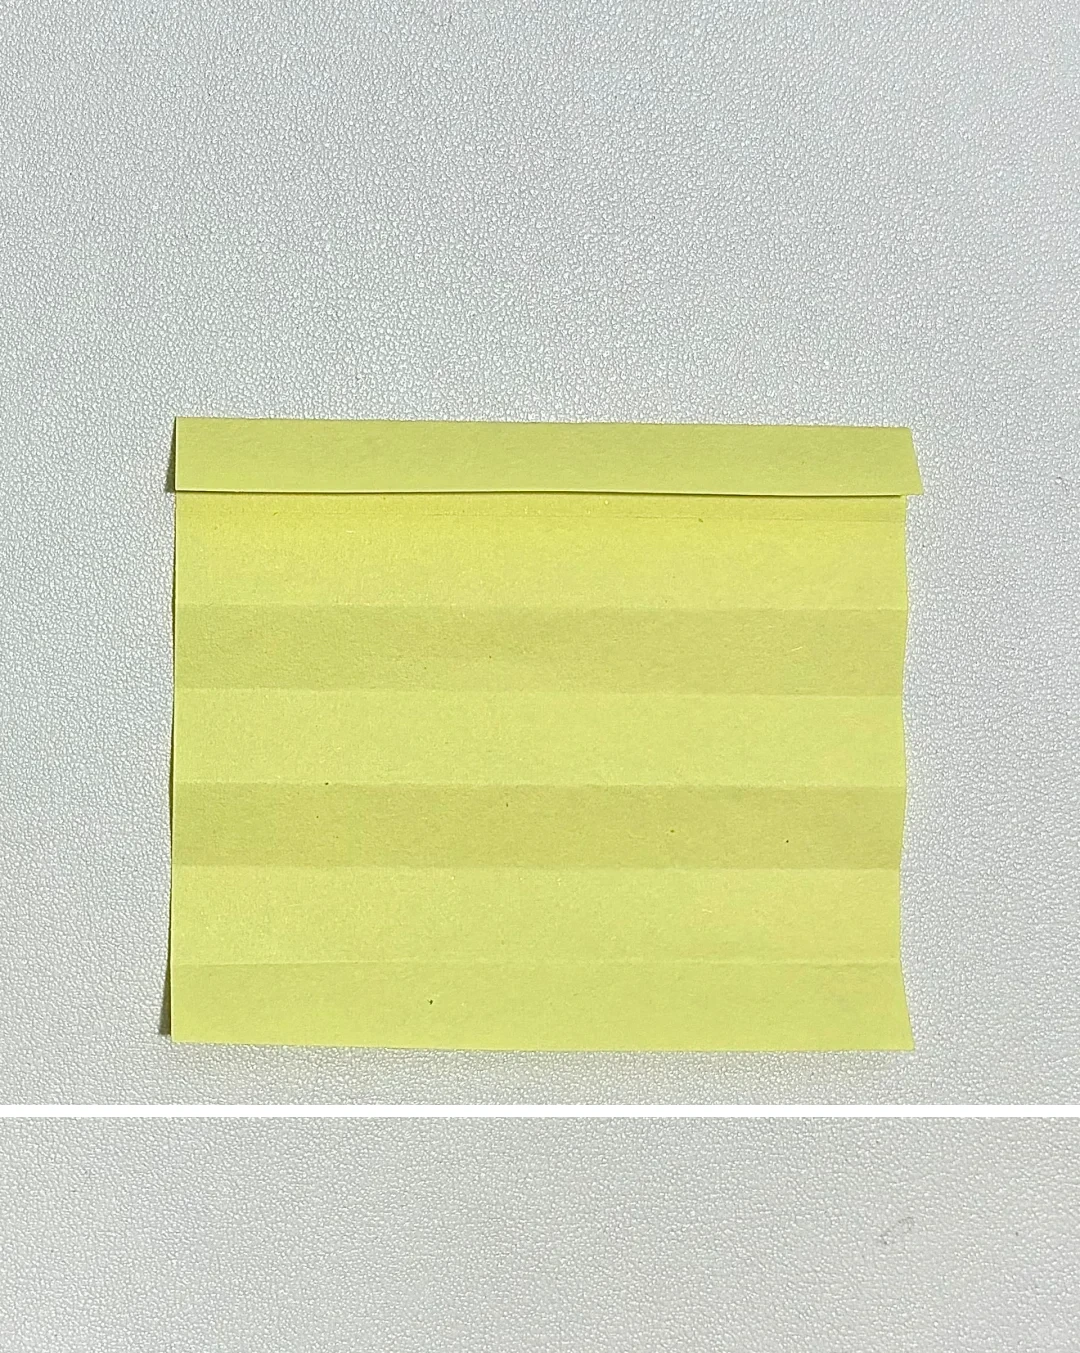
Fold the top band
 Open image at full size ↗
Fold the uppermost strip downward along its crease.
Mark the center
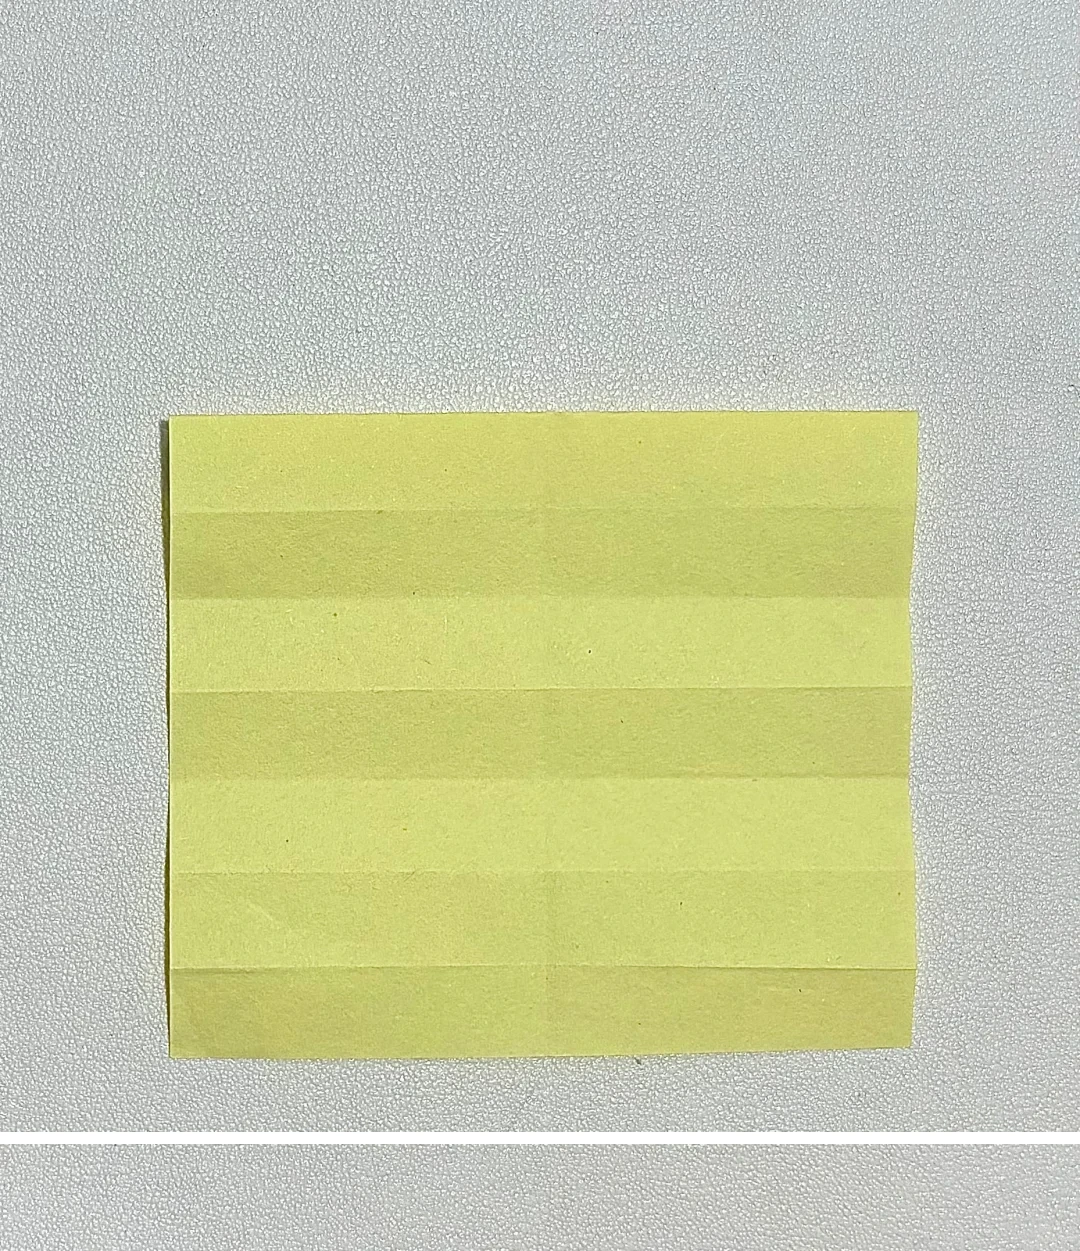 Open image at full size ↗
Turn the paper over. Fold it vertically in half and open it to locate the center line.
Fold the upper corners
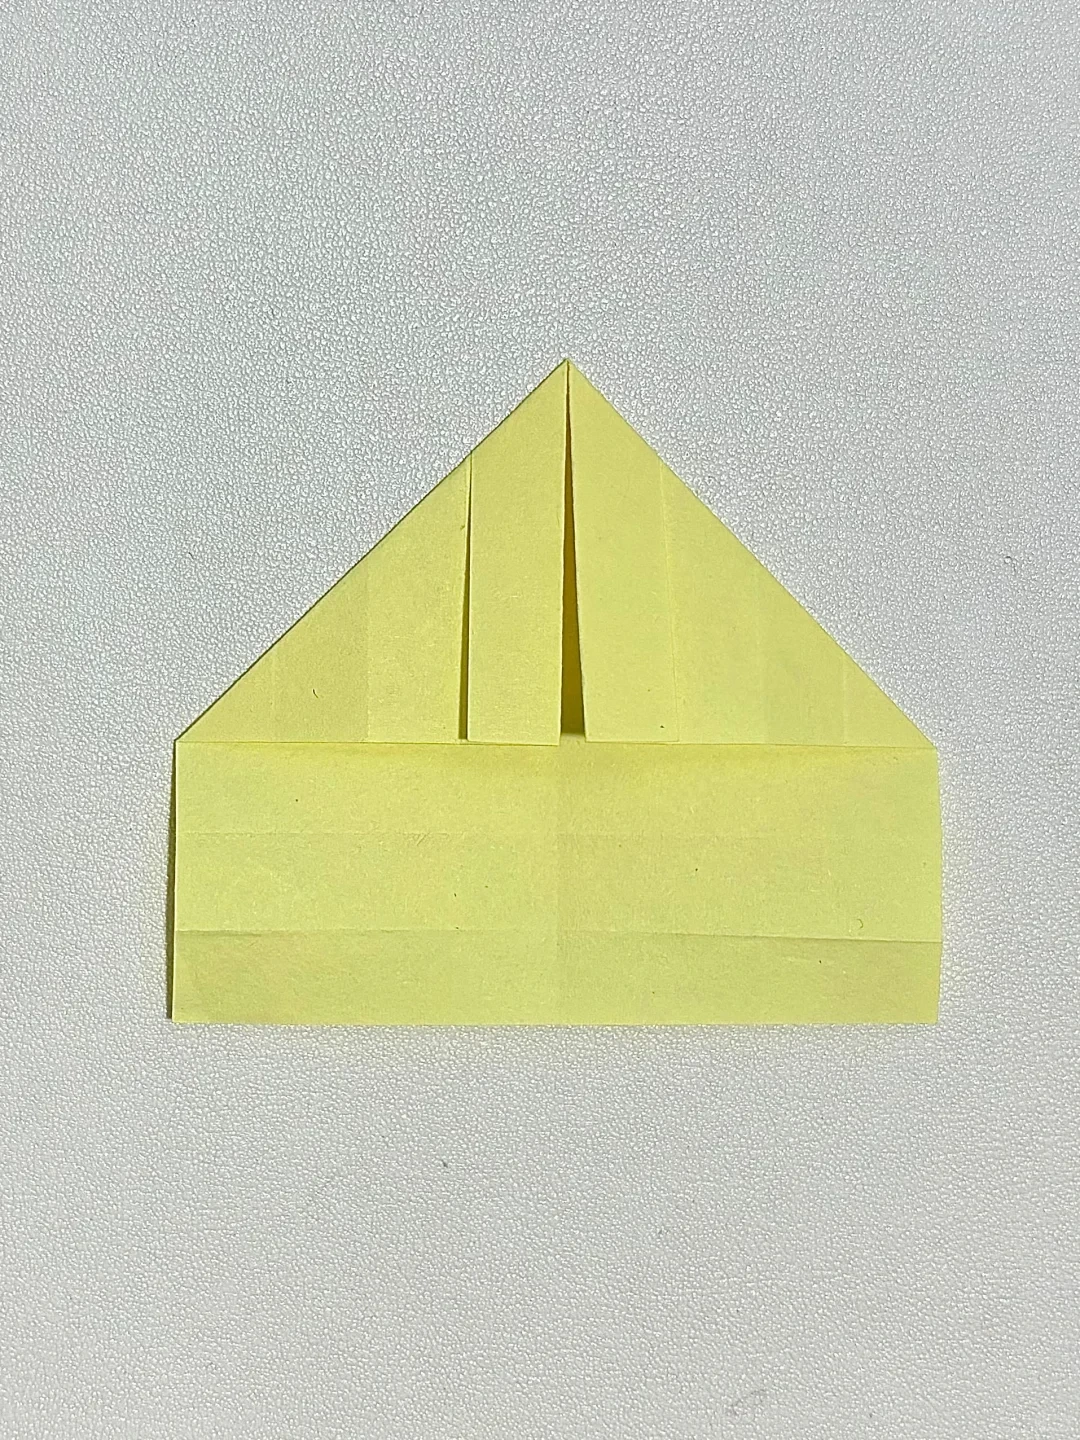 Open image at full size ↗
Bring the two upper corners toward the center to make a pointed top.
Turn over
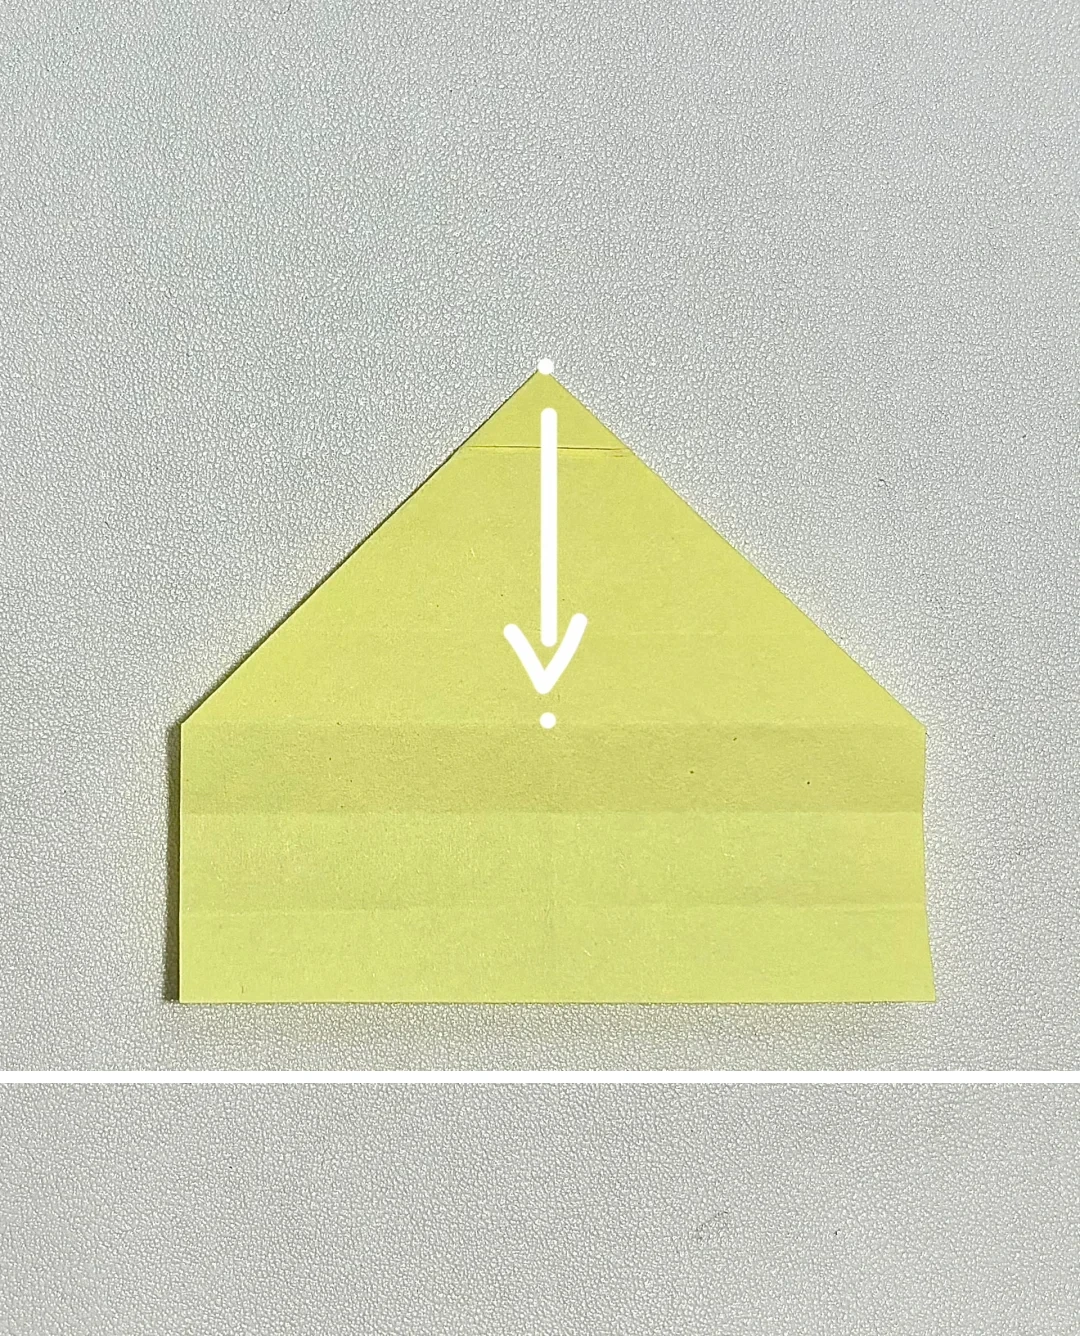 Open image at full size ↗
Turn the model to its smooth side, keeping the point facing upward.
Fold the point down
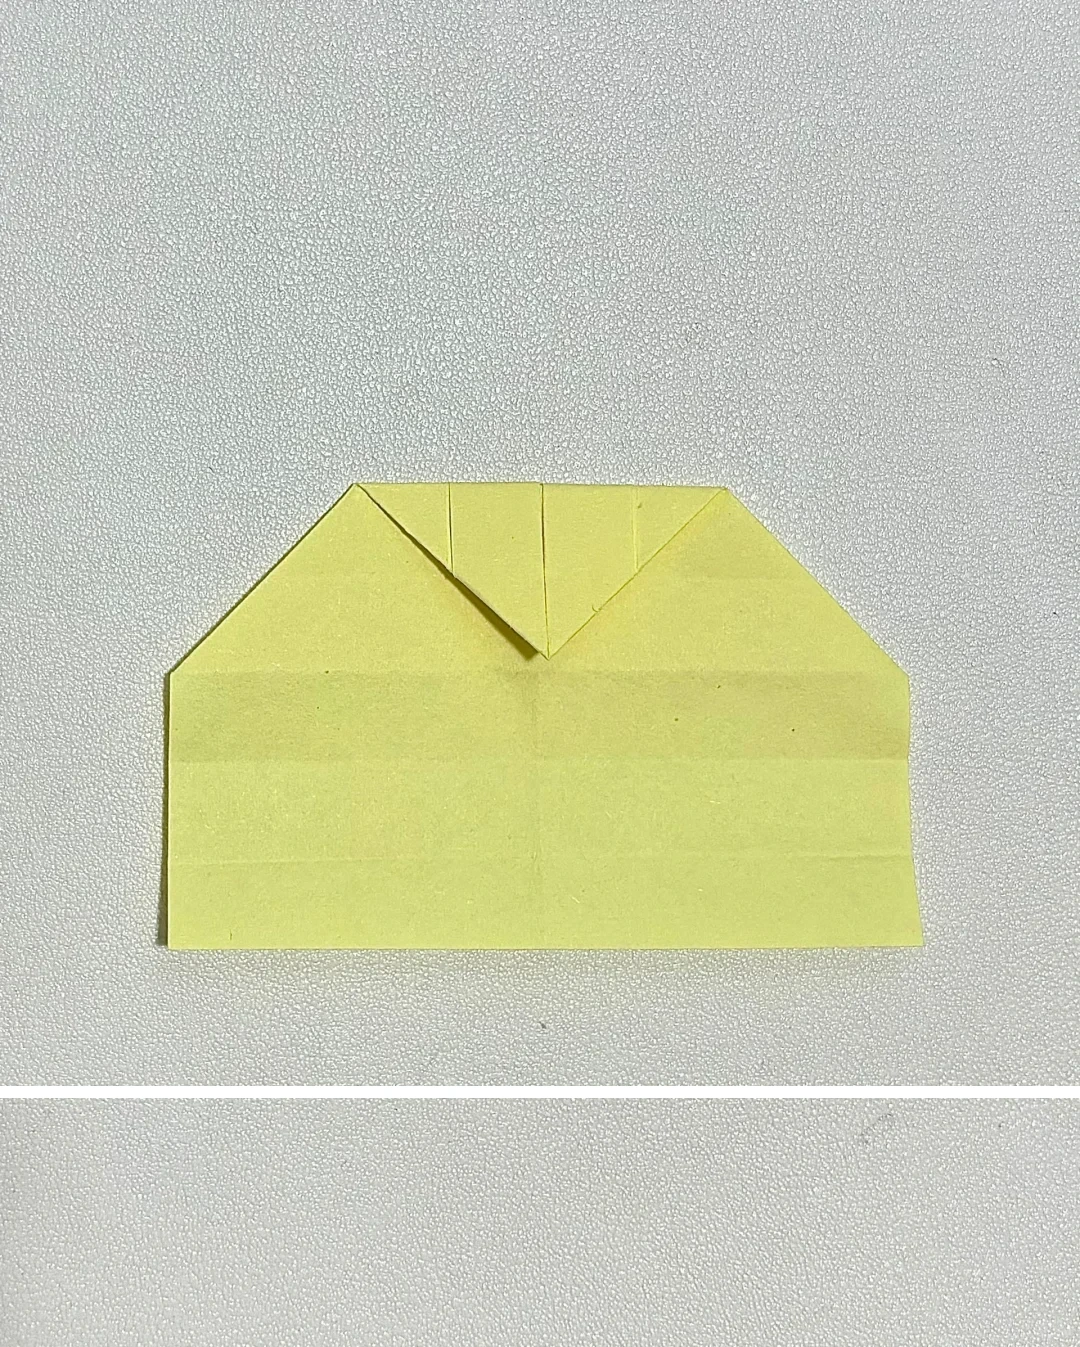 Open image at full size ↗
Fold the upper point downward along the indicated horizontal crease.
Turn back
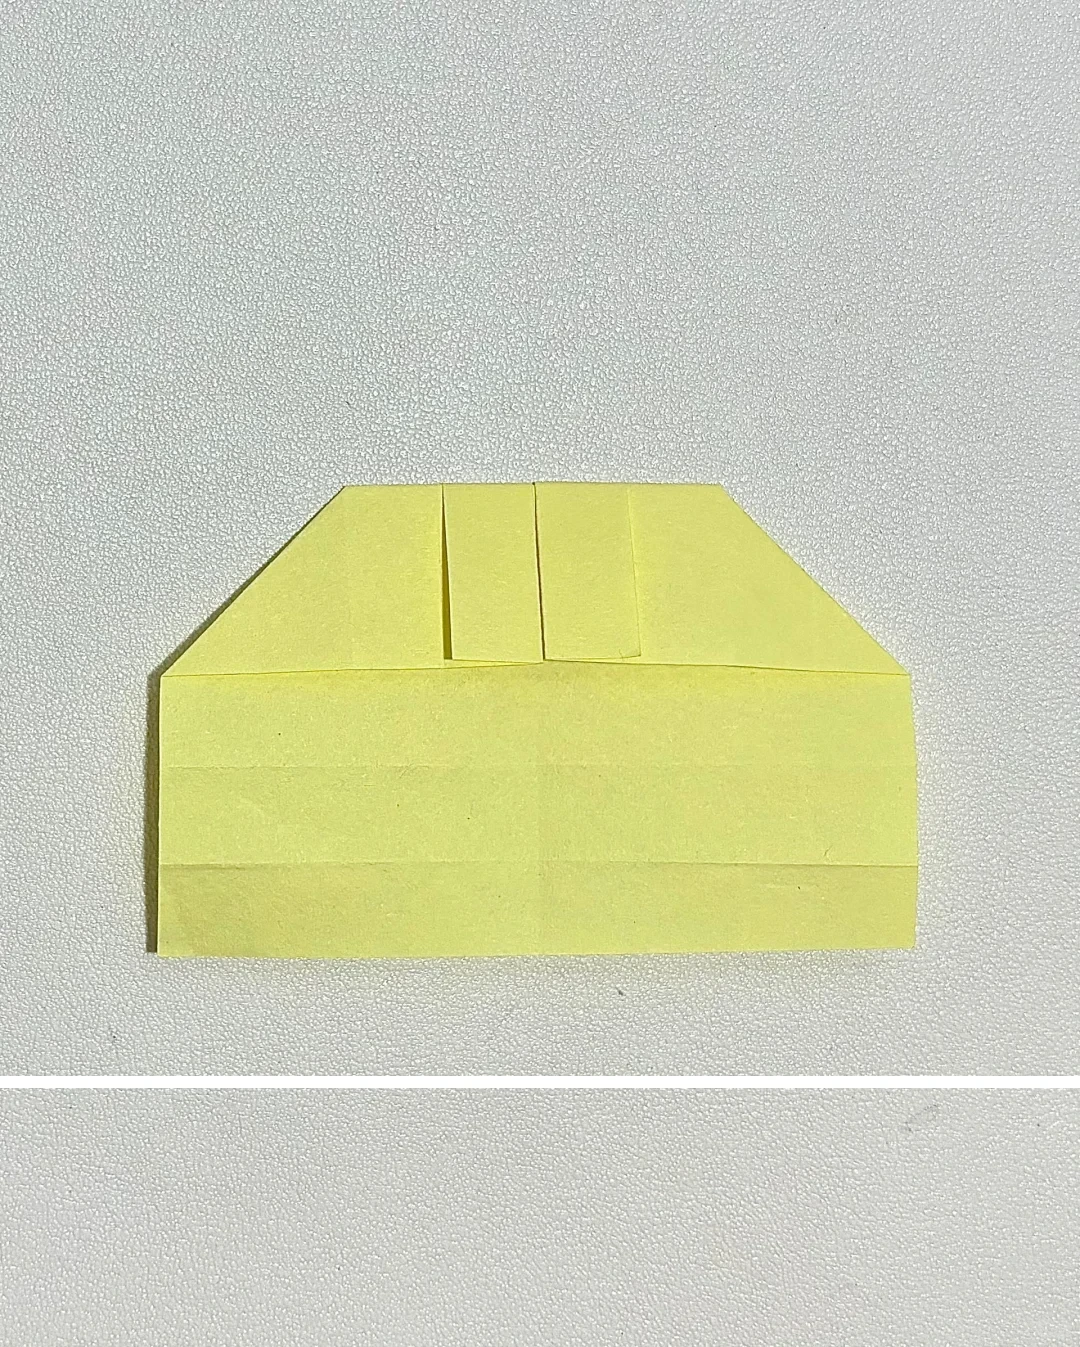 Open image at full size ↗
Turn the paper over again to expose the small layered tabs.
Open a side pocket
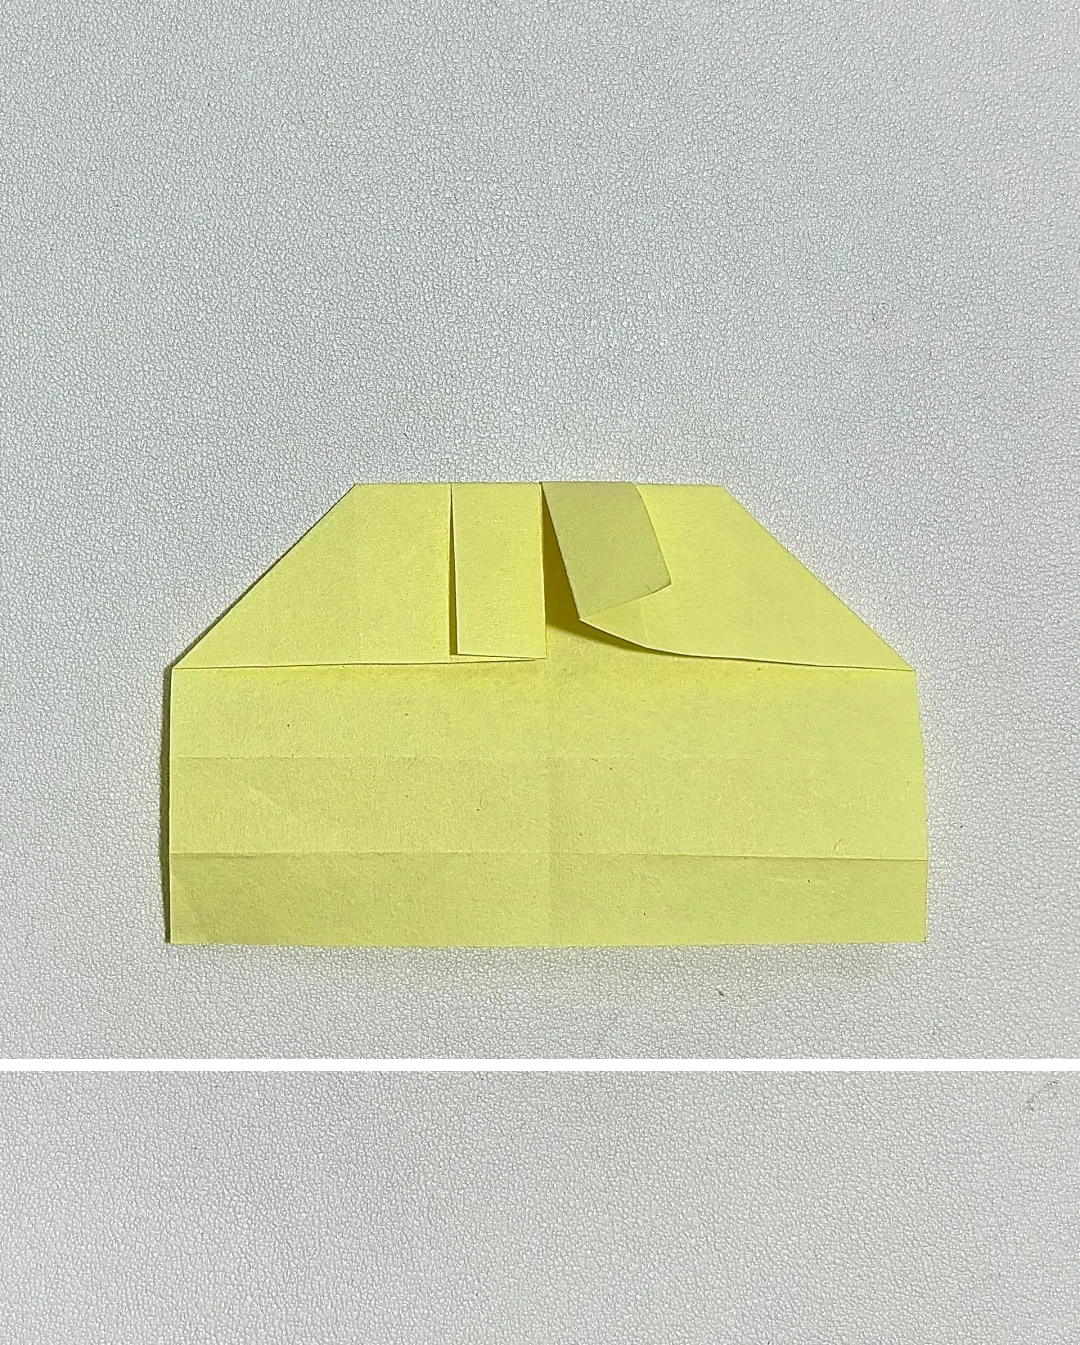 Open image at full size ↗
Gently open one small upper pocket without unfolding the lower band creases.
Raise the ear section
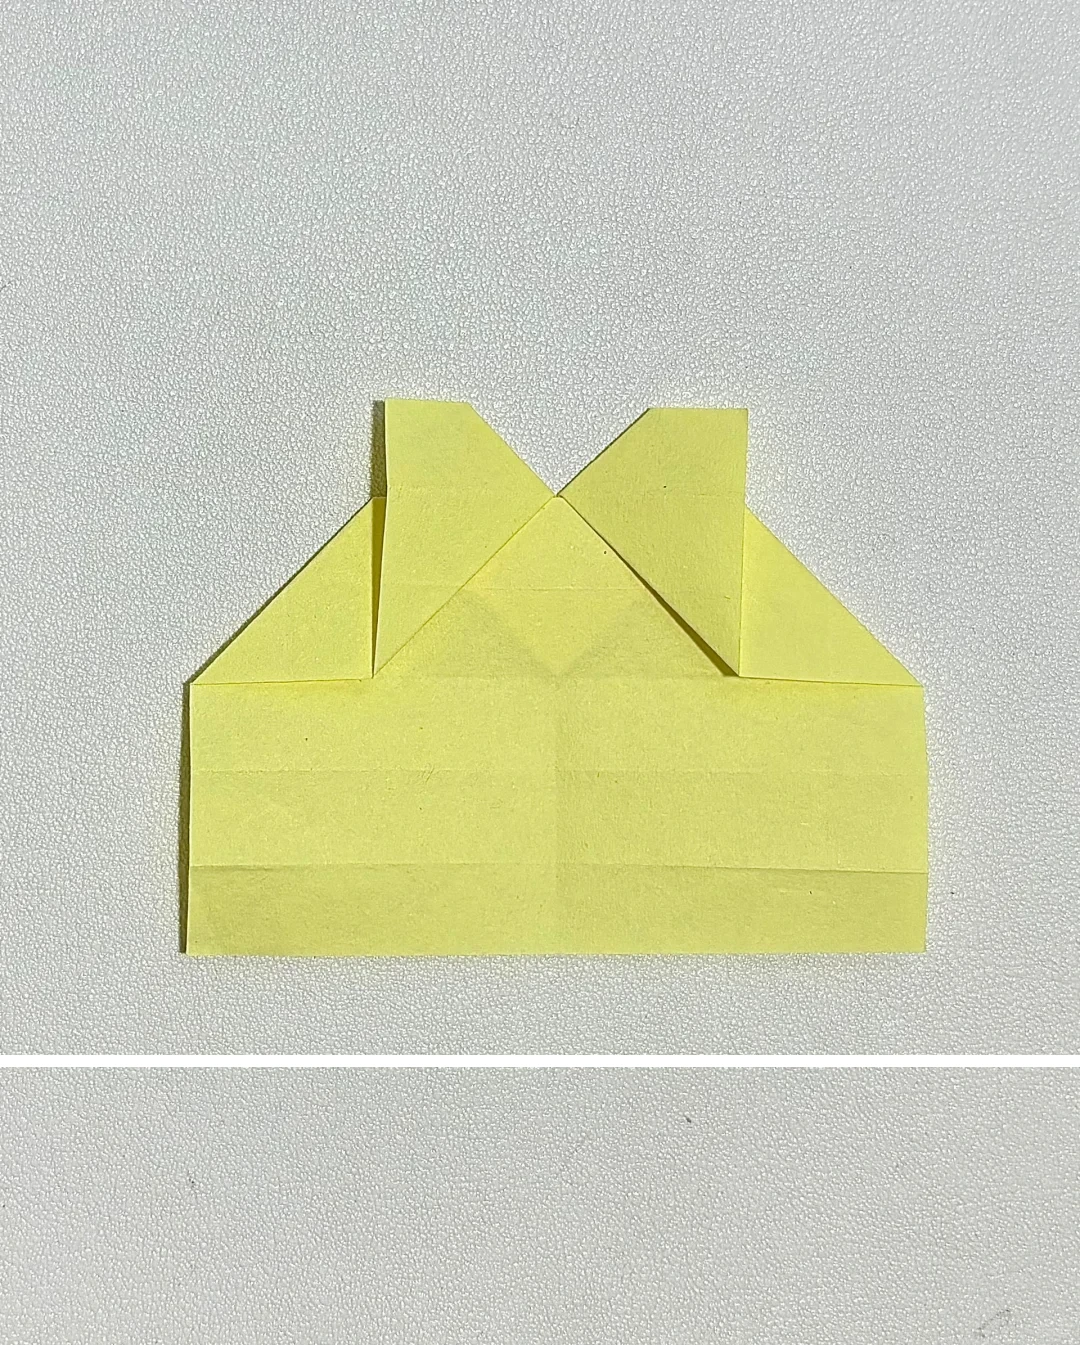 Open image at full size ↗
Press the pocket upward and flatten it into the pointed ear shape. Repeat on the other side.
Shape the ears
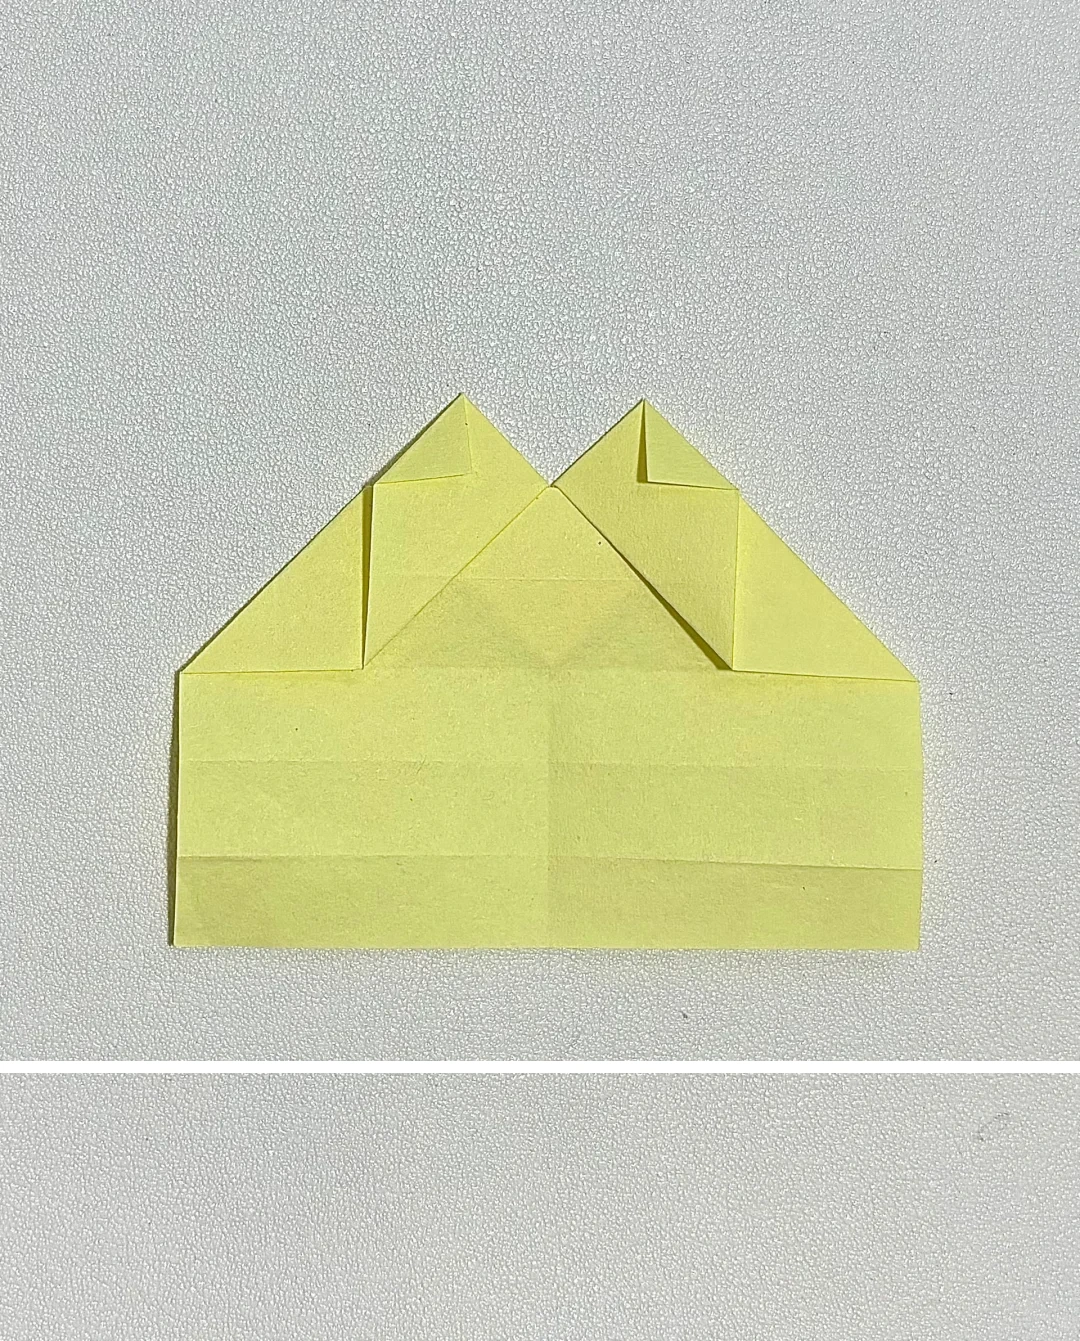 Open image at full size ↗
Fold the small triangular tabs on both sides to define two upright ears.
Fold the ring band
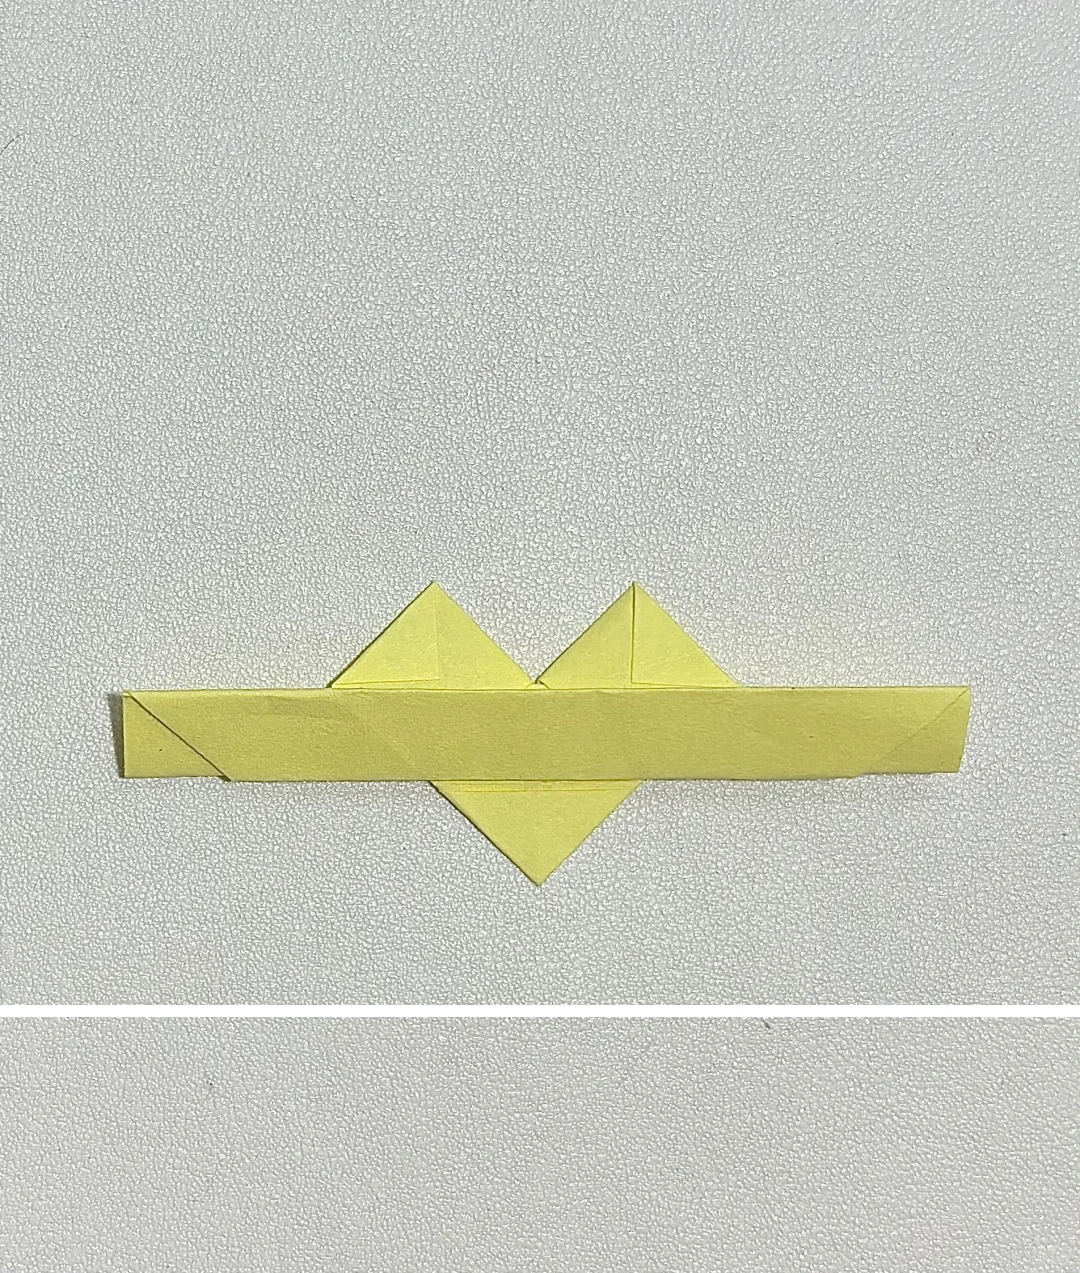 Open image at full size ↗
Fold the lower paper upward one strip at a time along the existing creases, leaving the cat face visible in the middle.
Round the chin
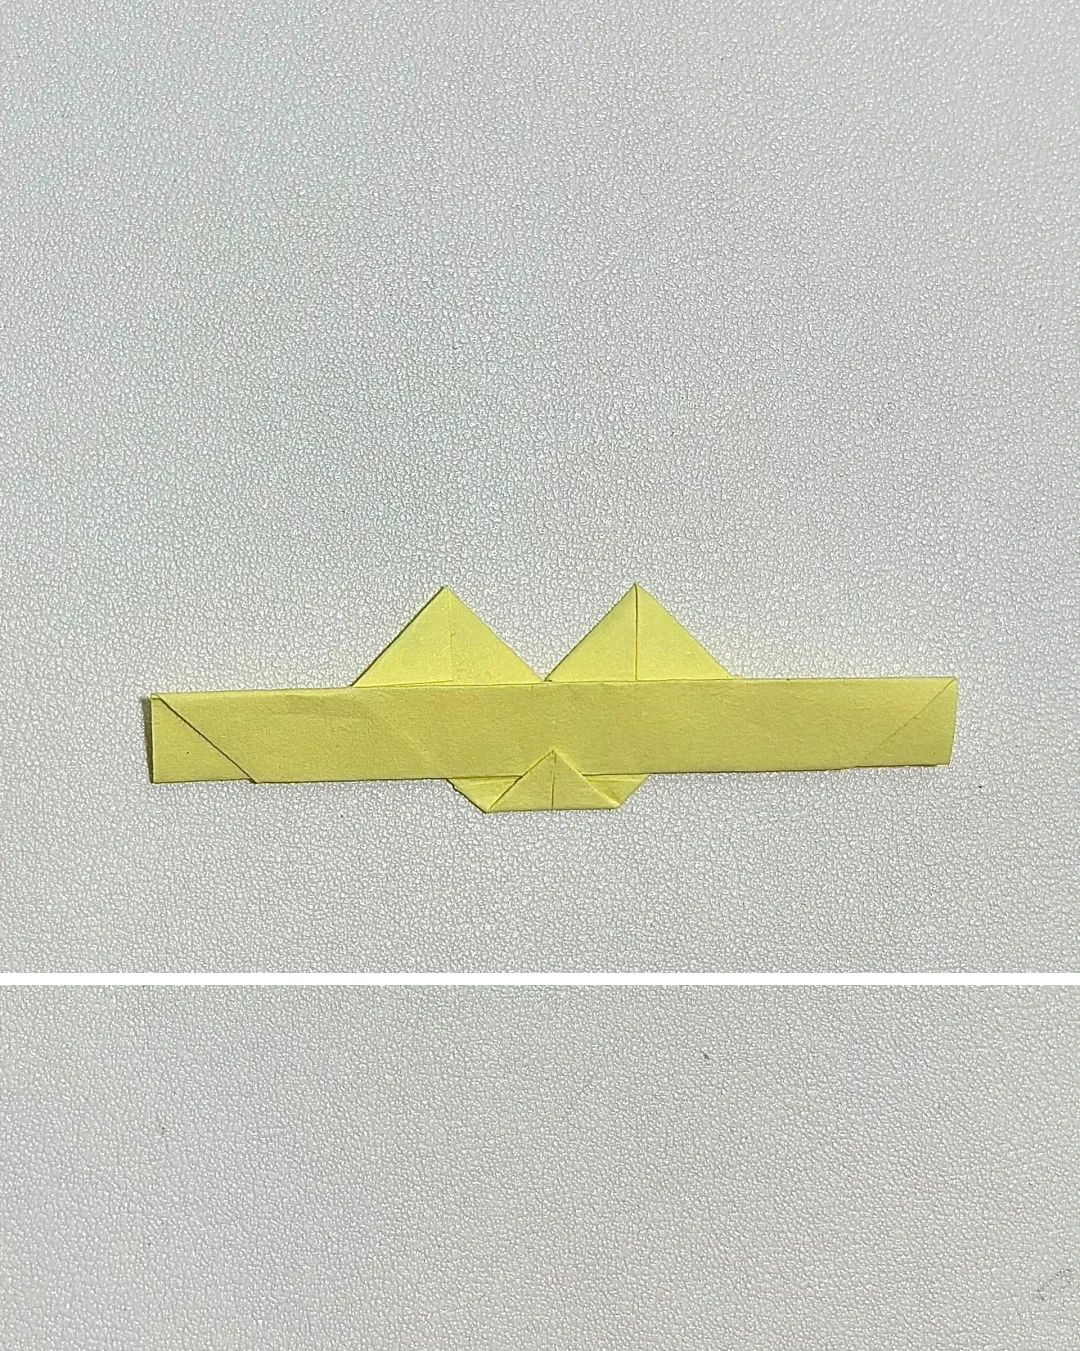 Open image at full size ↗
Tuck the lower point of the face behind to form a short, flat chin.
Close and decorate
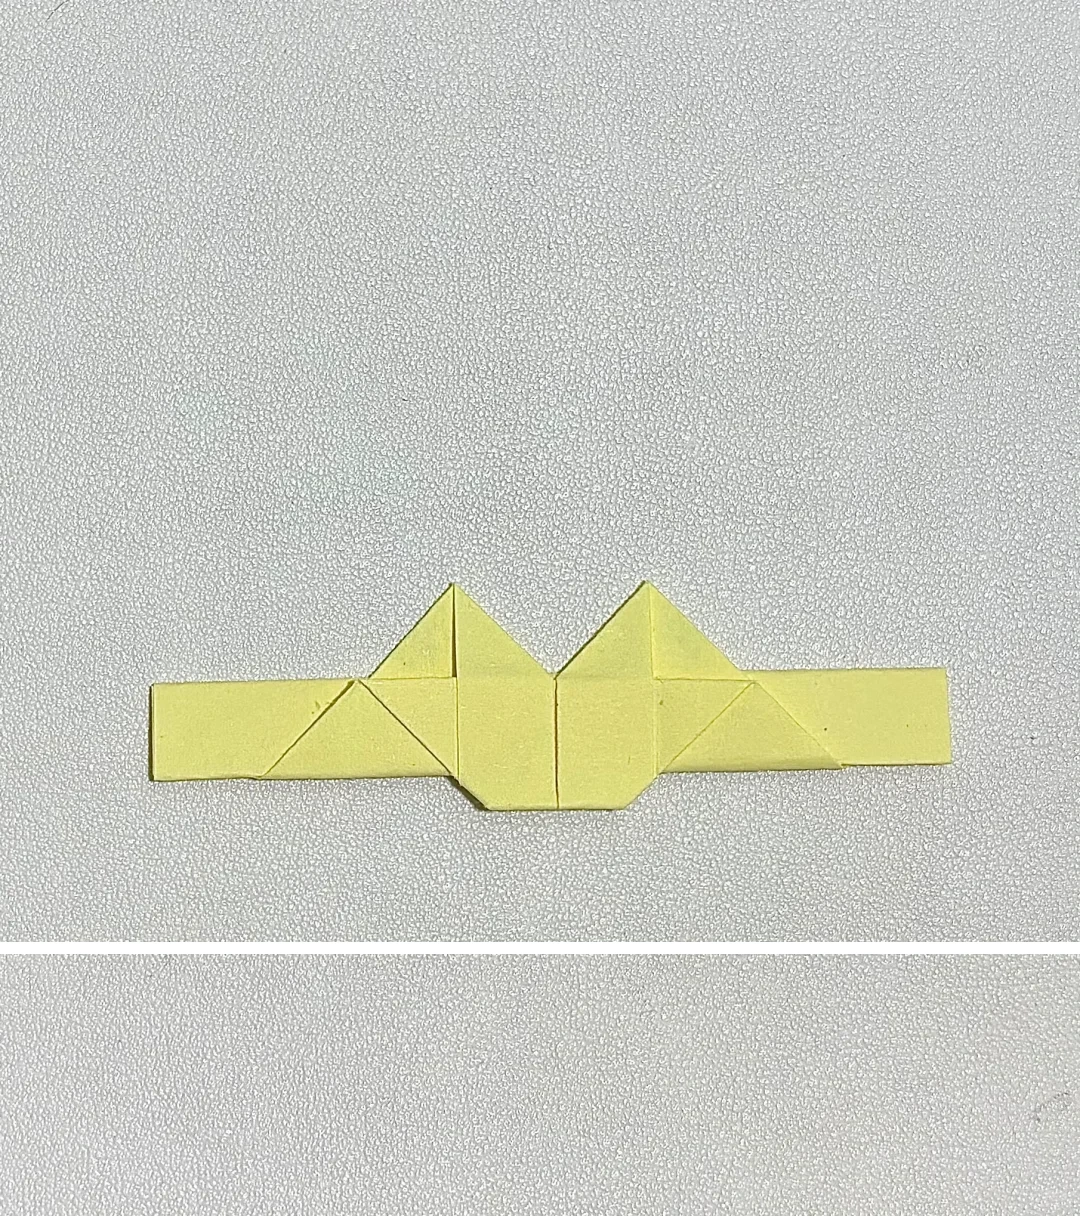 Open image at full size ↗
Turn to the front, draw eyes, a nose, and whiskers, then wrap the band into a comfortable ring. Glue the overlap and let it dry.
Follow the diagrams alongside the step-by-step English instructions.
Choose your next project →