
Animals · Step-by-step guide
Slim Paper Dolphin
Fold a dolphin with a pointed tail and a raised dorsal fin.
What you’ll need
- One 10 × 10 cm paper square
- Scissors
- A fine marker
- Tweezers, optional
Paper craft · Folding and assembly
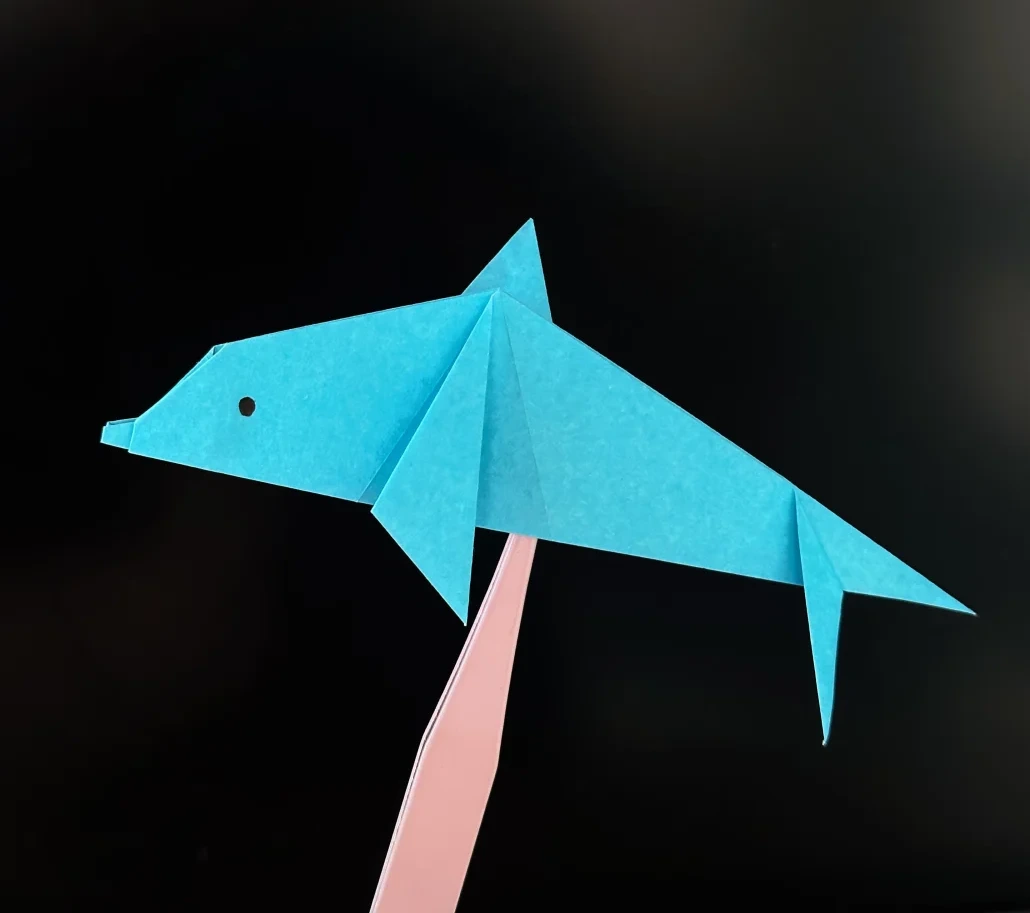
Make it, step by step.
6 steps · Original diagrams with English instructions
Read each picture from left to right, then top to bottom.
Finished model
 Open image at full size ↗
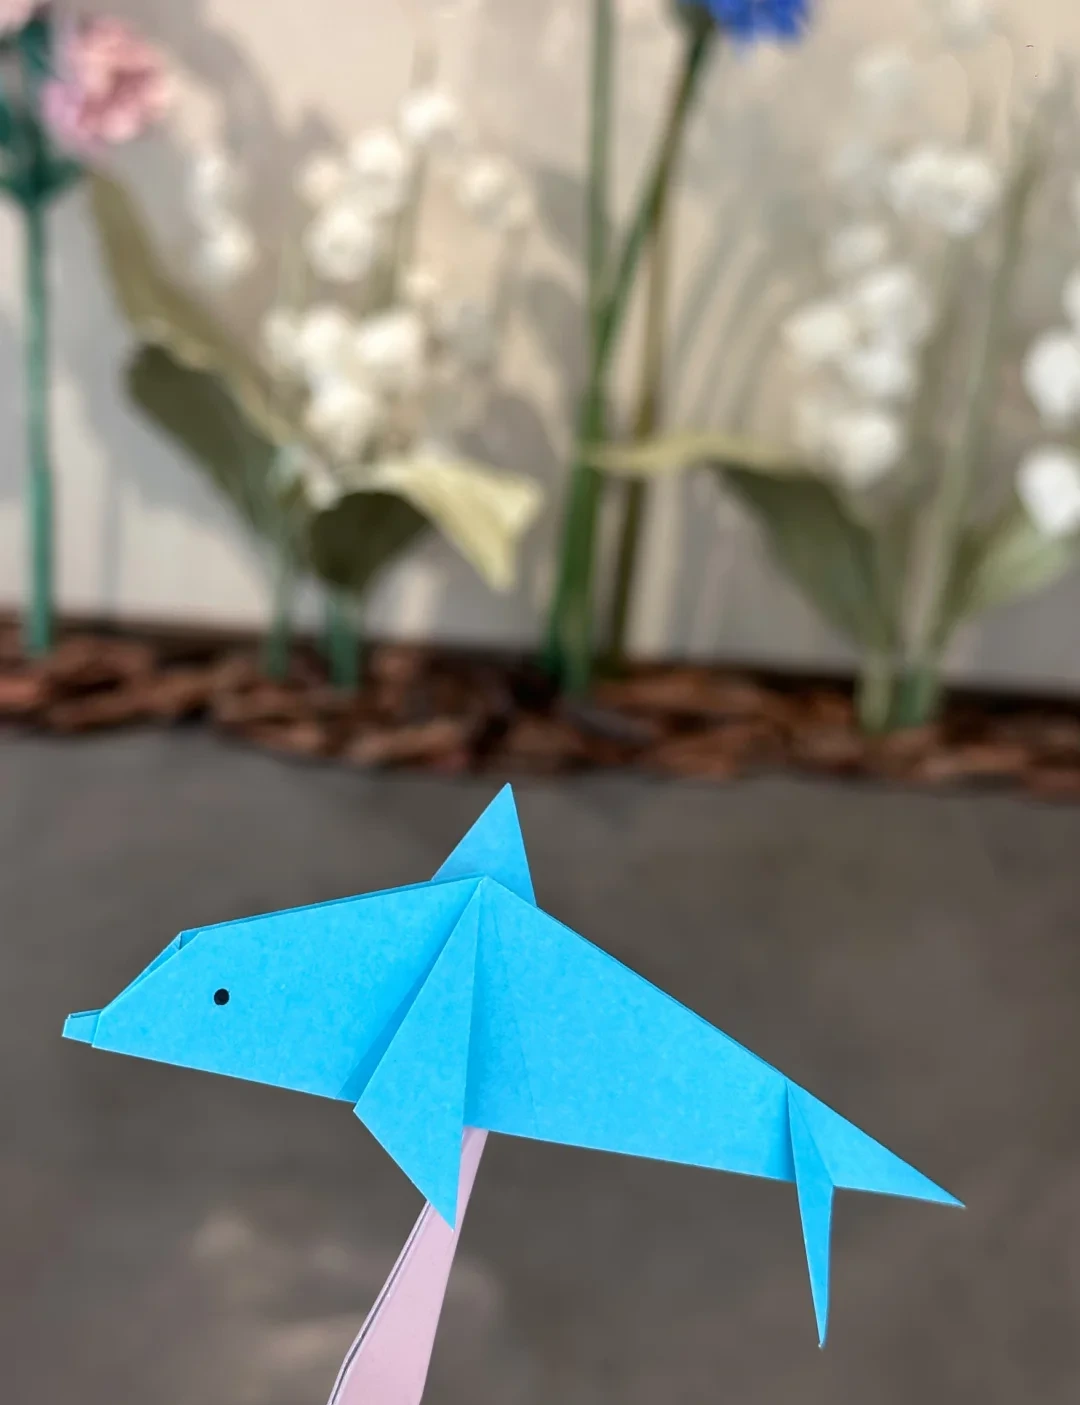
The completed model, shown from another angle to help check its shape and proportions.
Finished model
 Open image at full size ↗
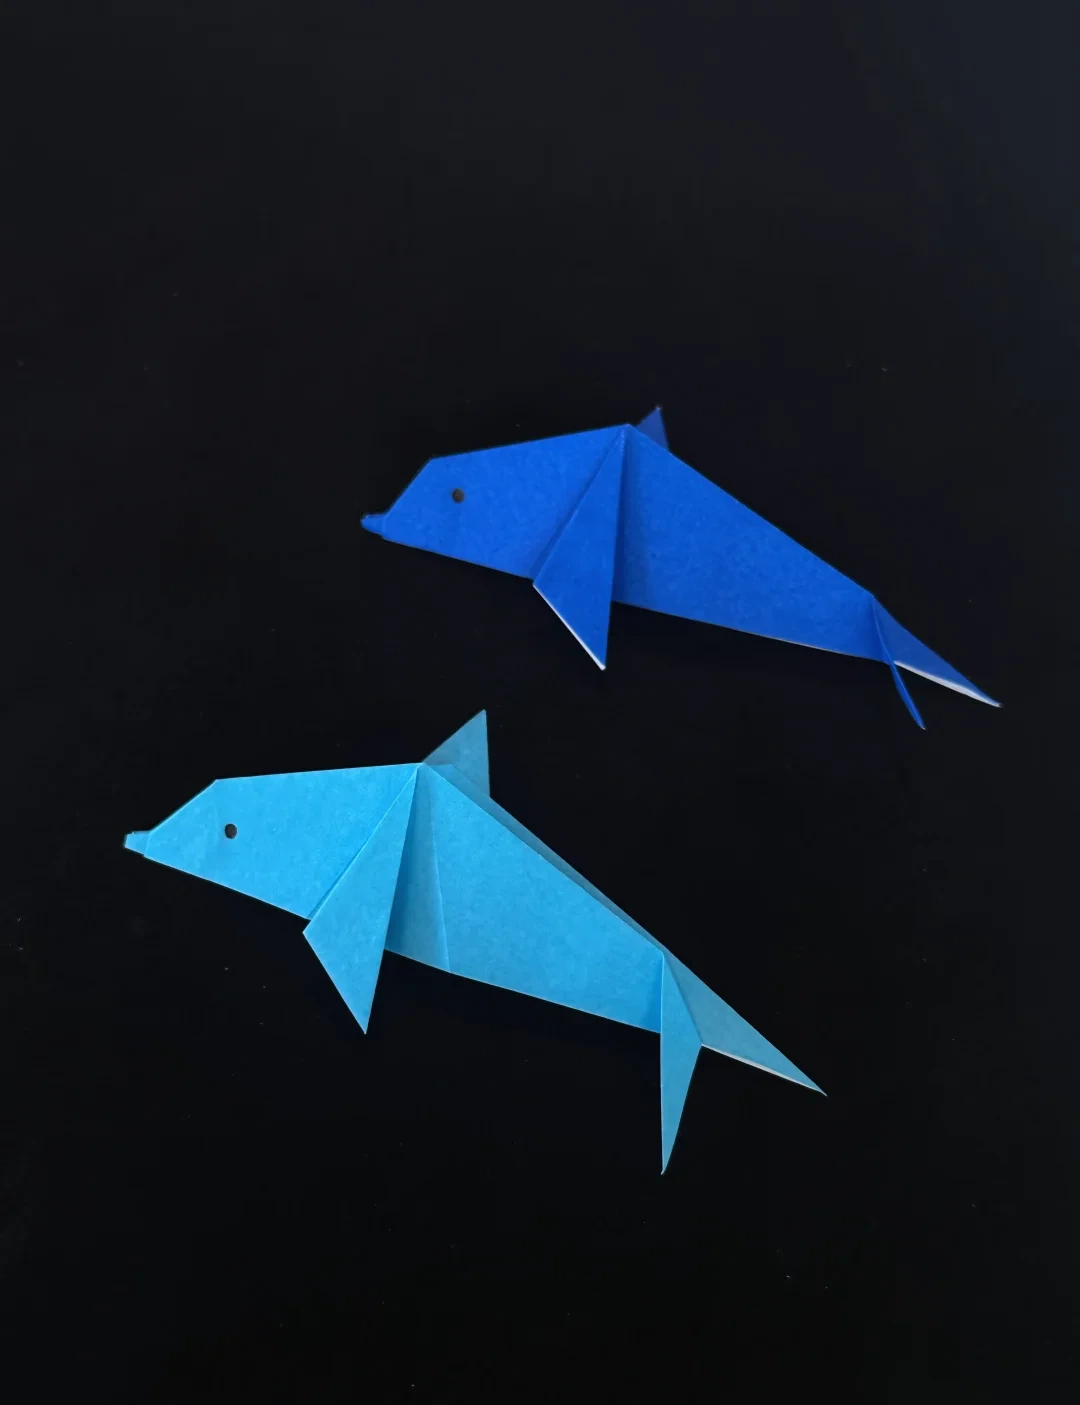
The completed model, shown from another angle to help check its shape and proportions.
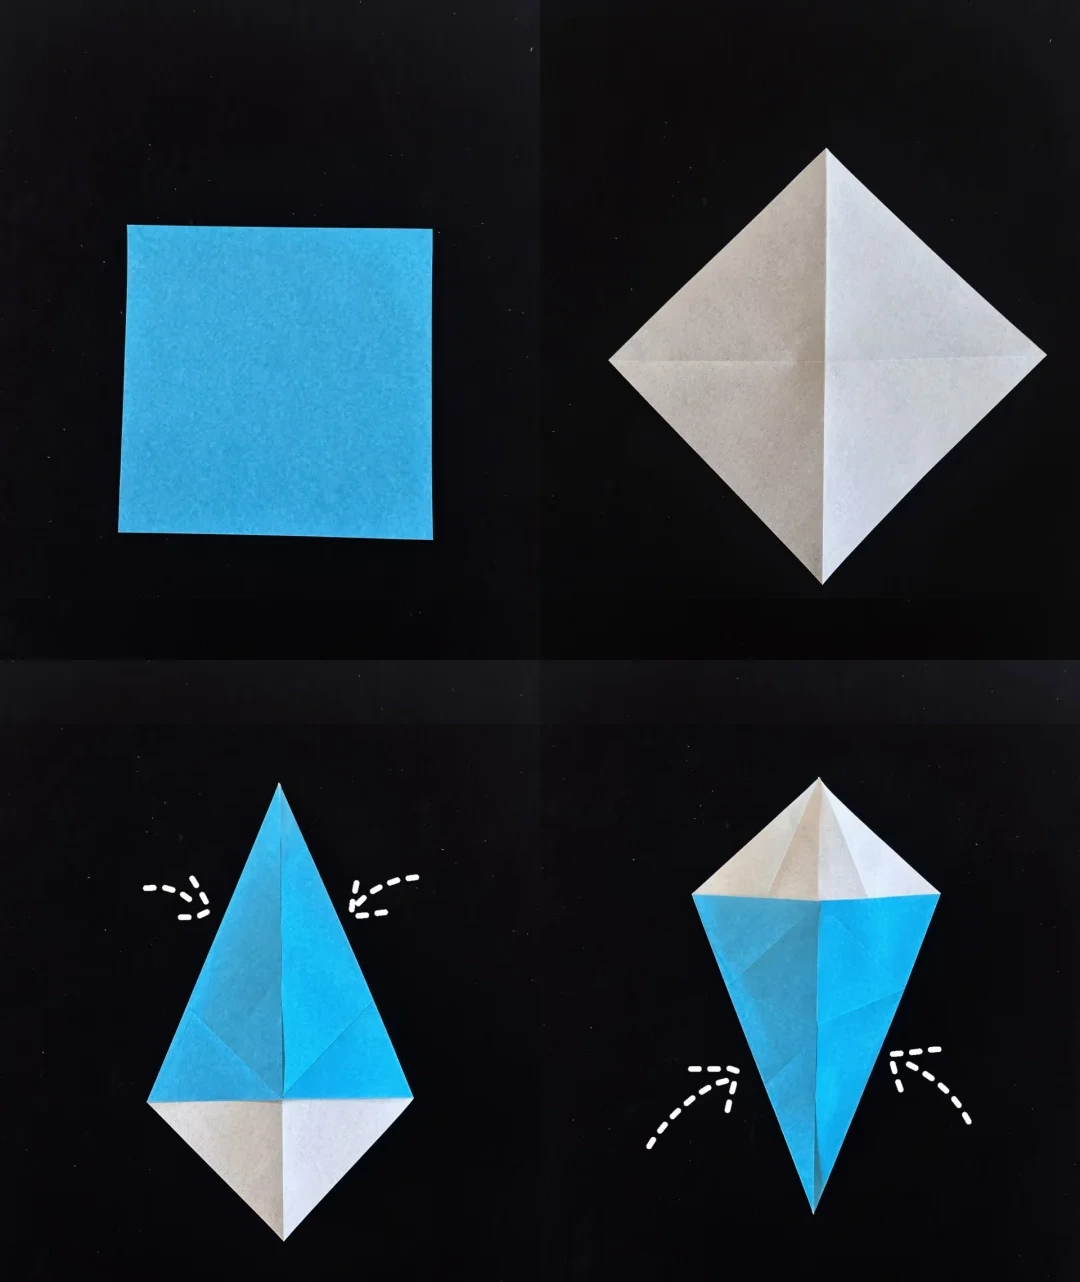
Mark a diamond base
 Open image at full size ↗
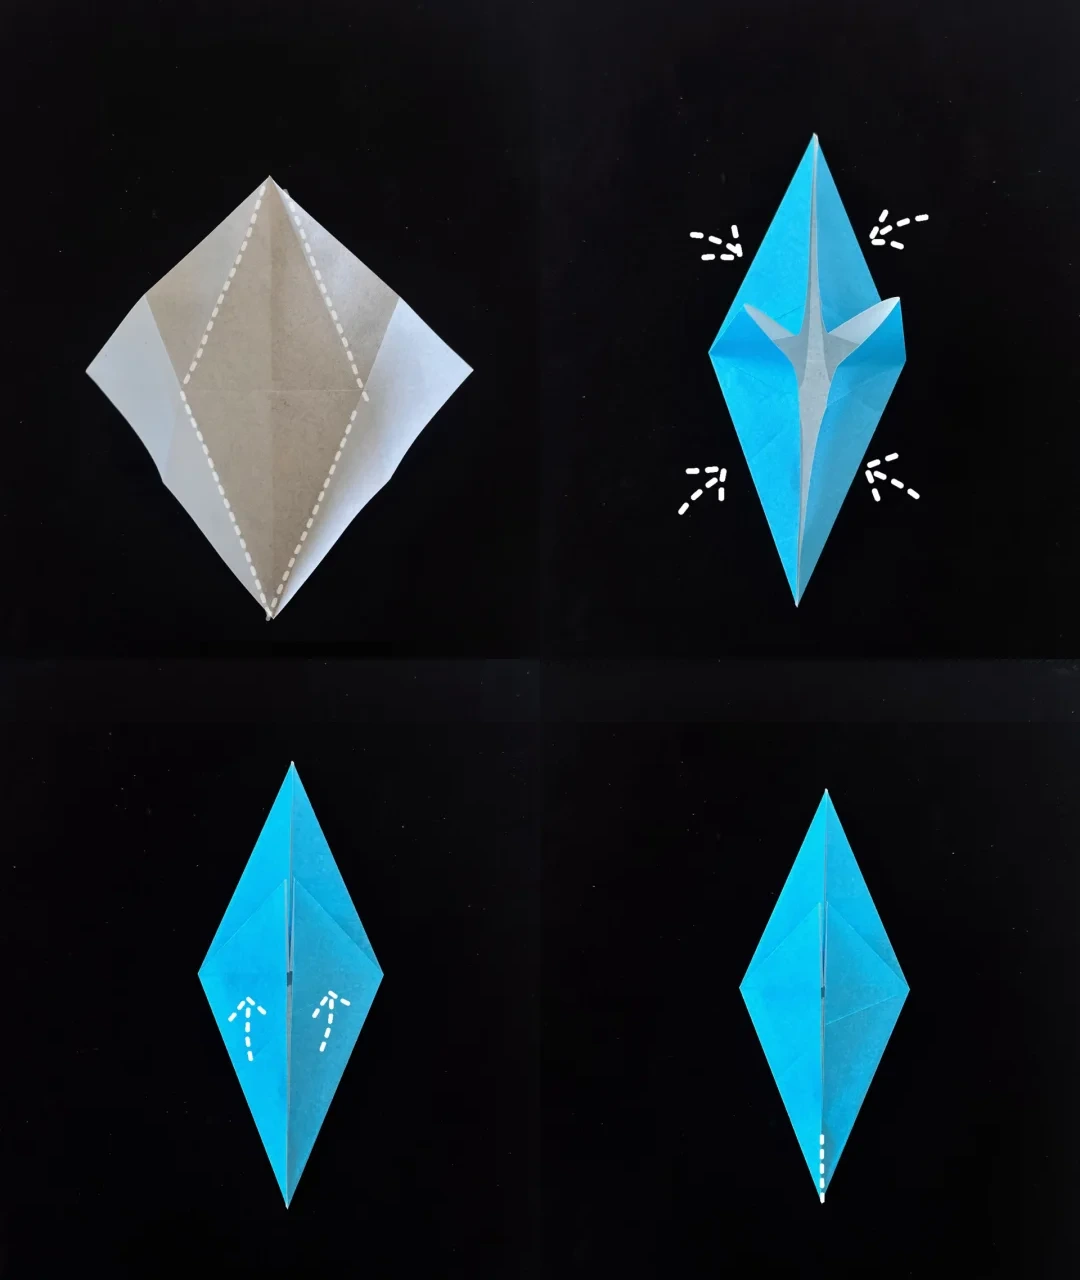
Crease both diagonals and open the square. With a corner pointing upward, fold the two upper edges toward the center. Open them and repeat with the lower edges.
Collapse and cut
 Open image at full size ↗
Open the square, then bring all four sides inward along the diagonal creases. Fold the central triangular flaps upward. Cut along the marked center line from the lower point, stopping where the dotted guide ends.
Shape the snout
 Open image at full size ↗
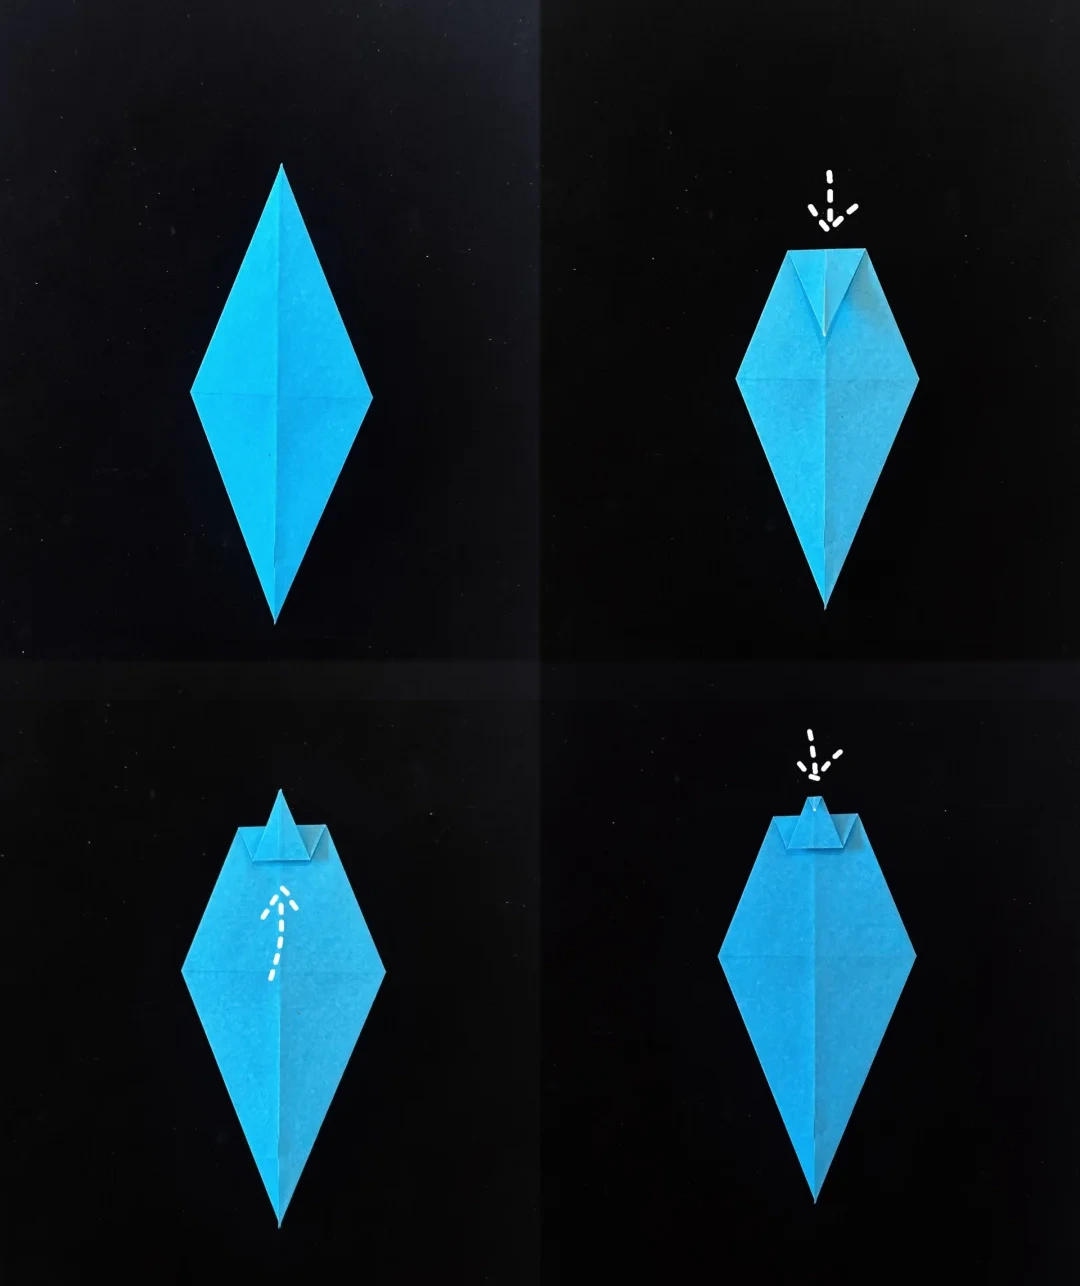
Turn the model over. Fold the top point down, fold part of it upward again, and fold the small tip down once more to form the short snout.
Fold the body
 Open image at full size ↗
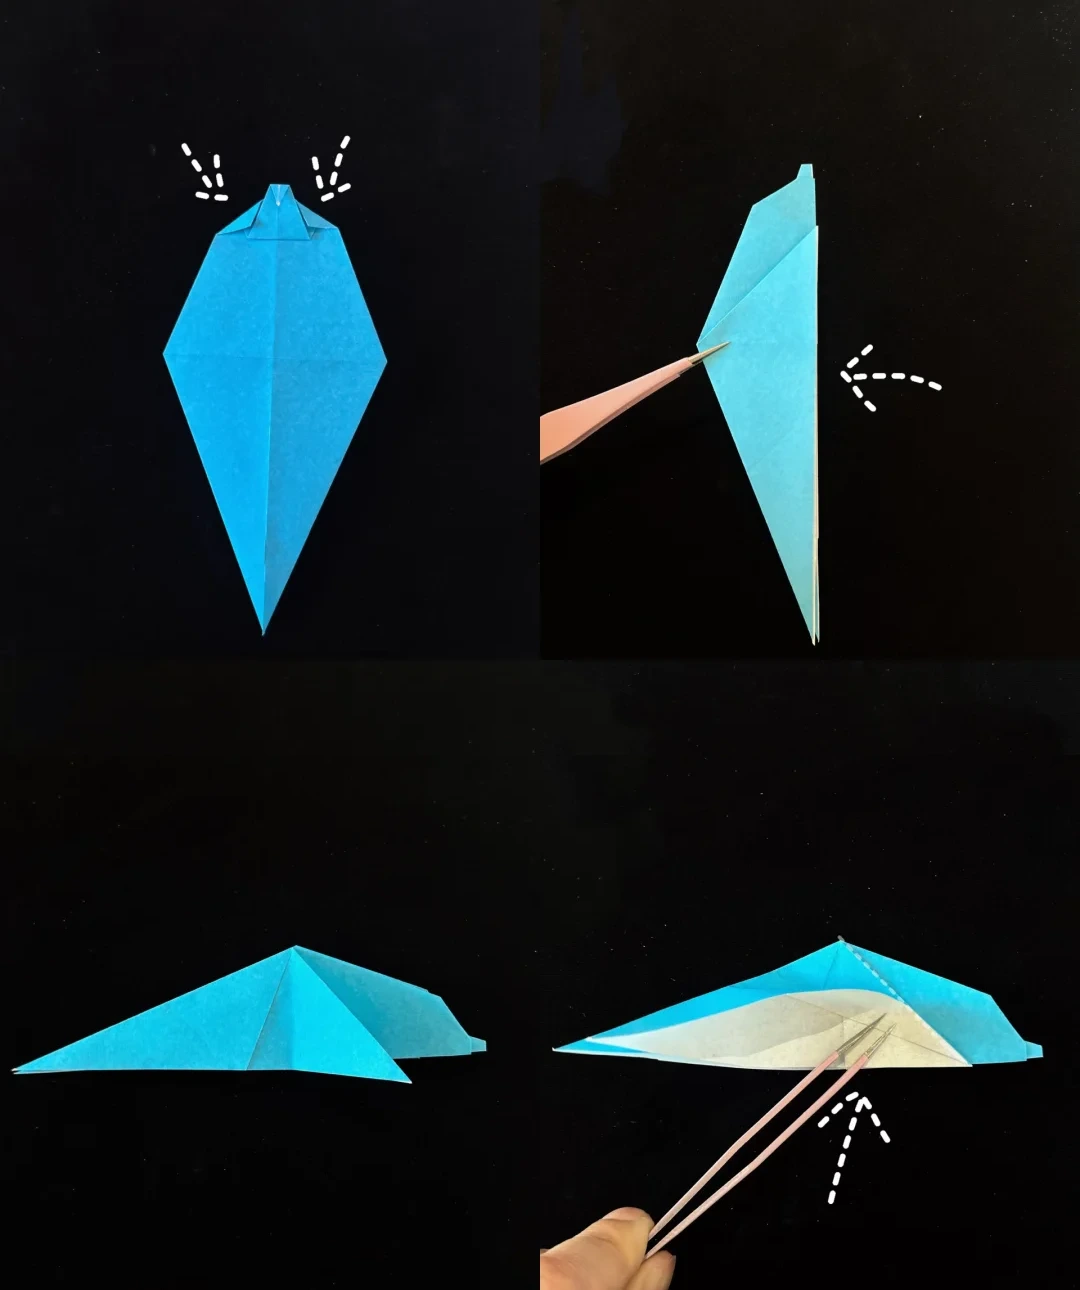
Fold the small side corners inward. Fold the whole model in half to the left, then rotate it horizontally. Lift the indicated inner flap to meet the upper edge.
Form the fins
 Open image at full size ↗
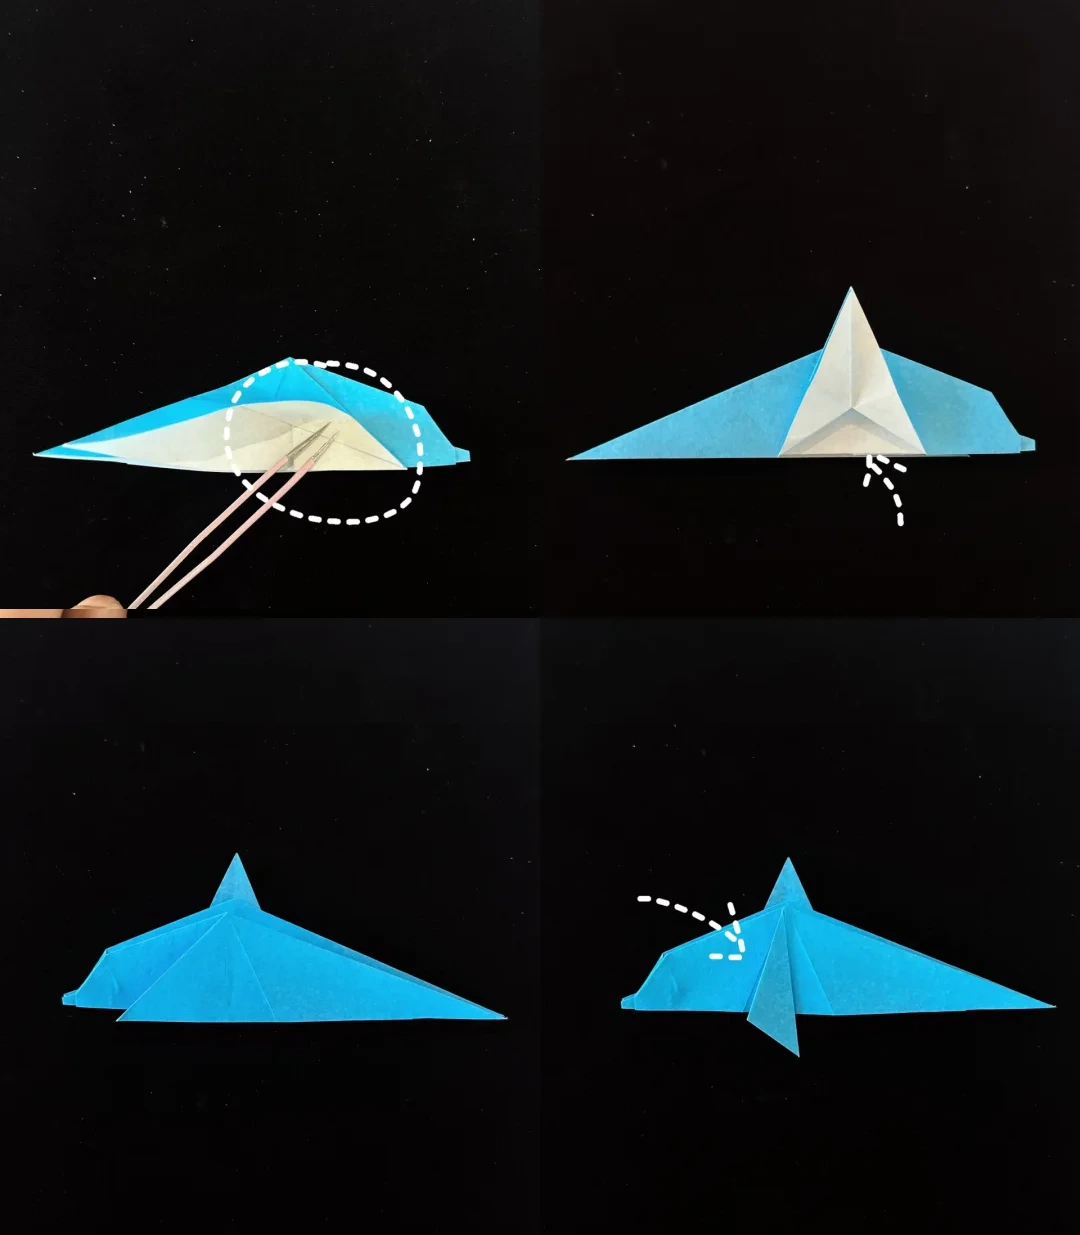
Reverse the direction of the circled inner flap and lift it upward to form the dorsal fin. Turn the model over and fold the visible flap to the right to shape the side fin.
Finish the tail
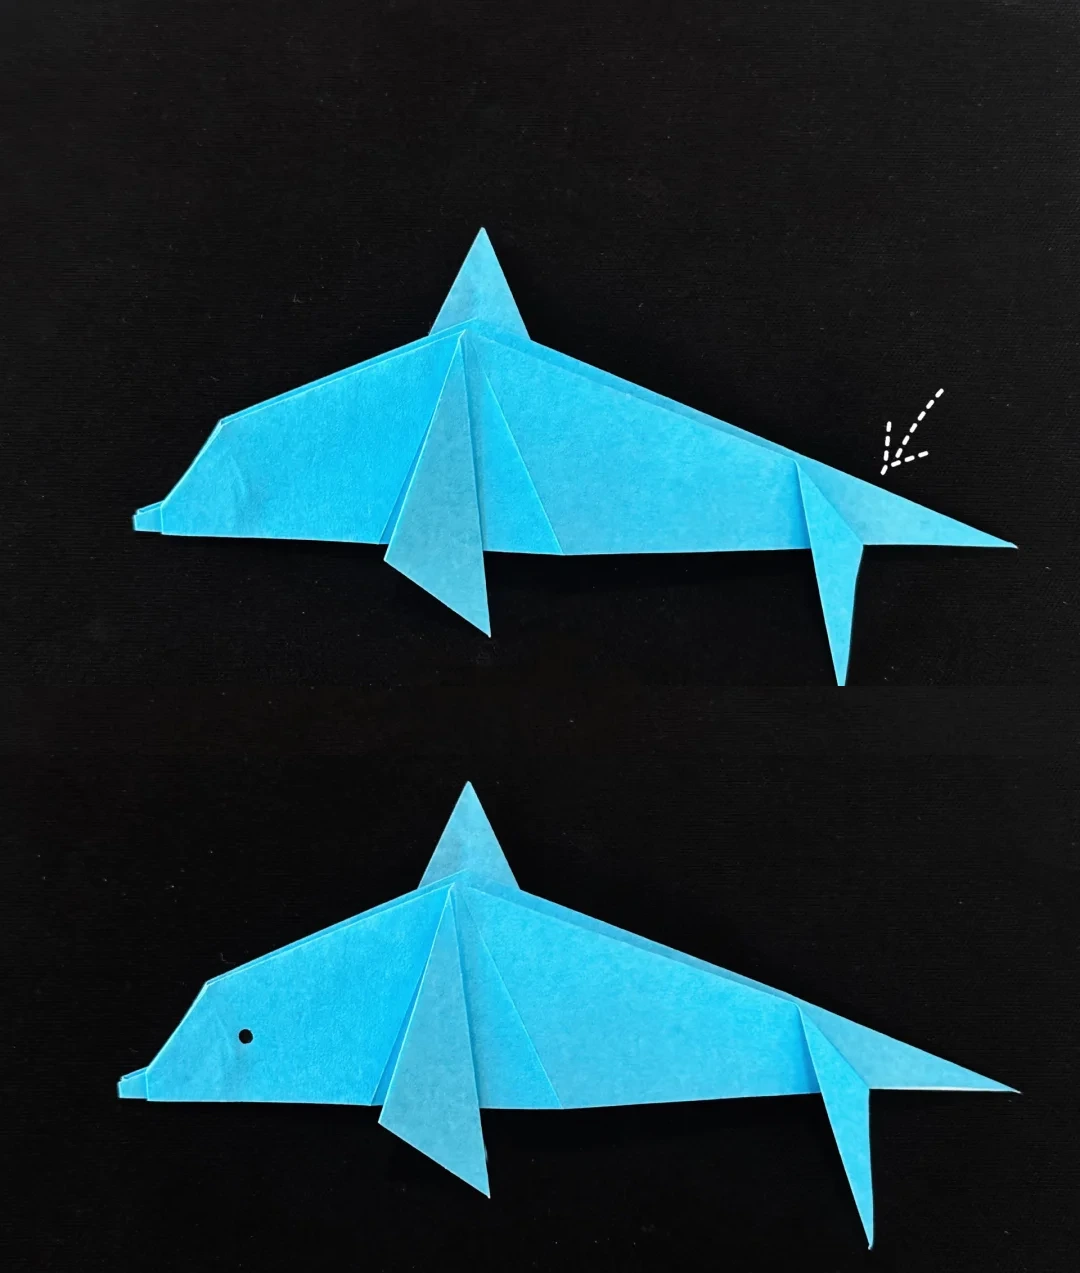 Open image at full size ↗
Fold the split rear points to form the tail flukes, following the arrow. Add a small eye with a marker.
Finished model
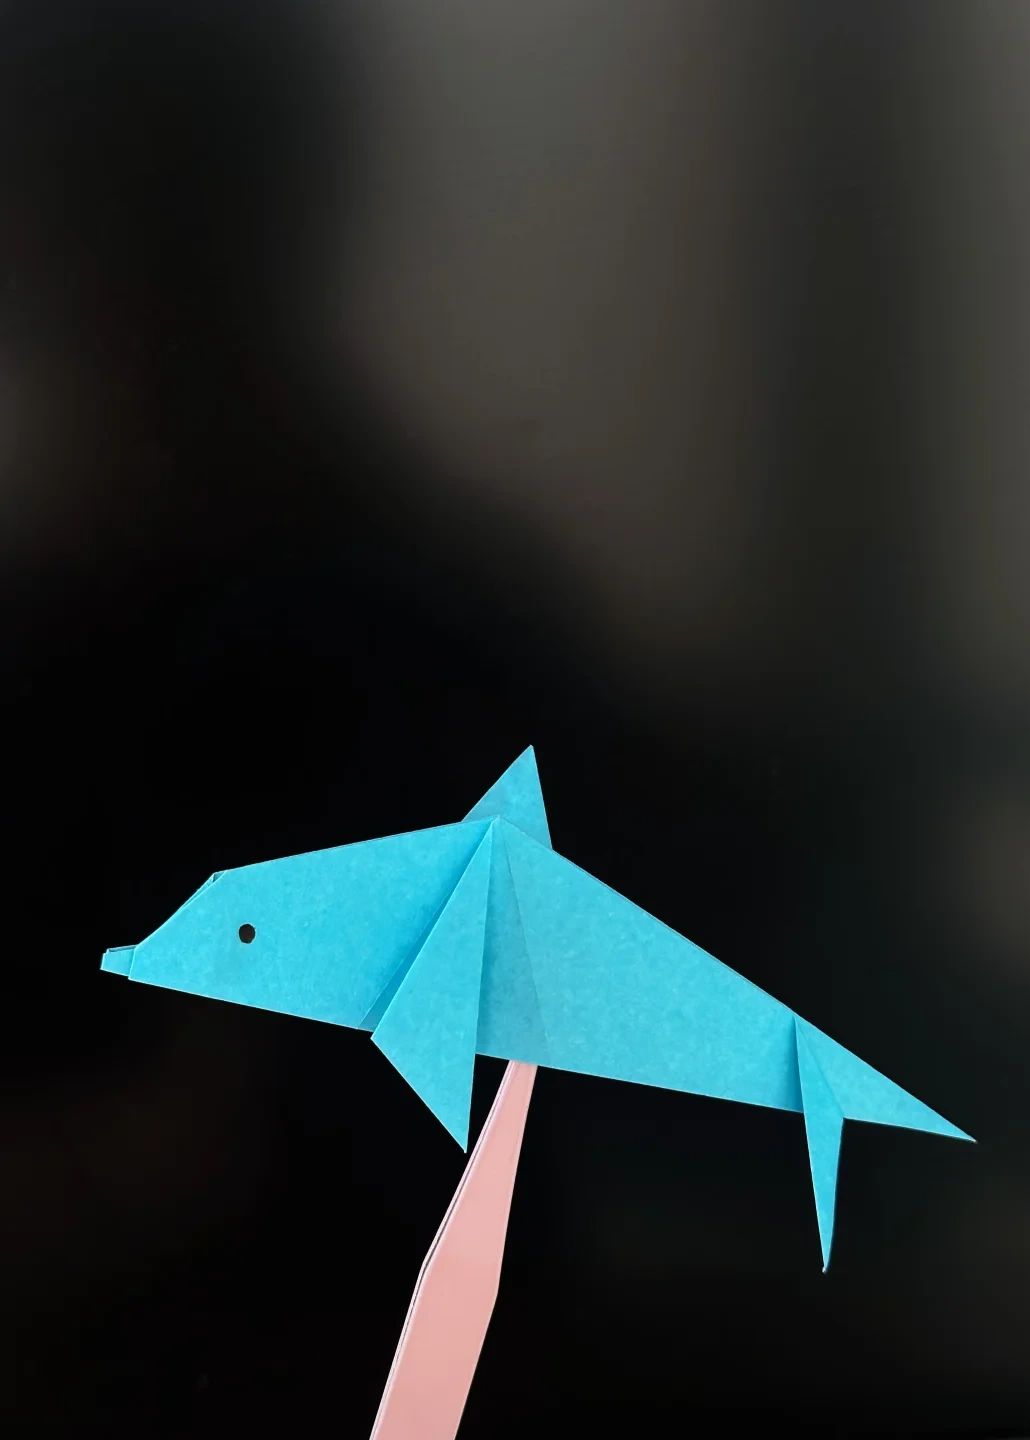 Open image at full size ↗
The completed model, shown from another angle to help check its shape and proportions.
Finished model
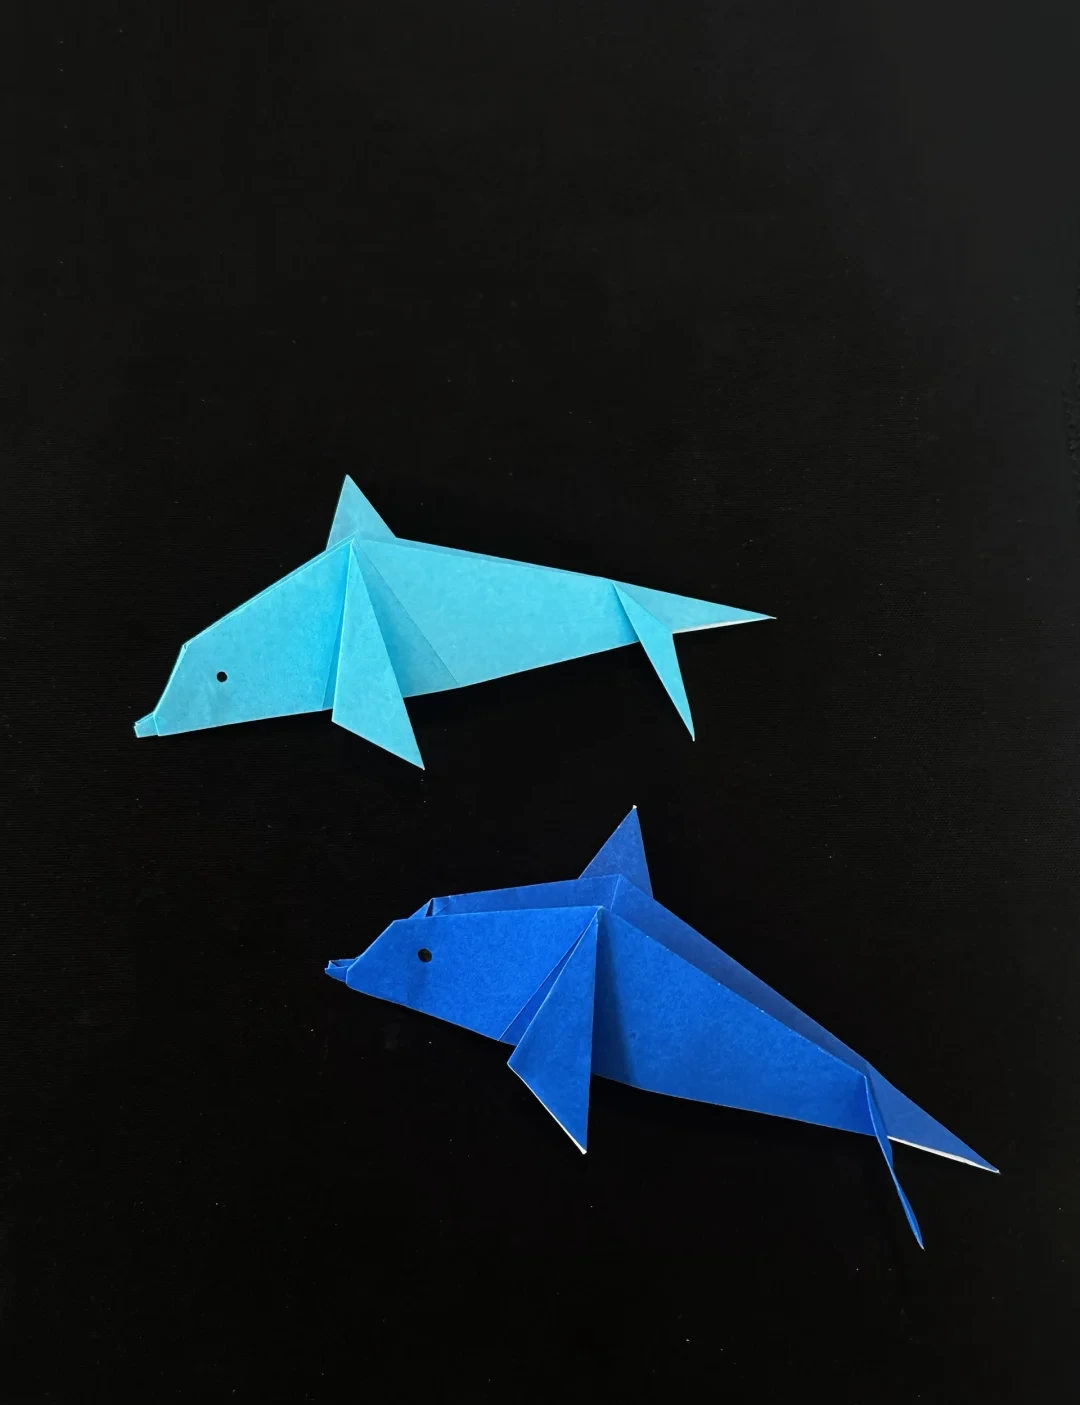 Open image at full size ↗
The completed model, shown from another angle to help check its shape and proportions.
Finished model
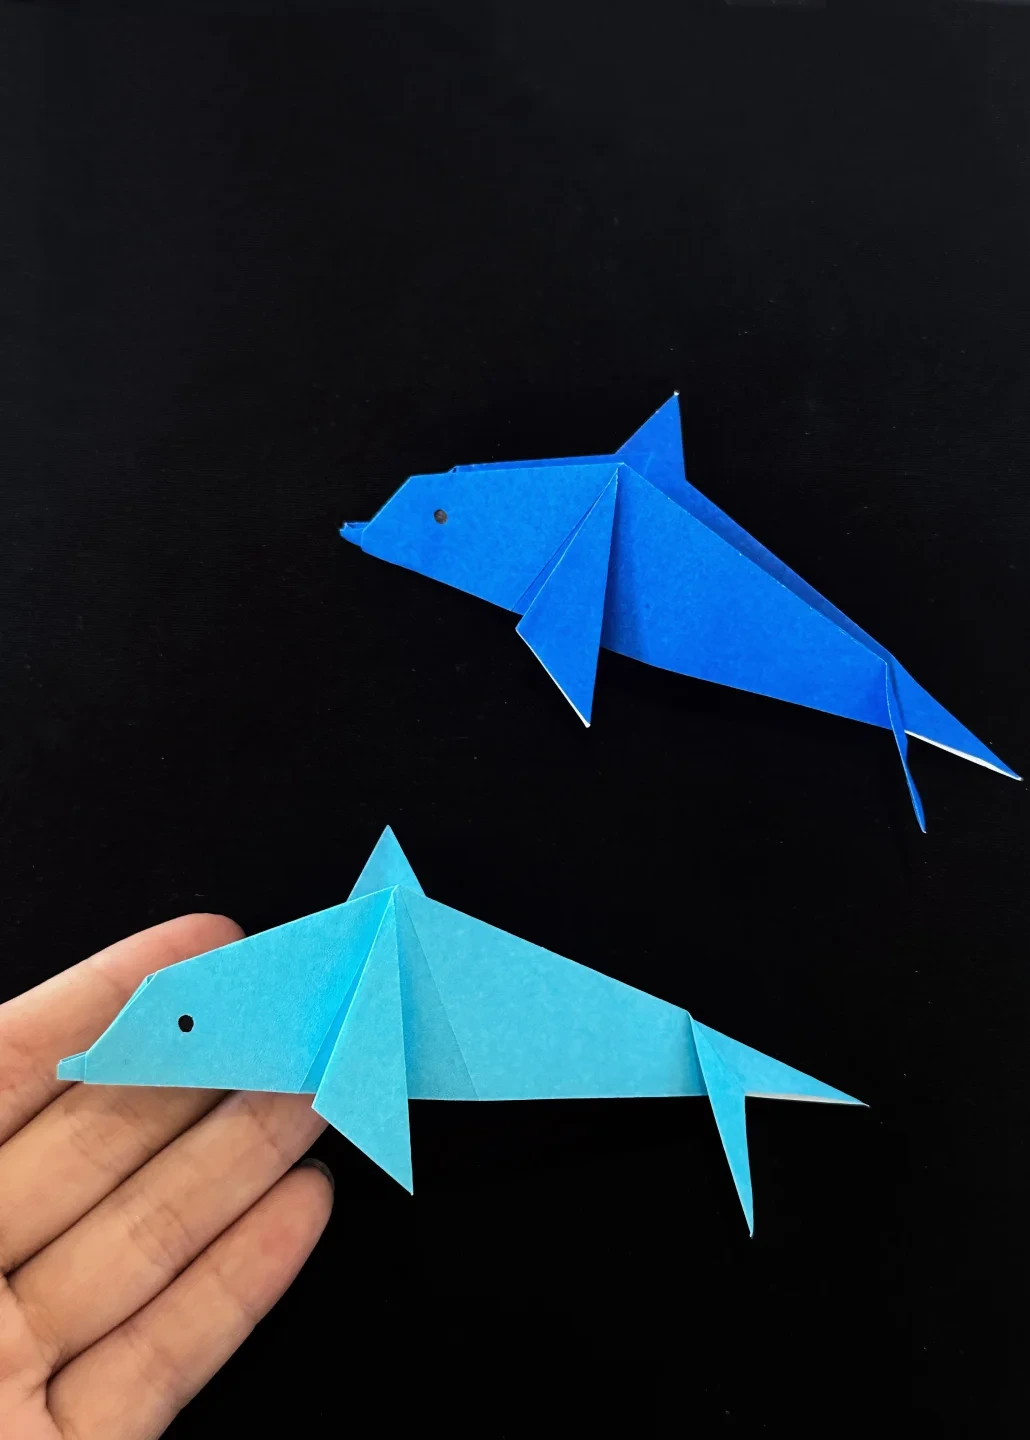 Open image at full size ↗
The completed model, shown from another angle to help check its shape and proportions.
Follow the diagrams alongside the step-by-step English instructions.
Choose your next project →