
Flowers & nature · Step-by-step guide
Six-Petal Modular Blossom
Make six folded petals and join them into a symmetrical flower with a pleated center.
What you’ll need
- Six equal paper squares
- Glue
Modular paper folding · Six petal units & glued assembly
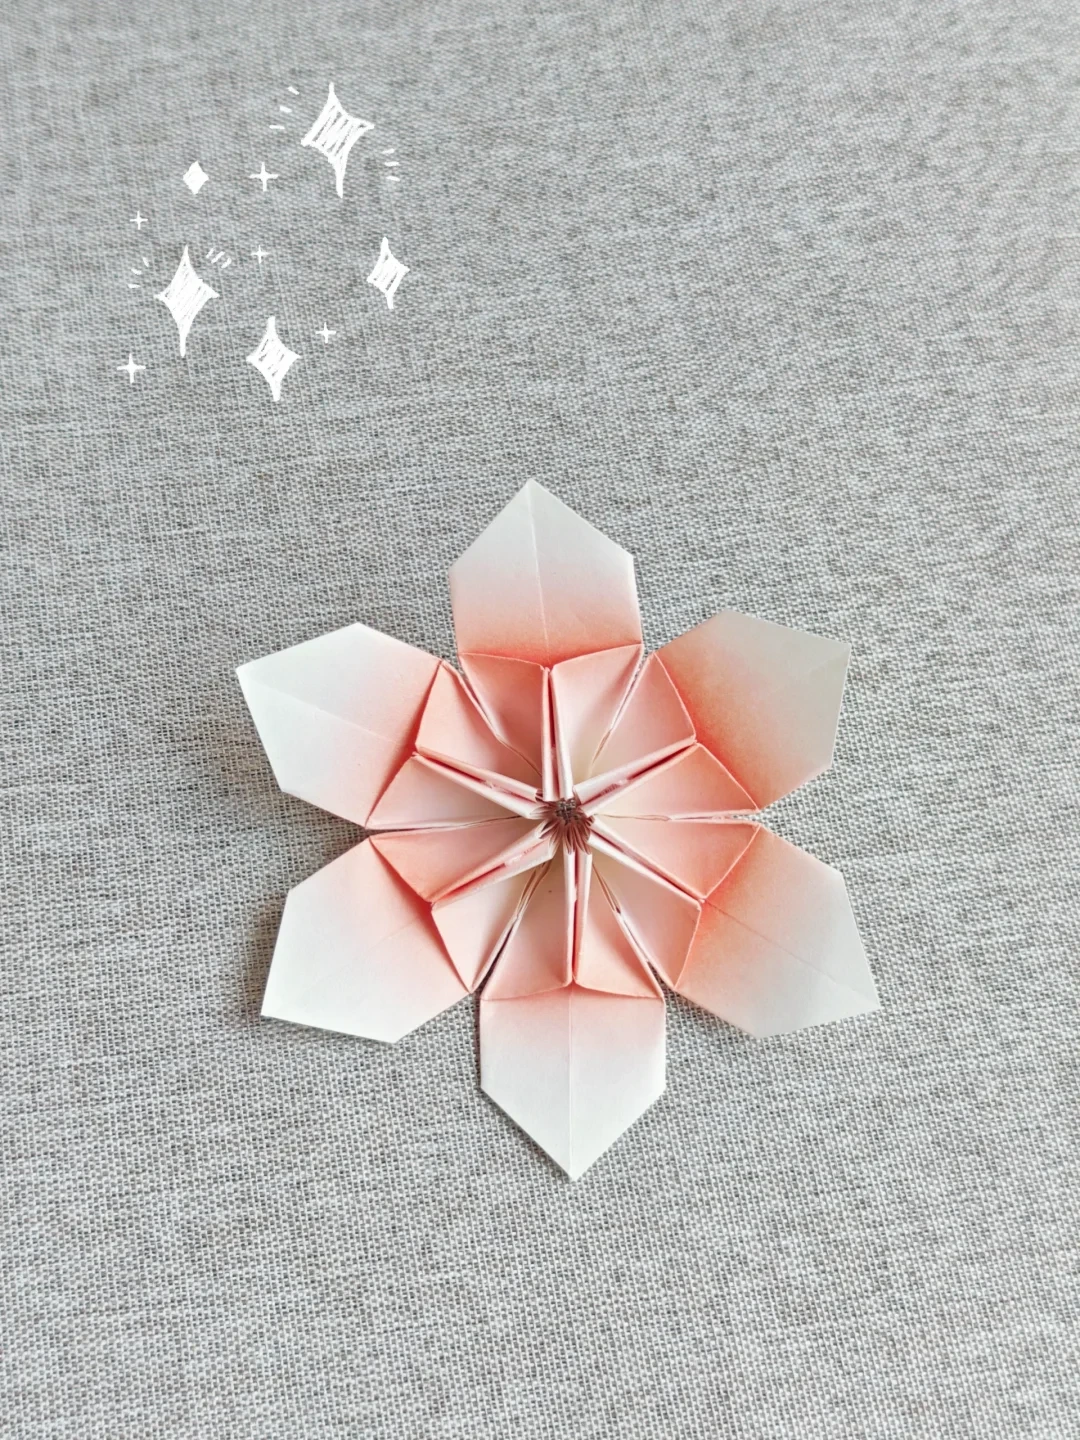
Make it, step by step.
13 steps · Original diagrams with English instructions
Prepare six squares
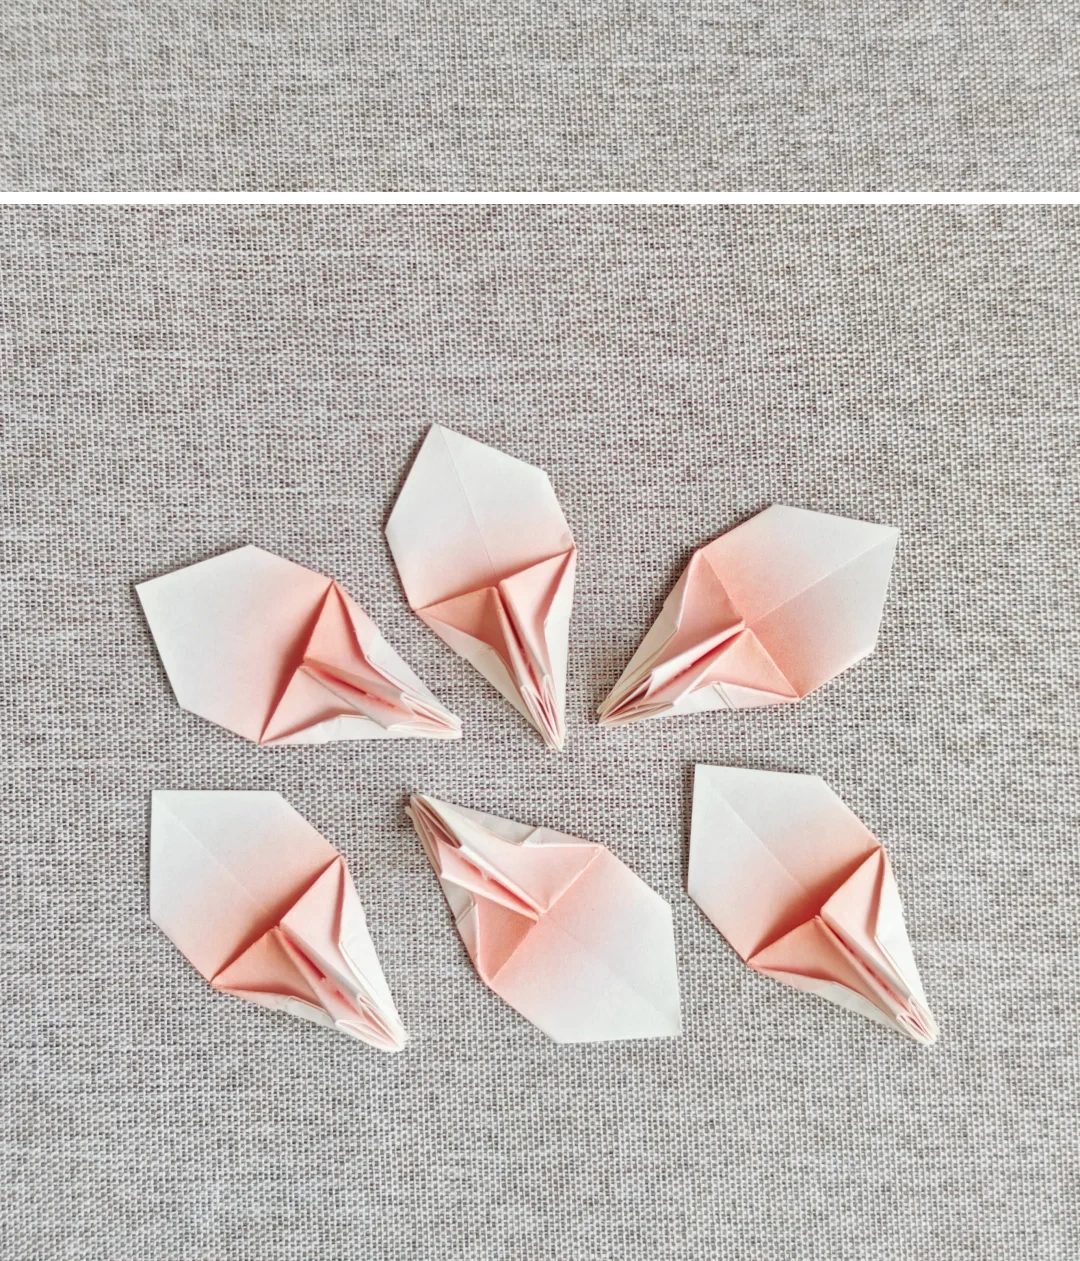 Open image at full size ↗
Use equal-sized squares so all six petals match.
Crease the square
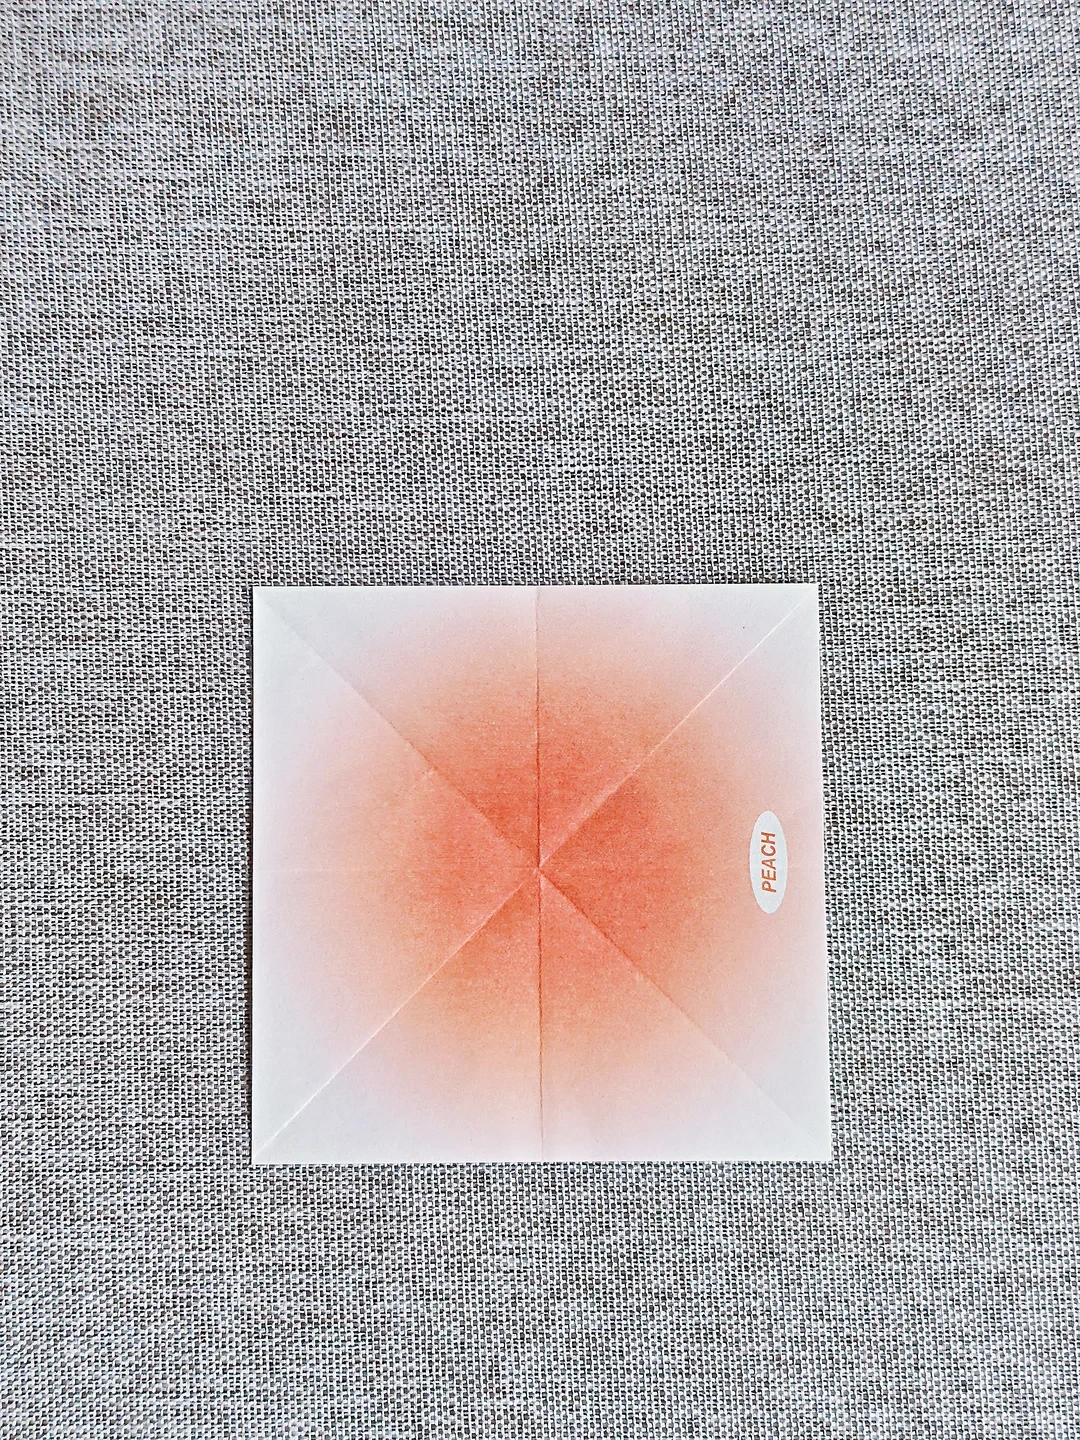 Open image at full size ↗
Fold both diagonals and midlines, then reopen.
Collapse the base
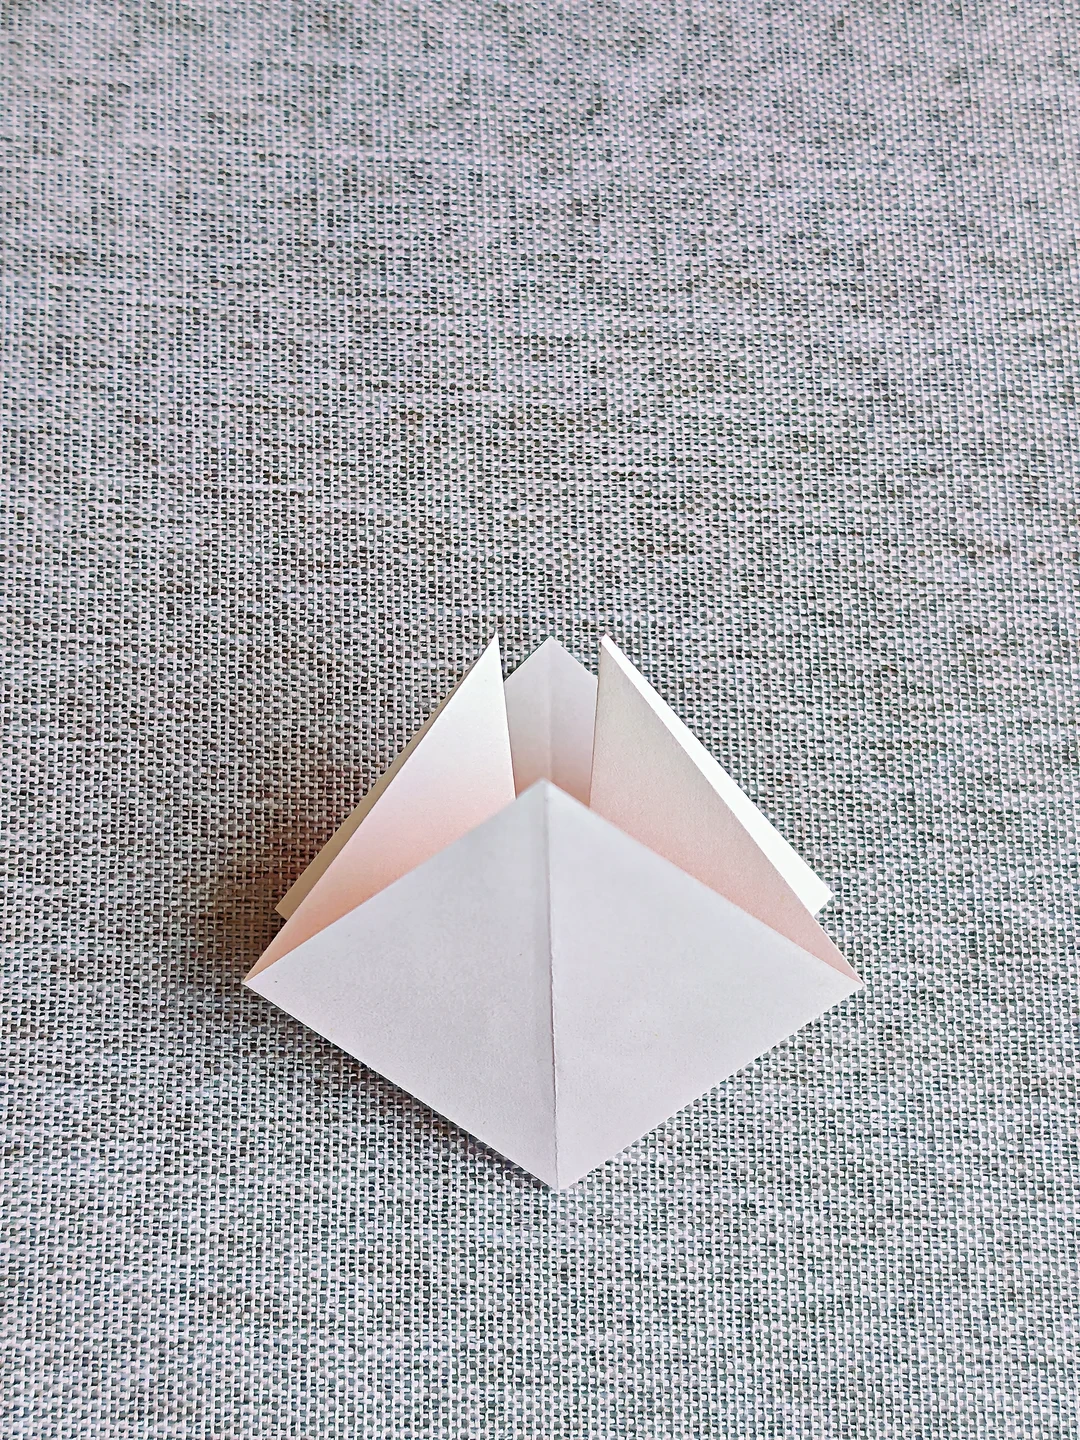 Open image at full size ↗
Bring the creases together into a layered square base.
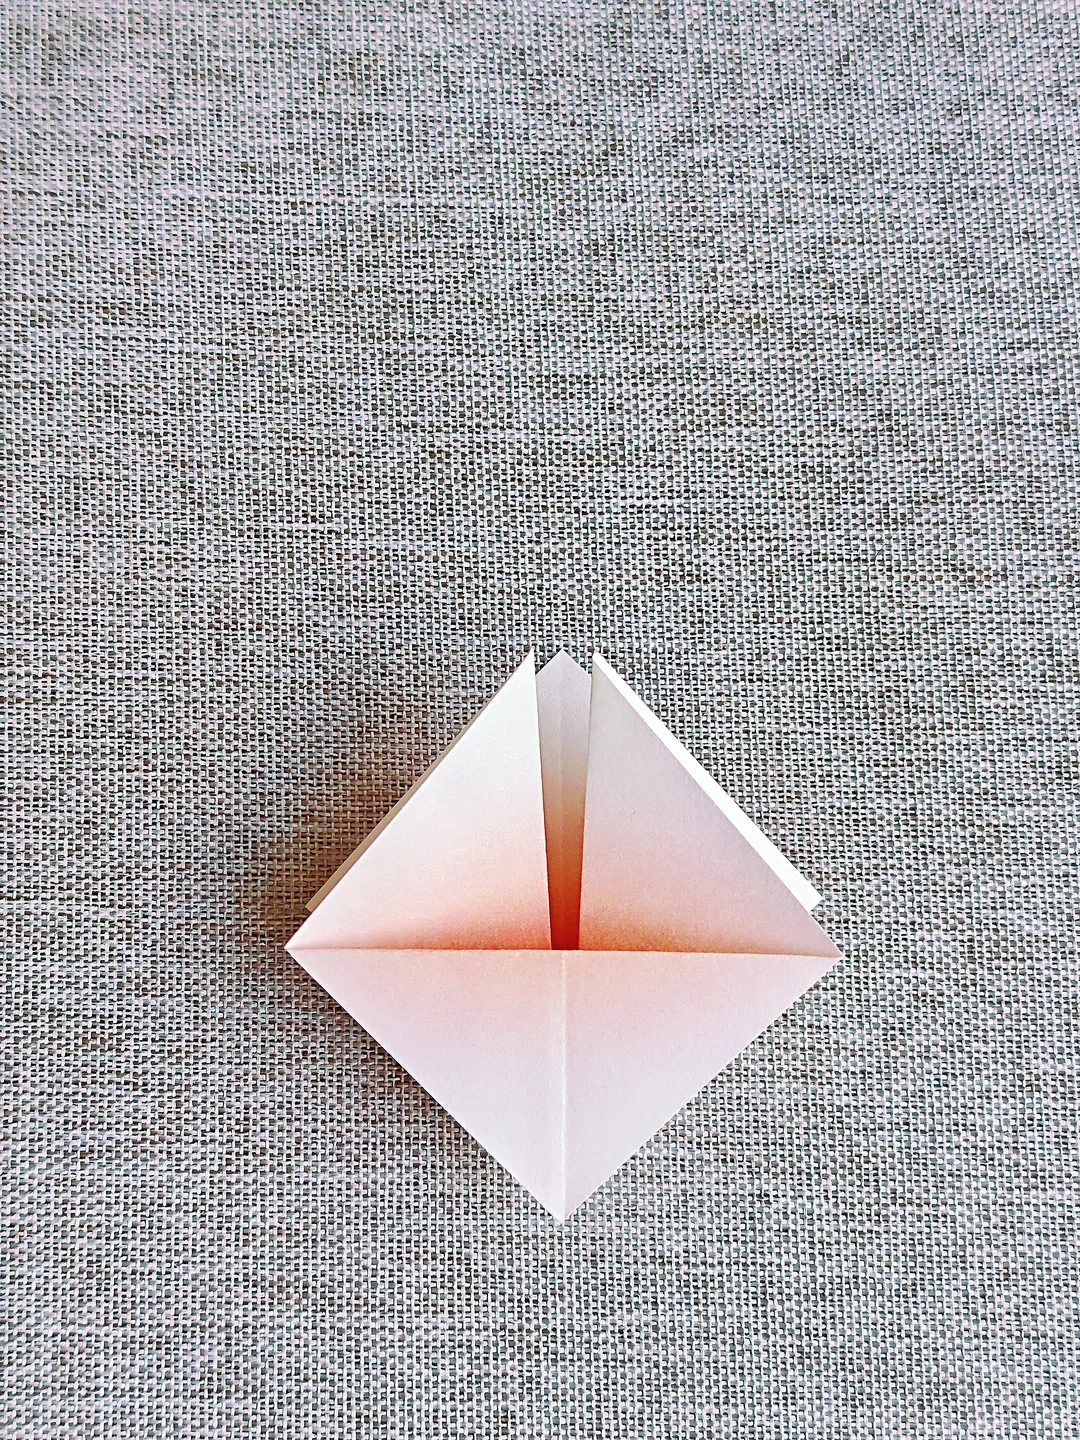
Lift the lower flap
 Open image at full size ↗
Fold the lower front flap upward.
Turn the layers
 Open image at full size ↗
Turn the front and back flaps to expose the next faces.
Fold the center section
 Open image at full size ↗
Bring the lower edges inward along the pictured center folds.
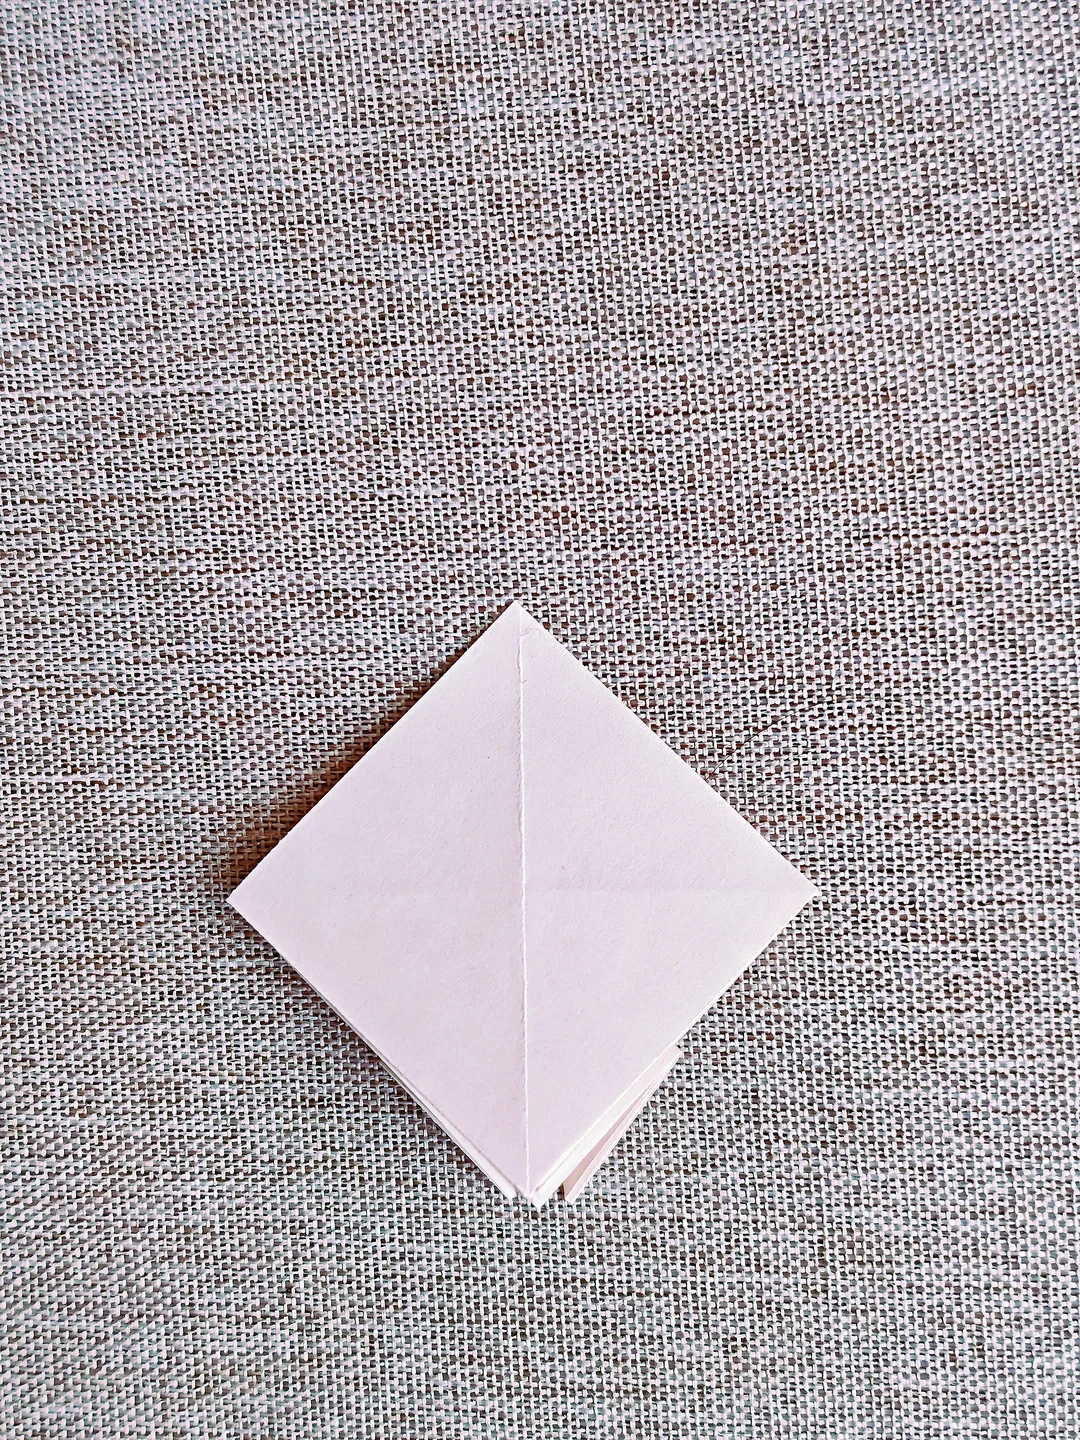
Turn to a plain face
 Open image at full size ↗
Turn the flaps until a flat diamond face is exposed.
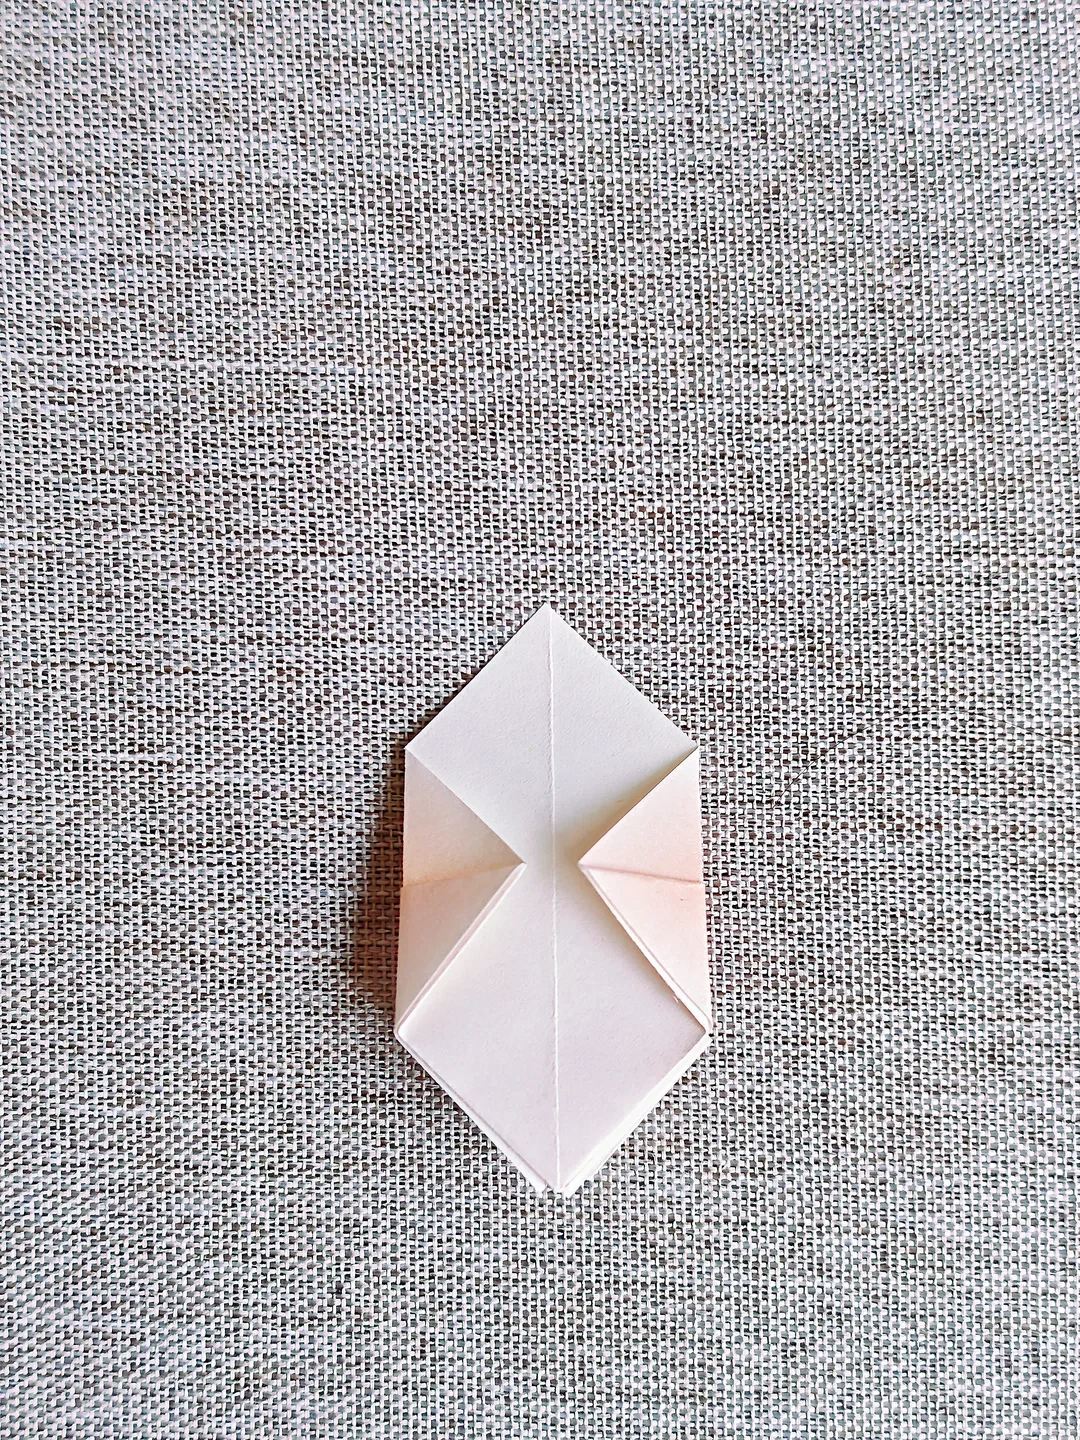
Narrow the sides
 Open image at full size ↗
Fold both side corners to the center.
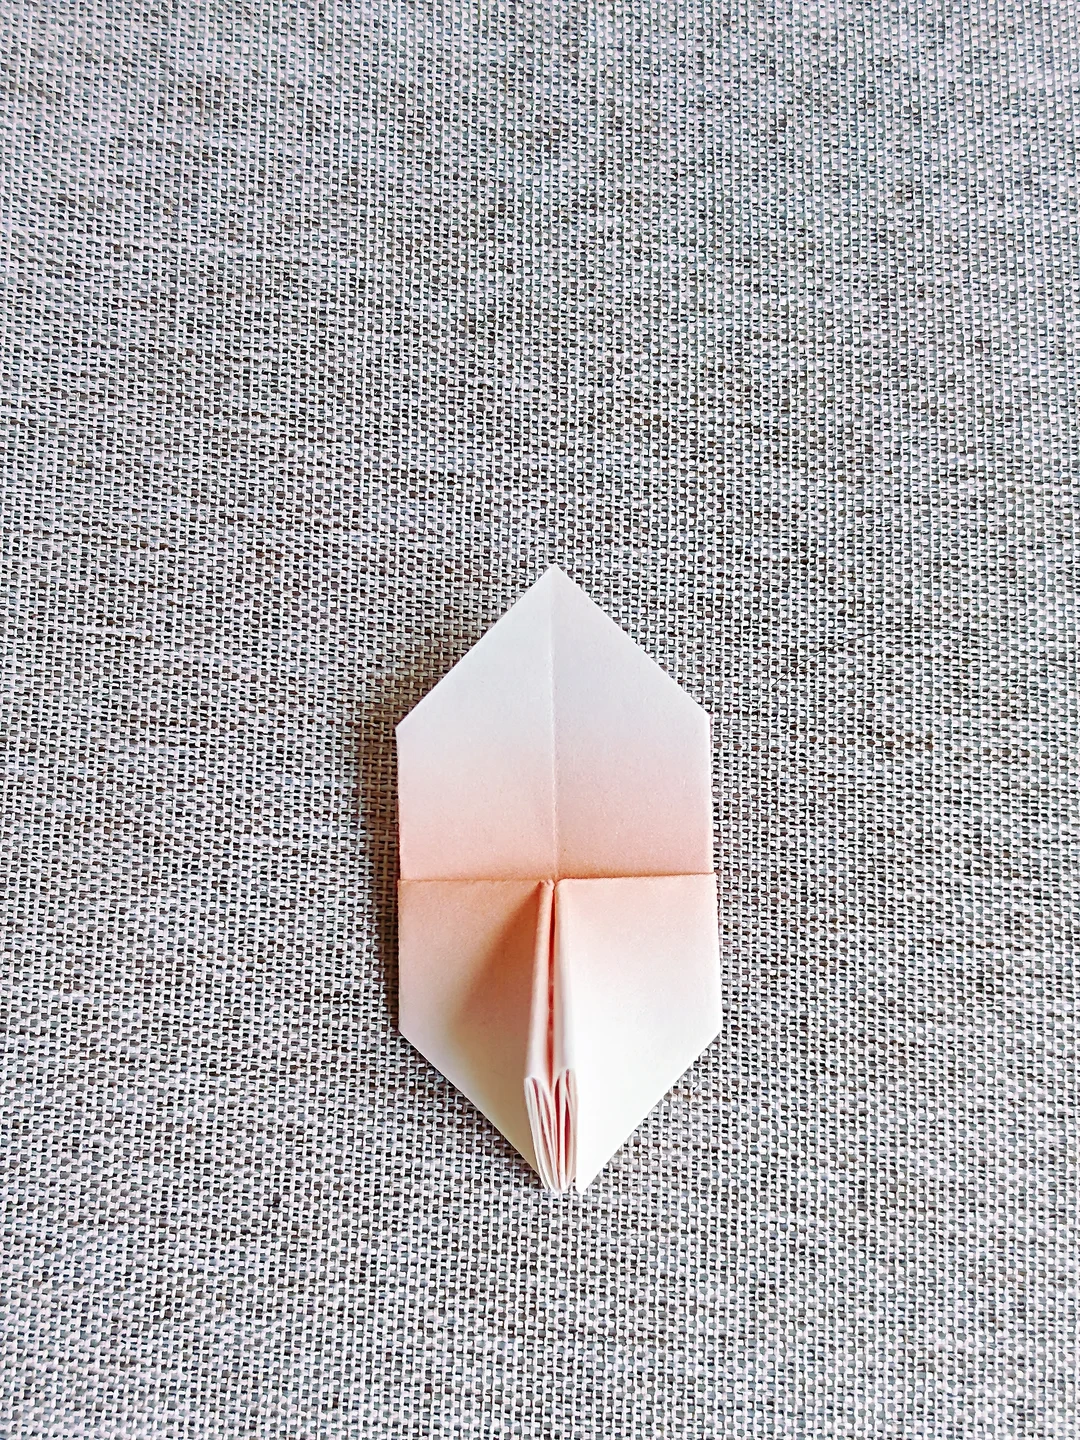
Fold the lower edges
 Open image at full size ↗
Bring the lower edges inward to form the narrow base of the petal.
Pinch the petal base
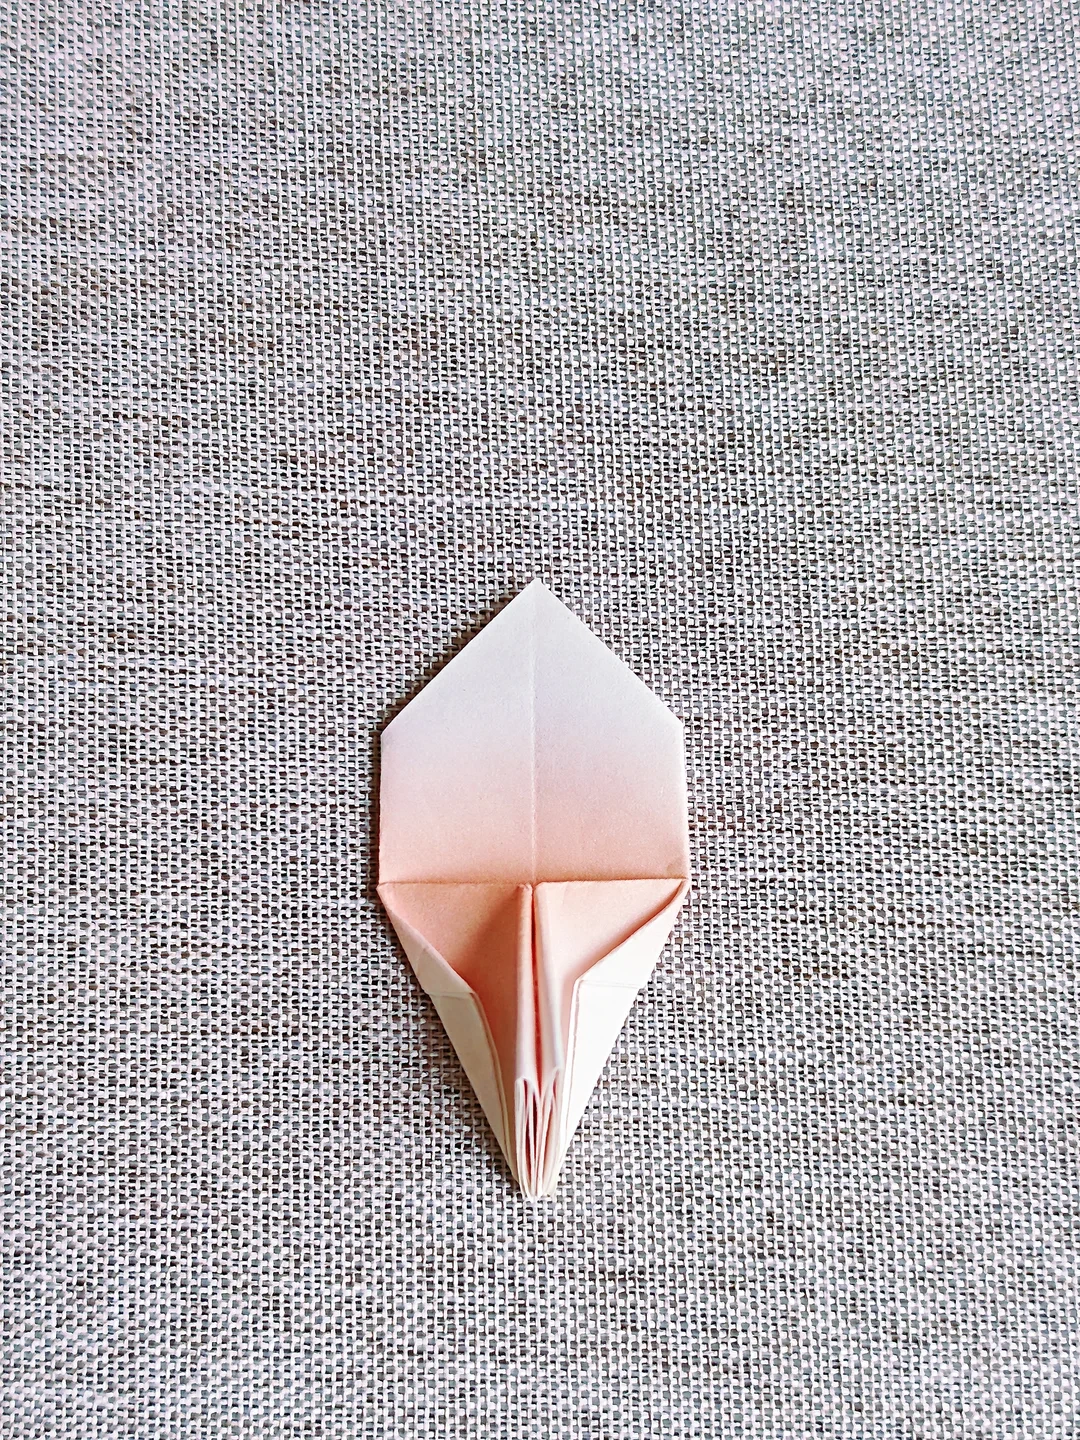 Open image at full size ↗
Gather the narrow lower layers and press them together.
Make six units
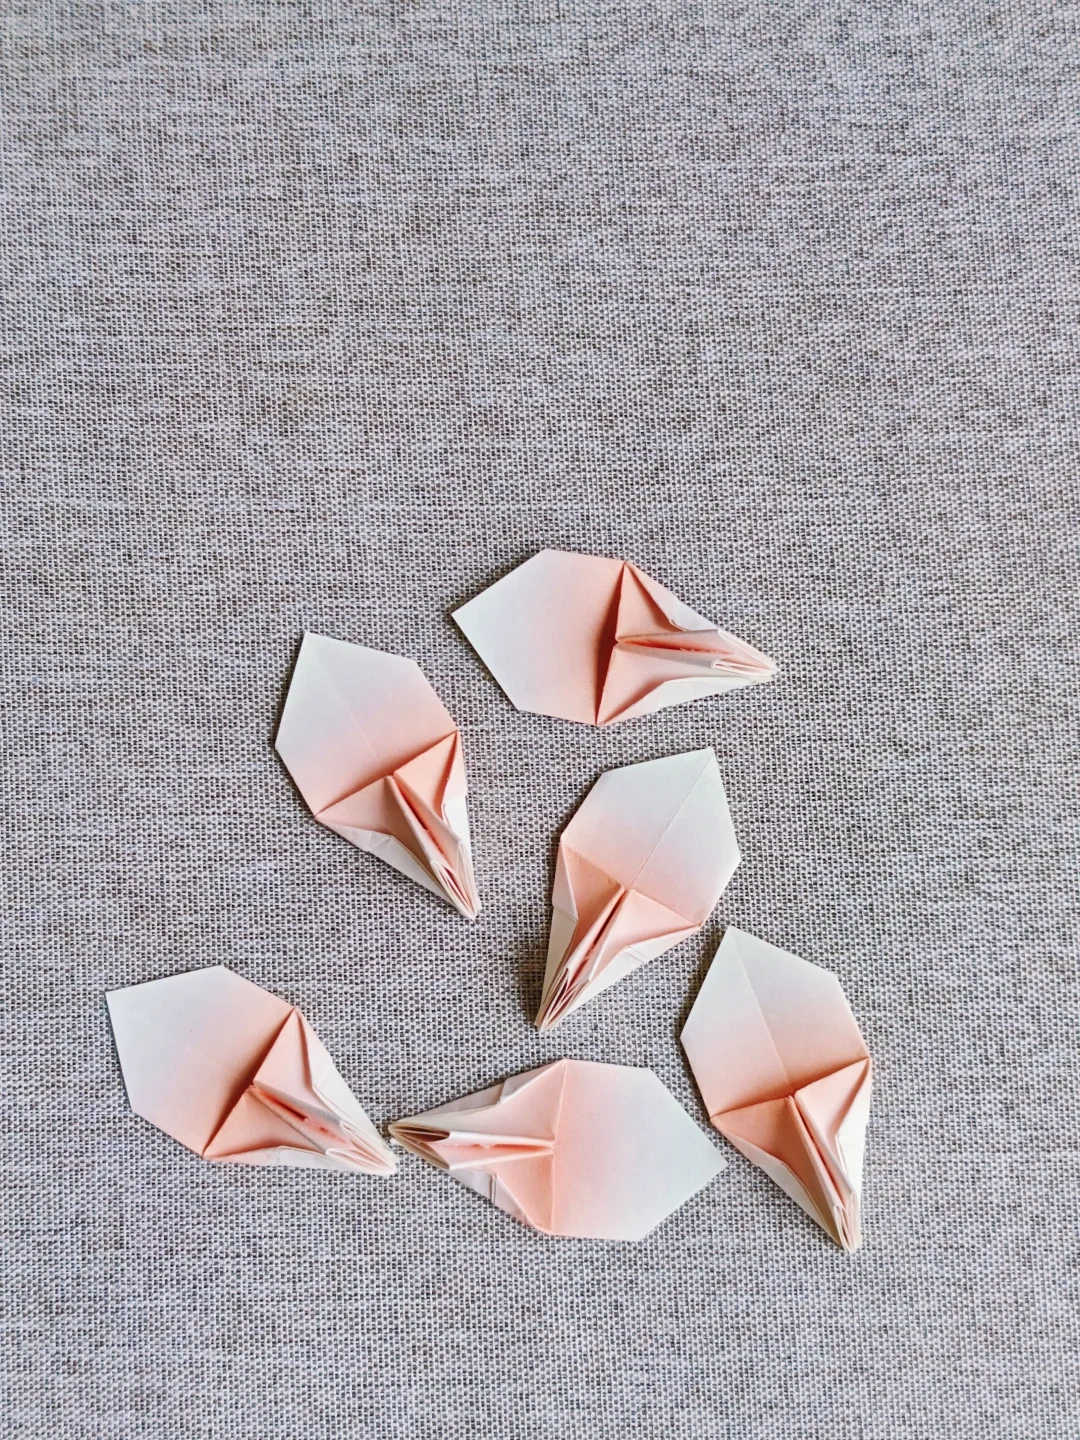 Open image at full size ↗
Repeat with the other five squares.
Join the petal bases
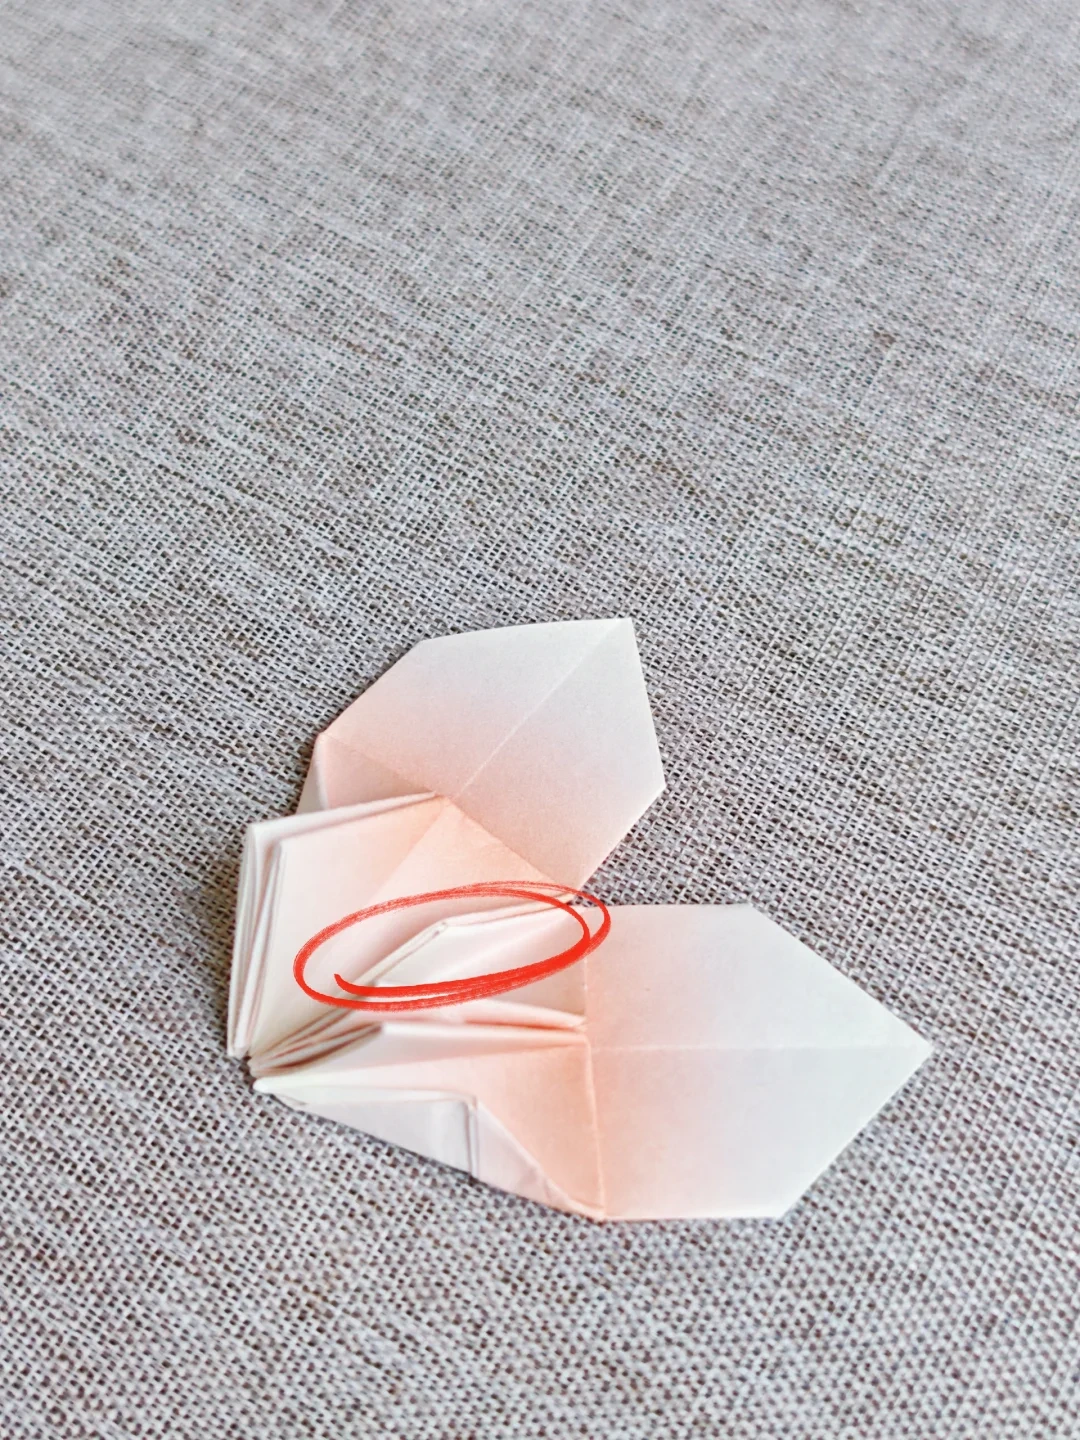 Open image at full size ↗
Apply glue to the circled overlapping faces and press neighboring petals together.
Close the blossom
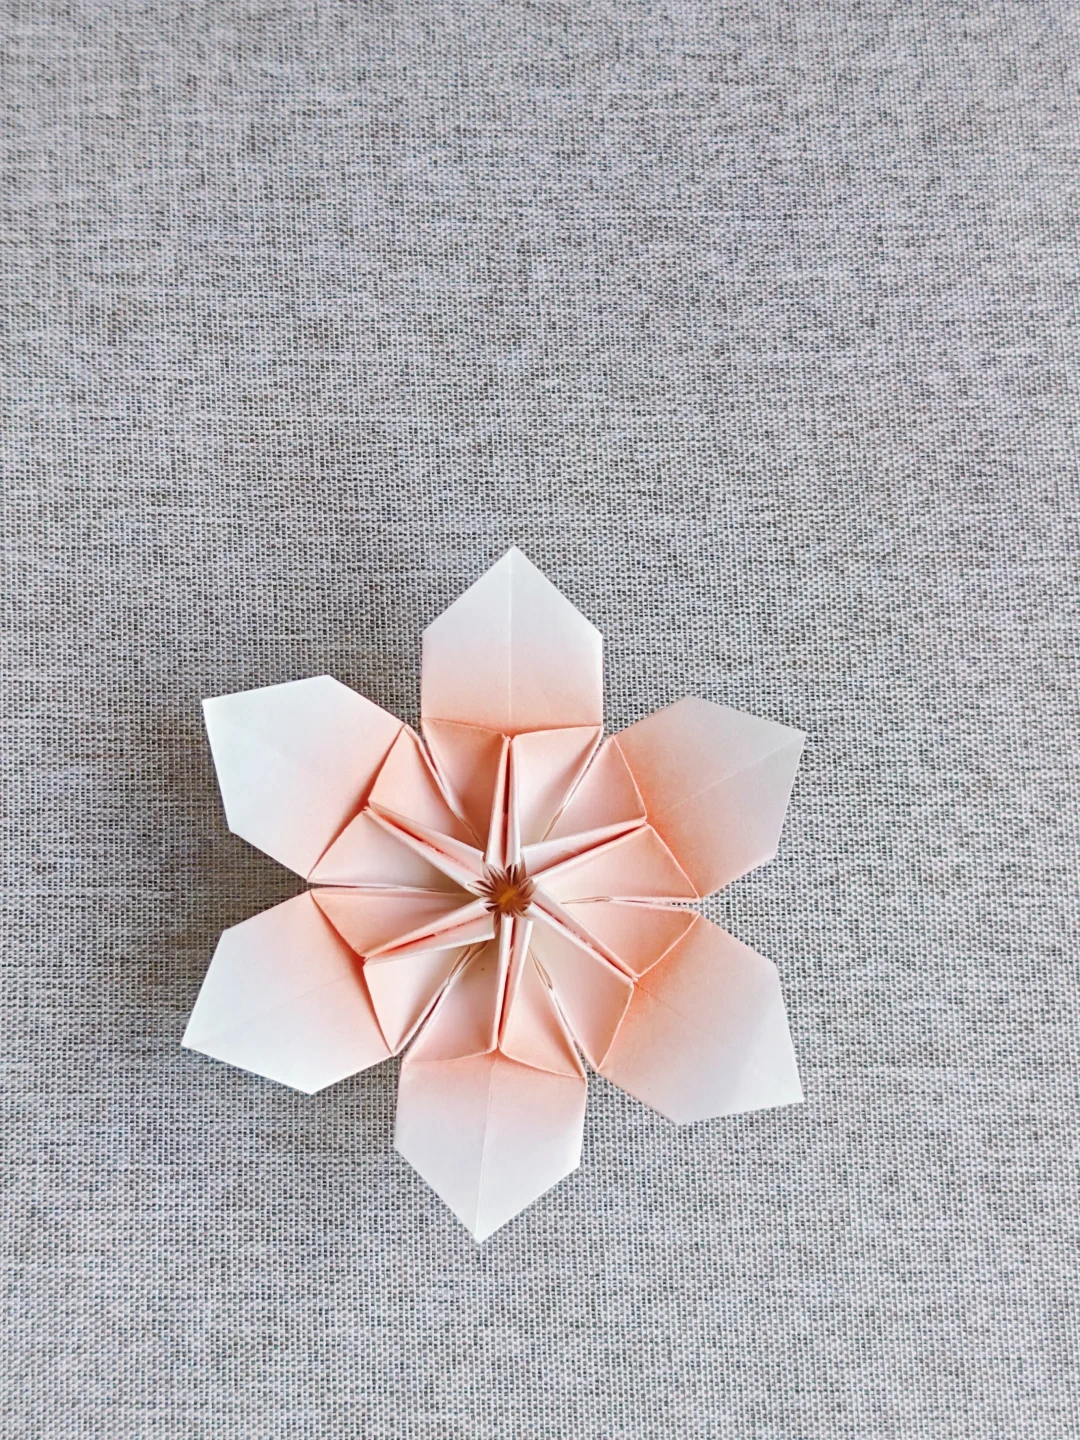 Open image at full size ↗
Join all six units into a circle and spread the broad petals evenly.
Follow the diagrams alongside the step-by-step English instructions.
Choose your next project →