
Flowers & nature · Step-by-step guide
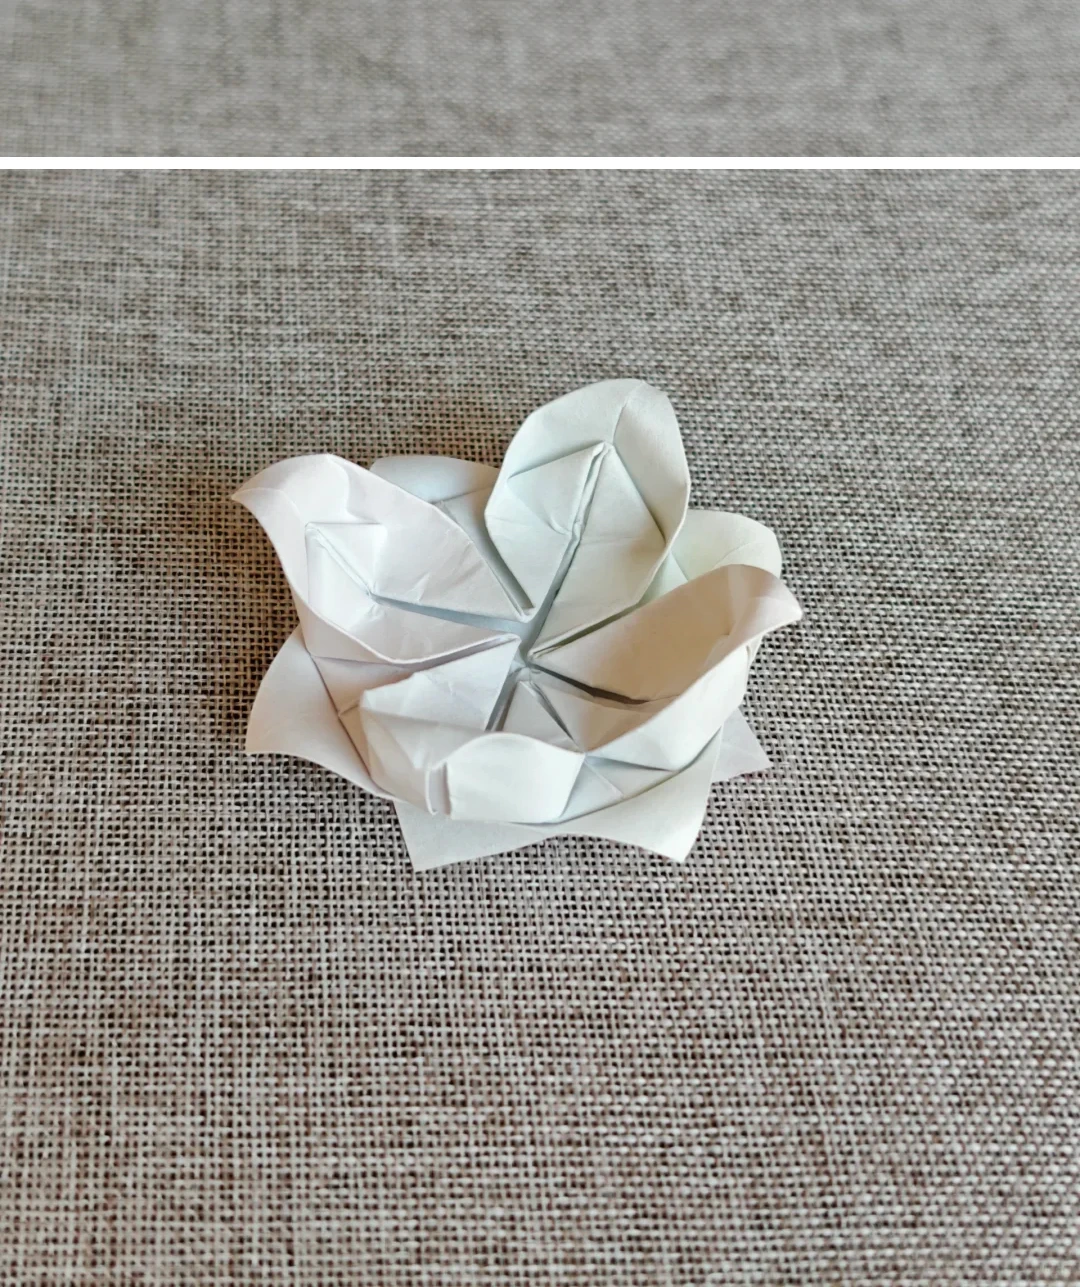
Single-Square Layered Lotus
Fold repeated layers toward the center, then turn them outward to form a lotus.
What you’ll need
- One square of thin paper
Origami · Creasing, collapse folds & shaping
Make it, step by step.
12 steps · Original diagrams with English instructions
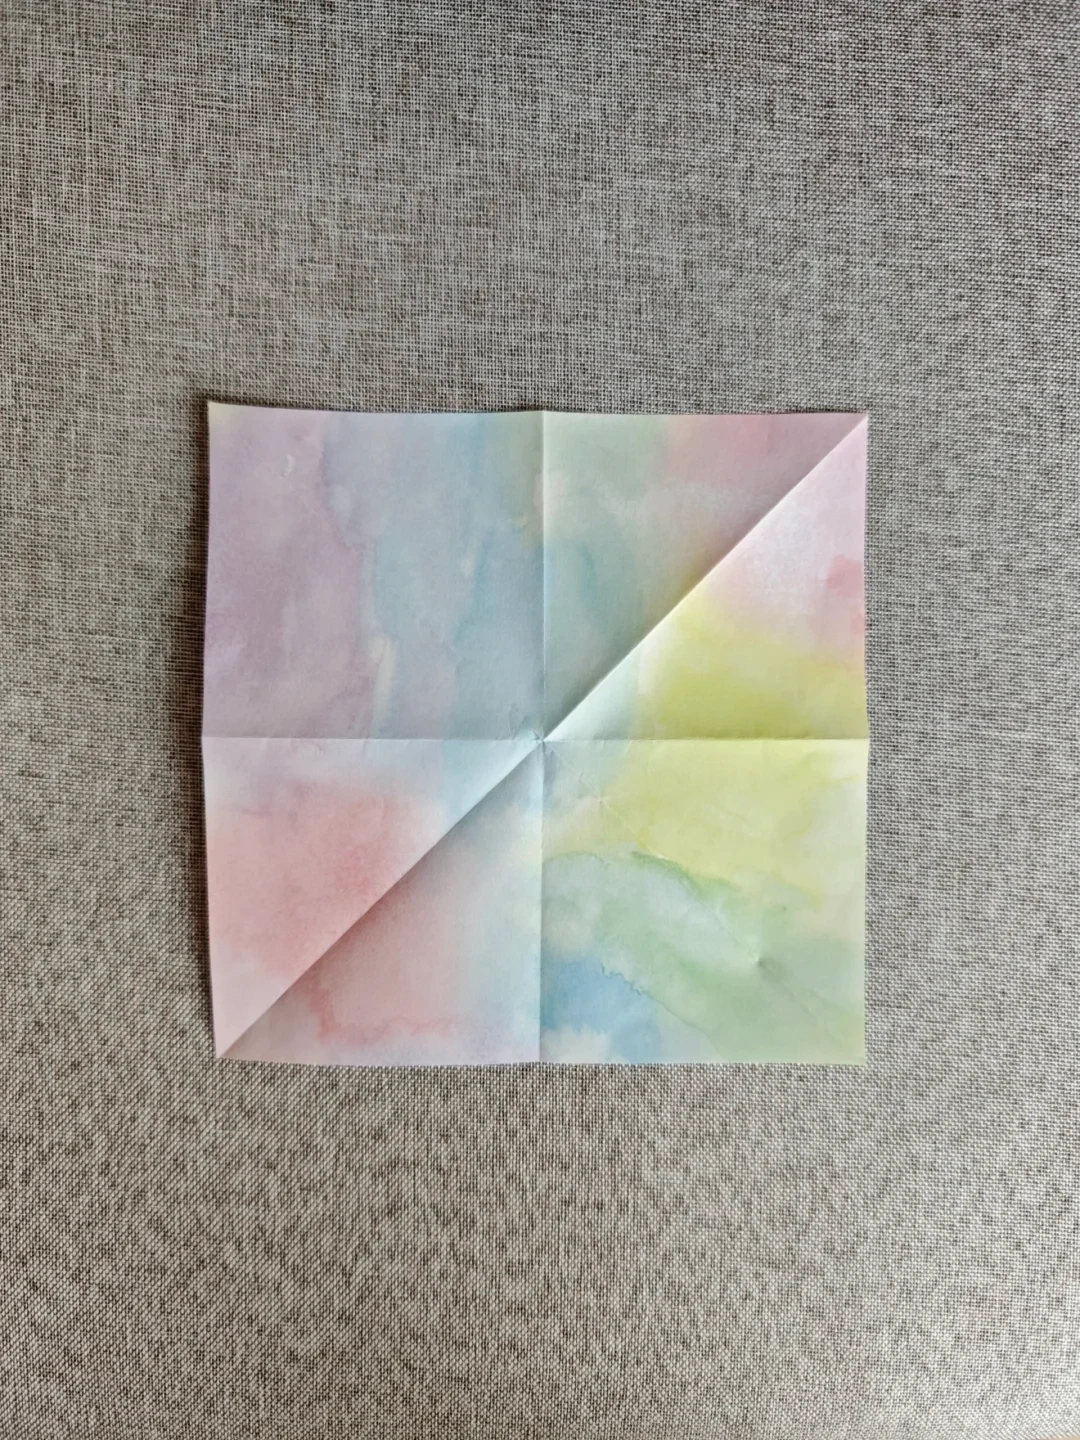
Crease the square
 Open image at full size ↗
Fold and unfold both diagonals and midlines to locate the center.
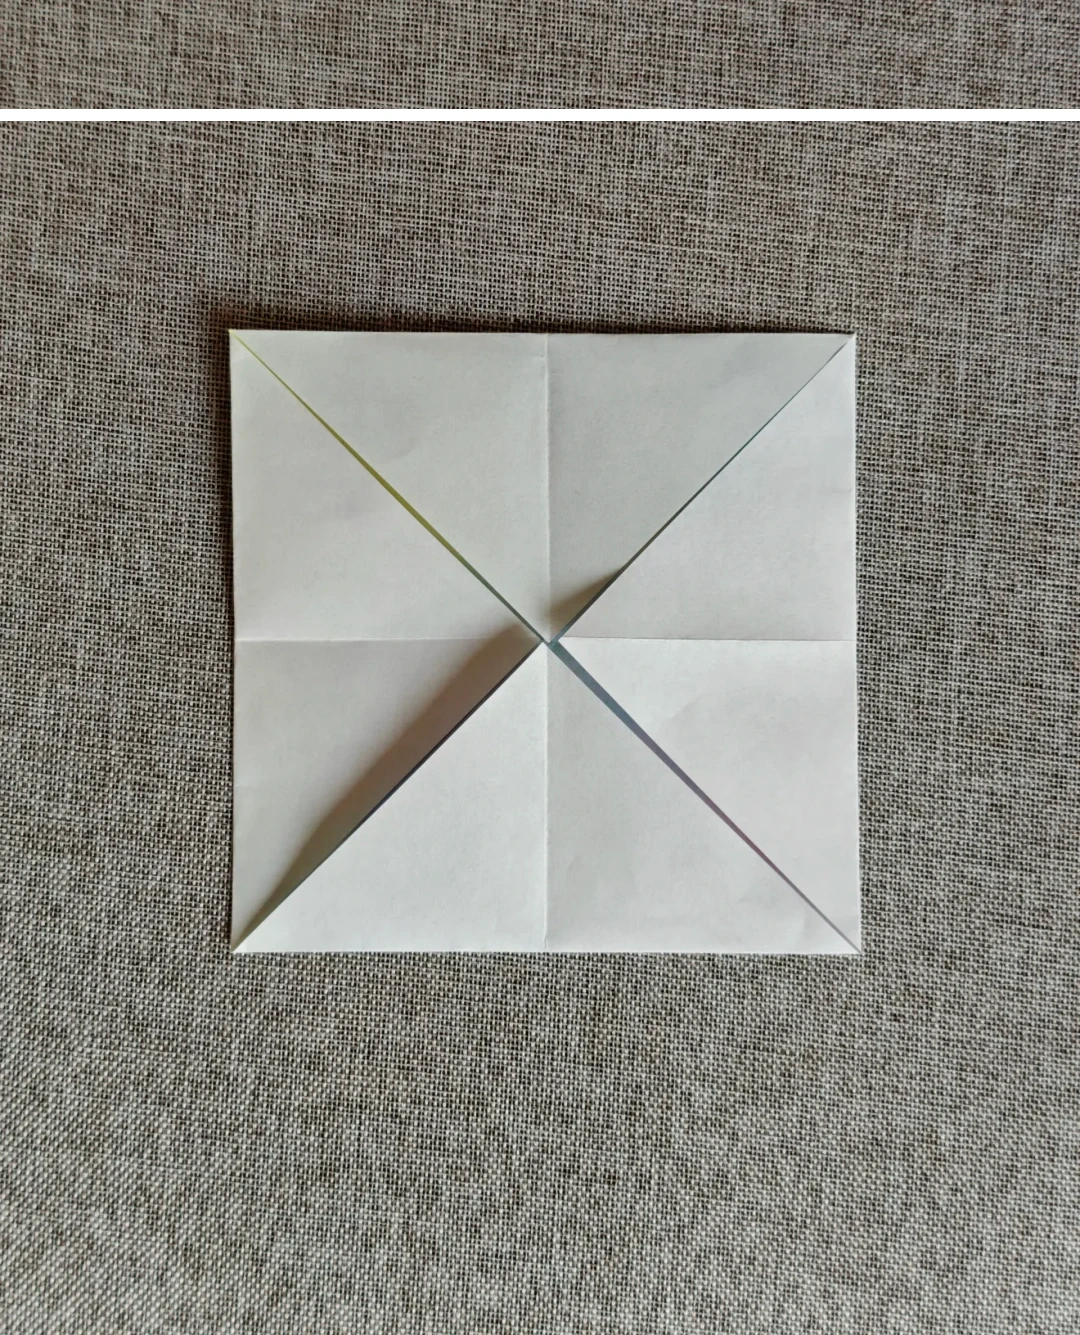
Fold the corners inward
 Open image at full size ↗
Bring all four corners to the center.
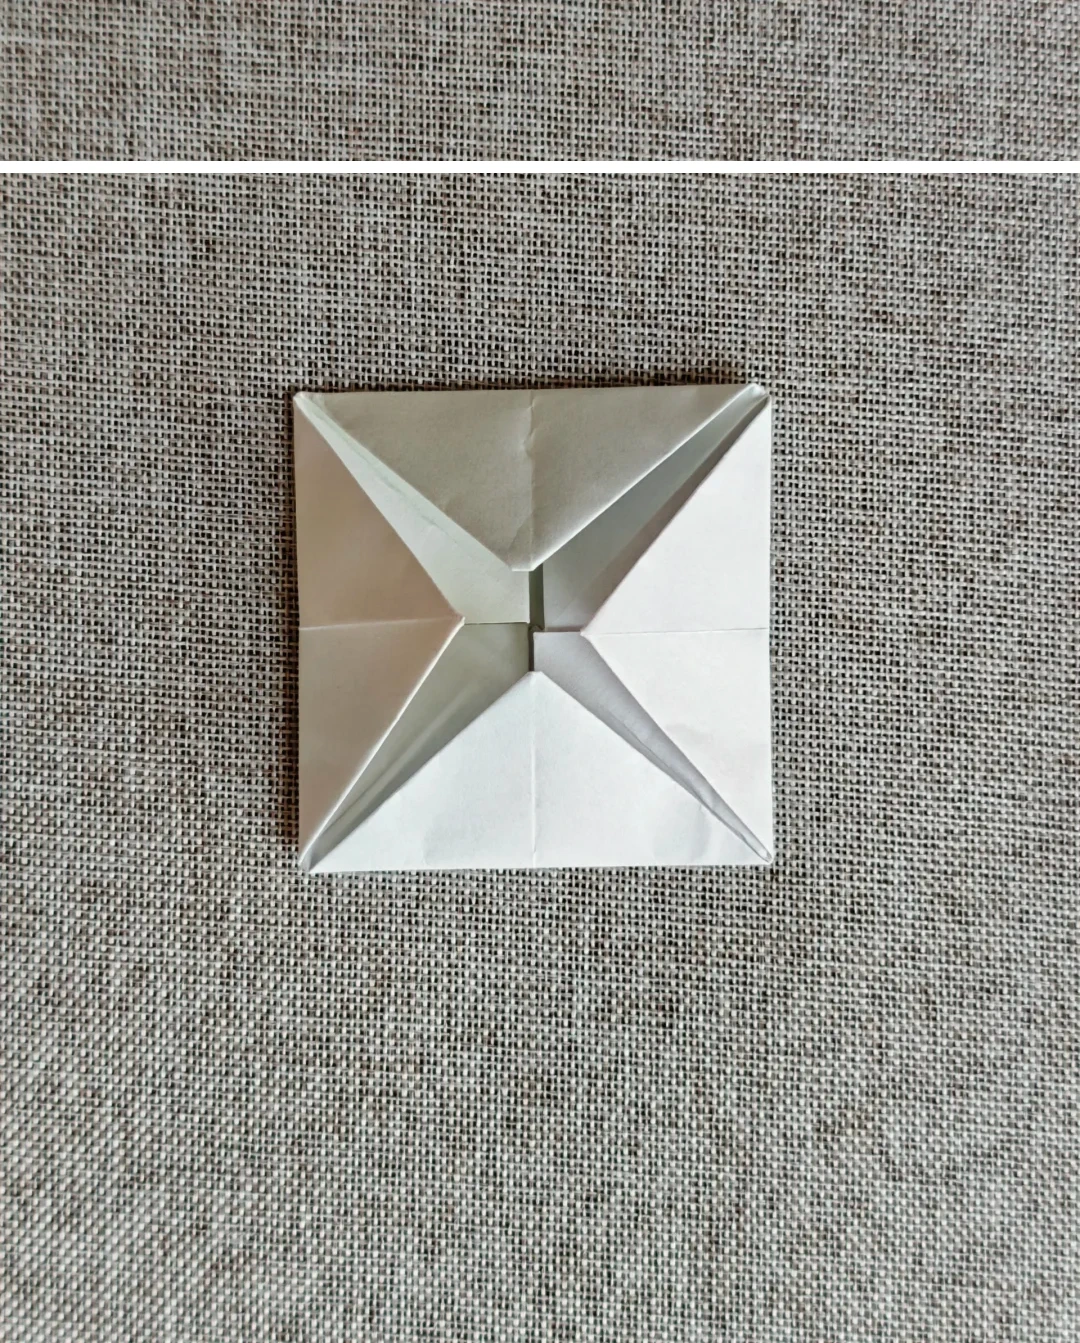
Repeat the corner folds
 Open image at full size ↗
Repeat the same four-corner fold twice more, keeping each layer aligned.
Fold on the reverse
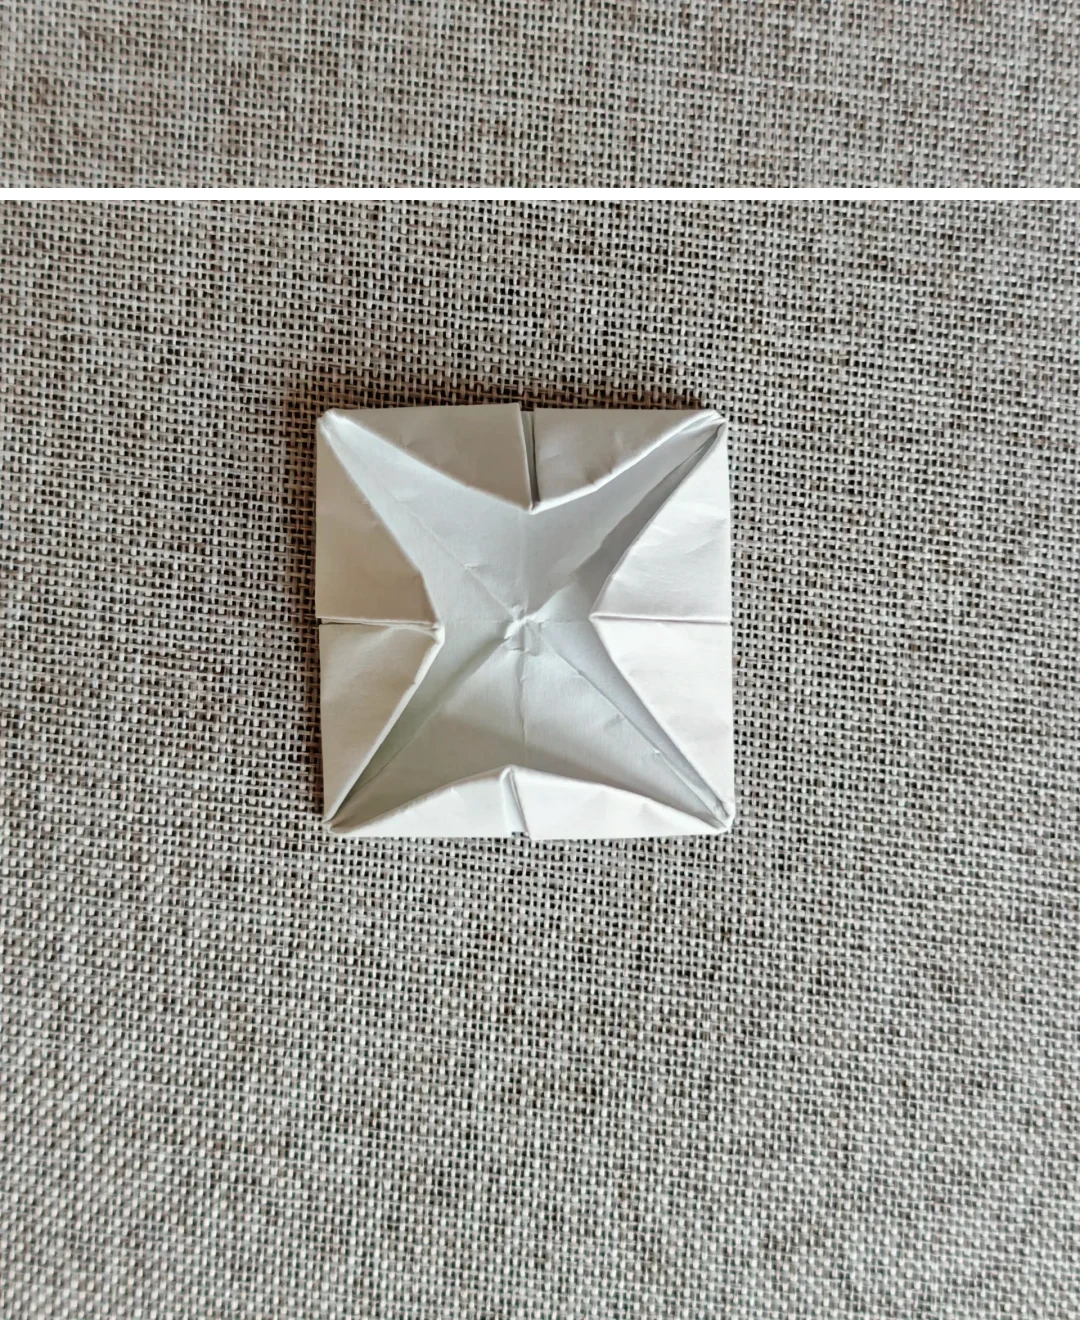 Open image at full size ↗
Turn over and fold all four corners to the center again.
Reopen and turn
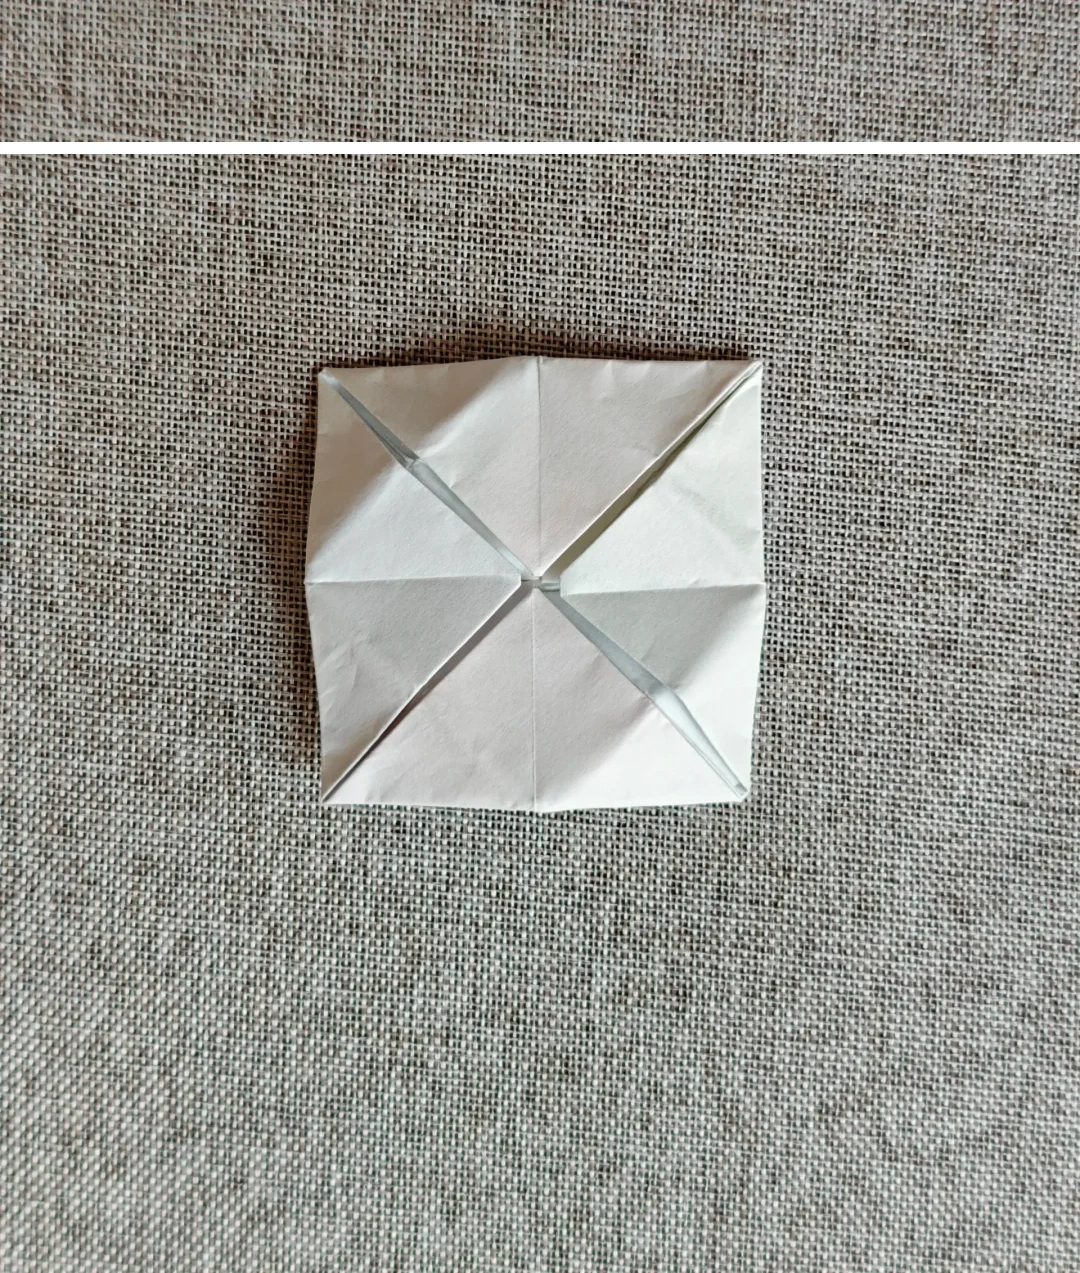 Open image at full size ↗
Open those last four corners, then turn the whole model over.
Lift a lower layer
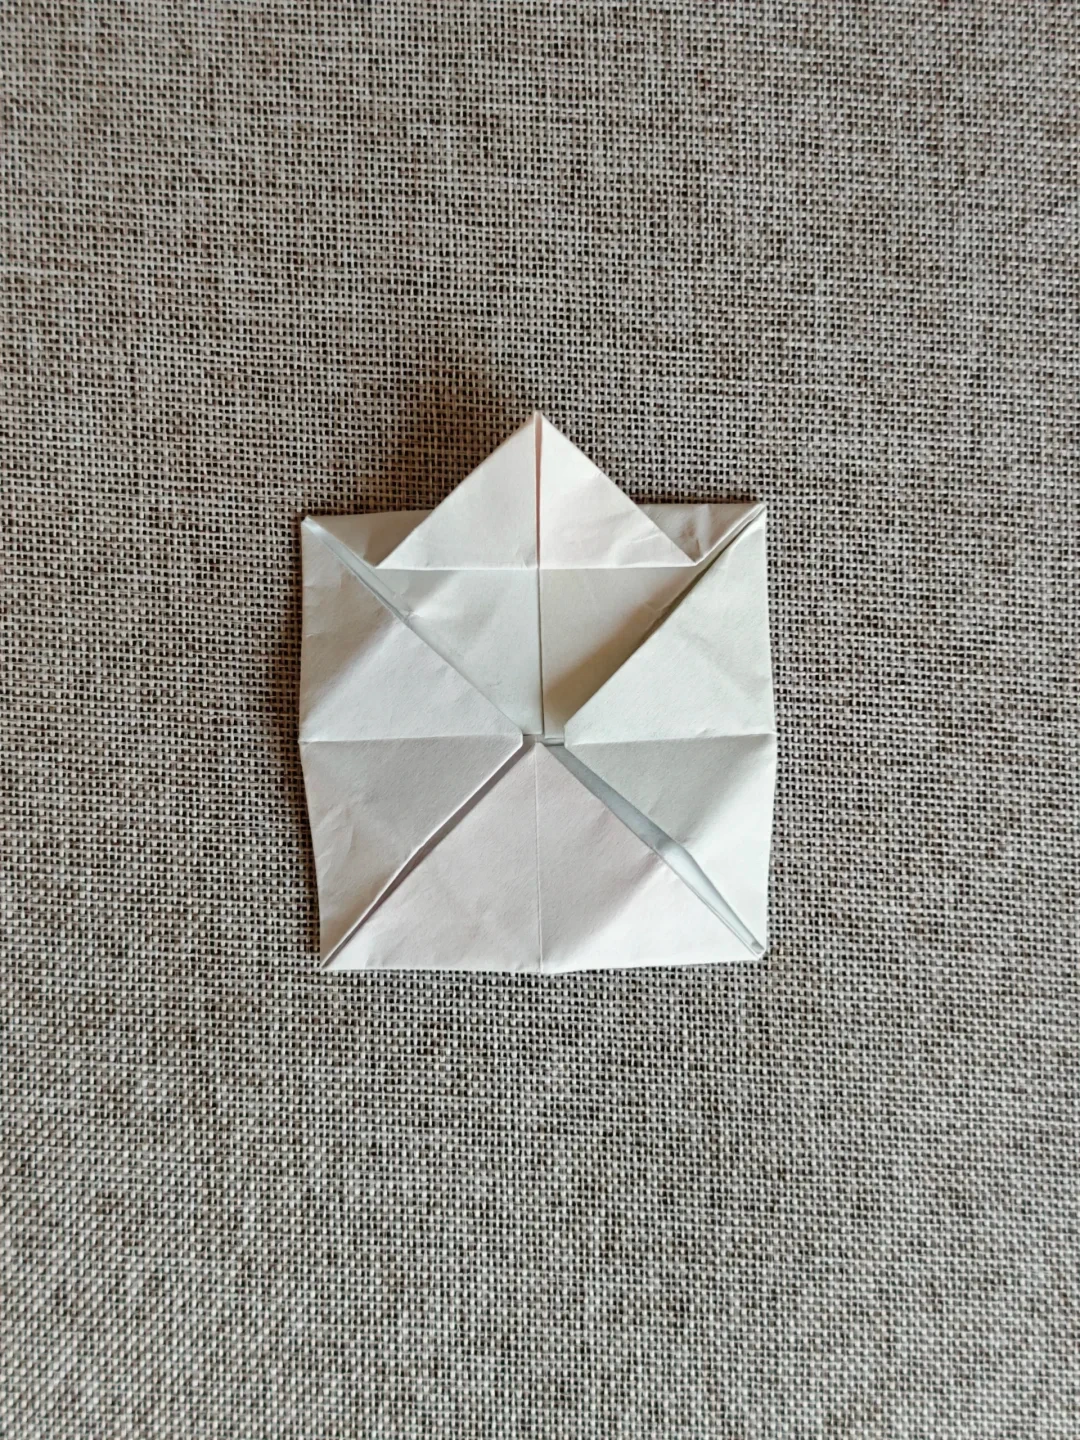 Open image at full size ↗
Pull one lower corner outward along its crease.
Lift the remaining corners
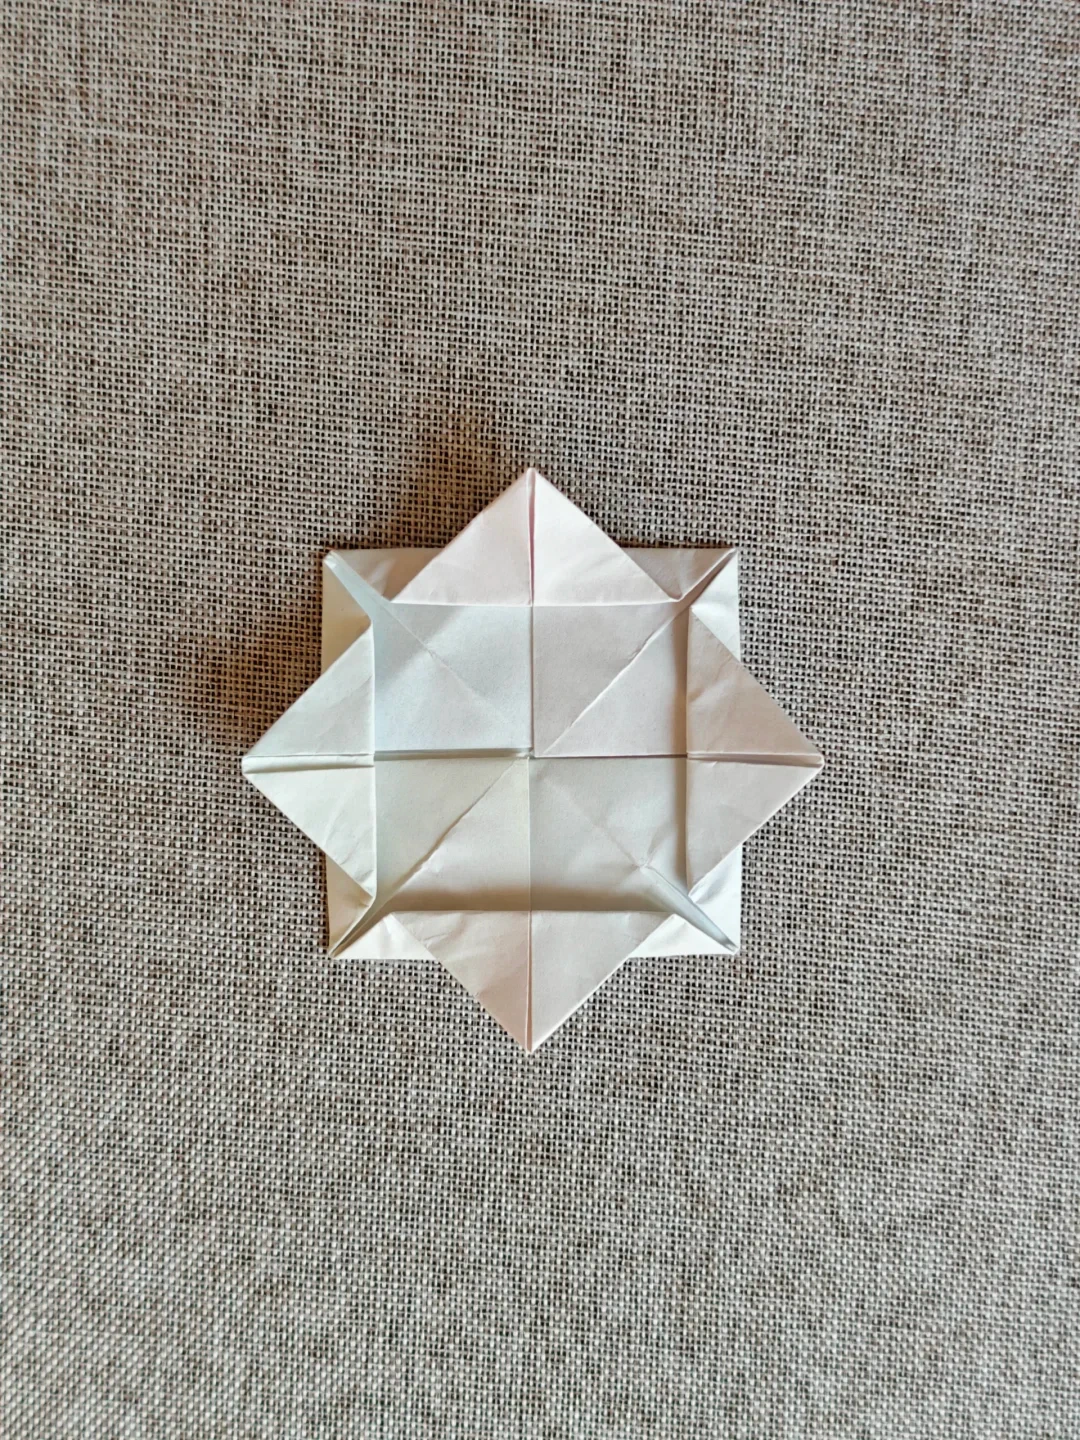 Open image at full size ↗
Repeat around the model to reveal the four outer points.
Turn the model over
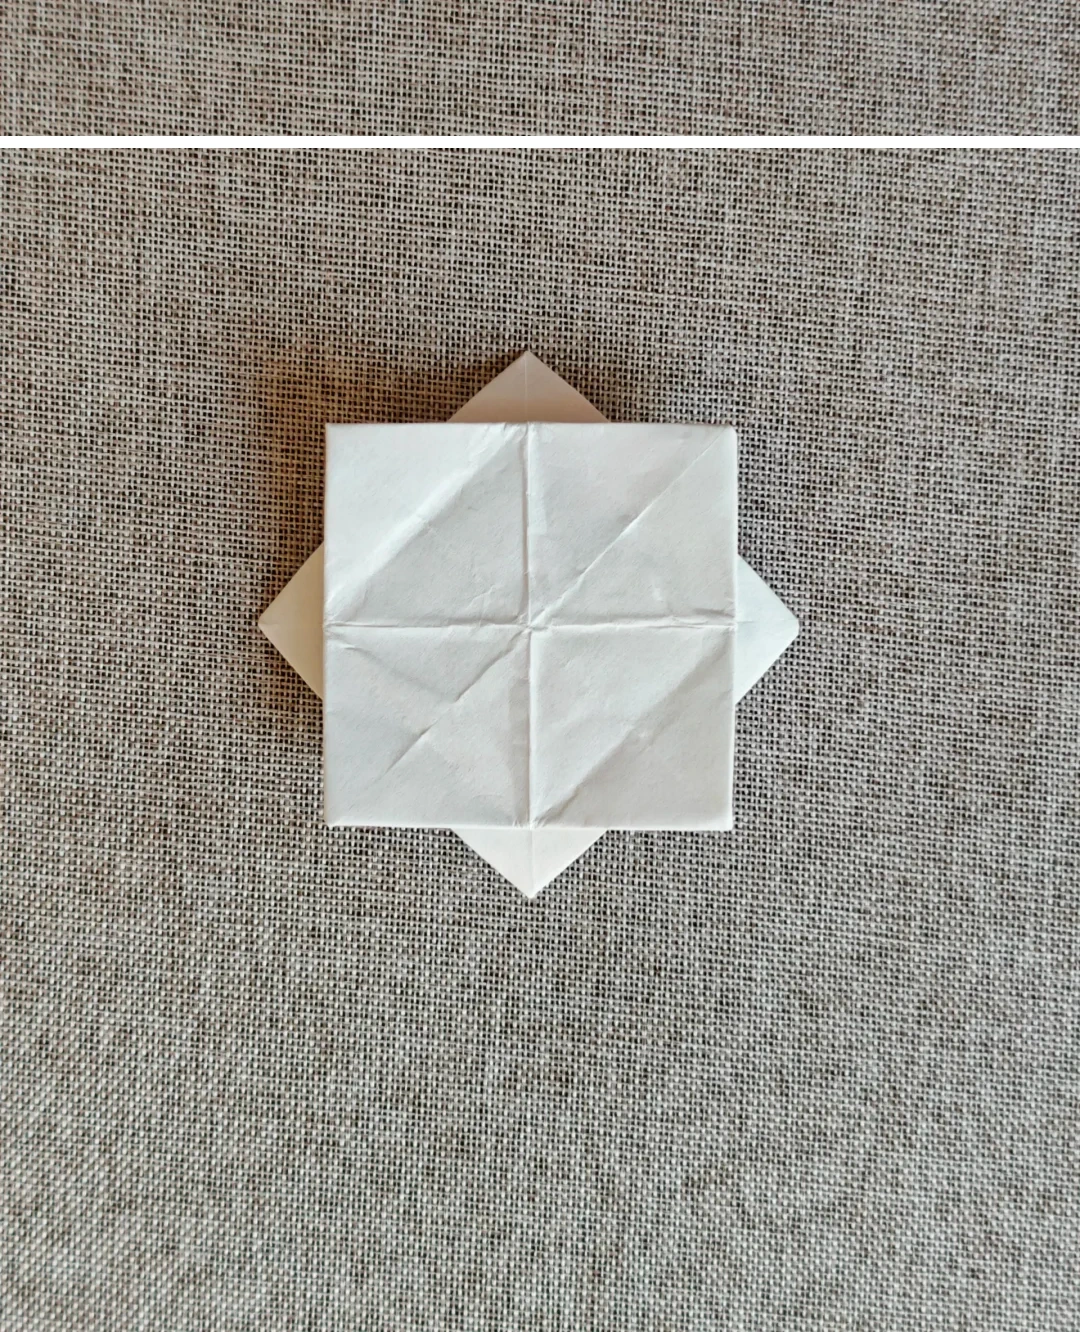 Open image at full size ↗
Turn to the opposite face.
Fold the inner corners
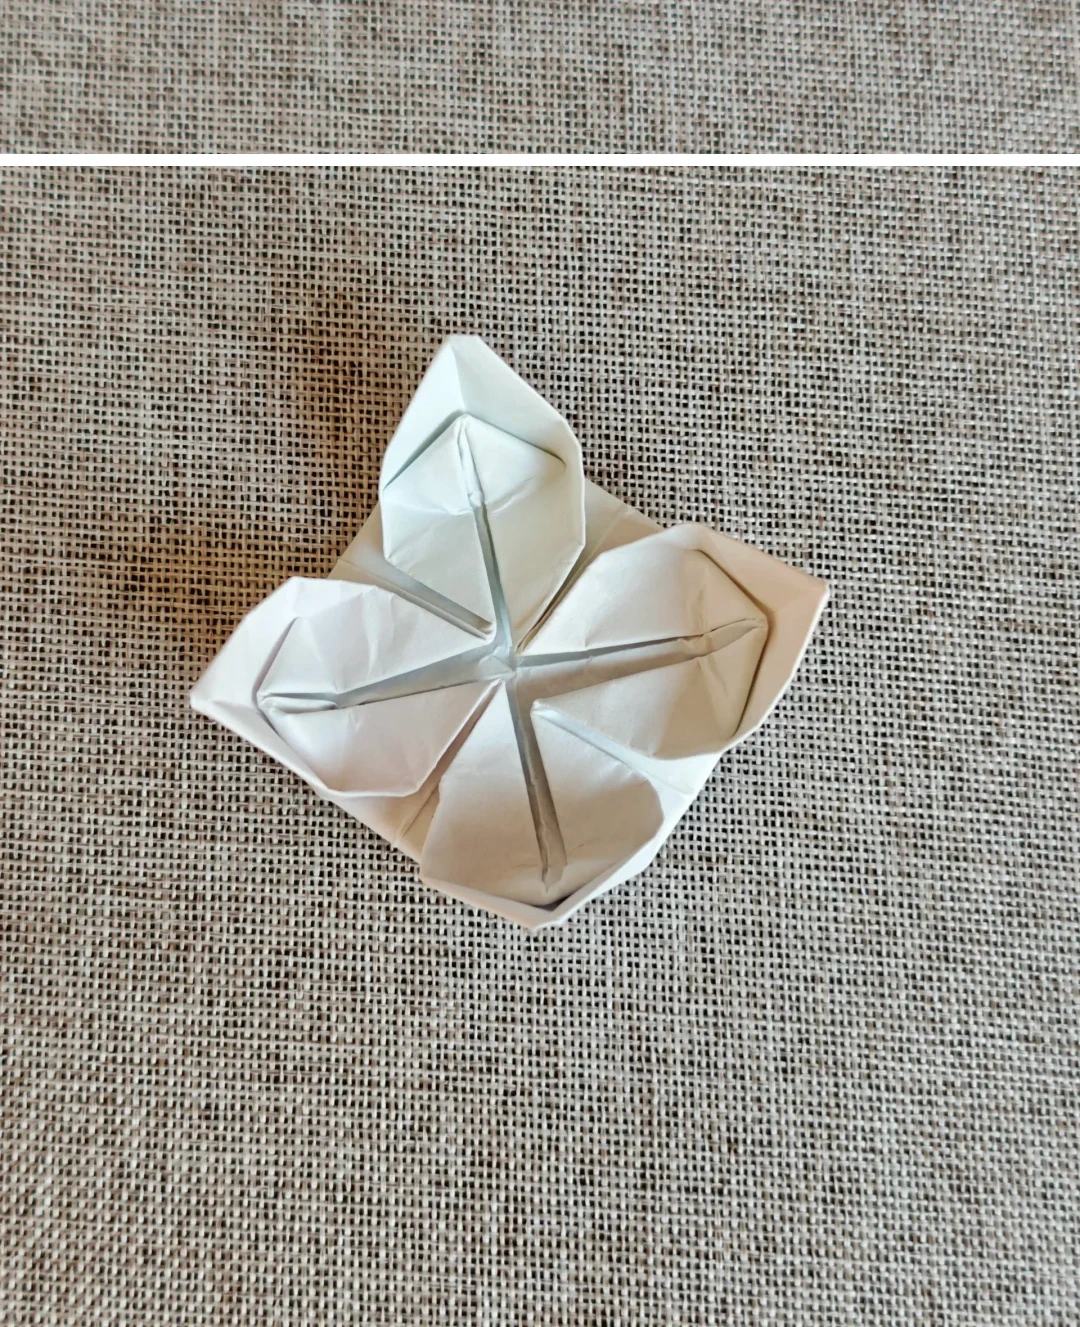 Open image at full size ↗
Bring all four inner corners toward the center.
Turn out the small triangles
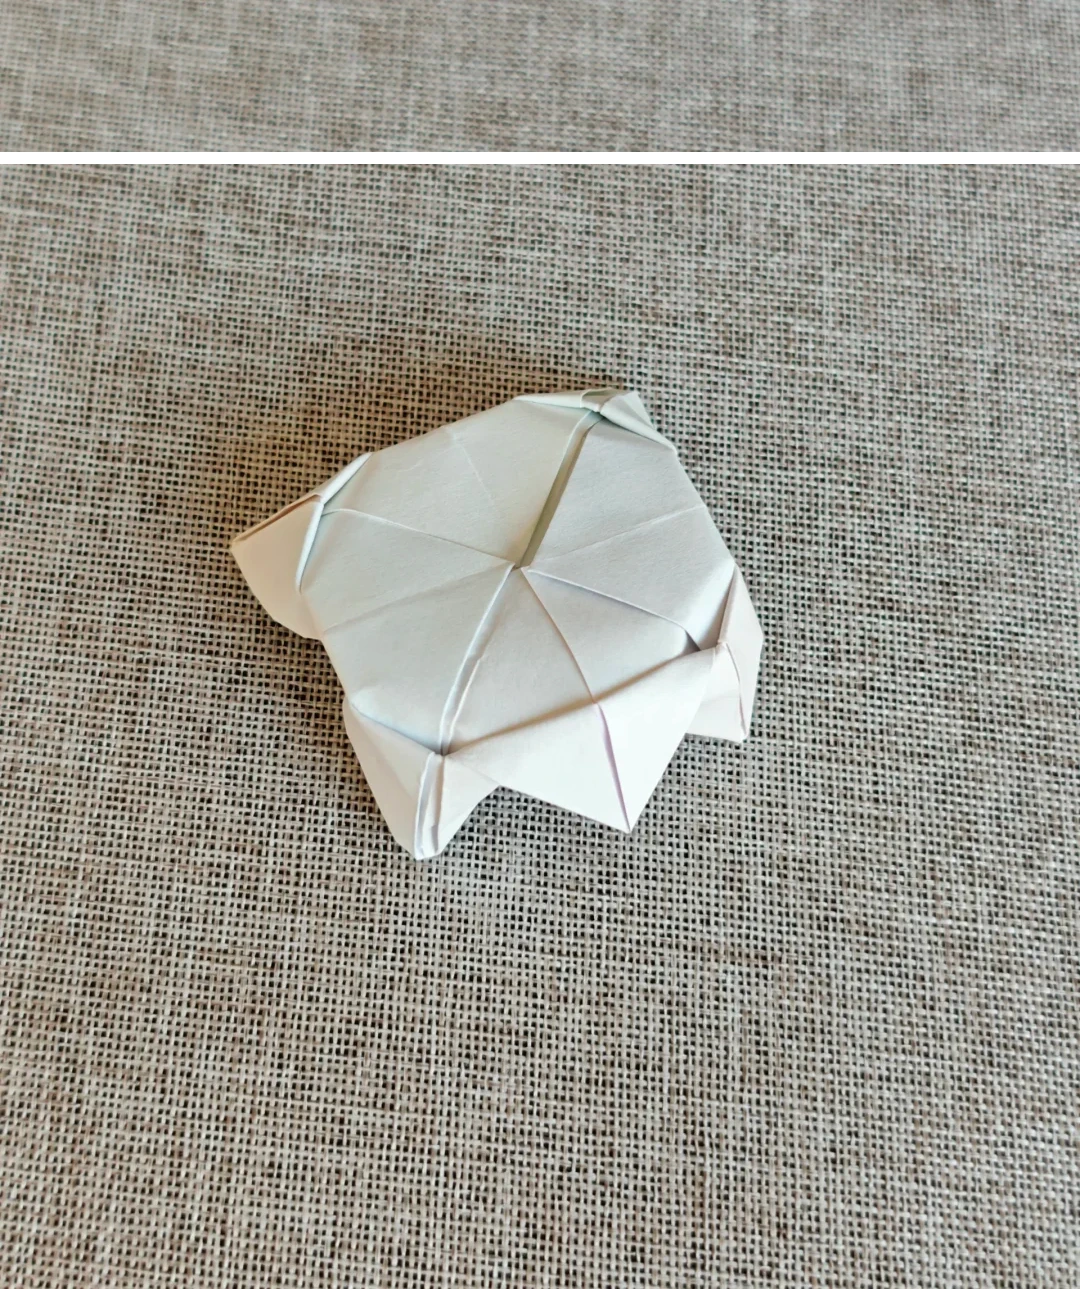 Open image at full size ↗
Turn over and carefully reverse the four small triangular sections outward.
Open the next layer
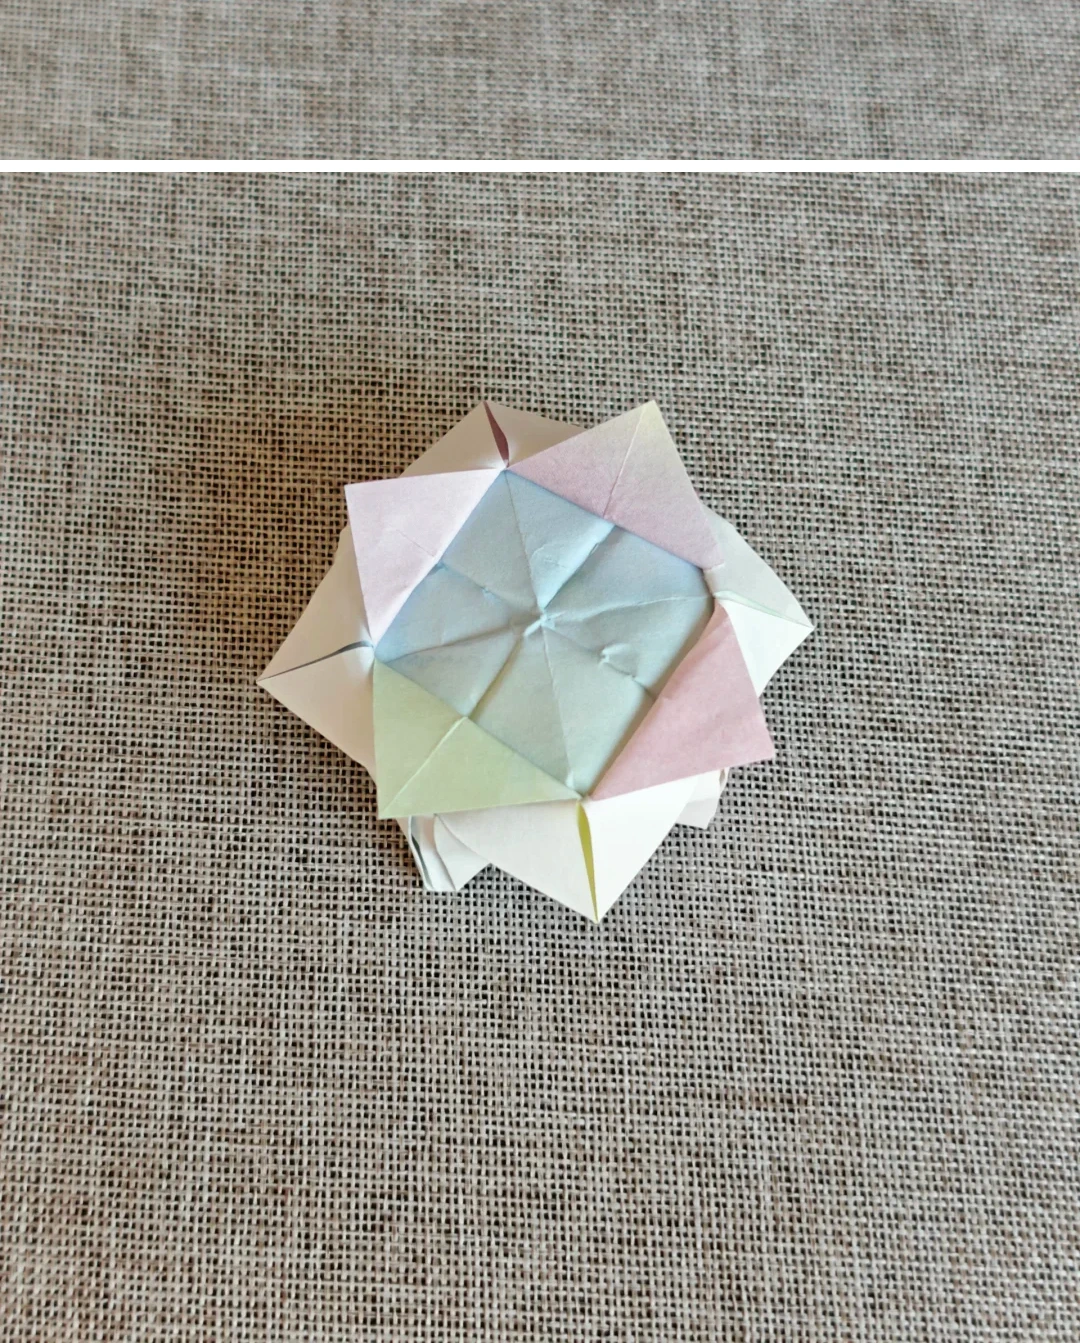 Open image at full size ↗
Repeat with the layer underneath, supporting the center as you pull.
Shape the lotus
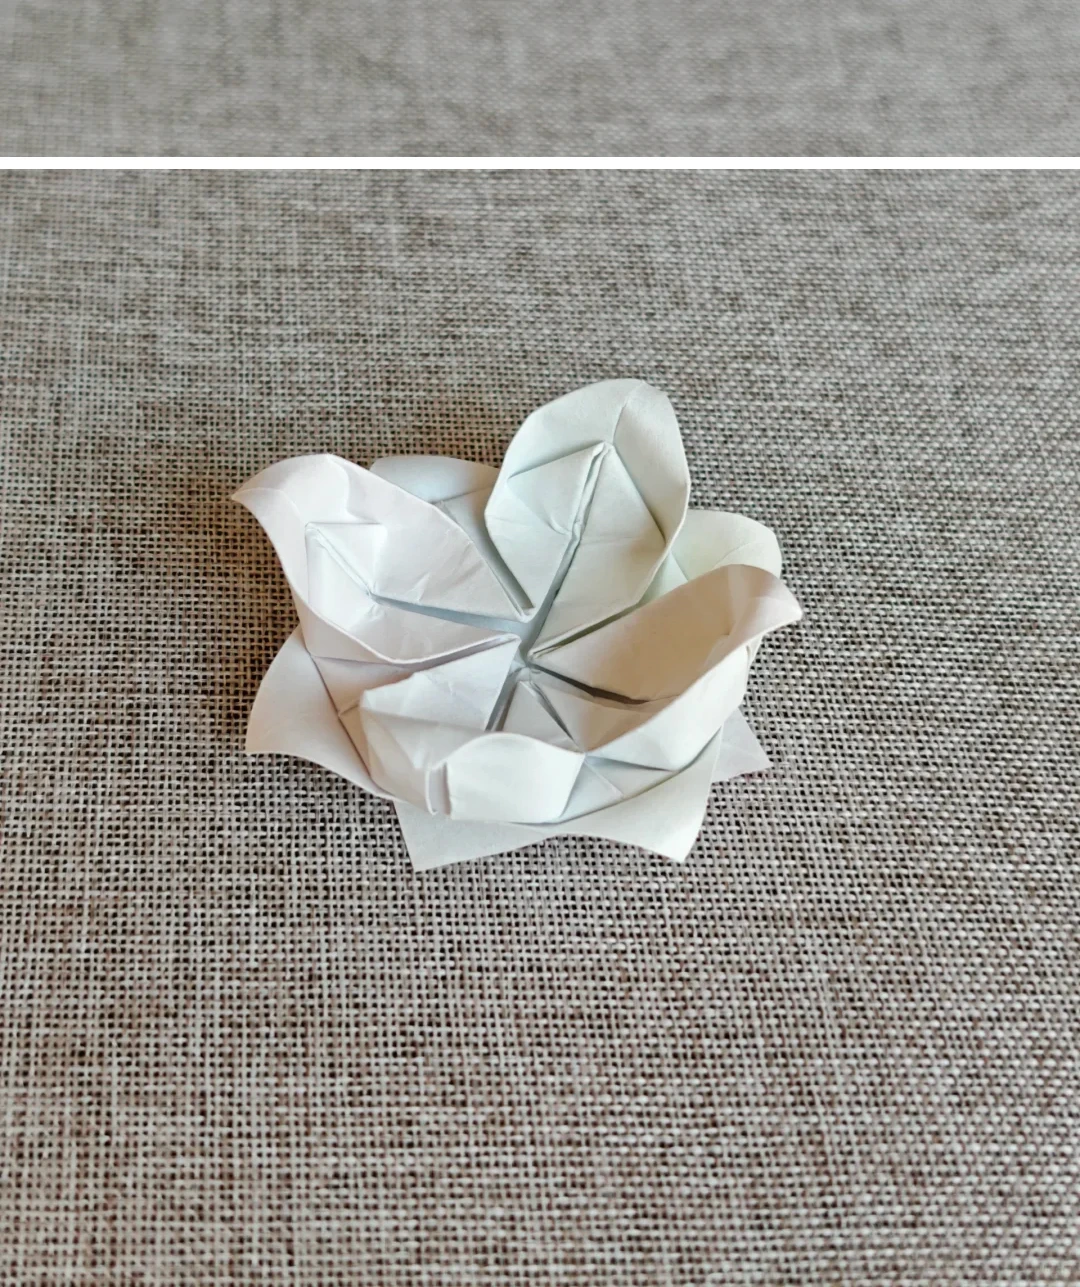 Open image at full size ↗
Turn to the front and curve each petal edge slightly outward.
Follow the diagrams alongside the step-by-step English instructions.
Choose your next project →