
Flowers & nature · Step-by-step guide
Seven-Petal Snow Lotus
Fold seven matching petal units and join them into a full, pointed flower.
What you’ll need
- Seven equal paper squares
- Double-sided tape or glue
Modular paper folding · Petal units & glued assembly
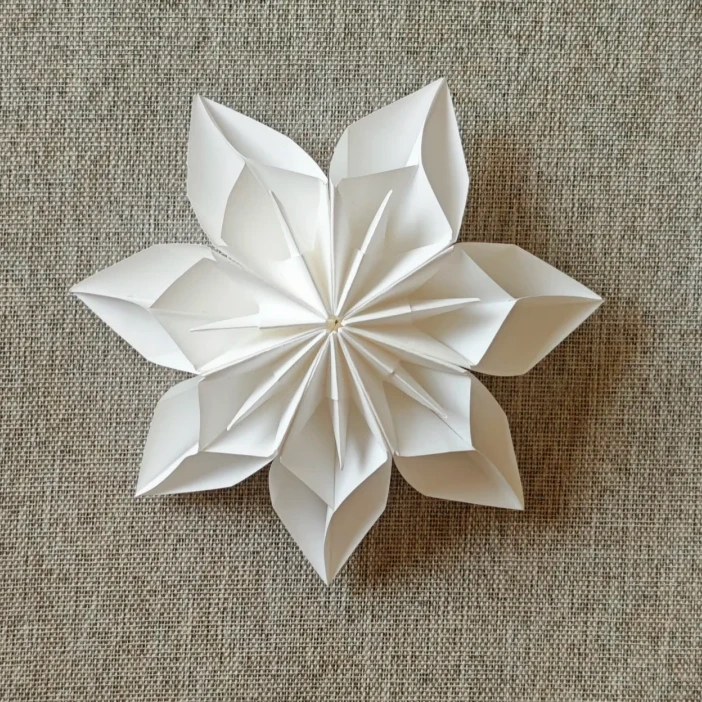
Make it, step by step.
17 steps · Original diagrams with English instructions
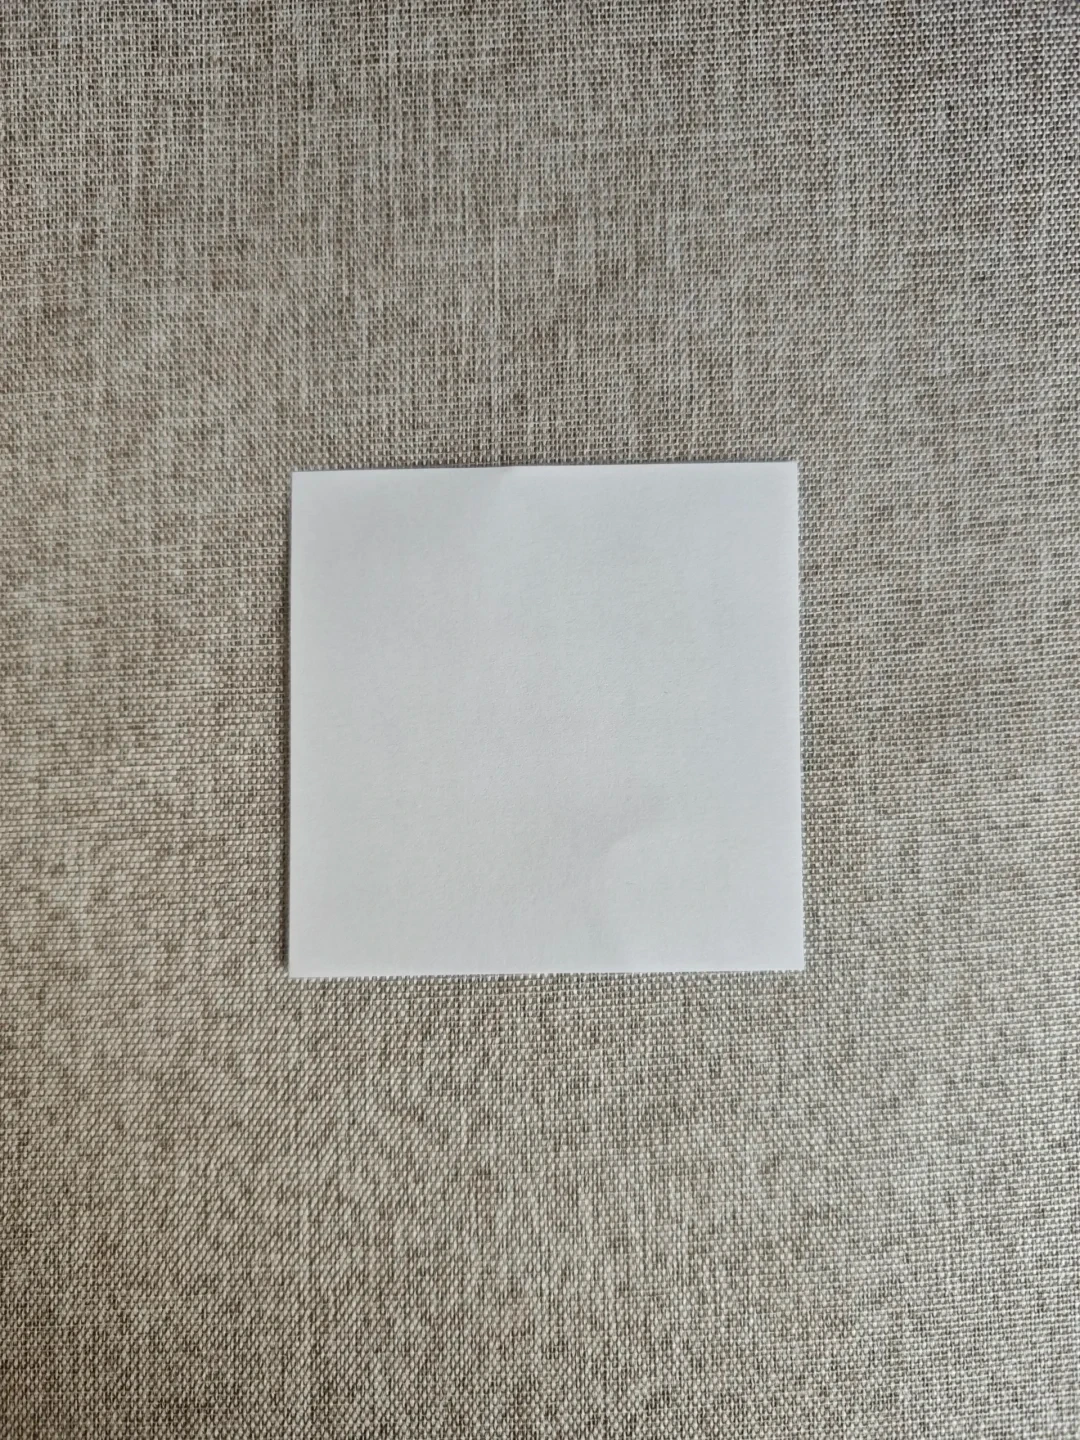
Prepare a square
 Open image at full size ↗
Use one square for each petal. Make seven identical units.
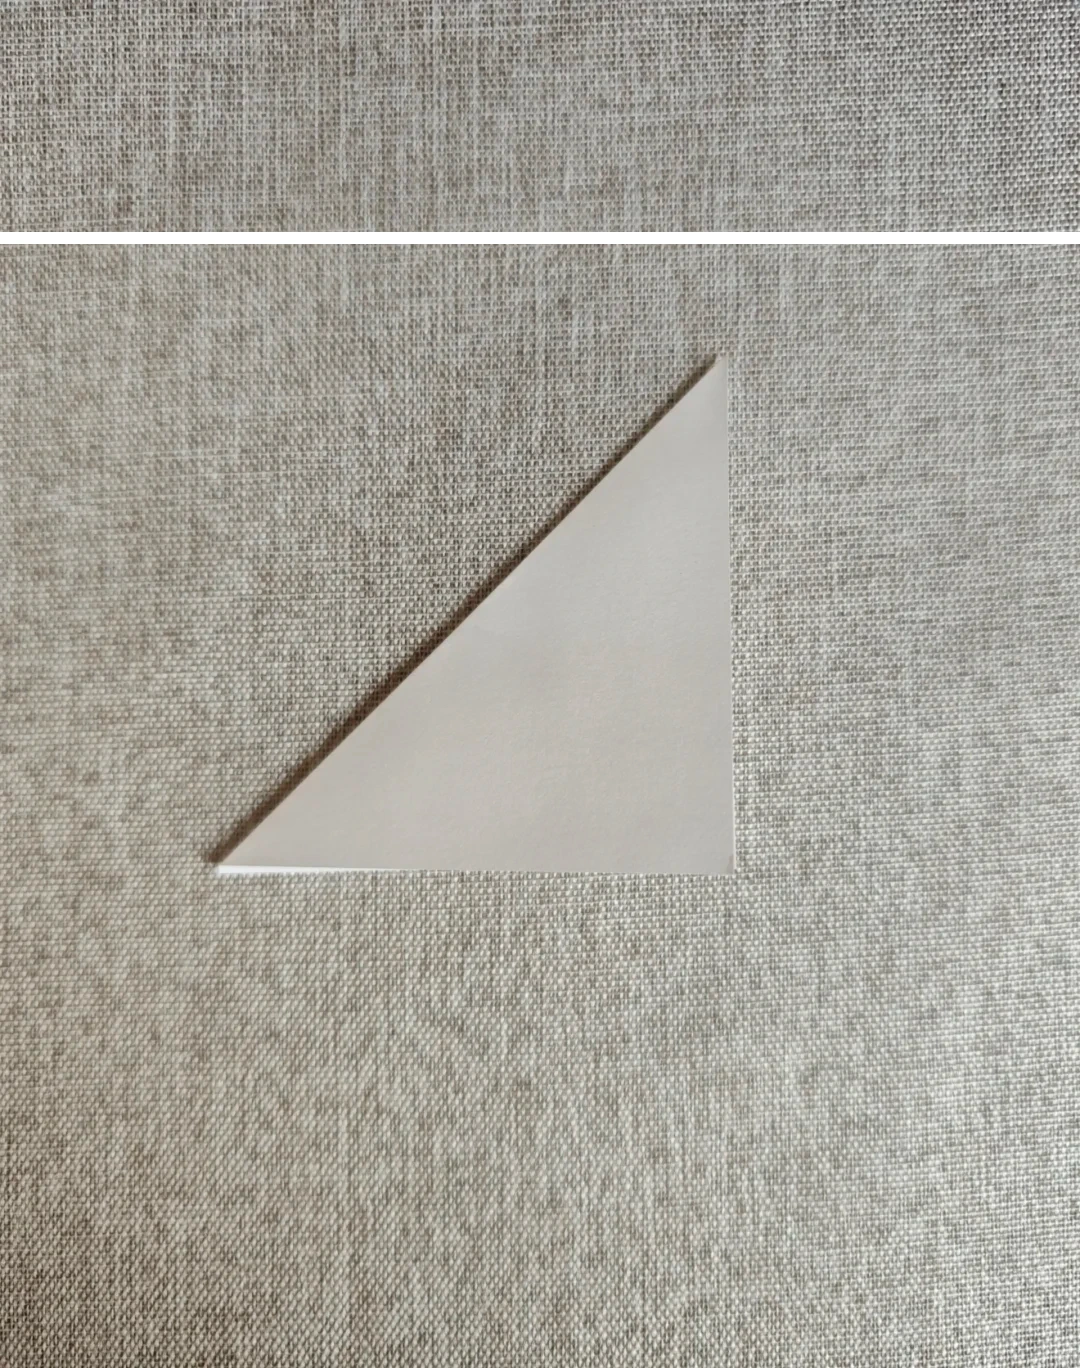
Fold a triangle
 Open image at full size ↗
Fold the square diagonally in half.
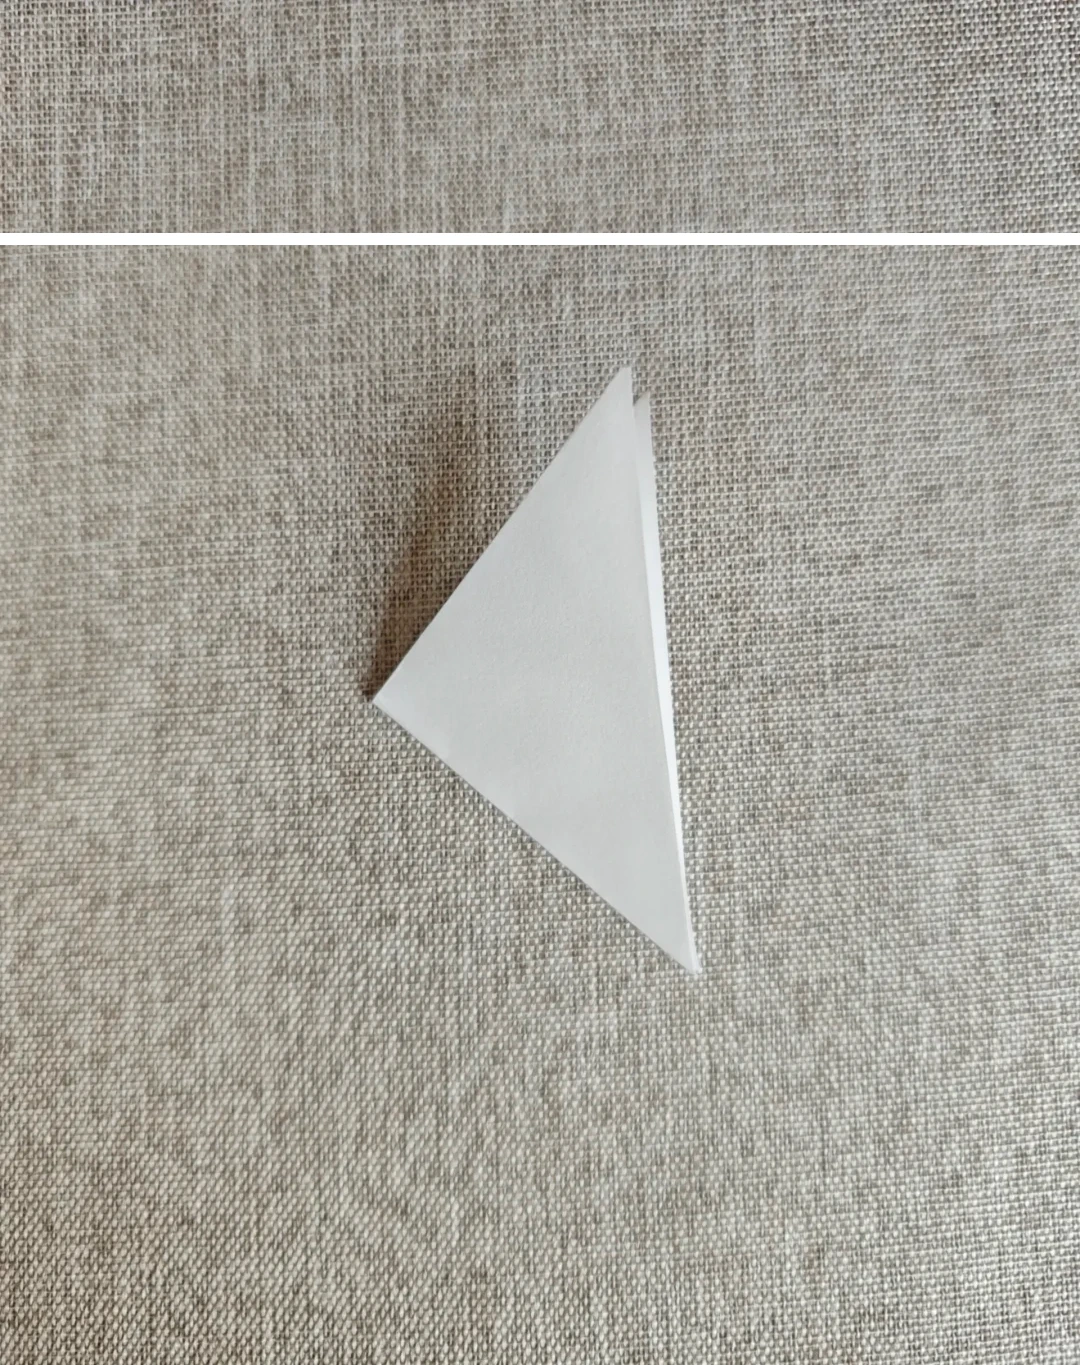
Mark the middle
 Open image at full size ↗
Fold the triangle in half again and crease firmly.
Reopen the triangle
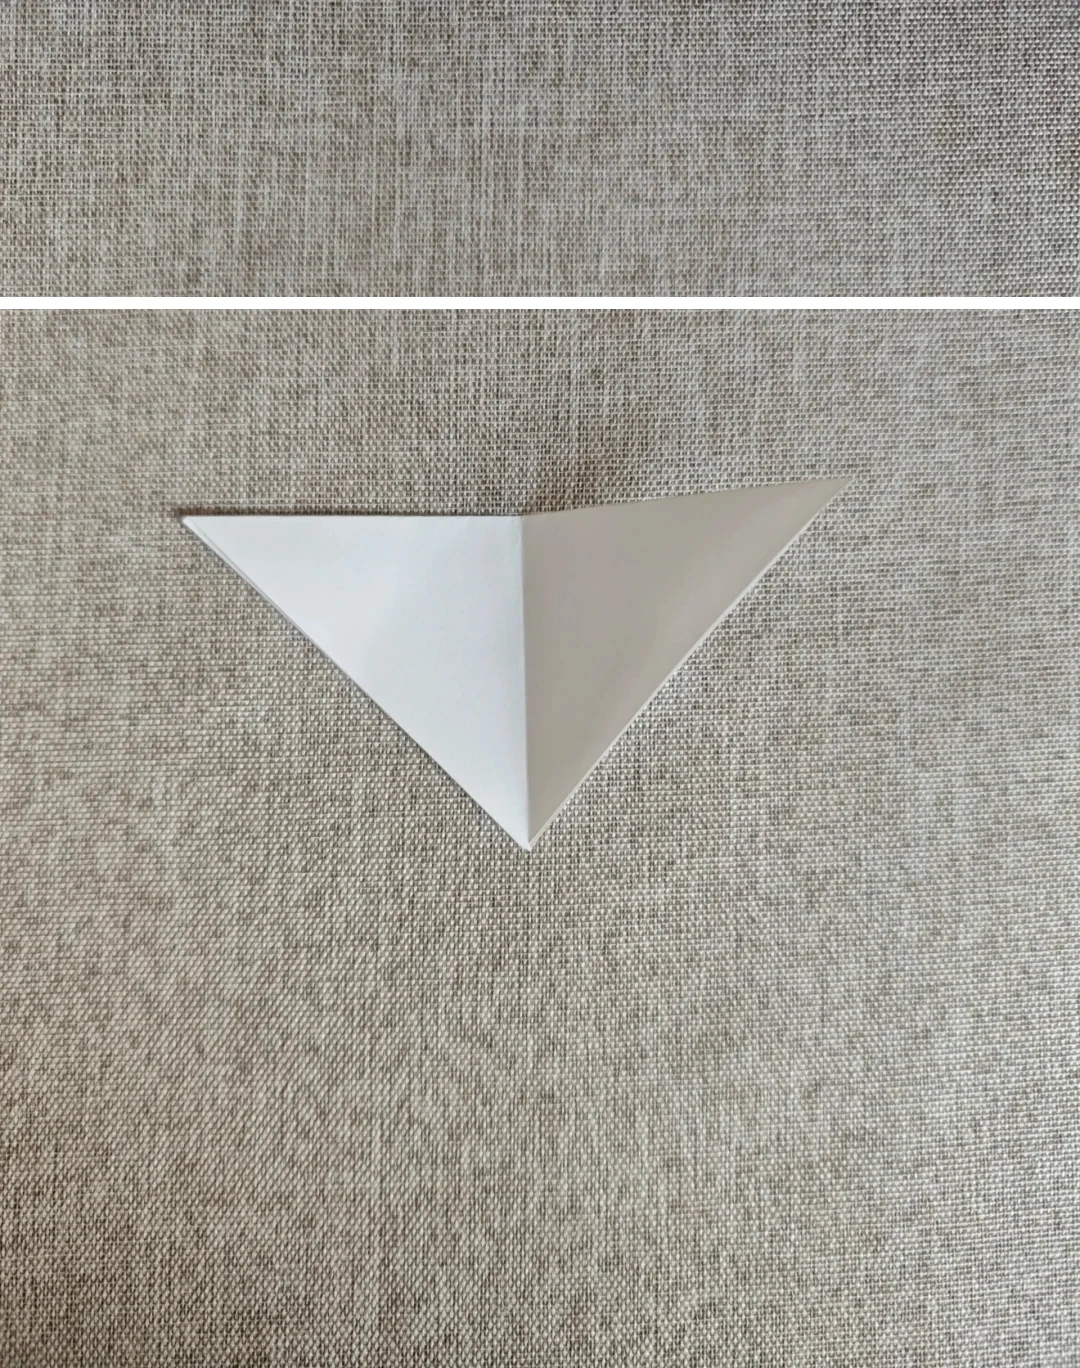 Open image at full size ↗
Undo the last fold, leaving the center crease visible.
Fold upward
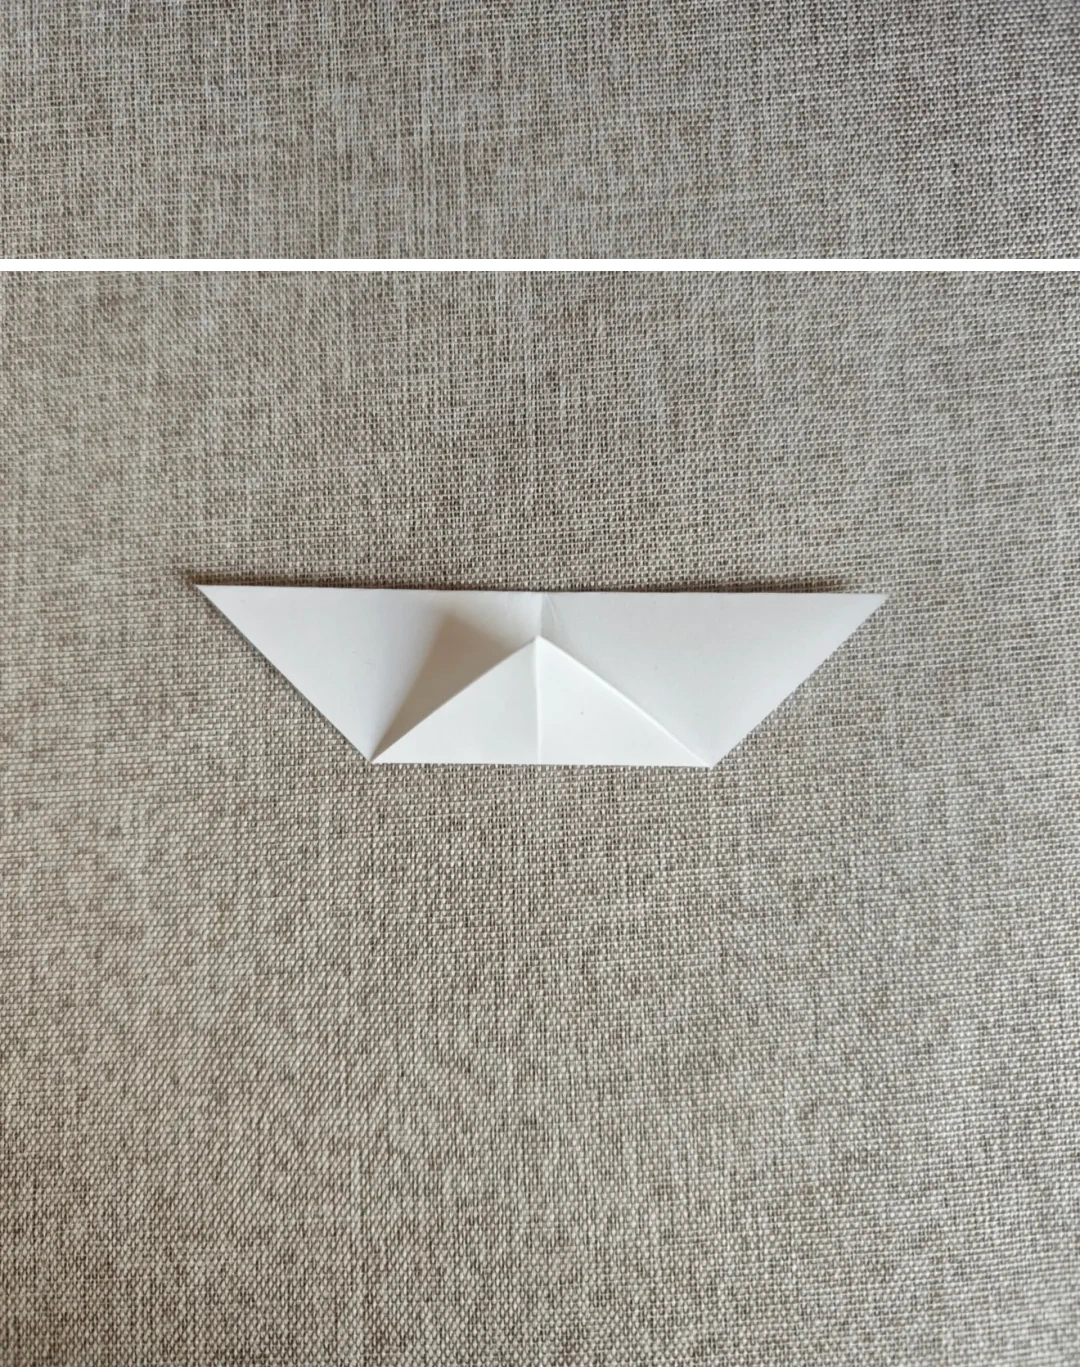 Open image at full size ↗
Bring the long lower edge upward, matching the pictured band.
Fold the right side
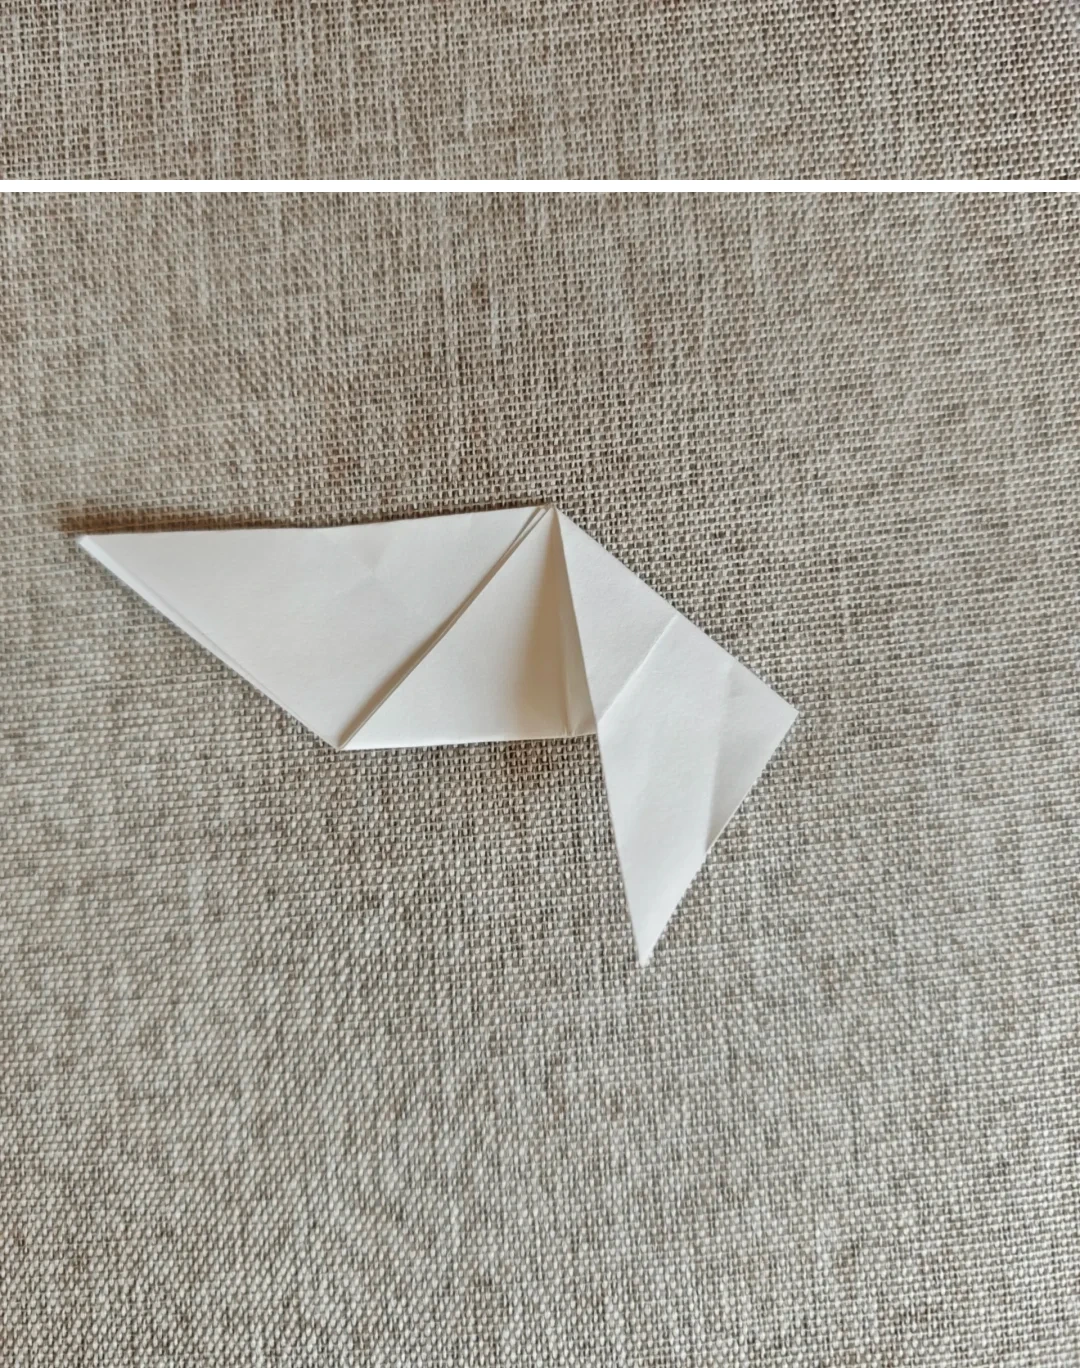 Open image at full size ↗
Fold the right section downward along the center crease.
Repeat on the left
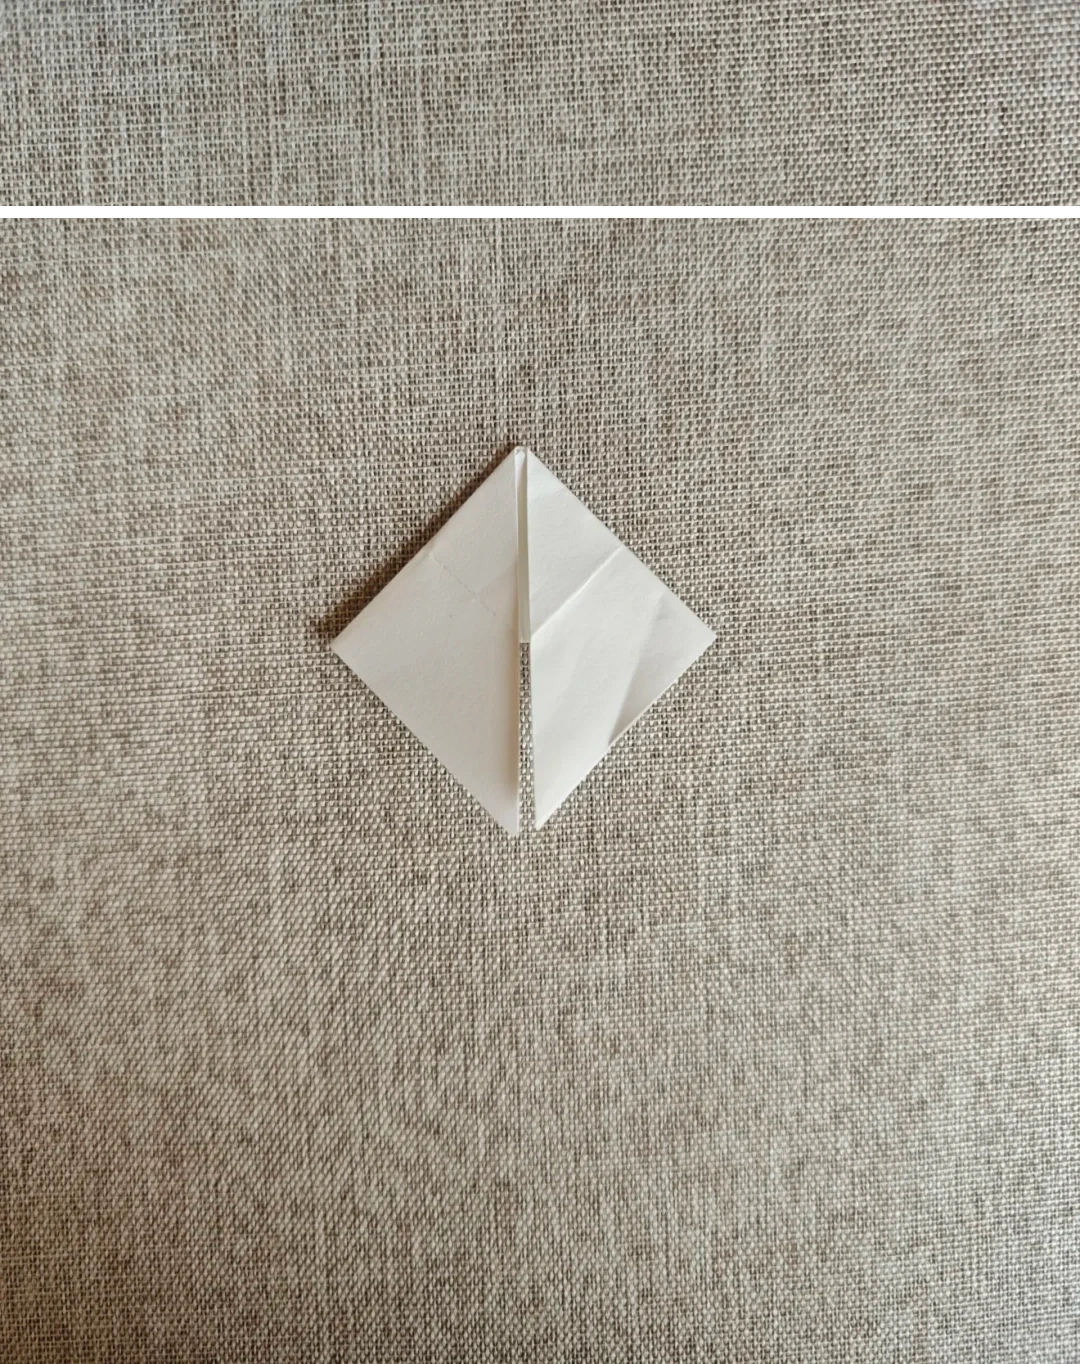 Open image at full size ↗
Fold the left section down to match the right.
Fold outward
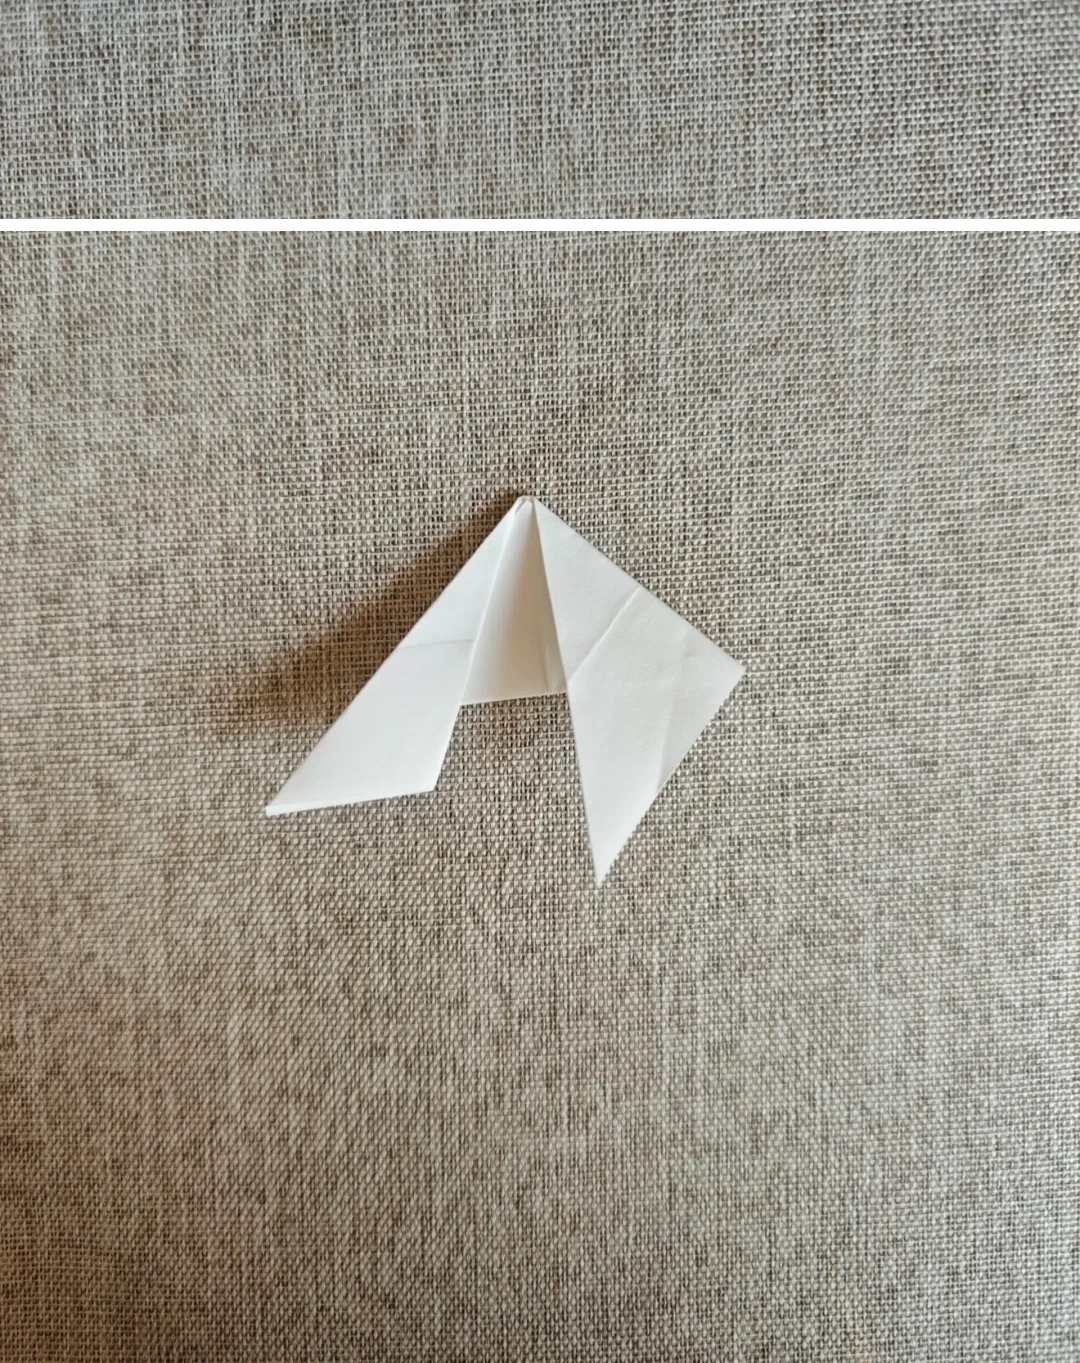 Open image at full size ↗
Fold the left flap back toward its outside edge.
Mirror the fold
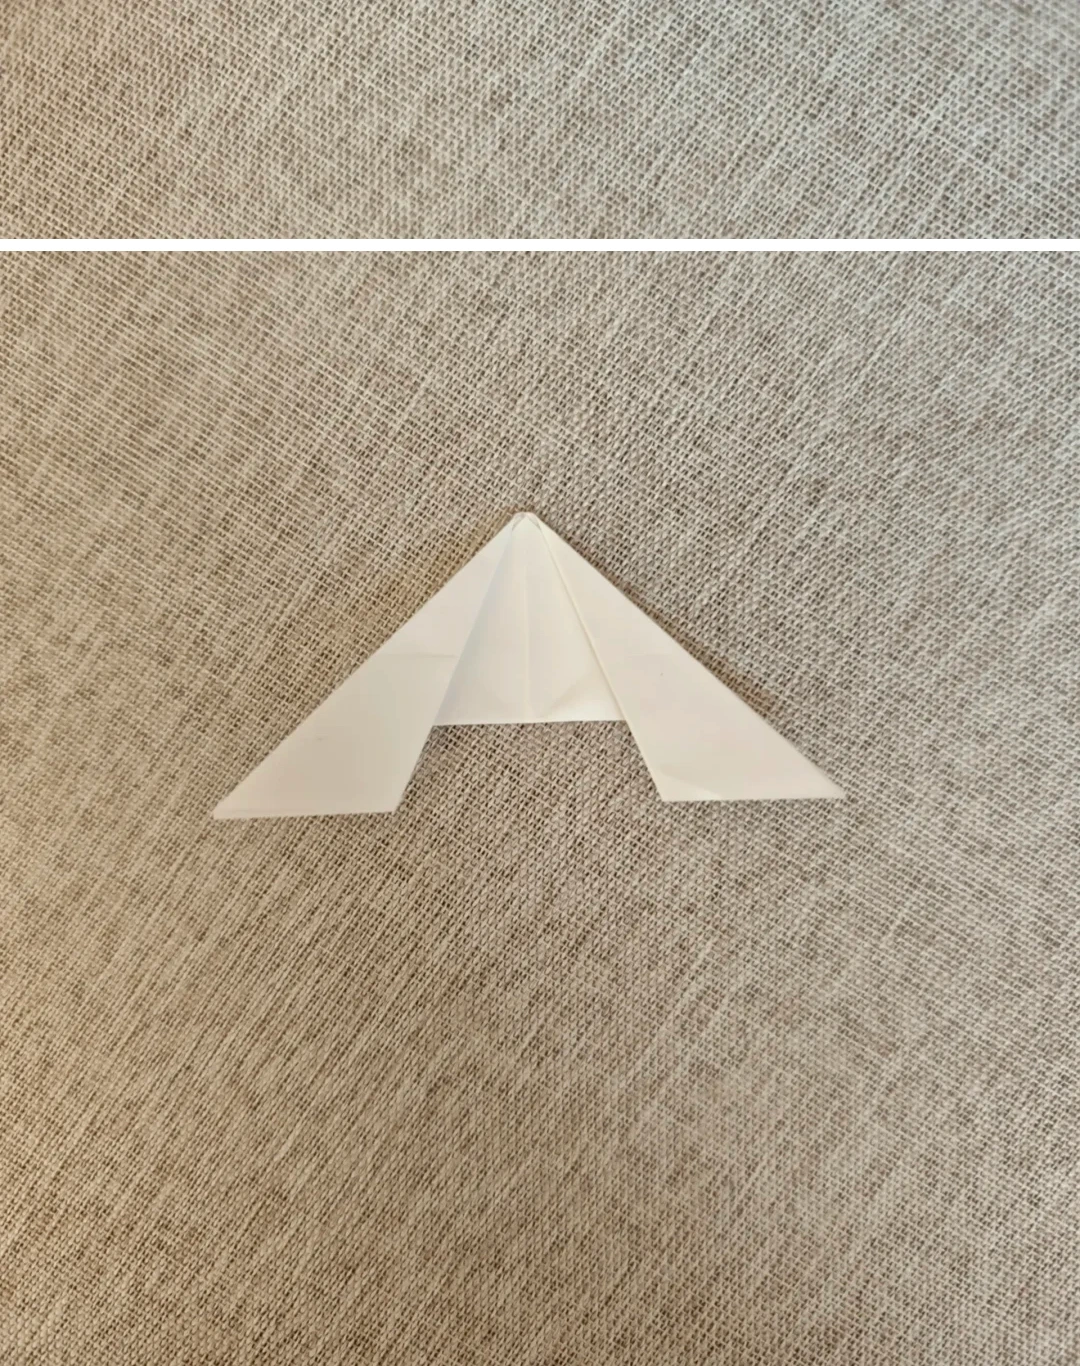 Open image at full size ↗
Repeat this outward fold on the right flap.
Reopen the base
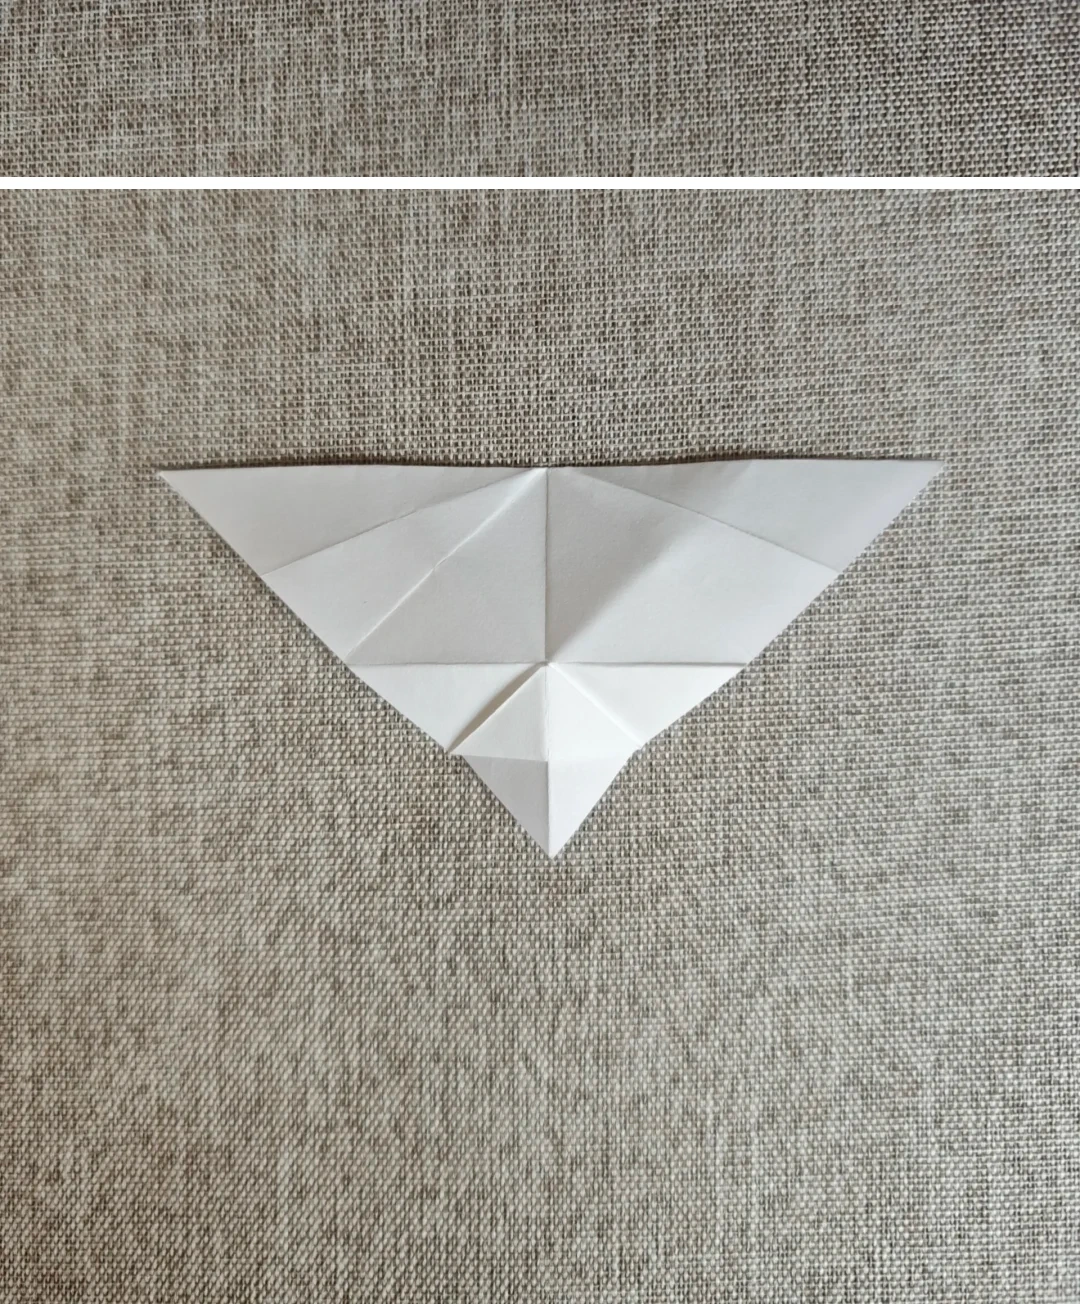 Open image at full size ↗
Open back to the triangular base and fold the small lower triangle upward.
Collapse the sides
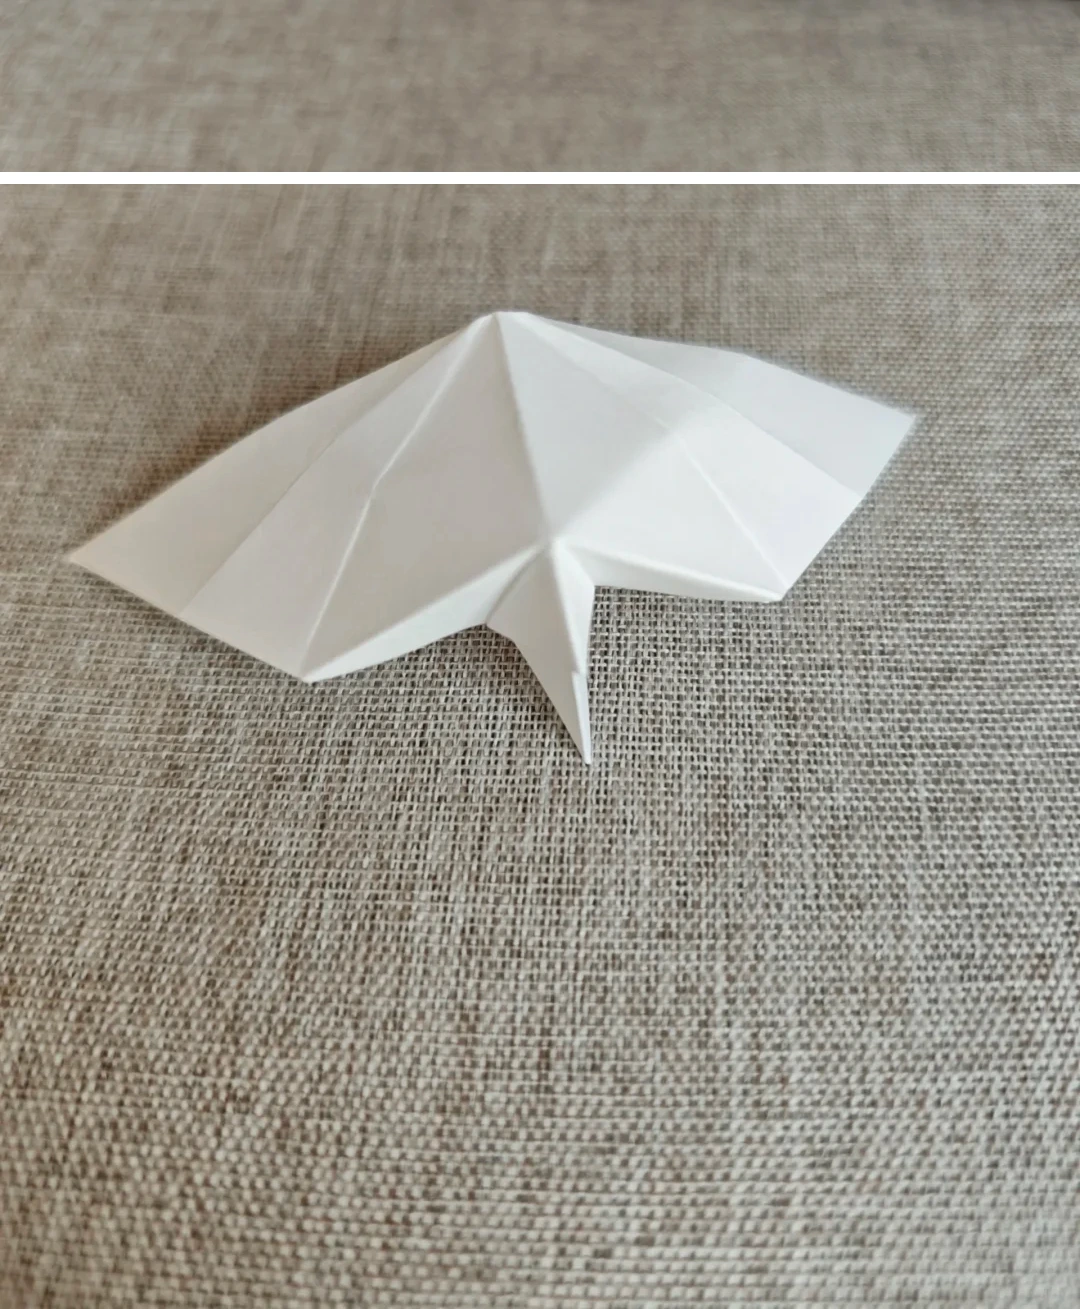 Open image at full size ↗
Push both sides inward along their creases, forming the layered shape shown.
Fold the unit in half
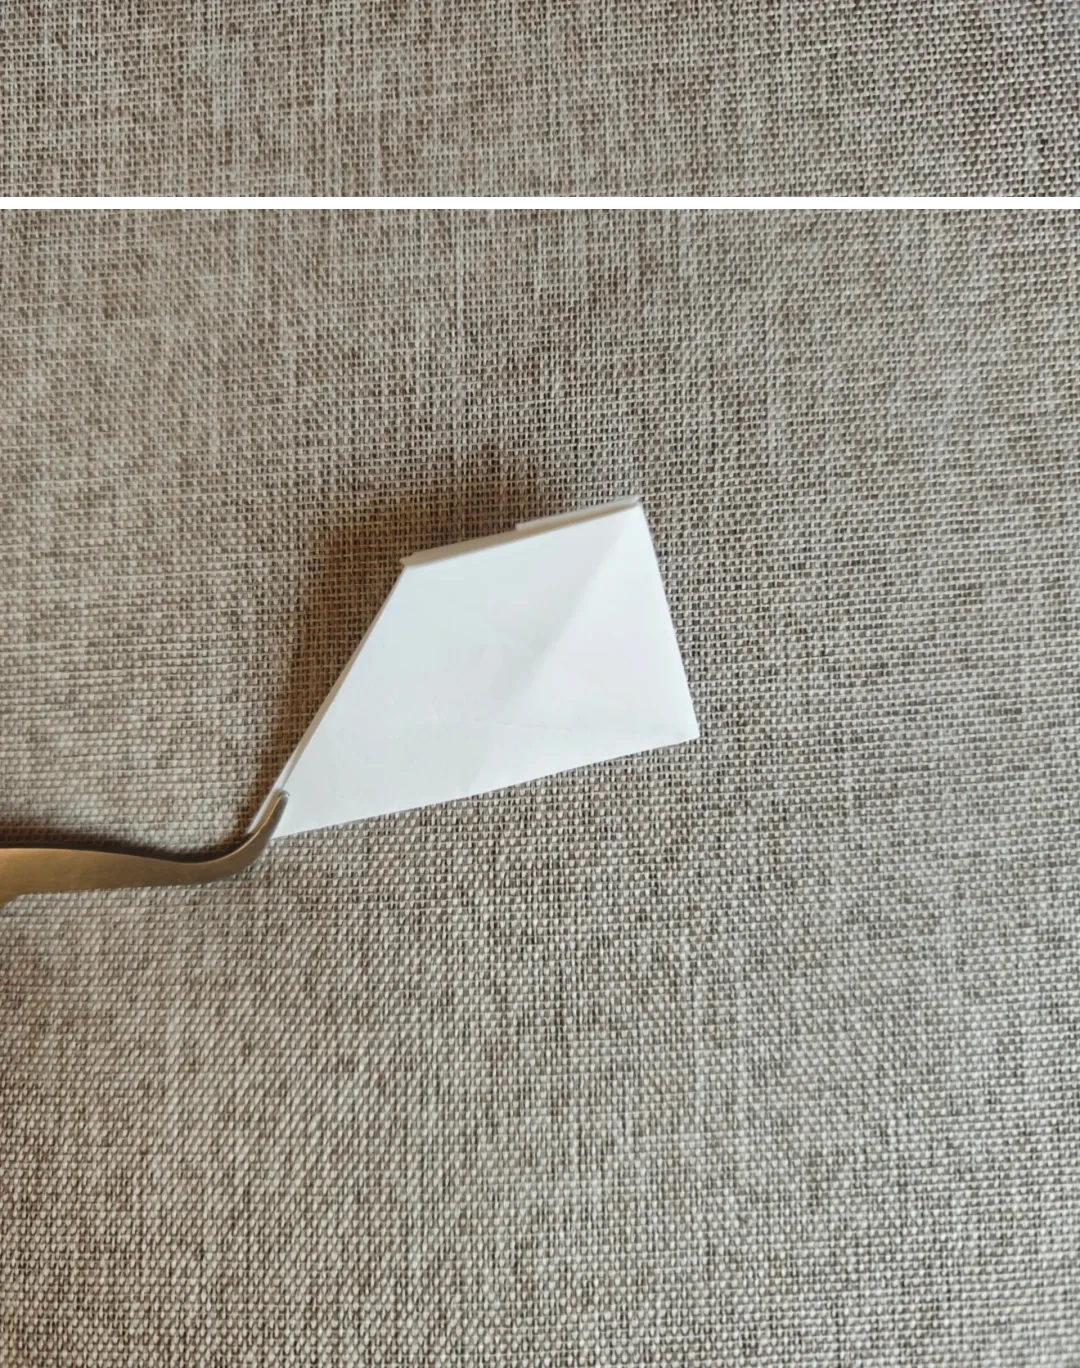 Open image at full size ↗
Bring the two halves together and flatten the layers.
Add adhesive
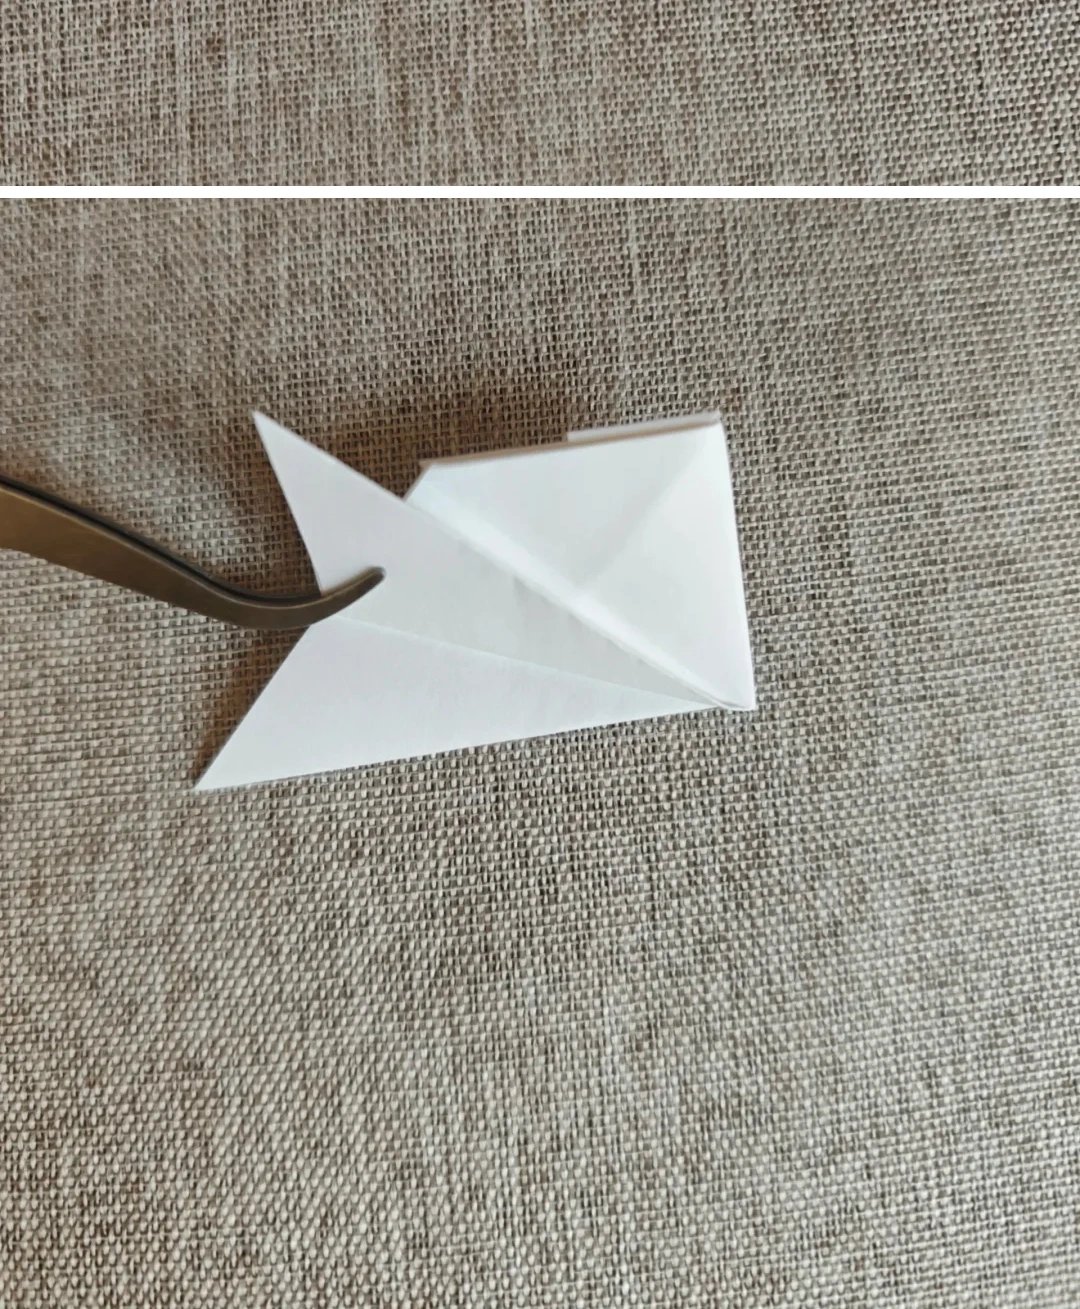 Open image at full size ↗
Fold one flap upward along its crease and apply tape to the indicated face.
Close the petal
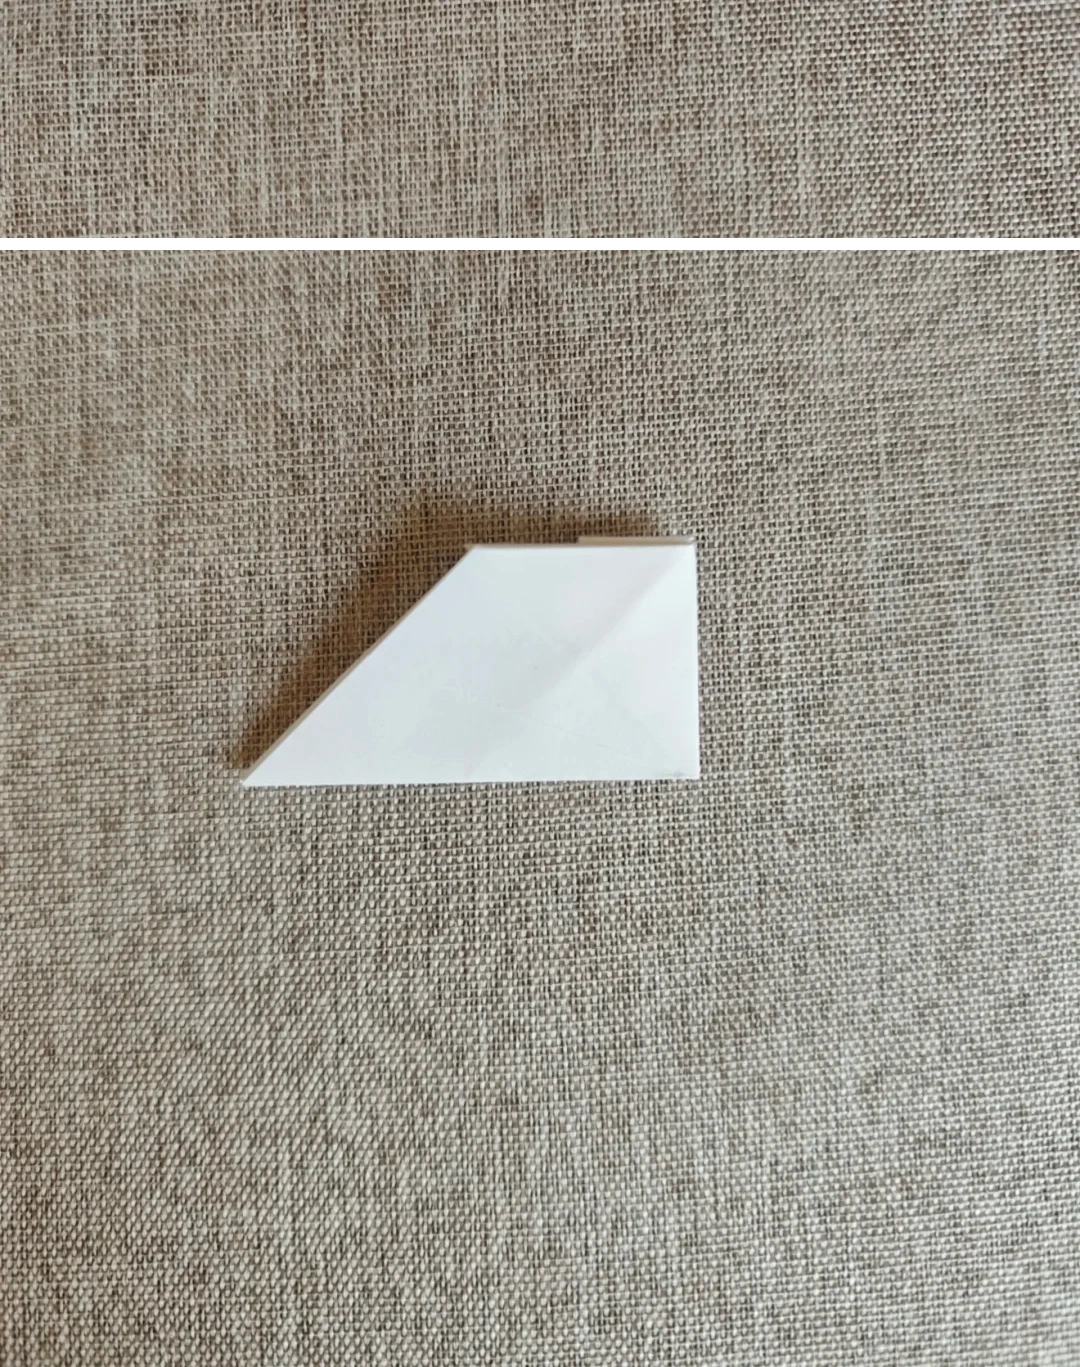 Open image at full size ↗
Press the adhesive faces together to secure the unit.
Open the petal
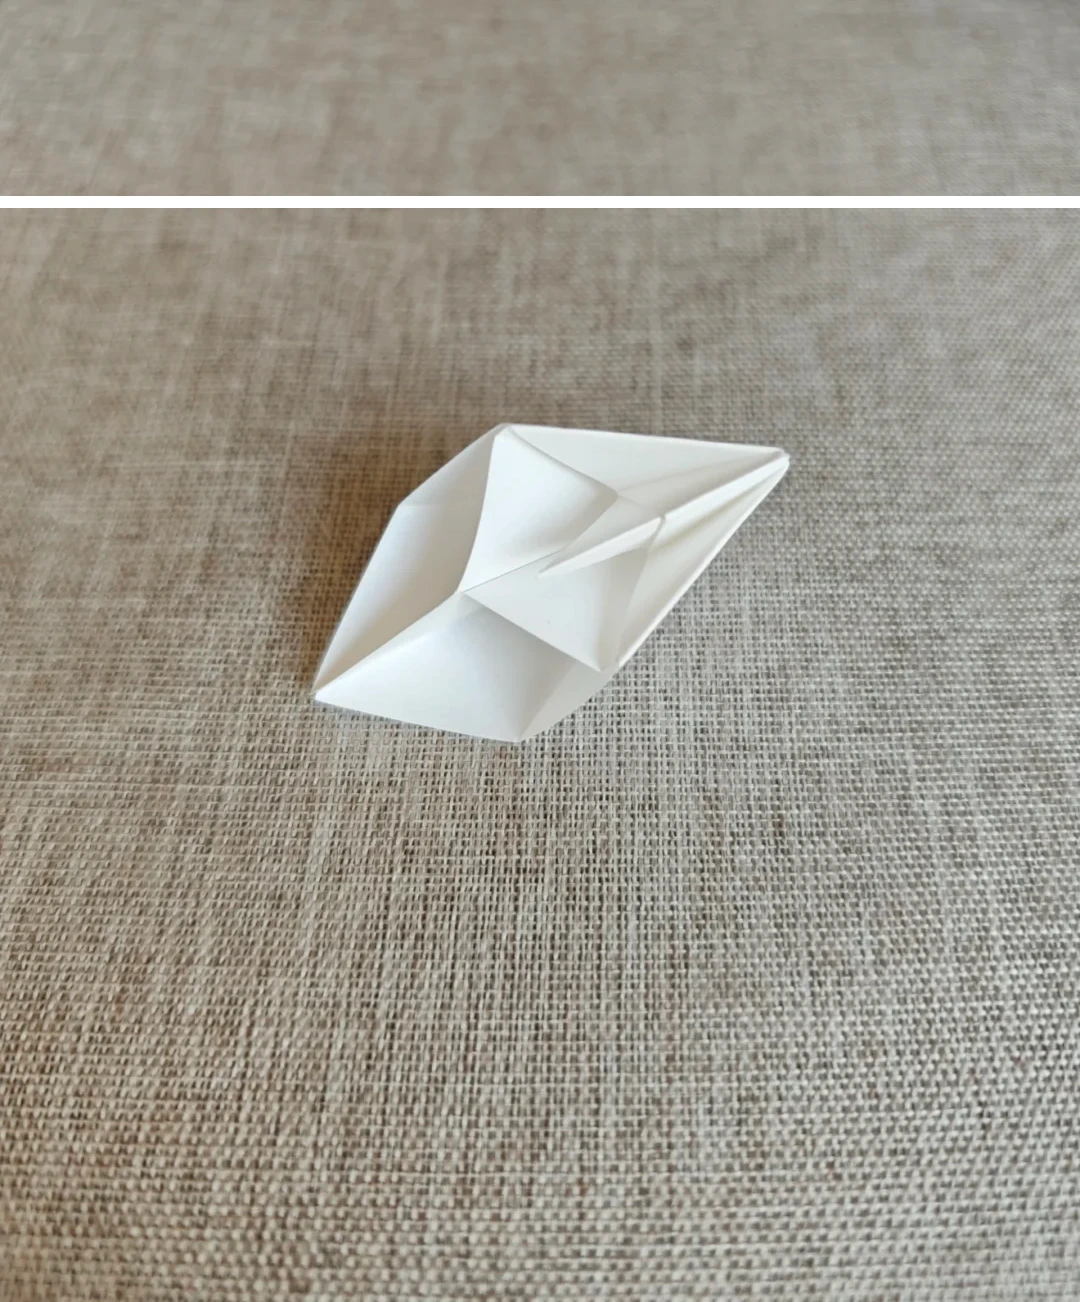 Open image at full size ↗
Gently spread the upper layers. Make seven matching petals.
Join the units
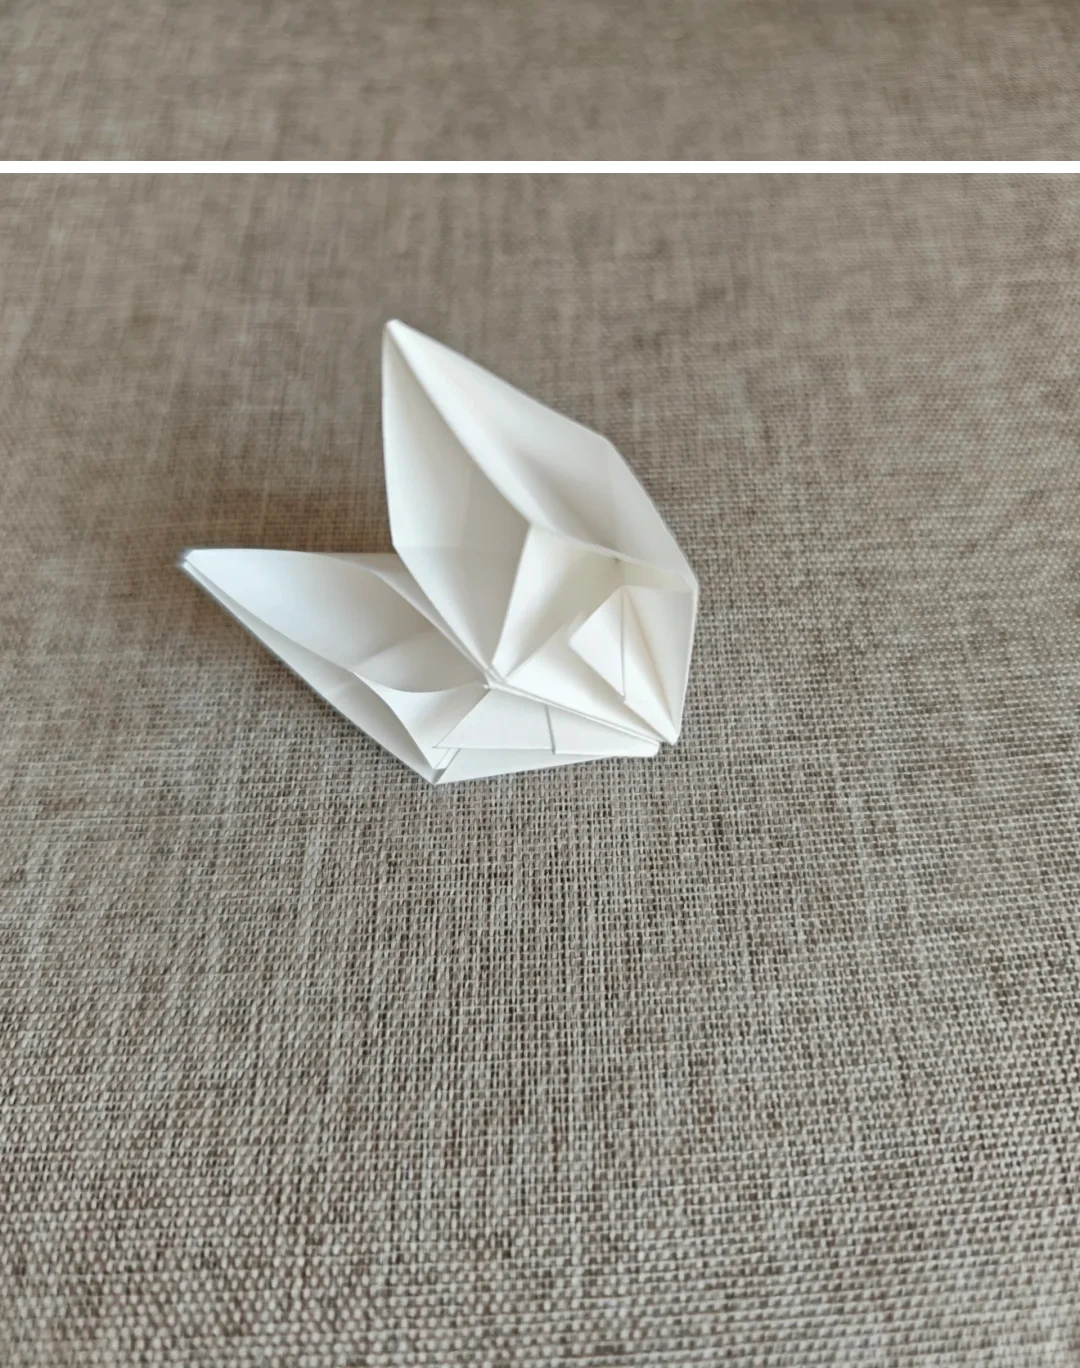 Open image at full size ↗
Glue the petals side by side, keeping their pointed bases together.
Close the flower
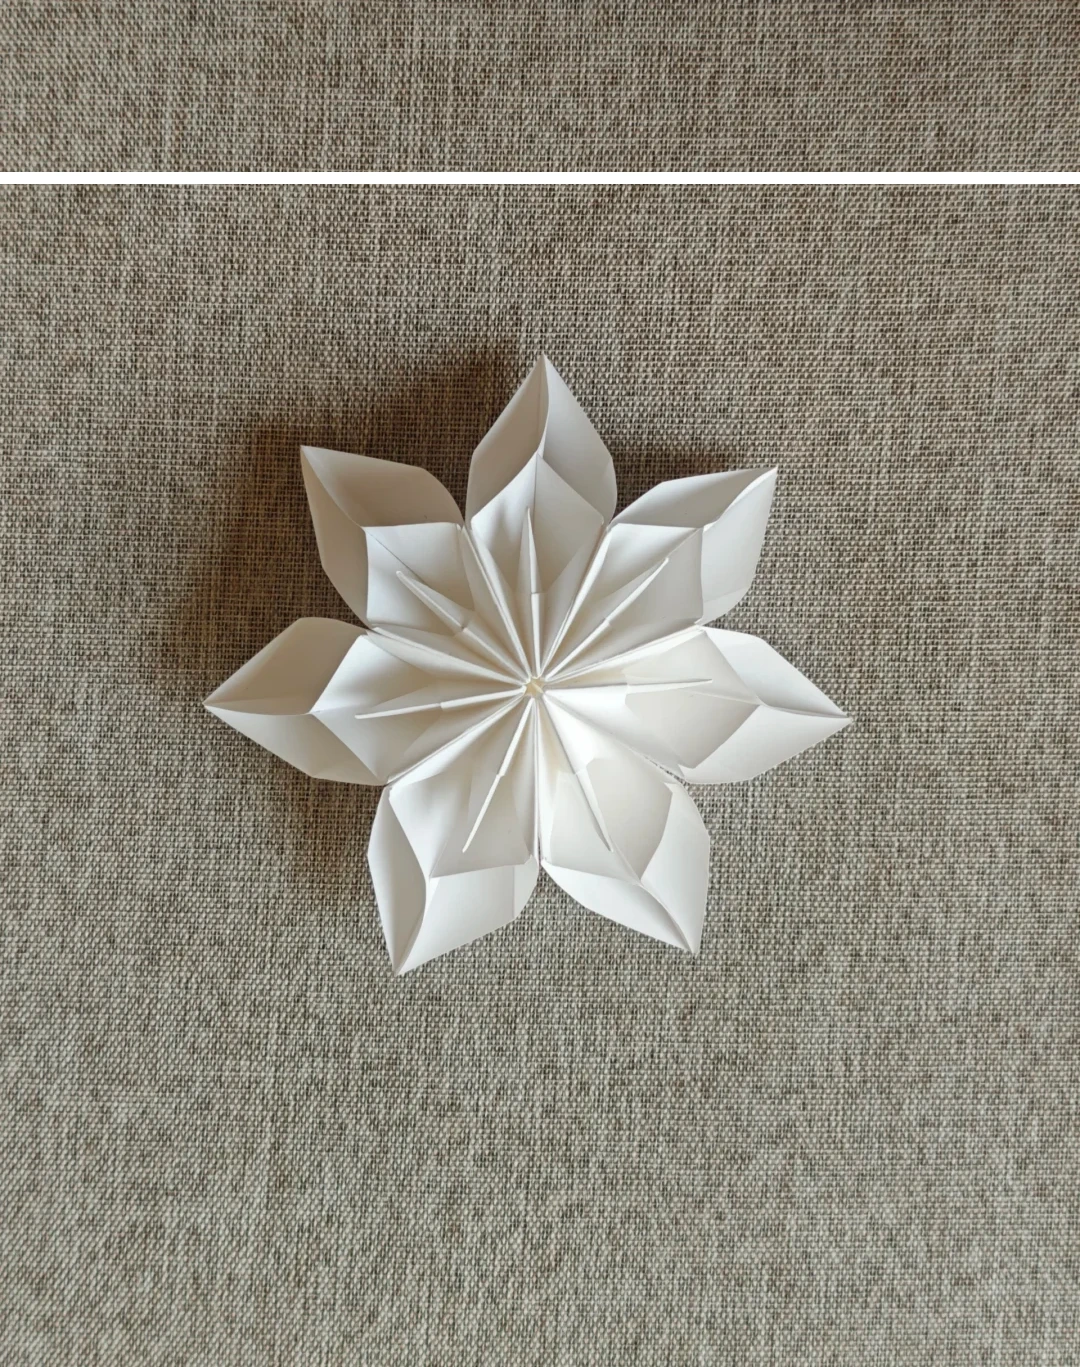 Open image at full size ↗
Join the first and last petals and adjust the seven points evenly.
Follow the diagrams alongside the step-by-step English instructions.
Choose your next project →