
Flowers & nature · Step-by-step guide
Rolled Paper Strip Rose
Roll a narrow strip into a miniature rose. This tutorial covers the rose itself.
What you’ll need
- One 20 × 1 cm paper strip
- Glue
Paper craft · Angled folds & rolling
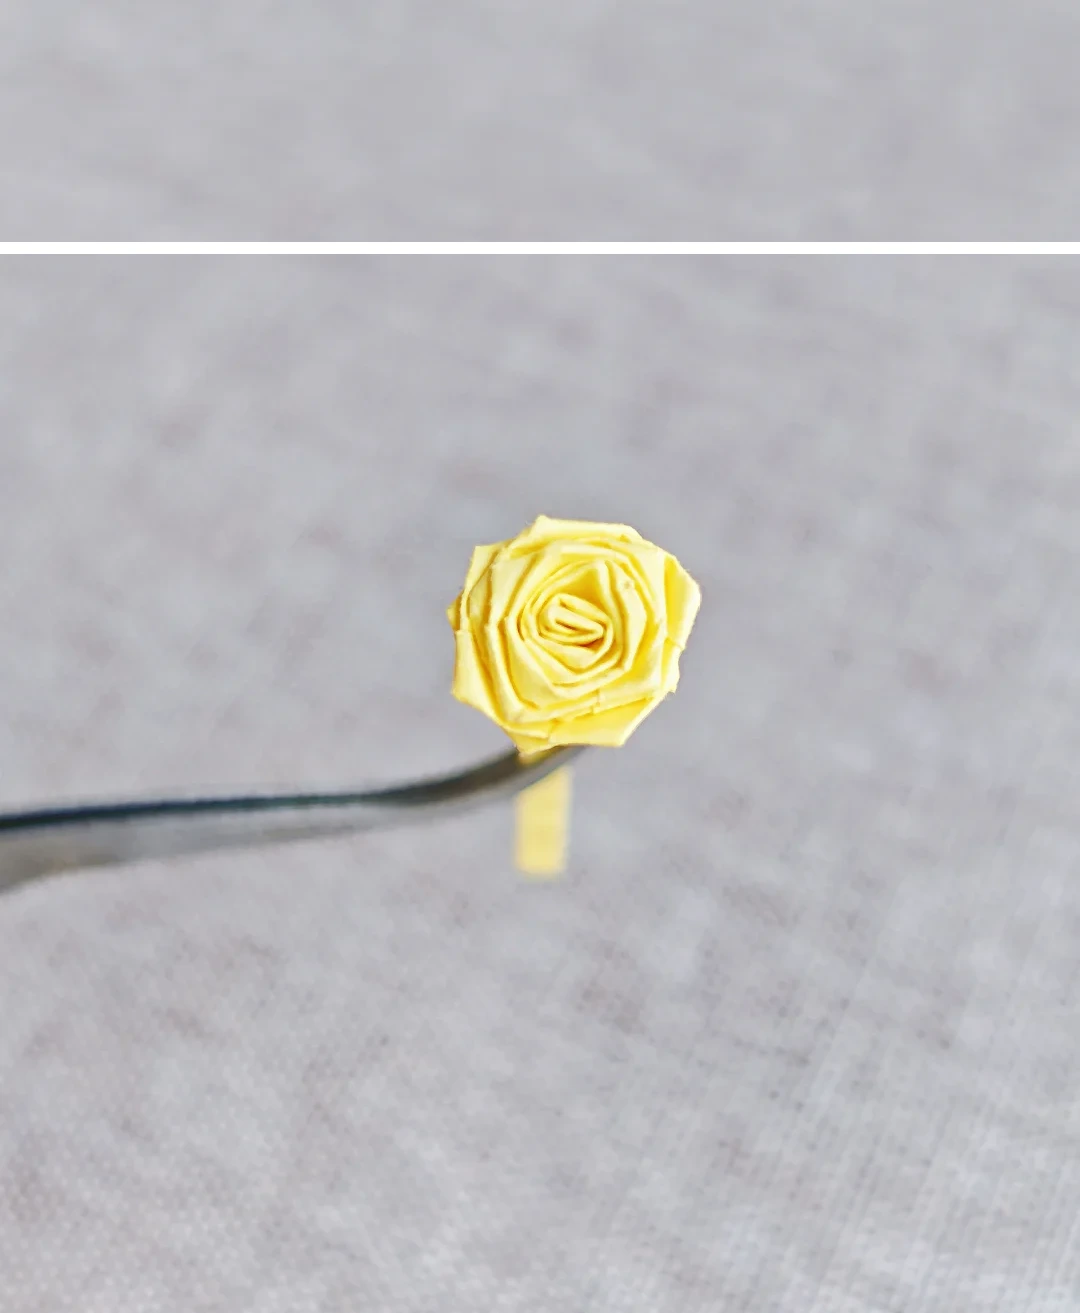
Make it, step by step.
7 steps · Original diagrams with English instructions
Start the stem
 Open image at full size ↗
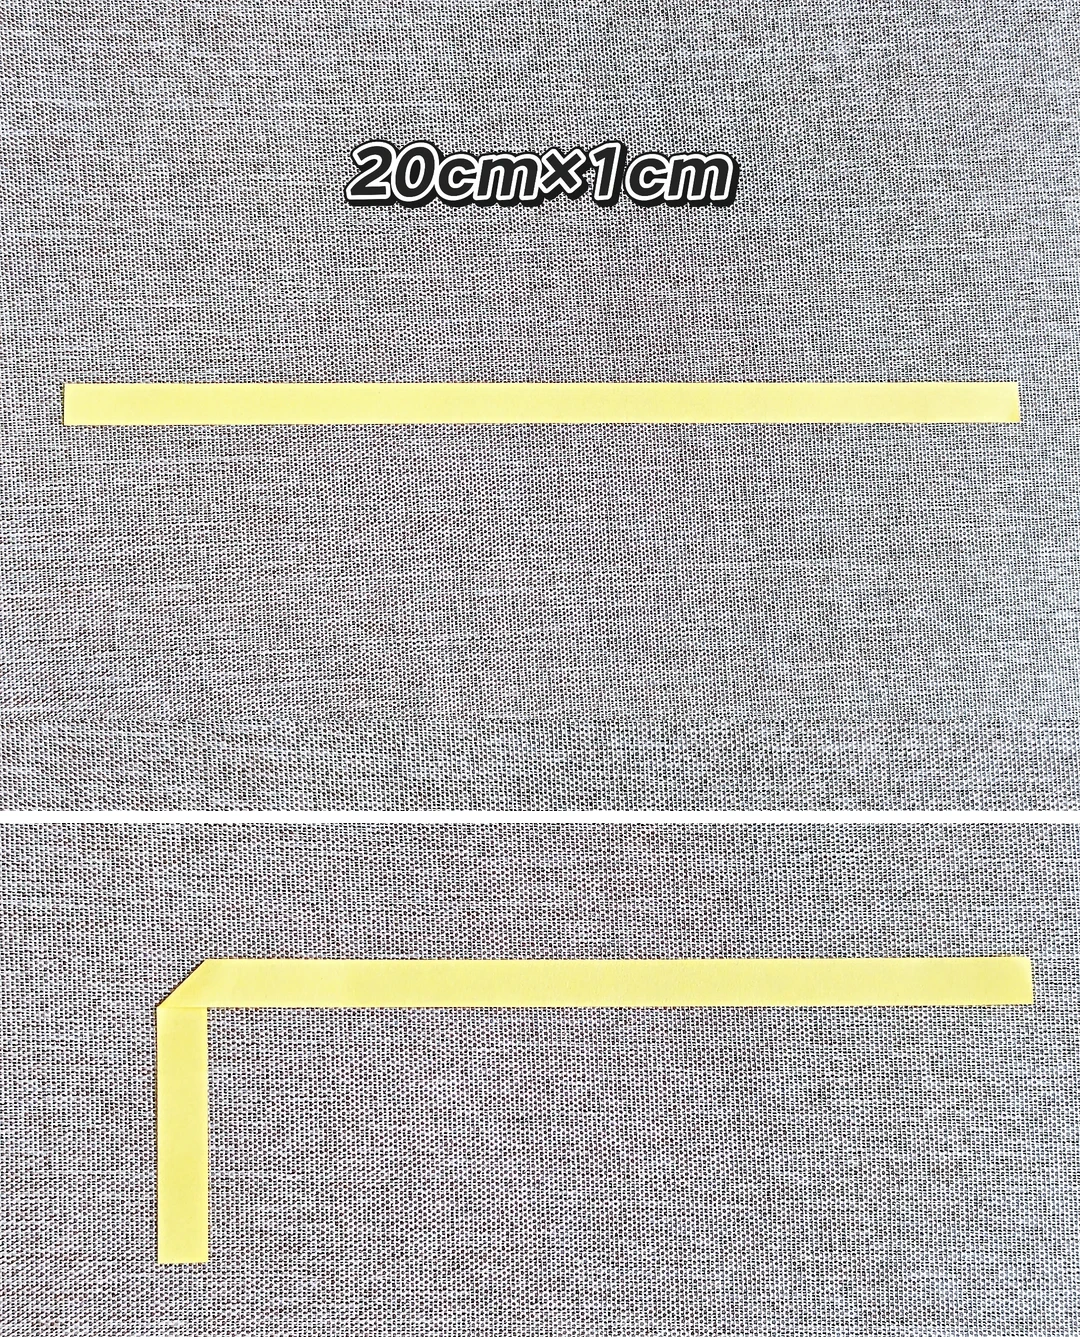
Use a 20 × 1 cm strip. Fold it downward 3 cm from one end.
Narrow the stem
 Open image at full size ↗
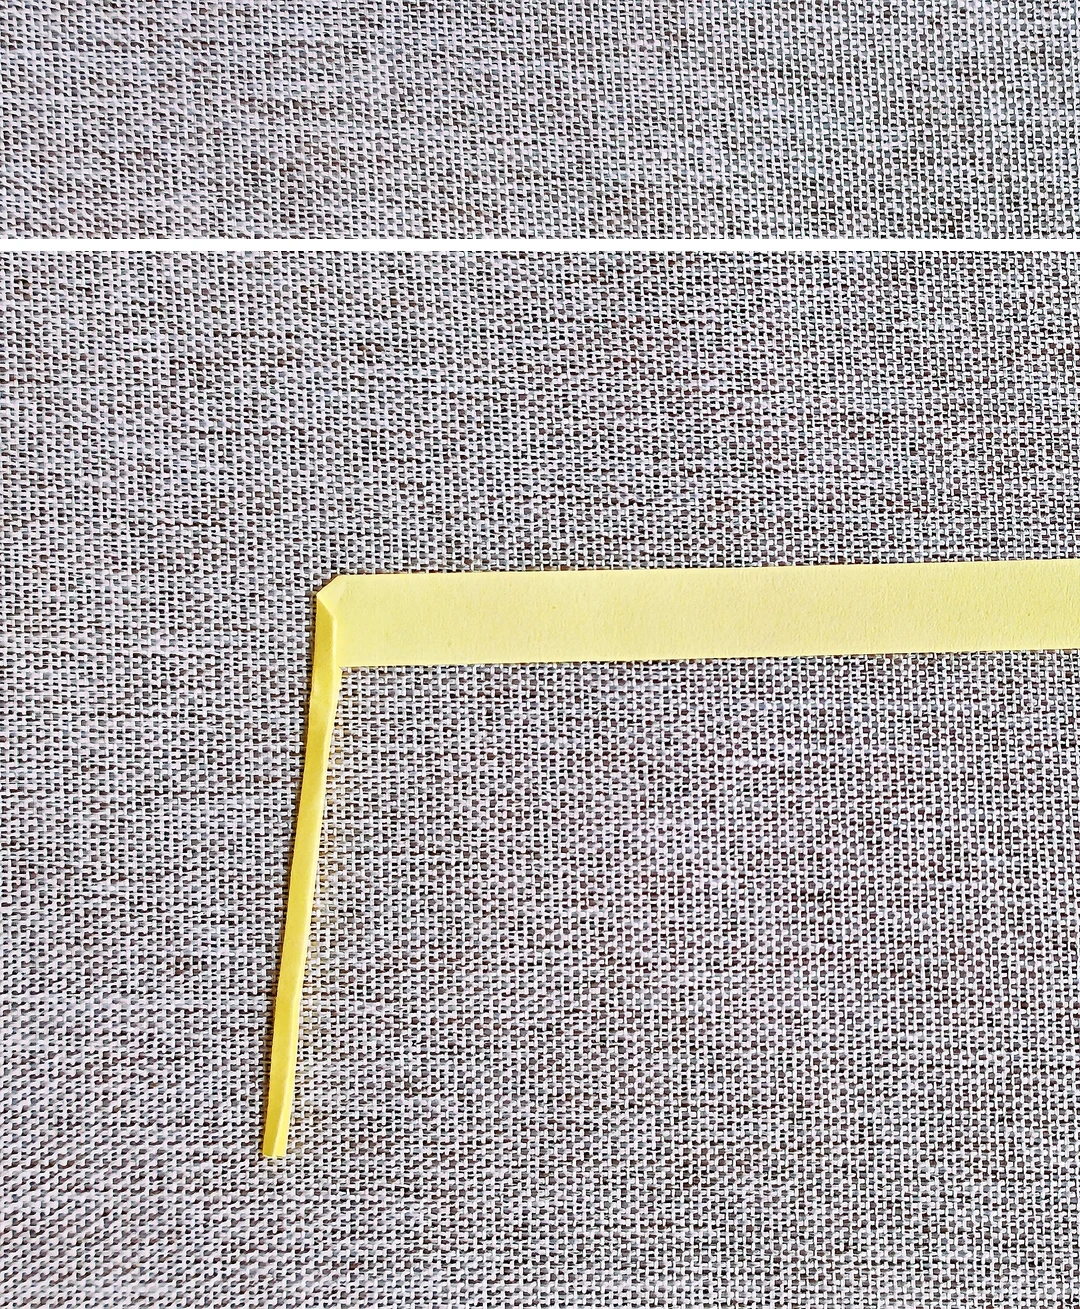
Fold the short section lengthwise twice to make a thin stem.
Fold the long strip back
 Open image at full size ↗
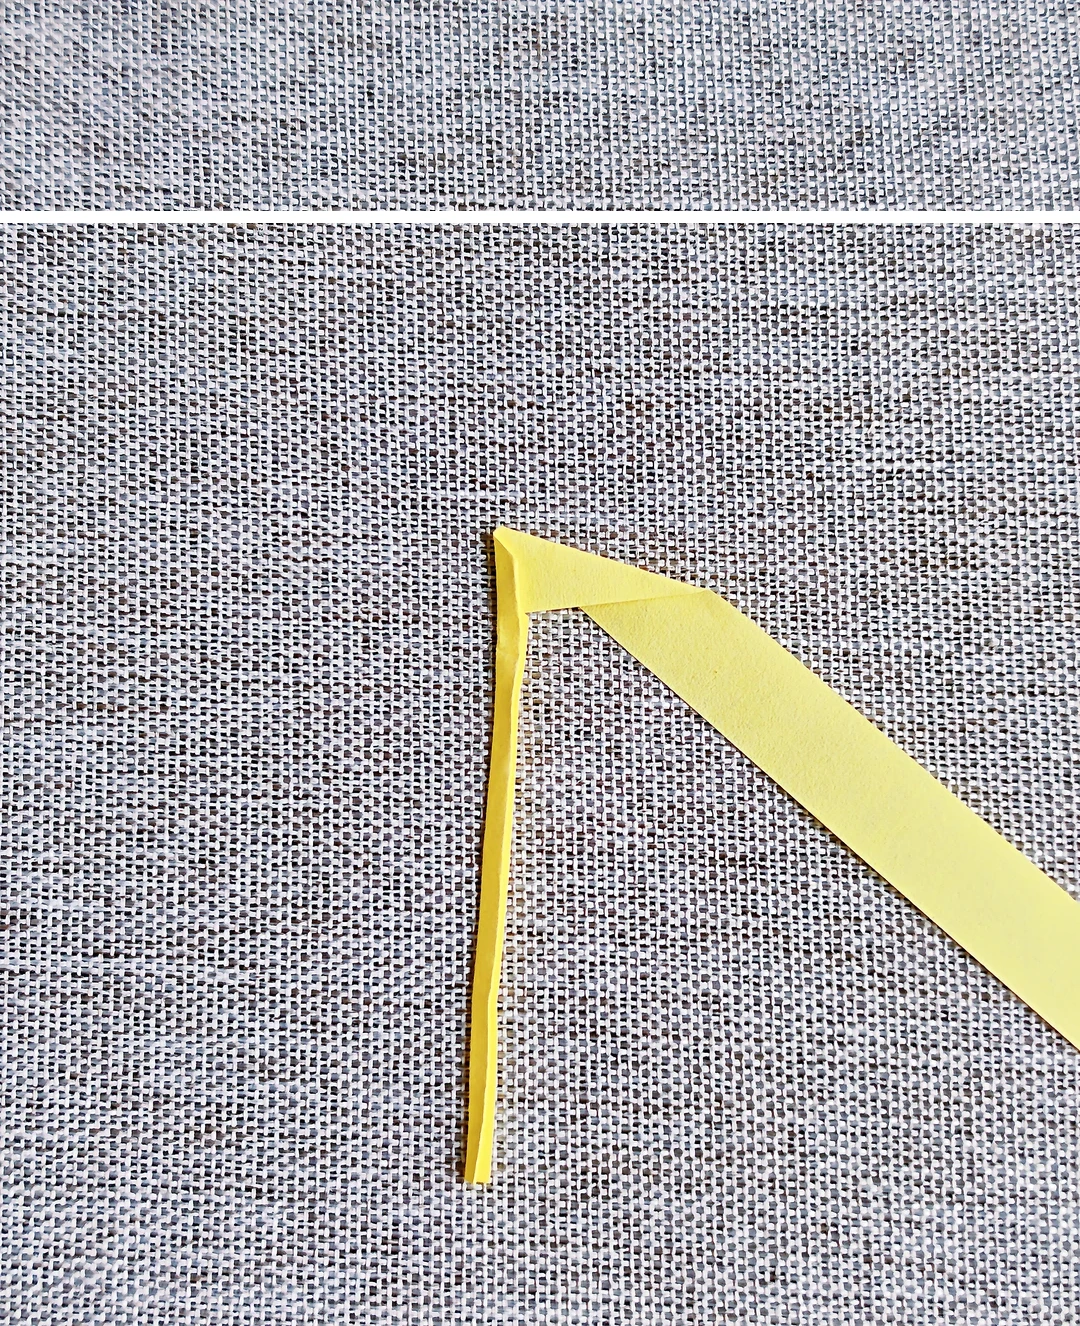
Fold a small part of the long strip backward at an angle.
Roll the center
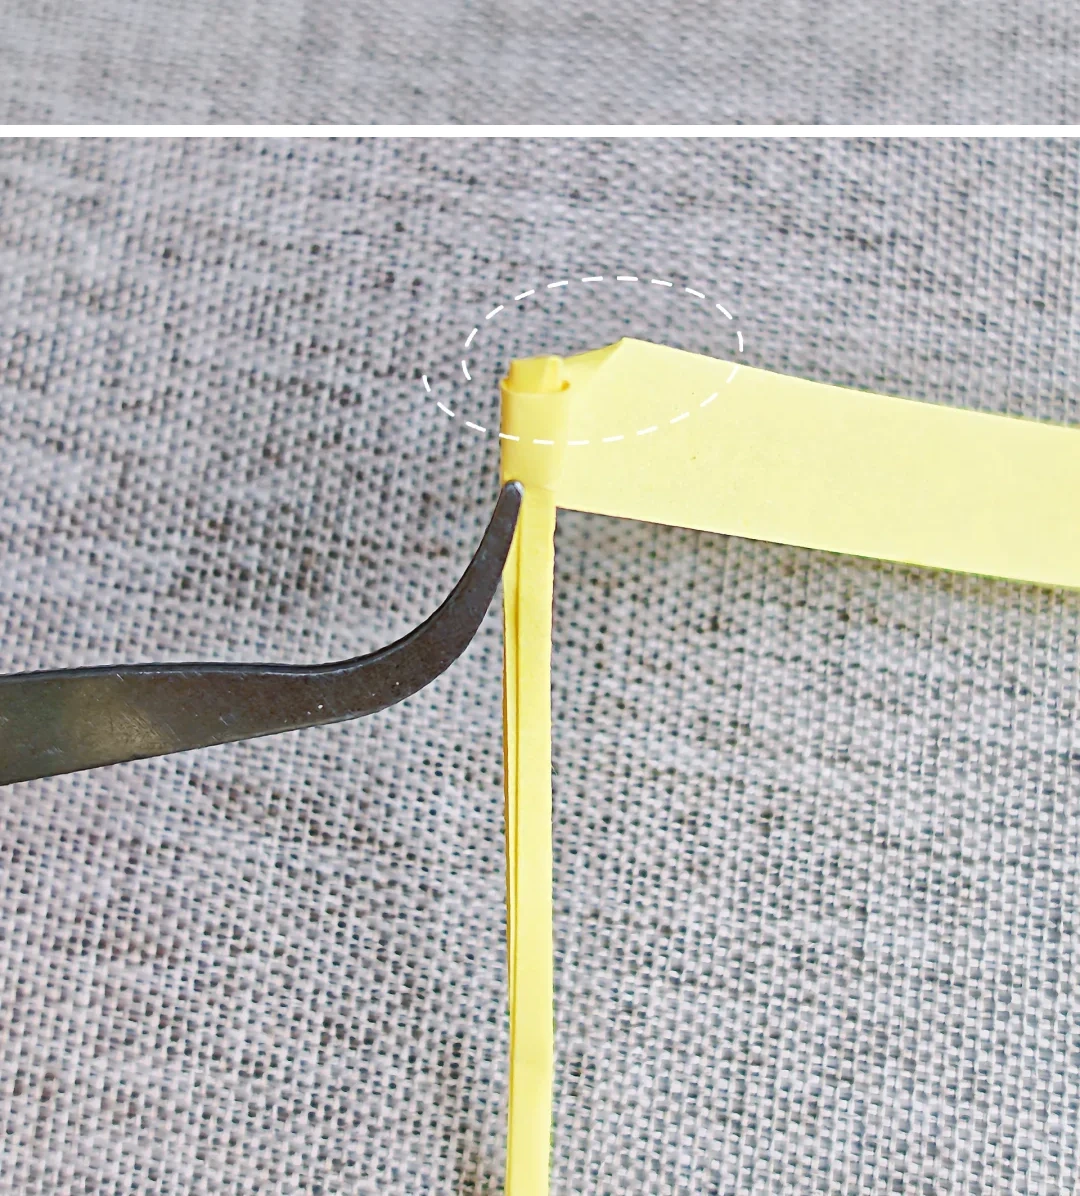 Open image at full size ↗
Wrap the strip around the stem, leaving a small triangular edge visible.
Build the petals
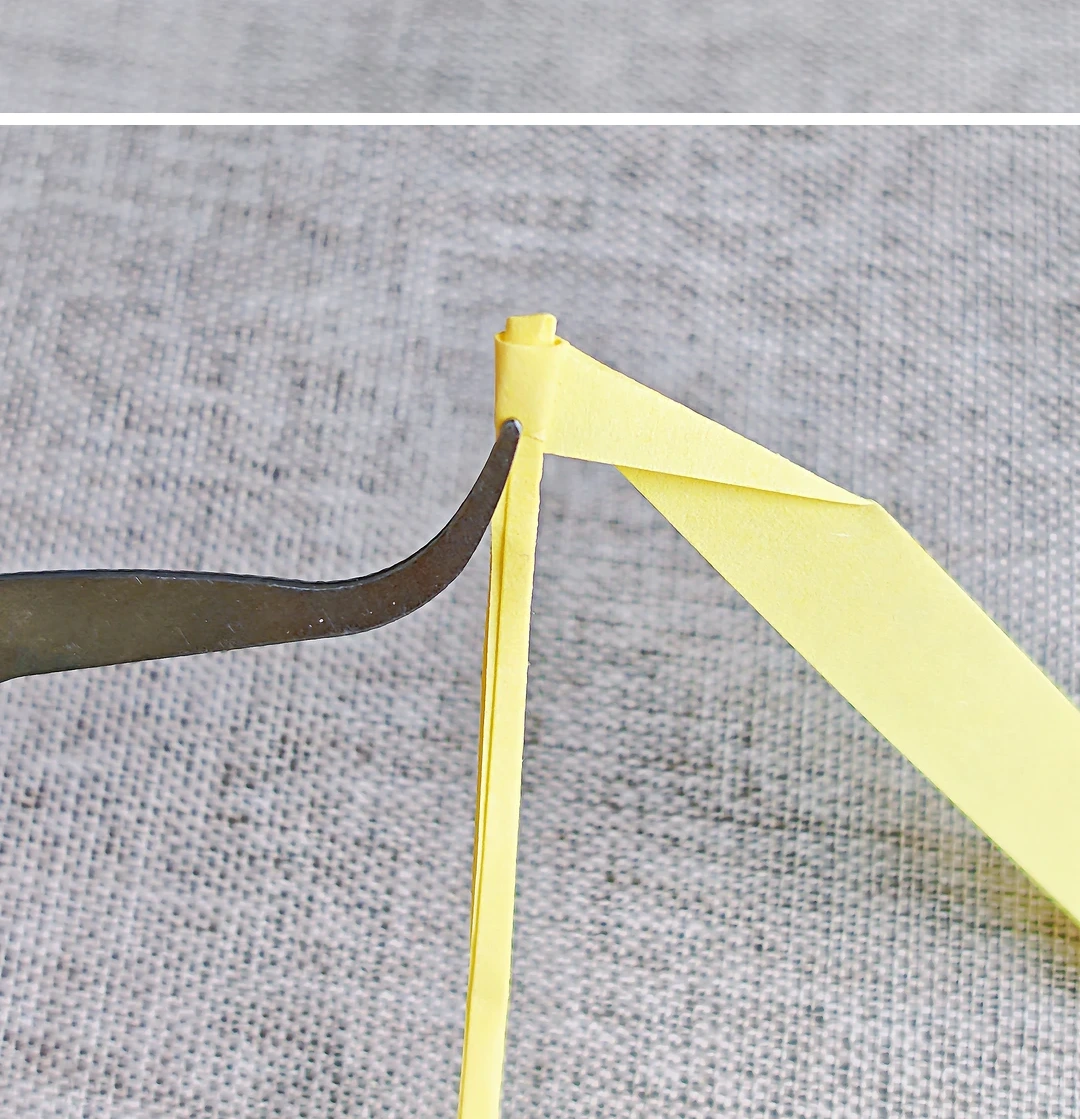 Open image at full size ↗
Fold the strip backward again, then wrap around the center. Keep alternating folds and turns along the strip.
Glue the end
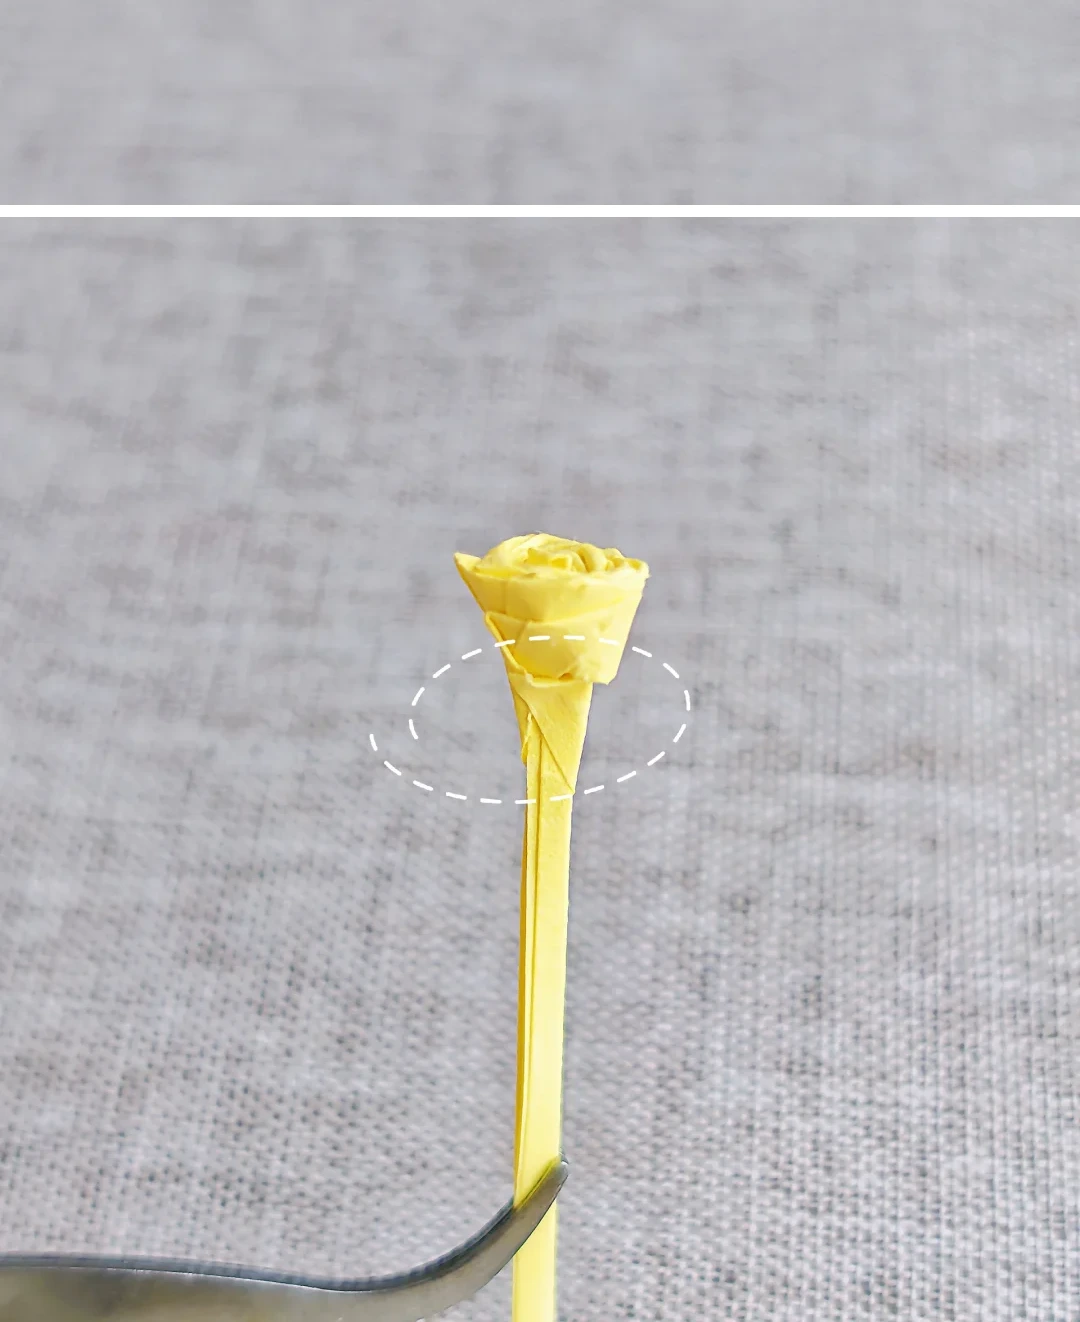 Open image at full size ↗
Apply glue to the last short section and secure it against the stem.
Shape the rose
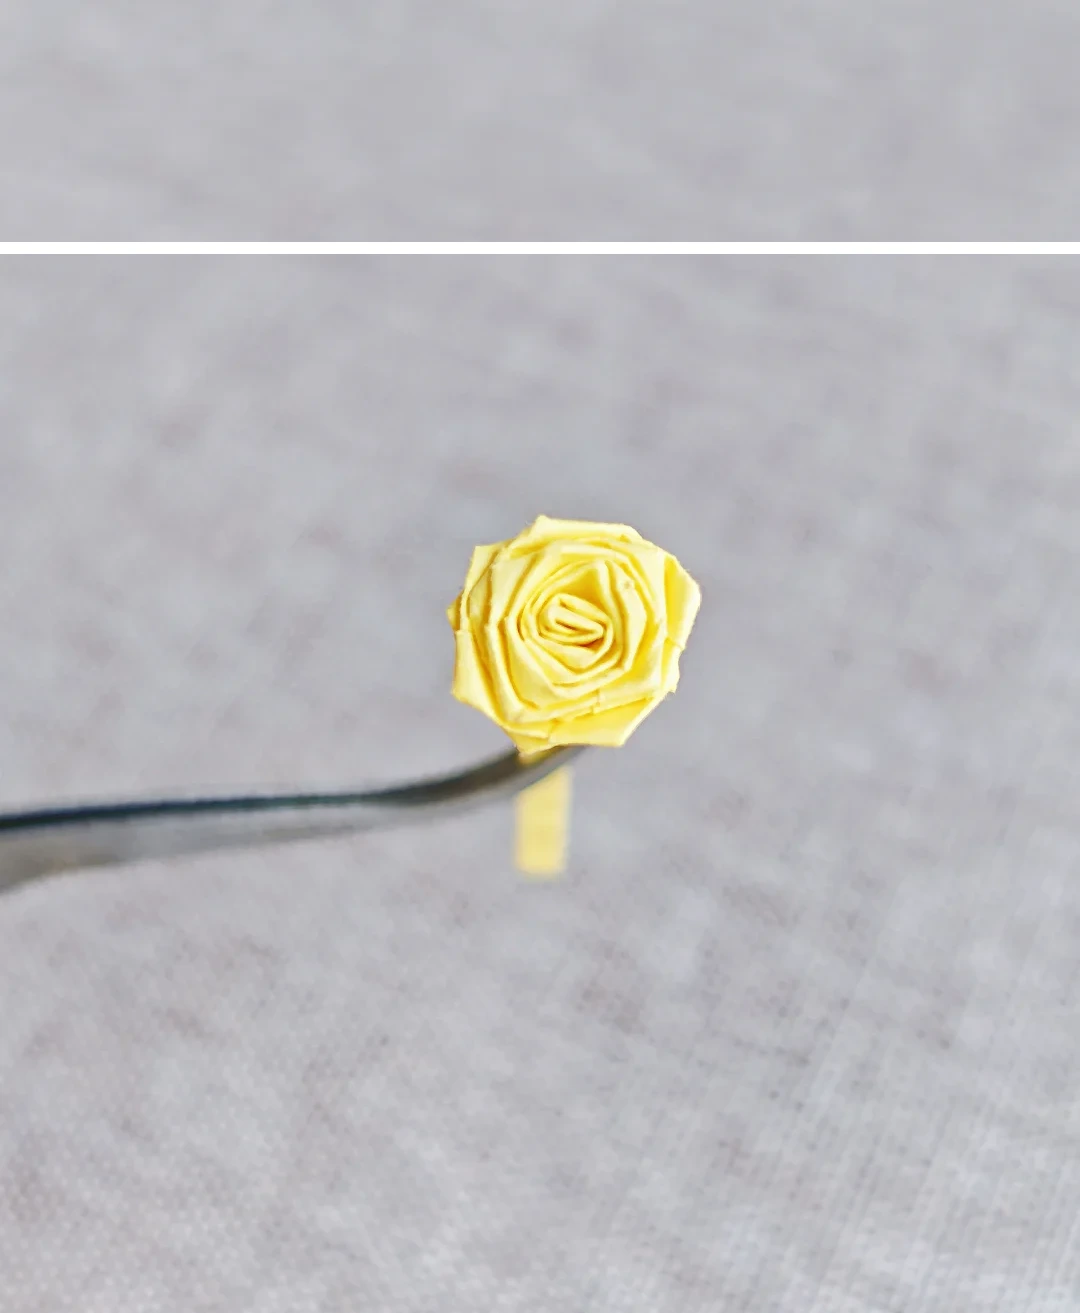 Open image at full size ↗
Gently loosen the outer folds to round the flower without unwinding its center.
Follow the diagrams alongside the step-by-step English instructions.
Choose your next project →