
Decorations · Step-by-step guide
Pleated Paper Ring
Fold a narrow pleated band and curve it into a small decorative ring.
What you’ll need
- One square of thin paper
- Glue, optional
Paper folding · Accordion and diagonal pleats
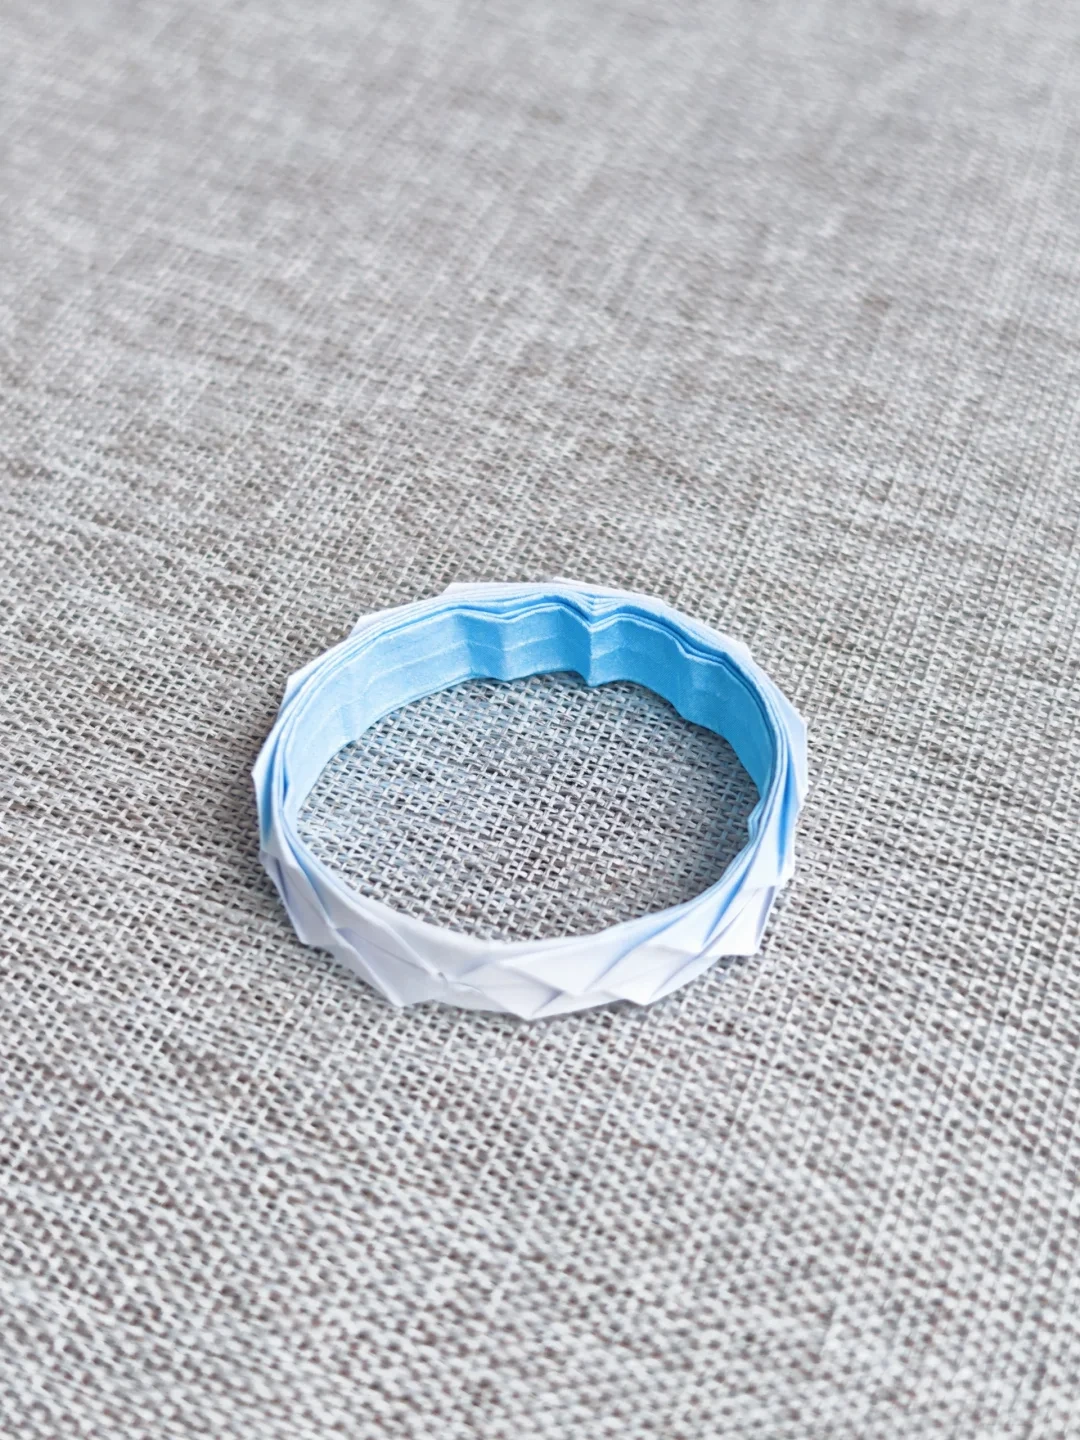
Make it, step by step.
9 steps · Original diagrams with English instructions
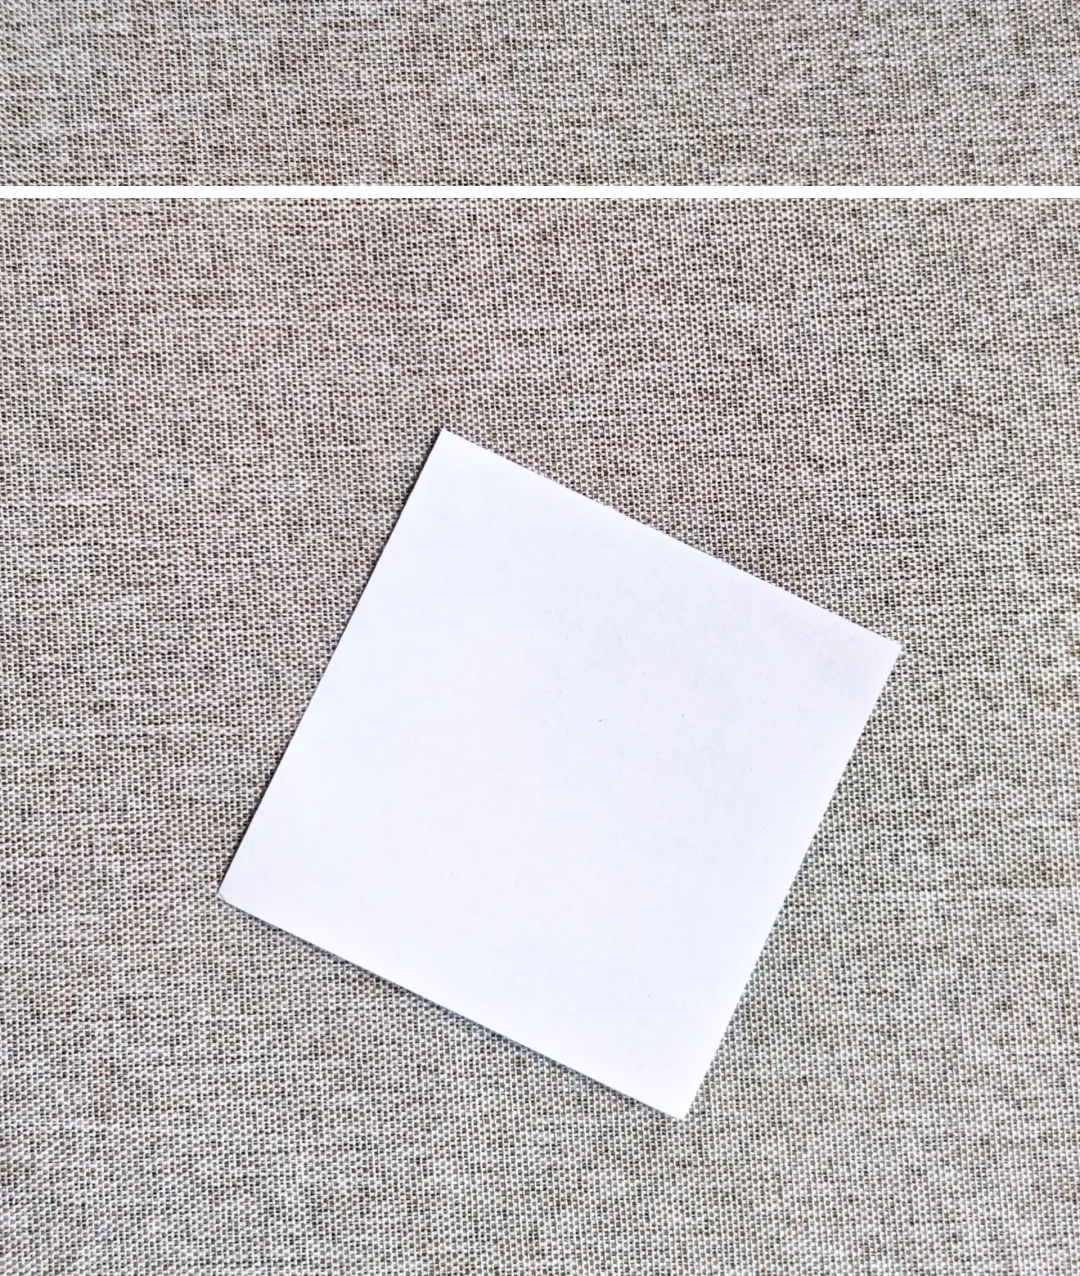
Prepare the square
 Open image at full size ↗
Choose thin paper with a contrasting reverse if desired.
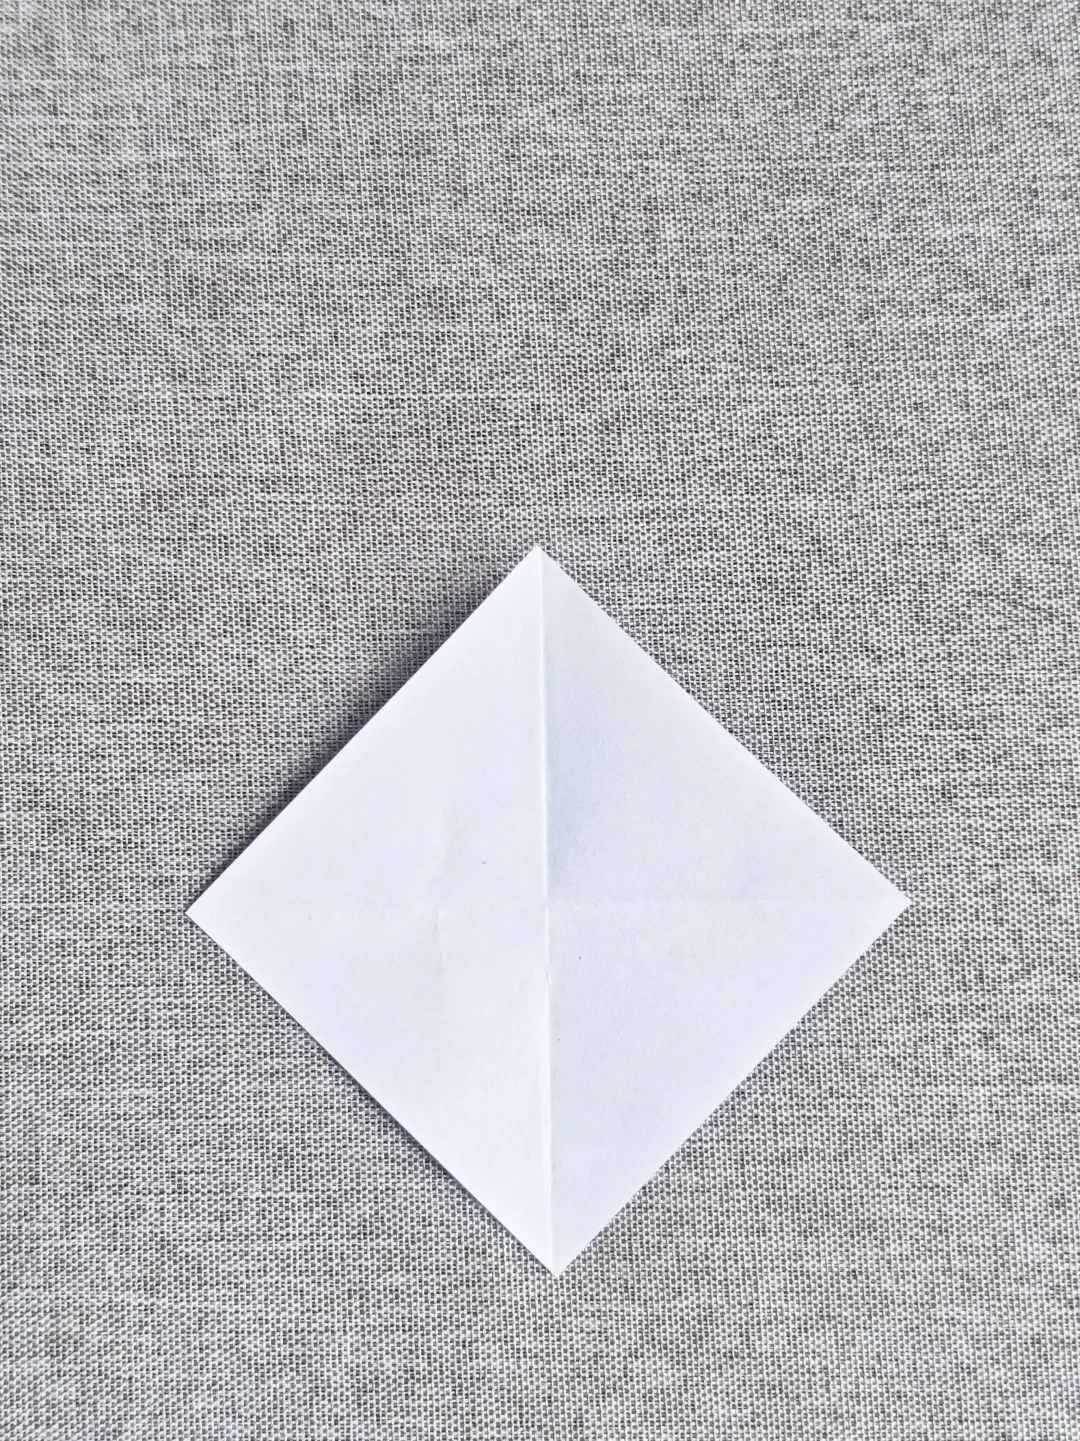
Mark the diagonal
 Open image at full size ↗
Fold and unfold a diagonal, then place the square as a diamond.
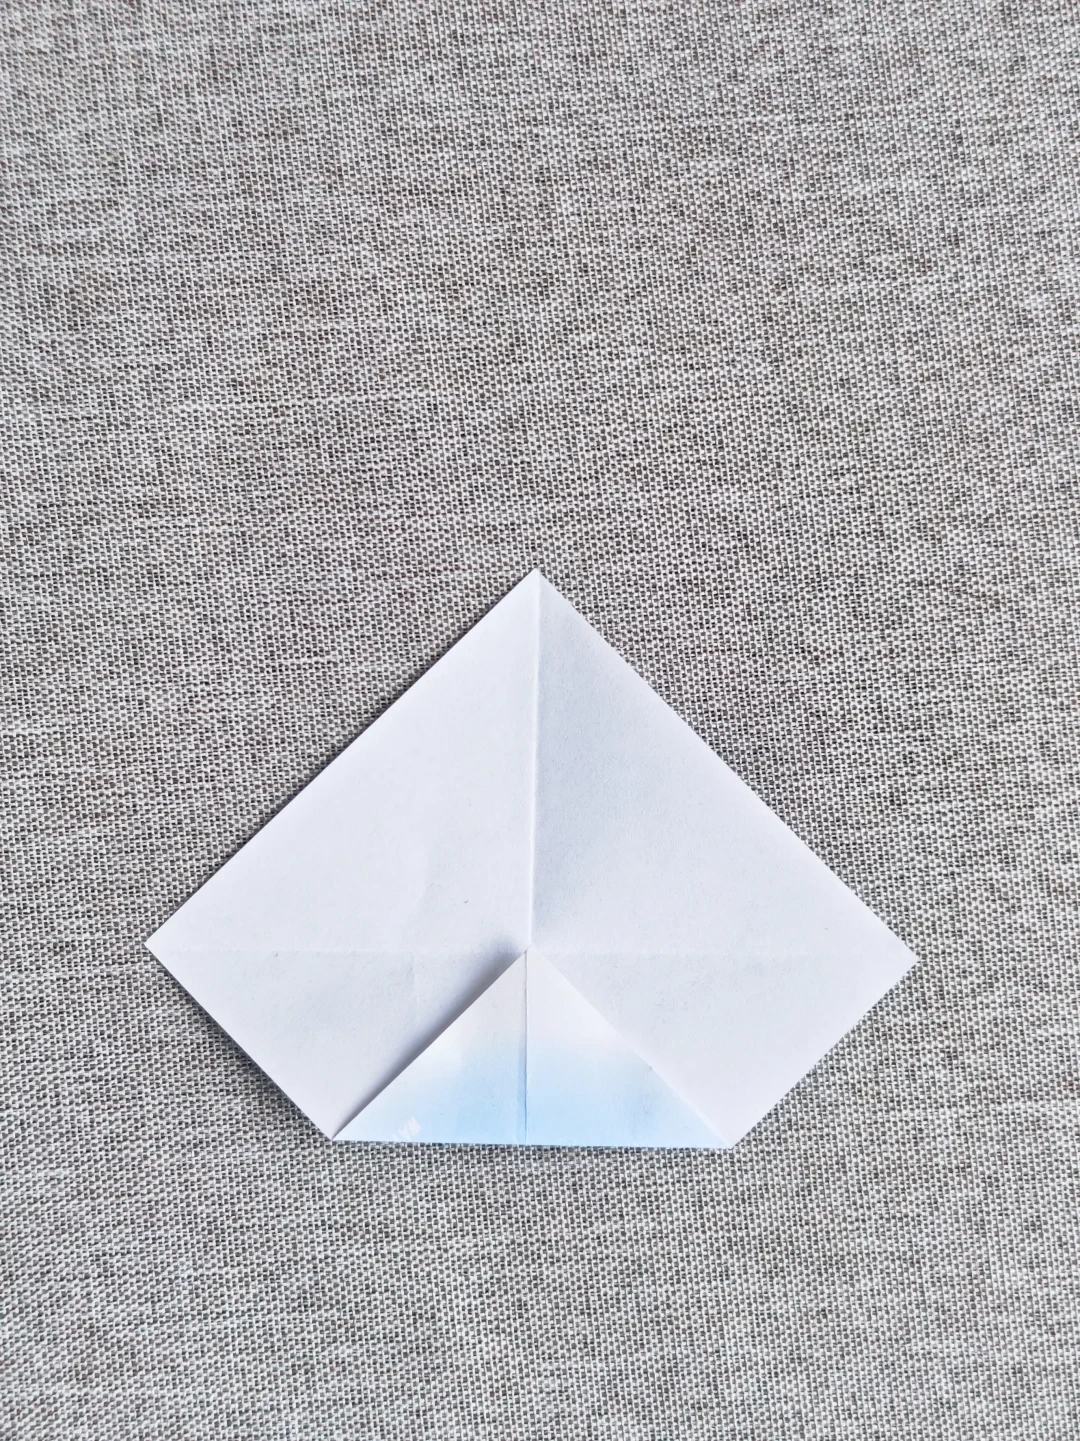
Fold the lower point
 Open image at full size ↗
Fold the lower corner upward to begin the narrow band.
Add parallel folds
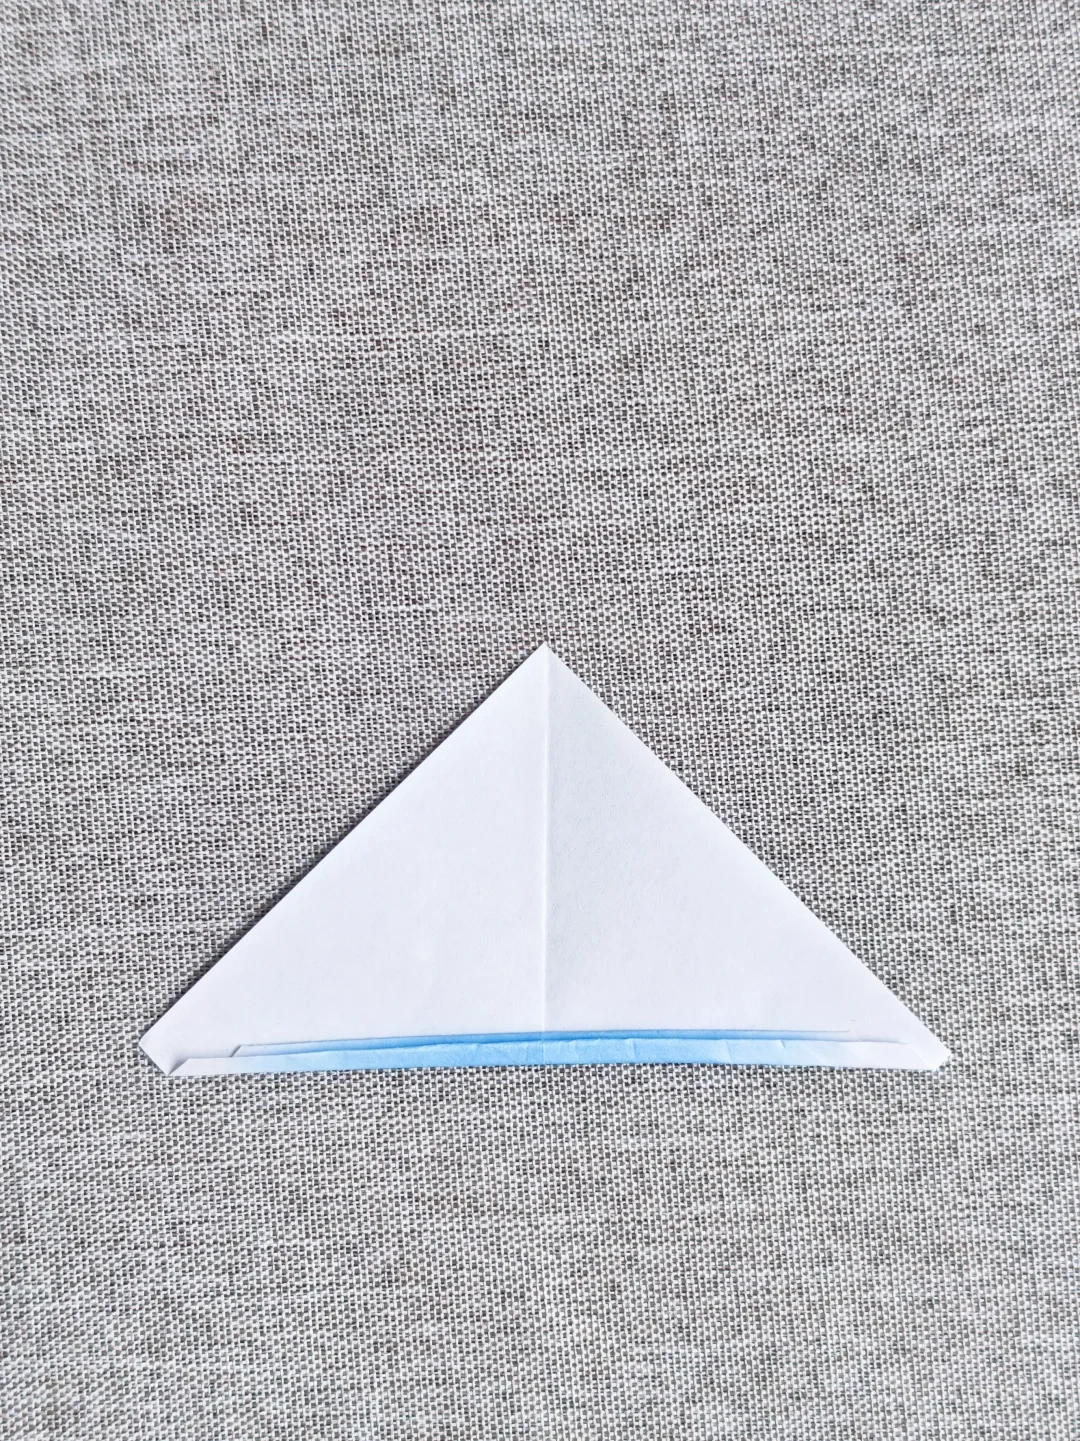 Open image at full size ↗
Continue folding the lower edge upward in small, even widths.
Open the pleats
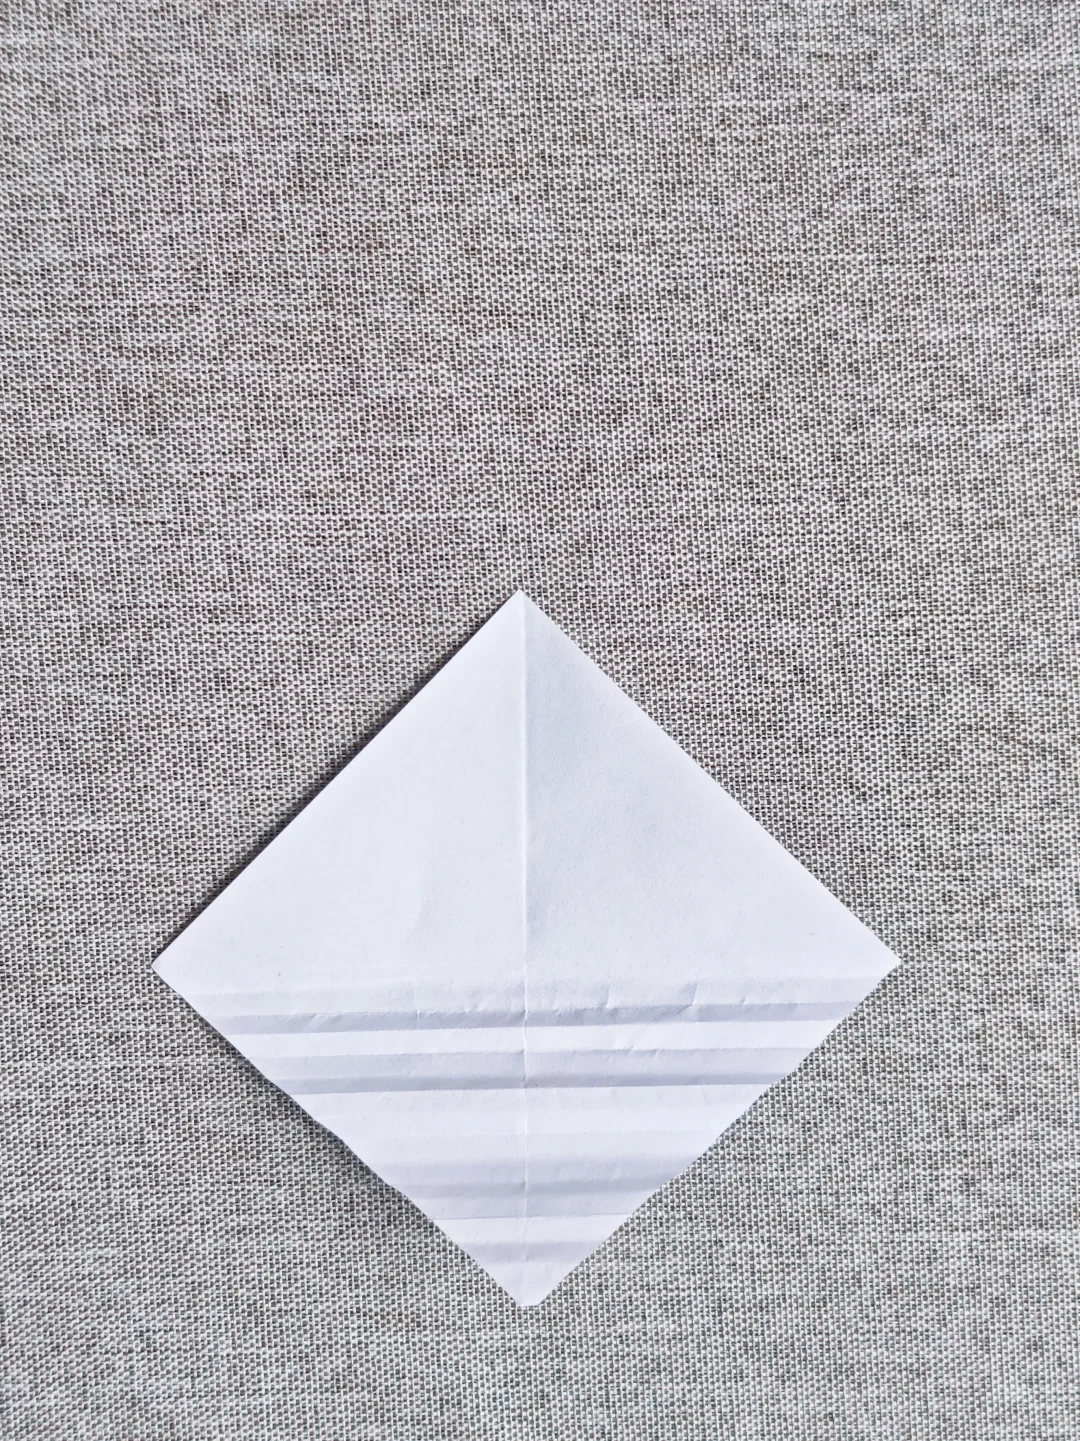 Open image at full size ↗
Unfold the band enough to reveal the parallel crease lines.
Pinch the diagonal folds
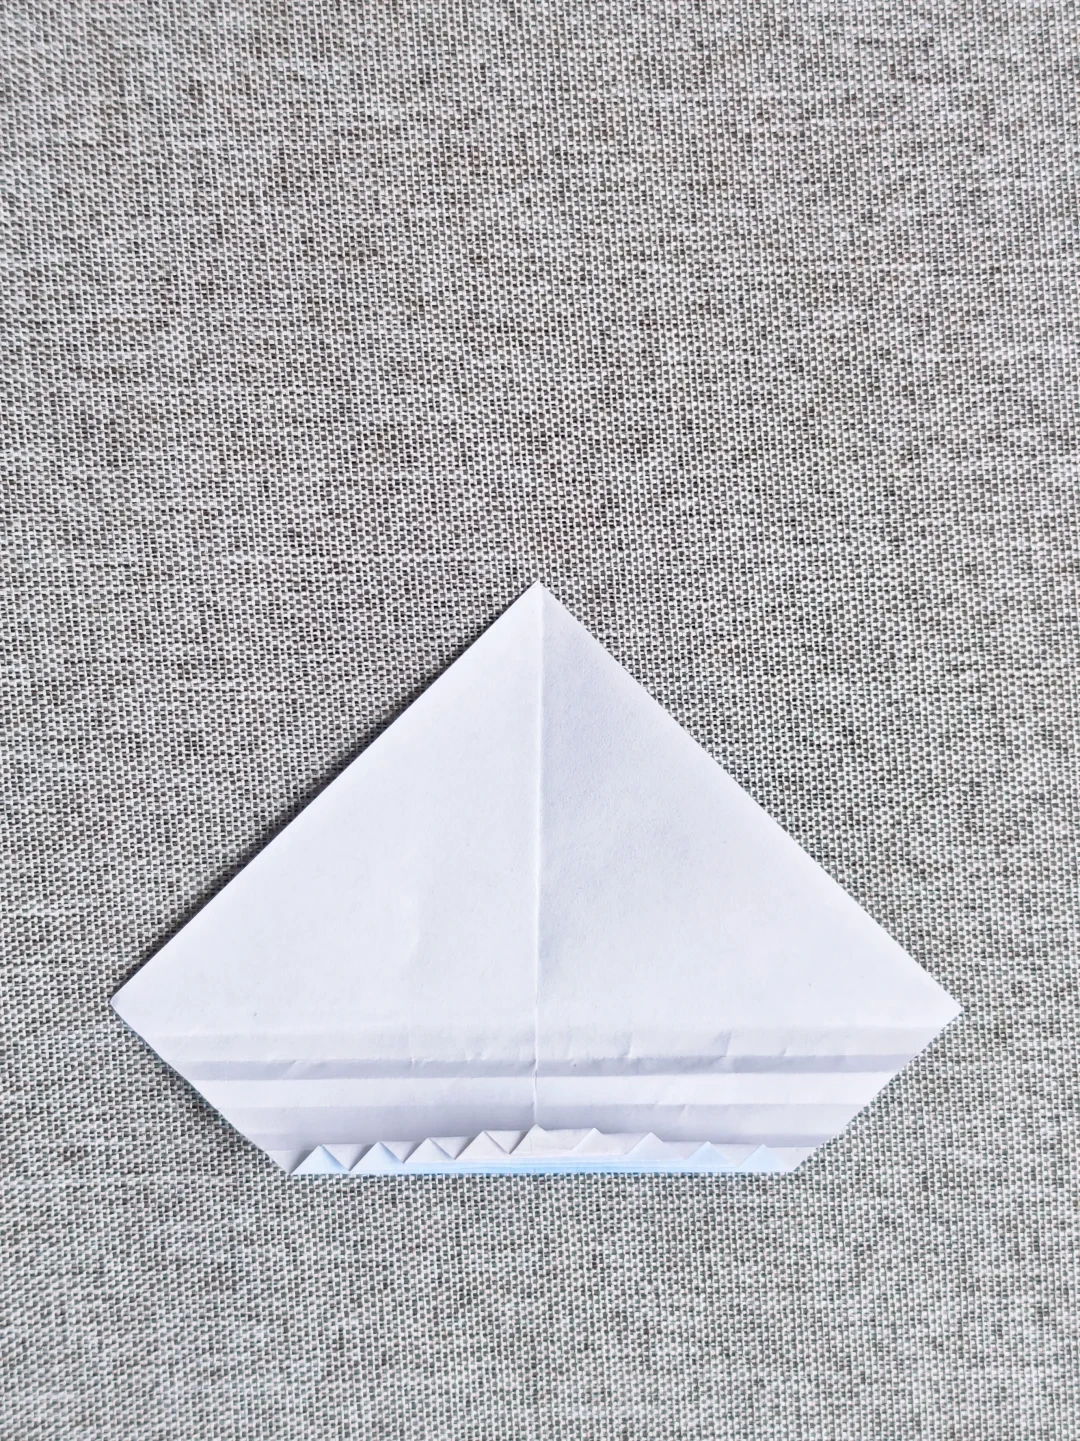 Open image at full size ↗
Pinch alternating small diagonal creases along the lower band to form the repeating triangular pattern.
Continue across the band
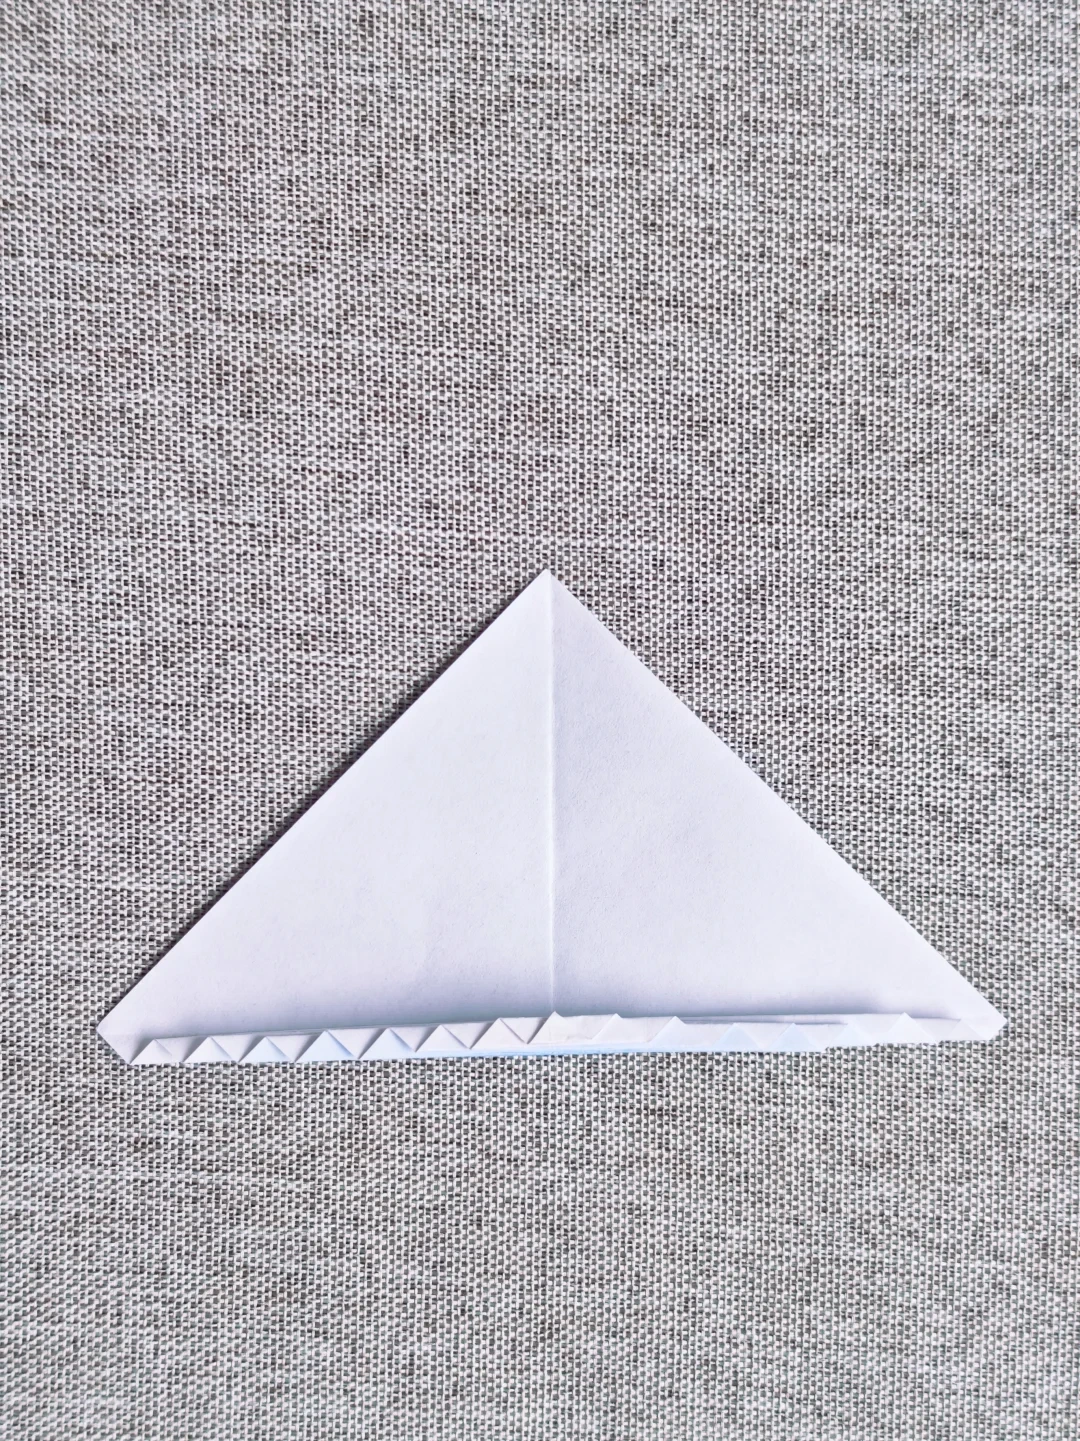 Open image at full size ↗
Work across the whole width, keeping the triangular pleats even.
Finish the narrow strip
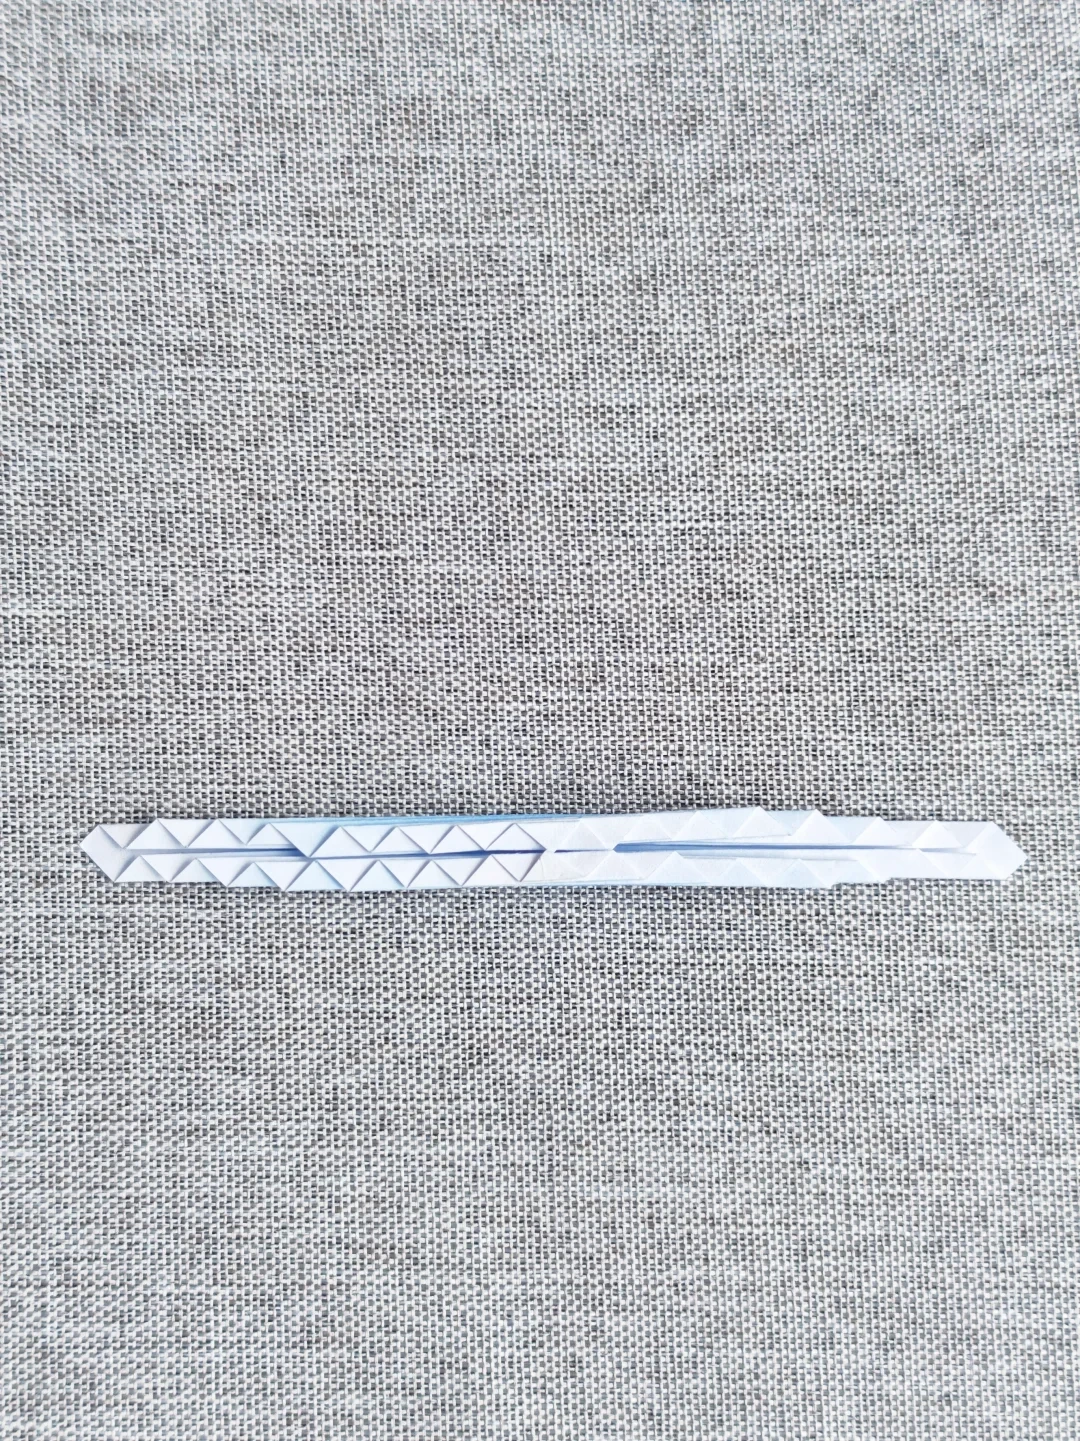 Open image at full size ↗
Fold the remaining paper into a narrow strip with the pleated edge facing outward.
Close the ring
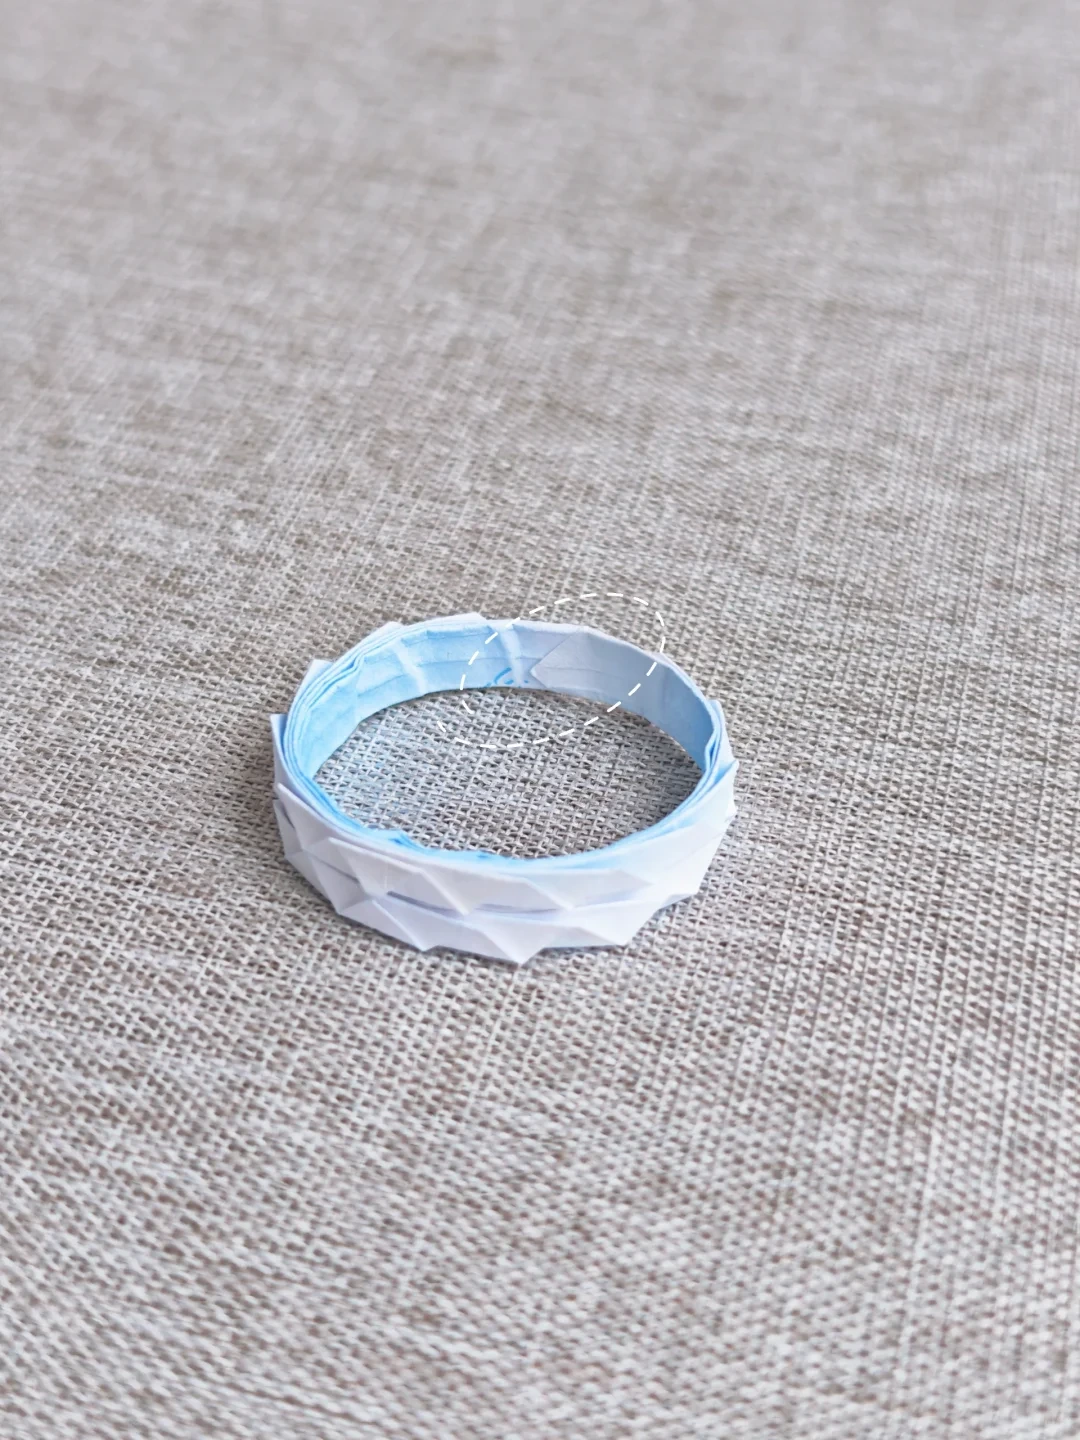 Open image at full size ↗
Curve the strip into a ring and tuck one end into the other; add a little glue if needed.
Follow the diagrams alongside the step-by-step English instructions.
Choose your next project →