
Flowers & nature · Step-by-step guide
Paper-Strip Clover
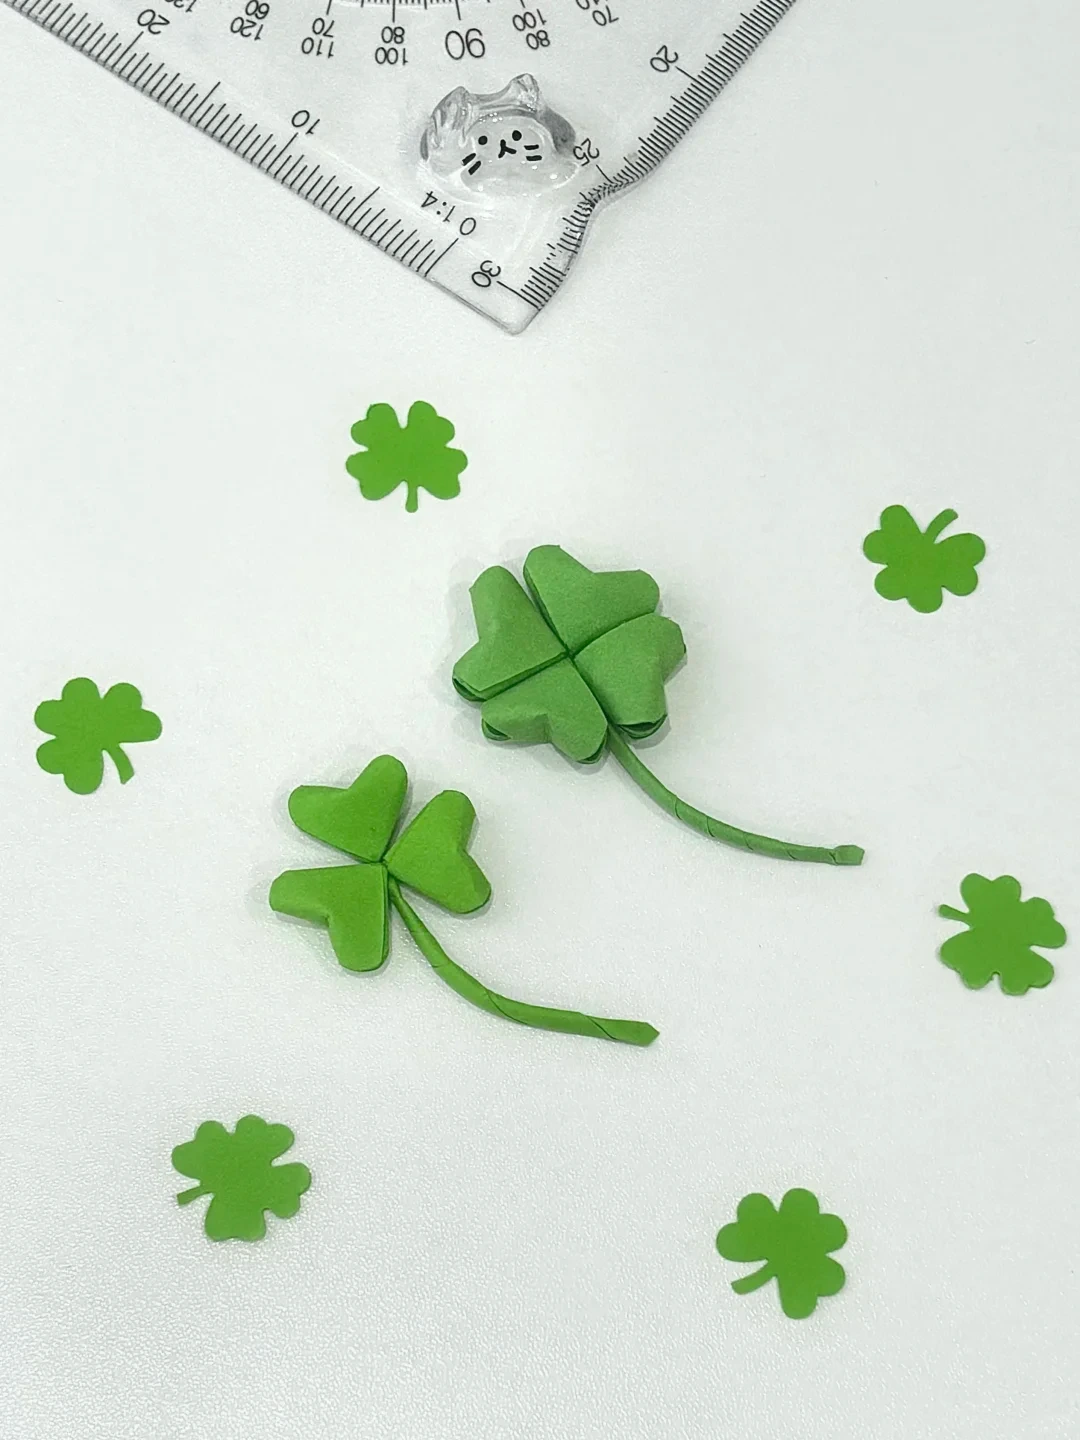
Turn tightly folded paper strips into rounded heart-shaped leaves, then join four leaves into a small clover.
What you’ll need
- Green paper strips
- A small green rectangle for the stem
- Scissors
- Craft glue
Paper craft · Strip folding, shaping, trimming & gluing
Make it, step by step.
13 steps · Original diagrams with English instructions
Choose a strip
 Open image at full size ↗
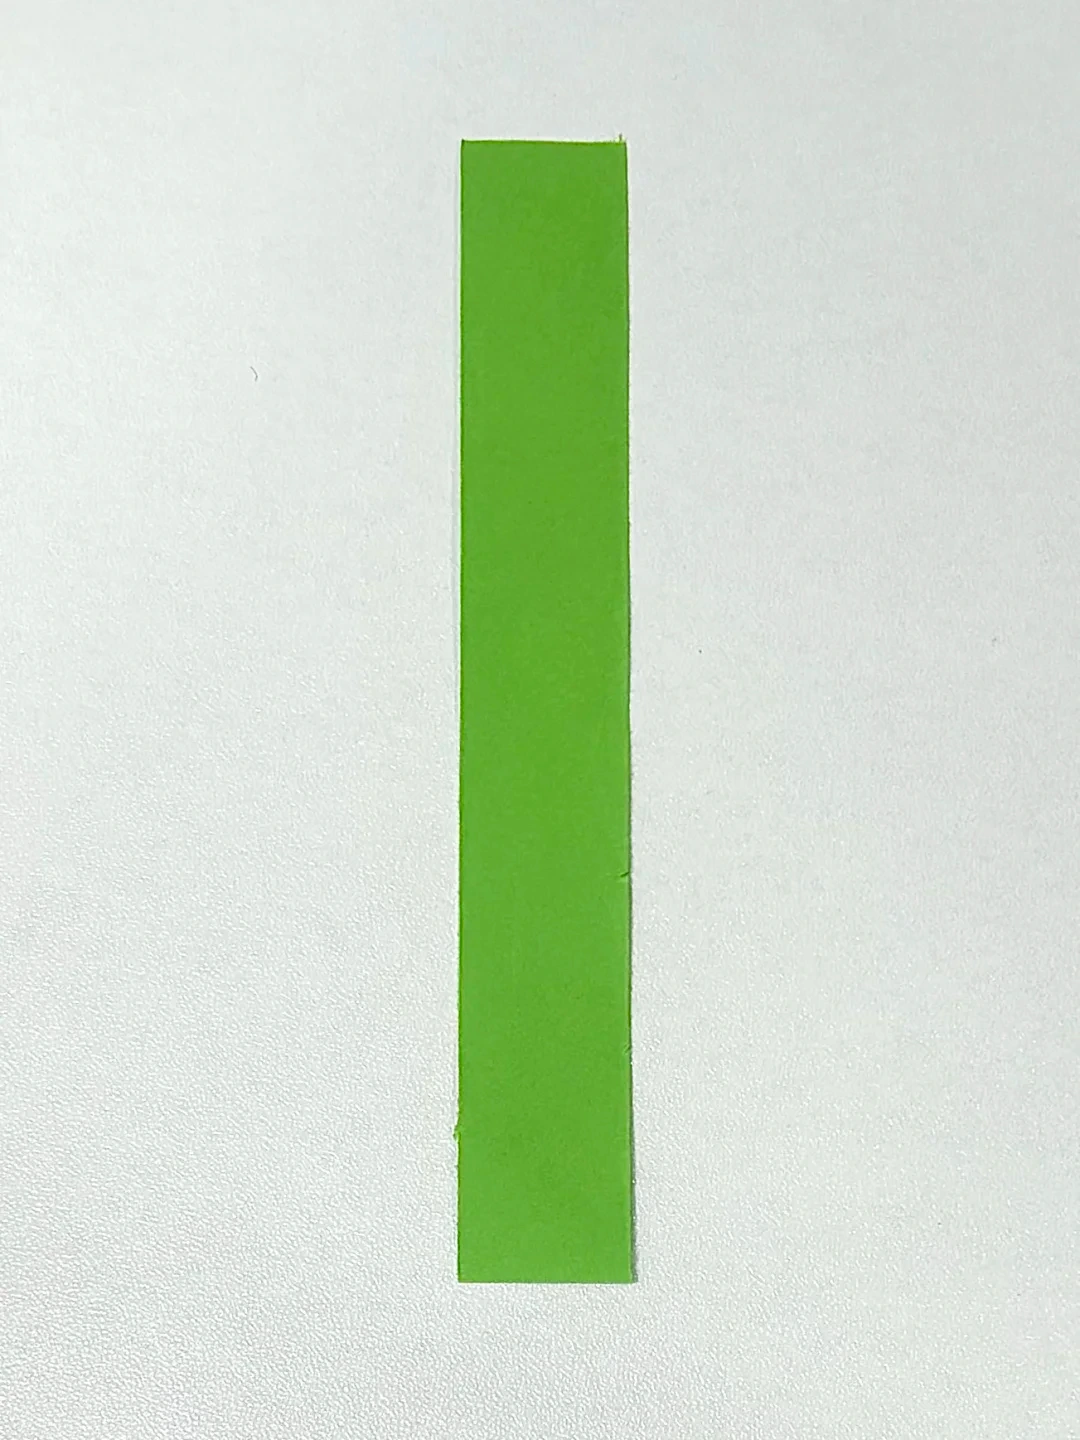
Start with a long, narrow green paper strip. Use matching strips for equally sized leaves.
Make the first triangle
 Open image at full size ↗
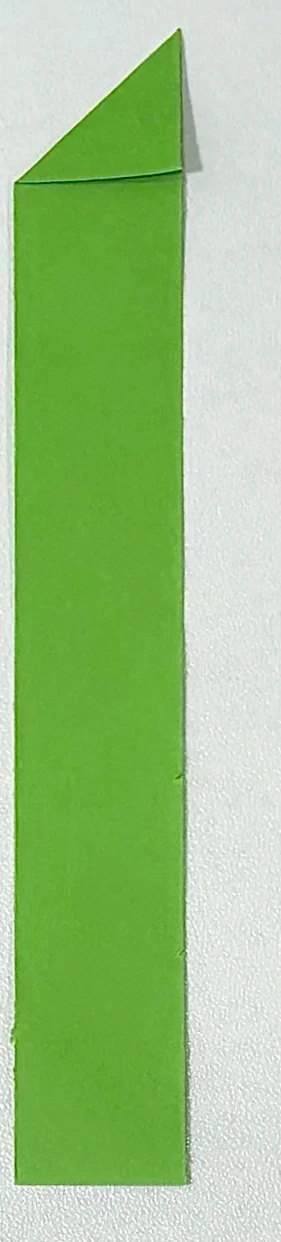
Fold one end diagonally to the right to form a triangle across the width of the strip.
Fold down
 Open image at full size ↗
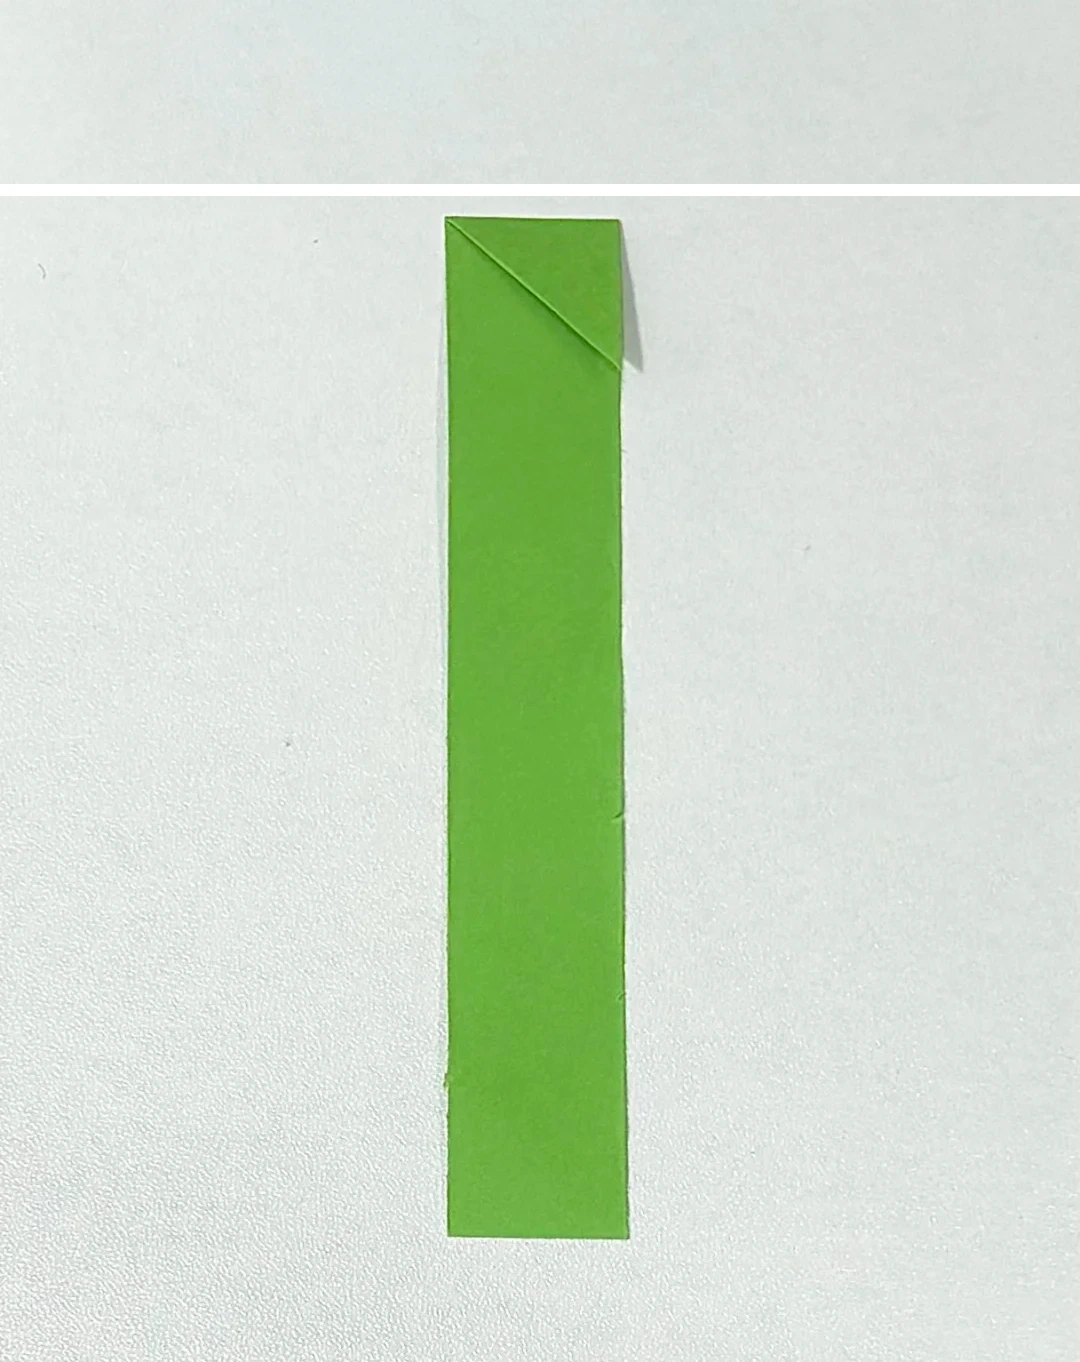
Fold the triangle downward along its lower edge, wrapping the strip around it.
Fold to the left
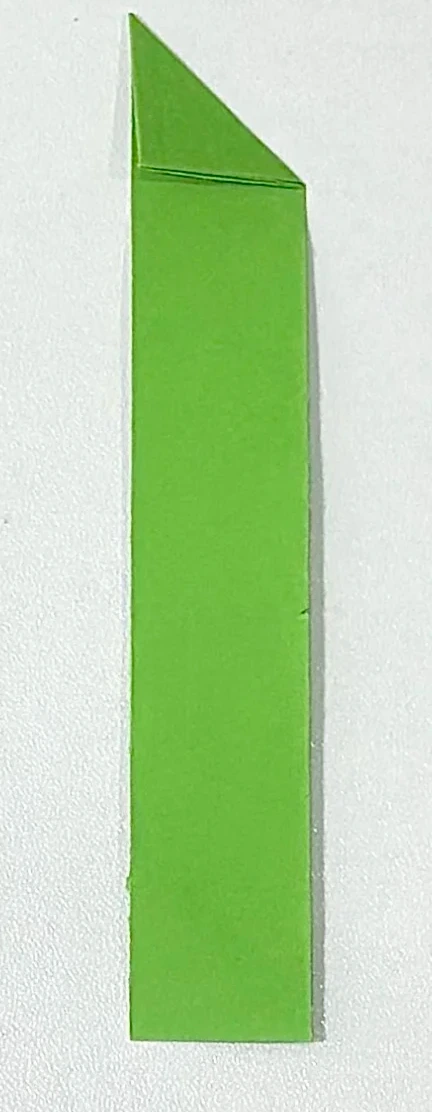 Open image at full size ↗
Fold diagonally to the left to continue the triangular packet.
Wrap the triangle
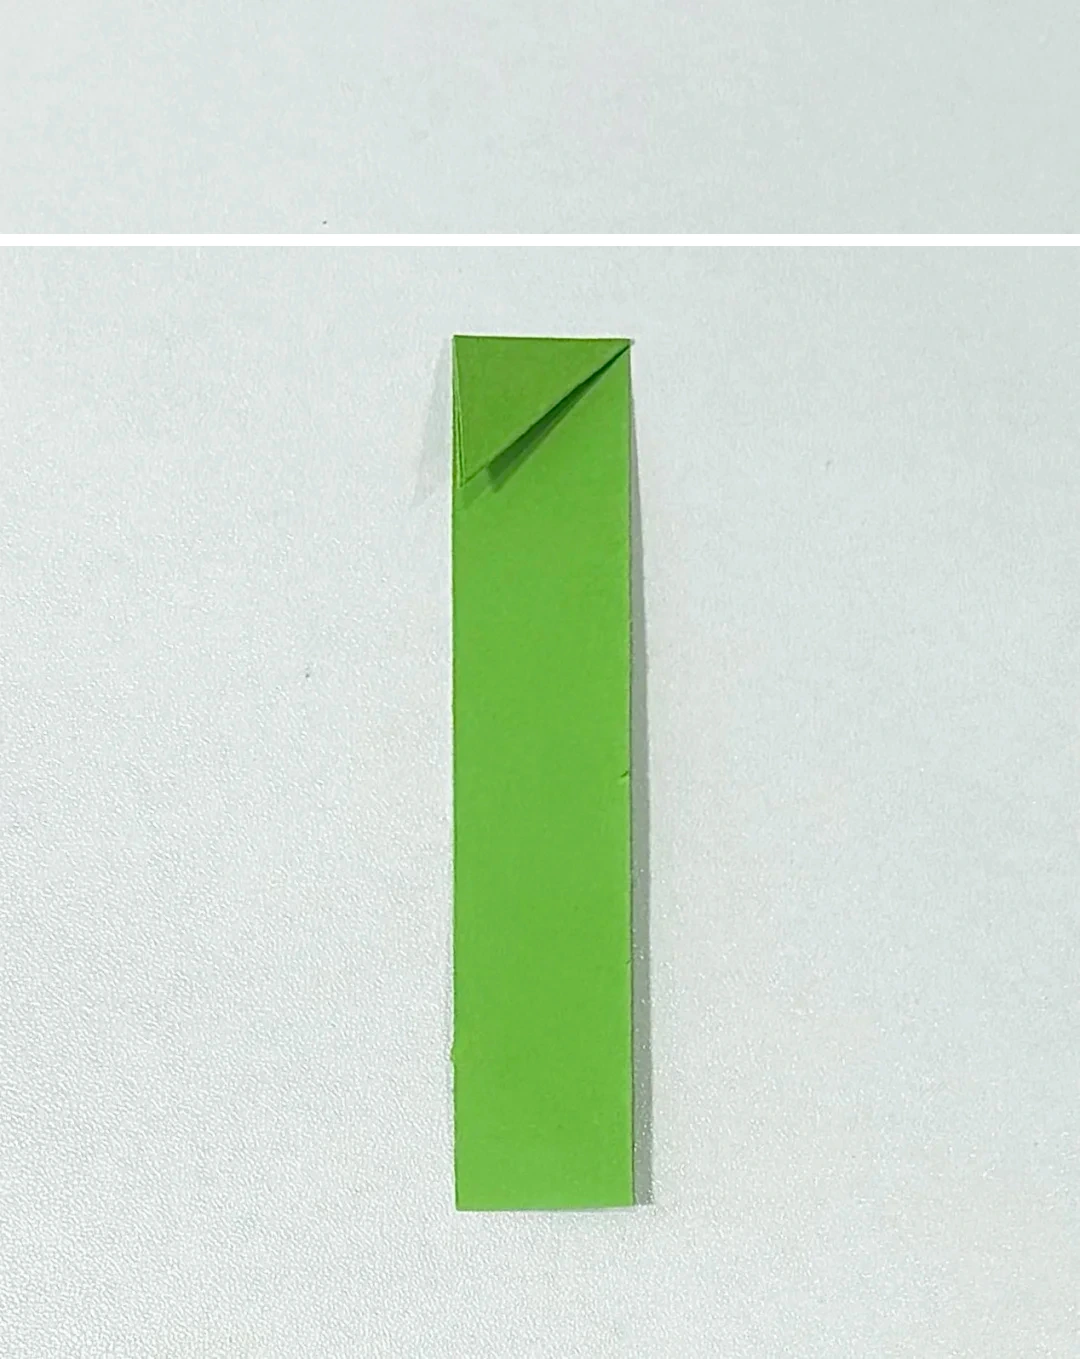 Open image at full size ↗
Fold down again and press the layers flat.
Build the leaf packet
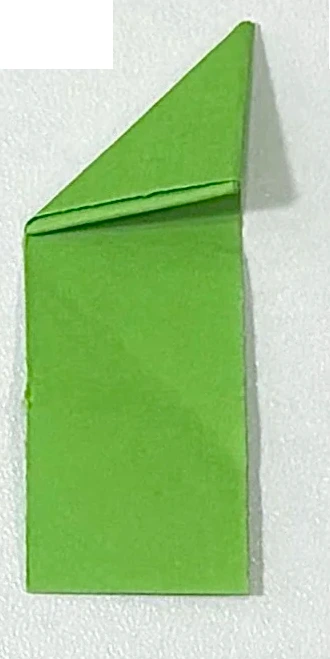 Open image at full size ↗
Repeat the alternating folds, wrapping the remaining strip around the triangle.
Tuck the end
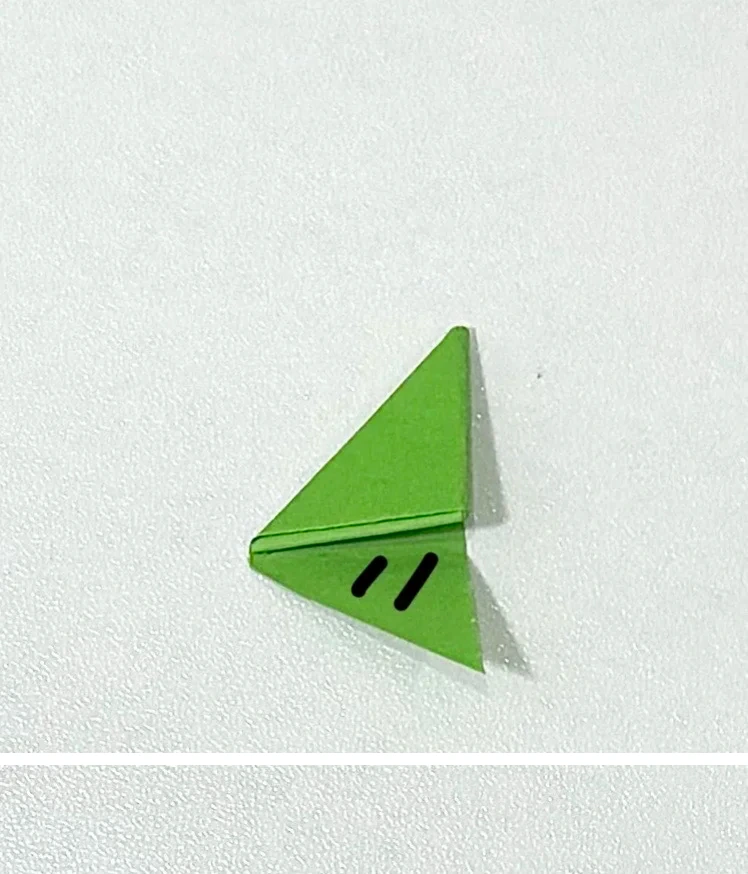 Open image at full size ↗
Trim excess paper, leaving a small triangular tab. Slide the tab into the pocket shown by the marks.
Check the closed triangle
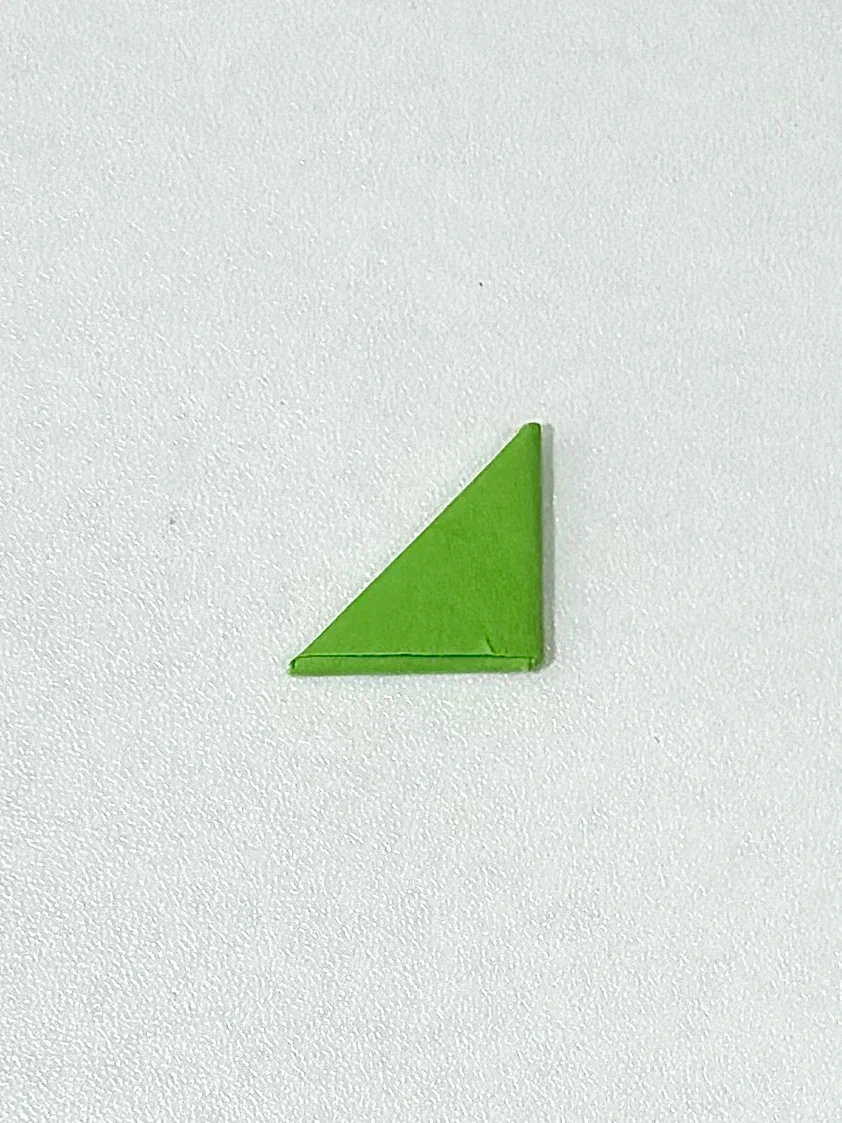 Open image at full size ↗
Flatten the tucked packet so its edges stay closed.
Orient the leaf
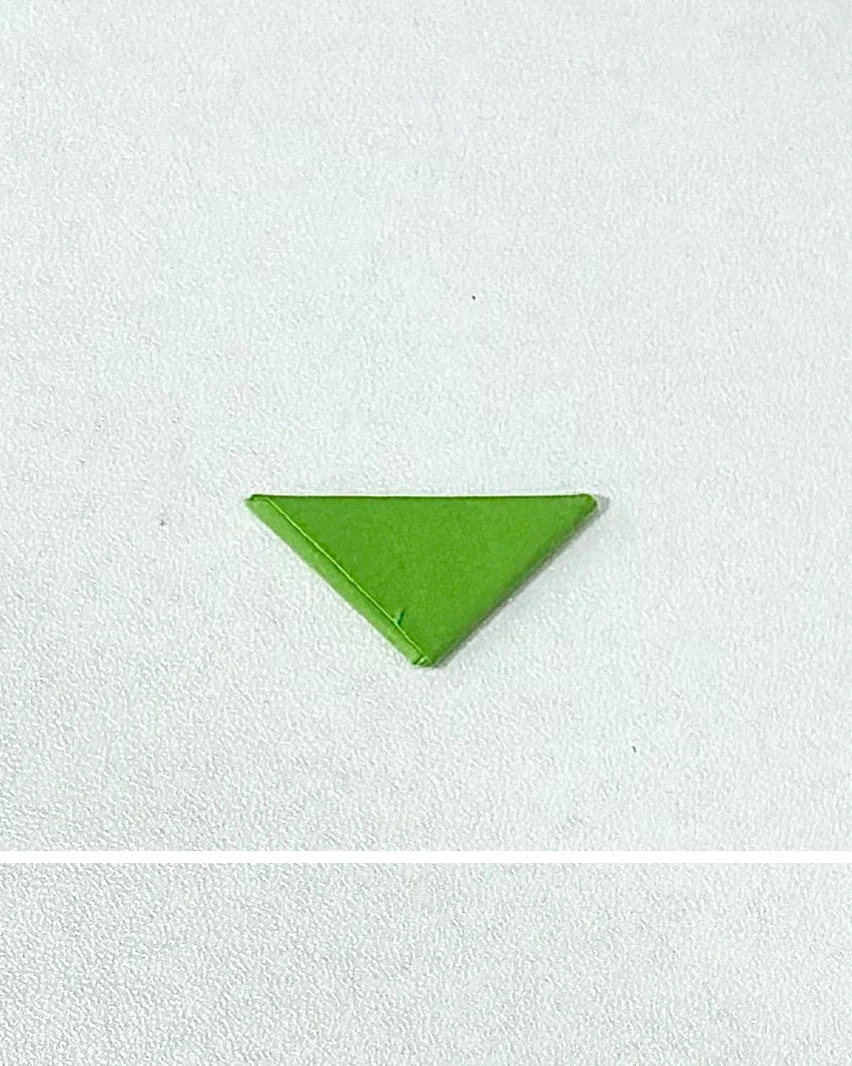 Open image at full size ↗
Turn the triangle so its longest edge faces upward.
Puff the center
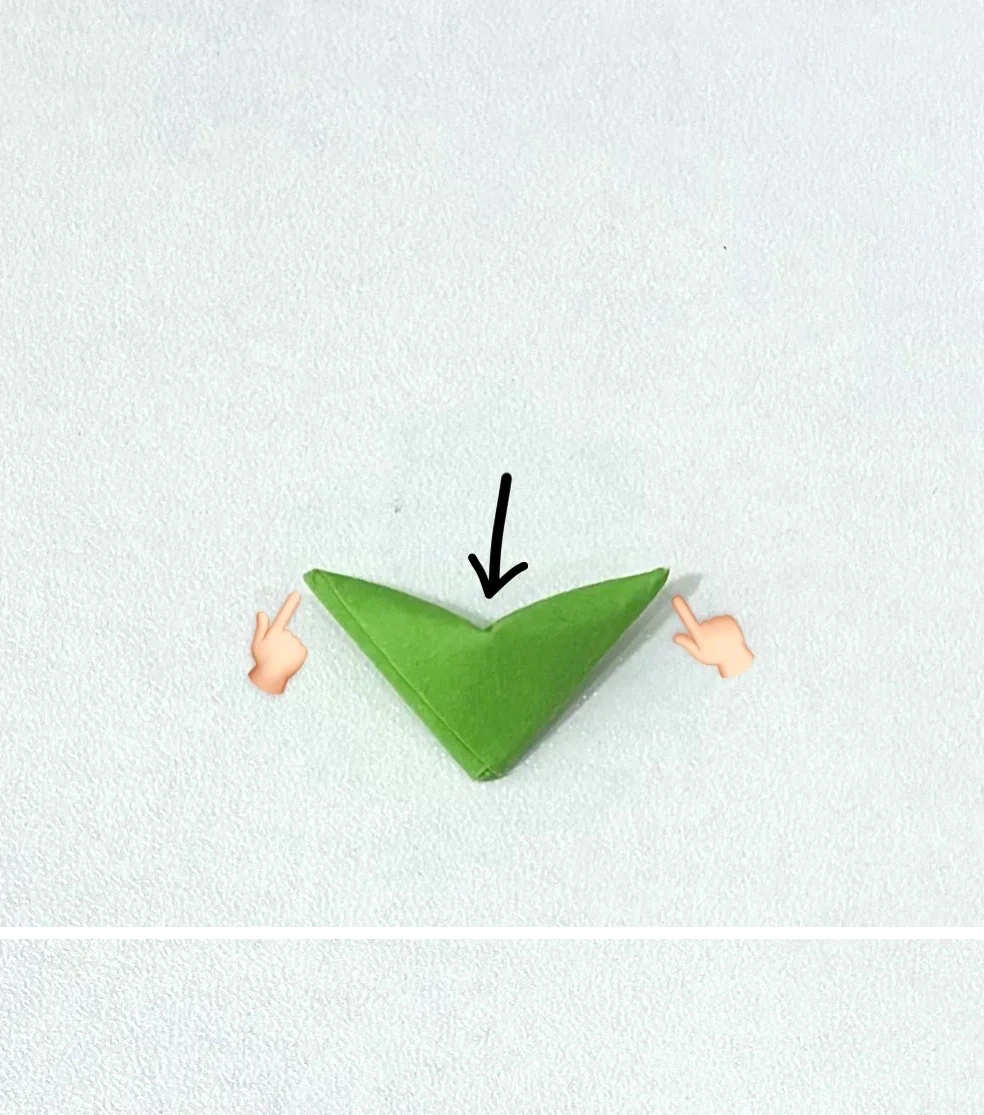 Open image at full size ↗
Pinch the two ends of the long edge to puff up the packet, then press the center inward to make a heart-shaped notch.
Round the leaf
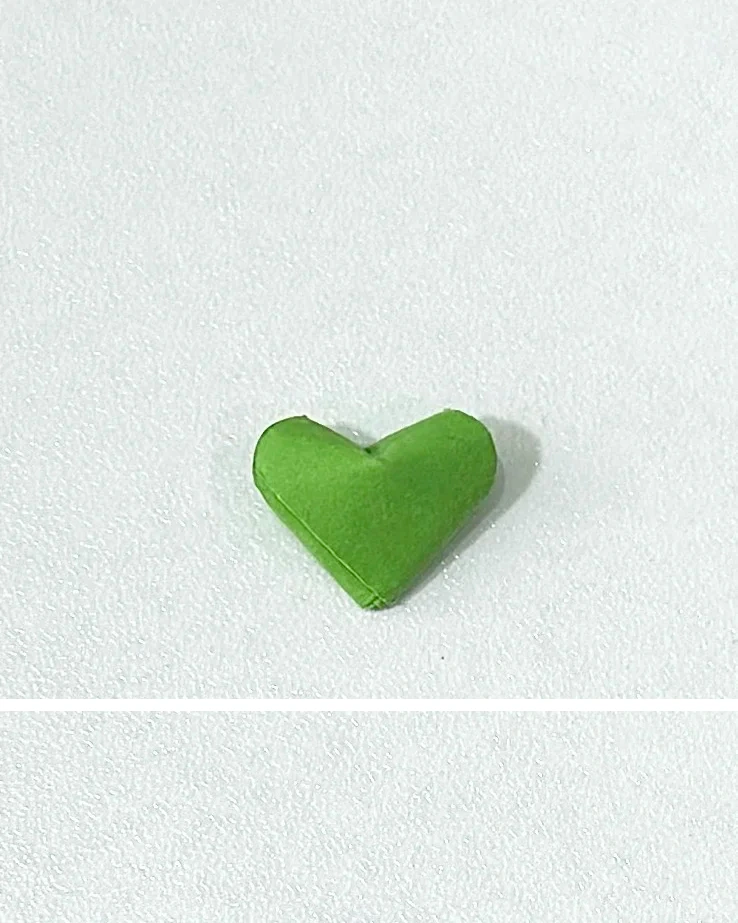 Open image at full size ↗
Trim the outer corners slightly to round the two lobes. Repeat for four matching leaves.
Roll the stem
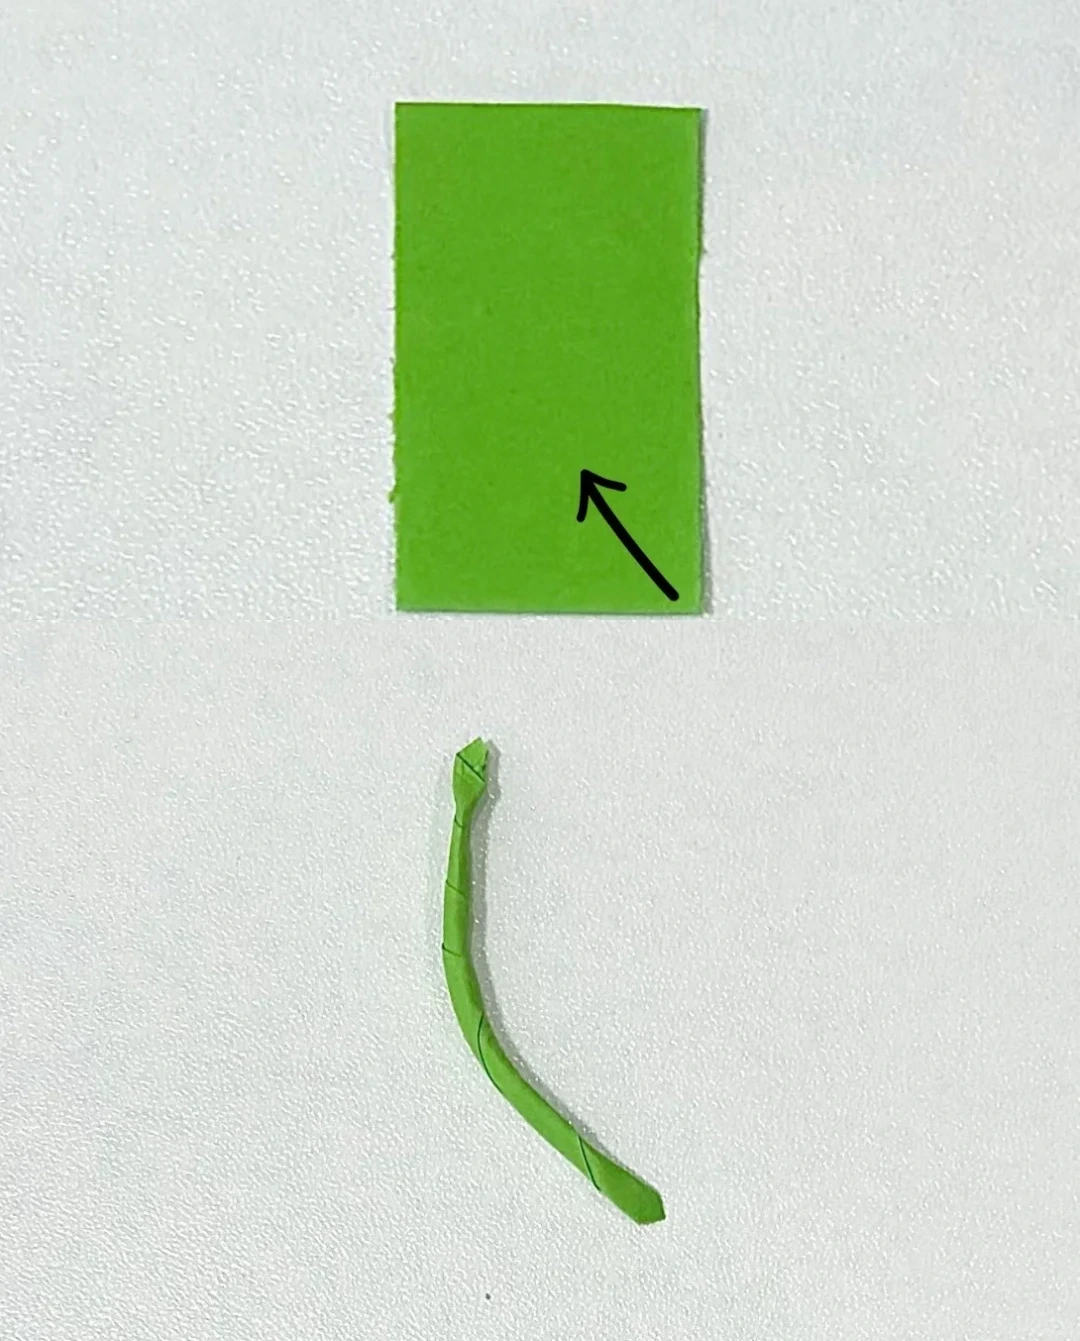 Open image at full size ↗
Roll the small green rectangle tightly into a narrow stem and curve it gently.
Assemble the clover
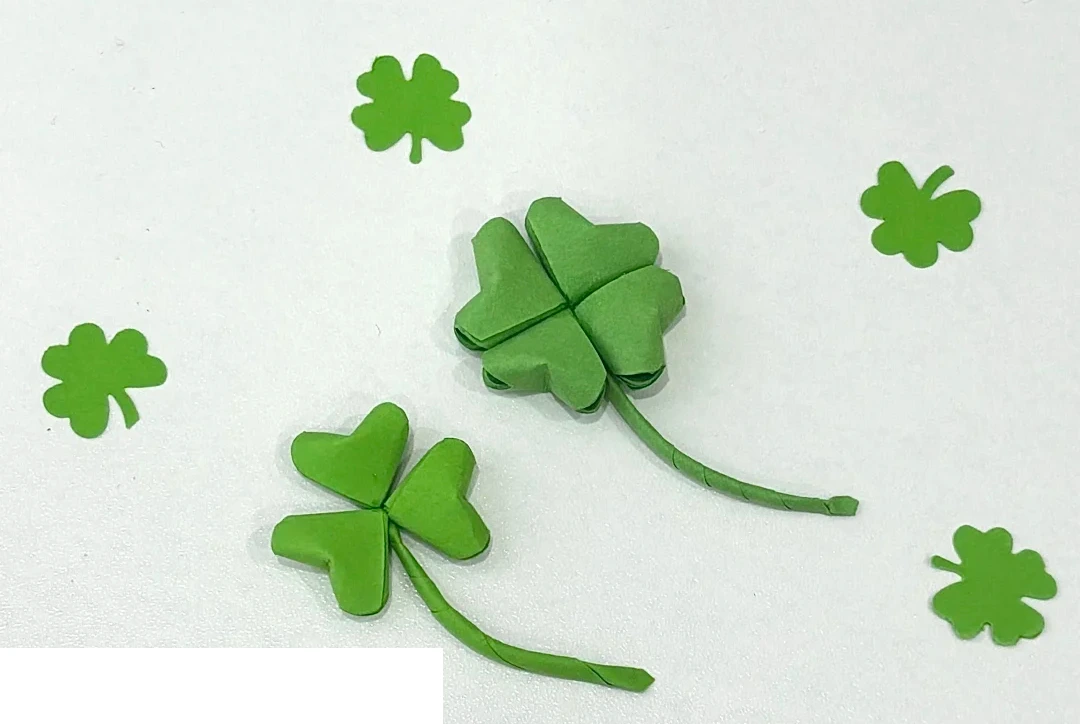 Open image at full size ↗
Glue four heart-shaped leaves together with their points meeting at the center. Attach the rolled stem underneath.
Follow the diagrams alongside the step-by-step English instructions.
Choose your next project →