
Decorations · Step-by-step guide
Paper Bow with Tails
Fold and cut a paper bow with a square center and two long decorative tails.
What you’ll need
- One square of paper
- Scissors
Paper folding · Center sink, cutting & tucking
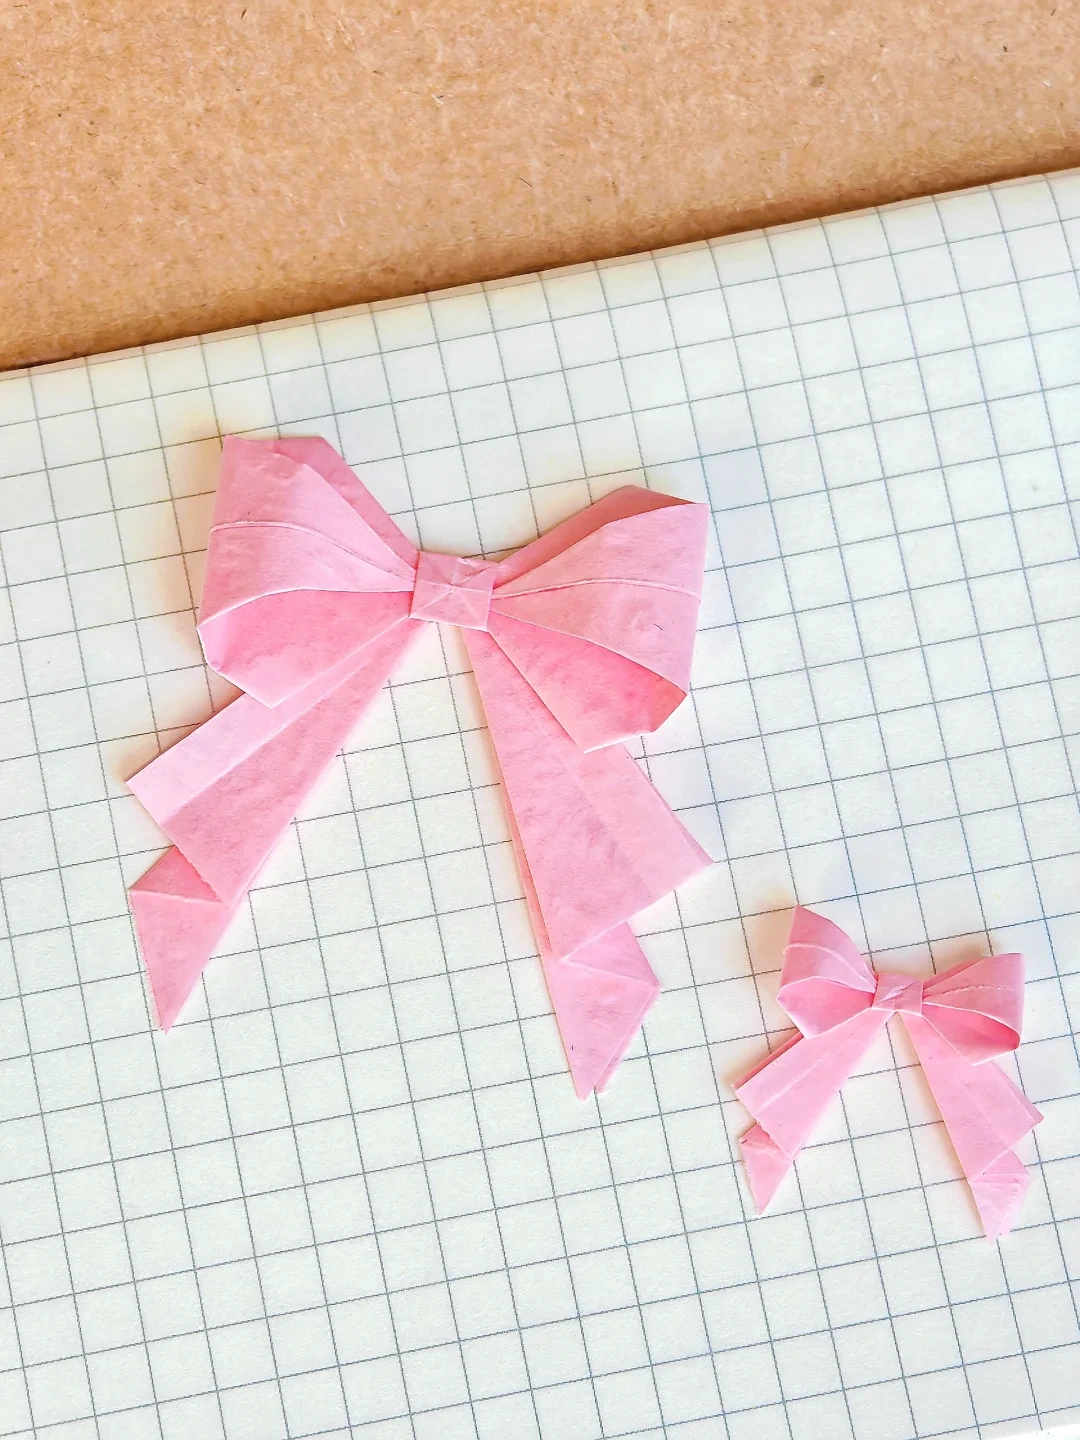
Make it, step by step.
17 steps · Original diagrams with English instructions
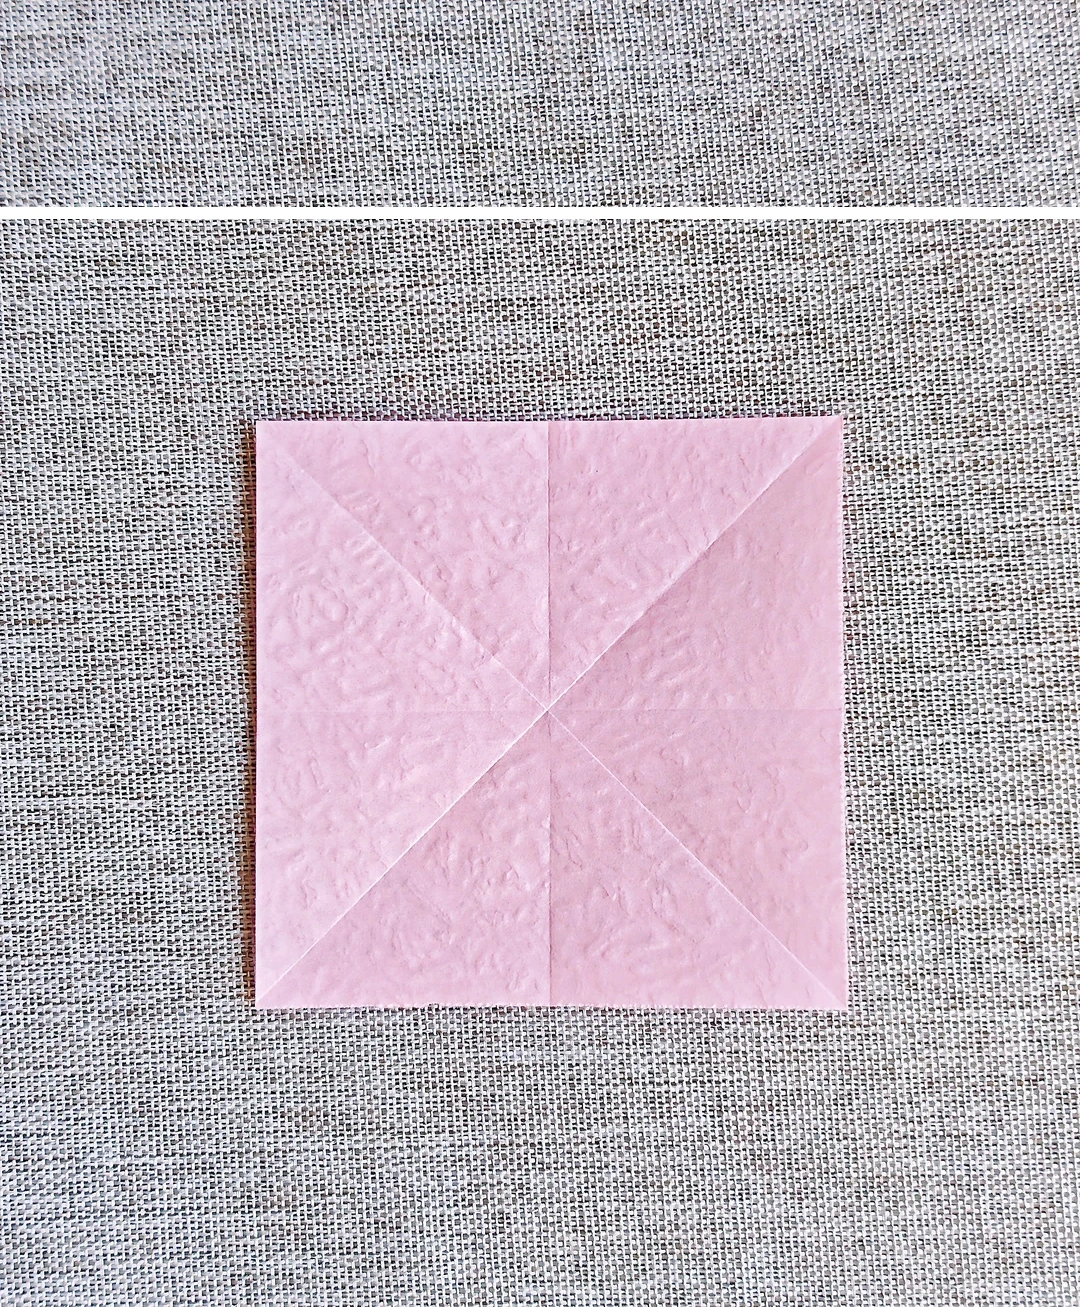
Crease the square
 Open image at full size ↗
Fold and unfold both diagonals and both midlines.
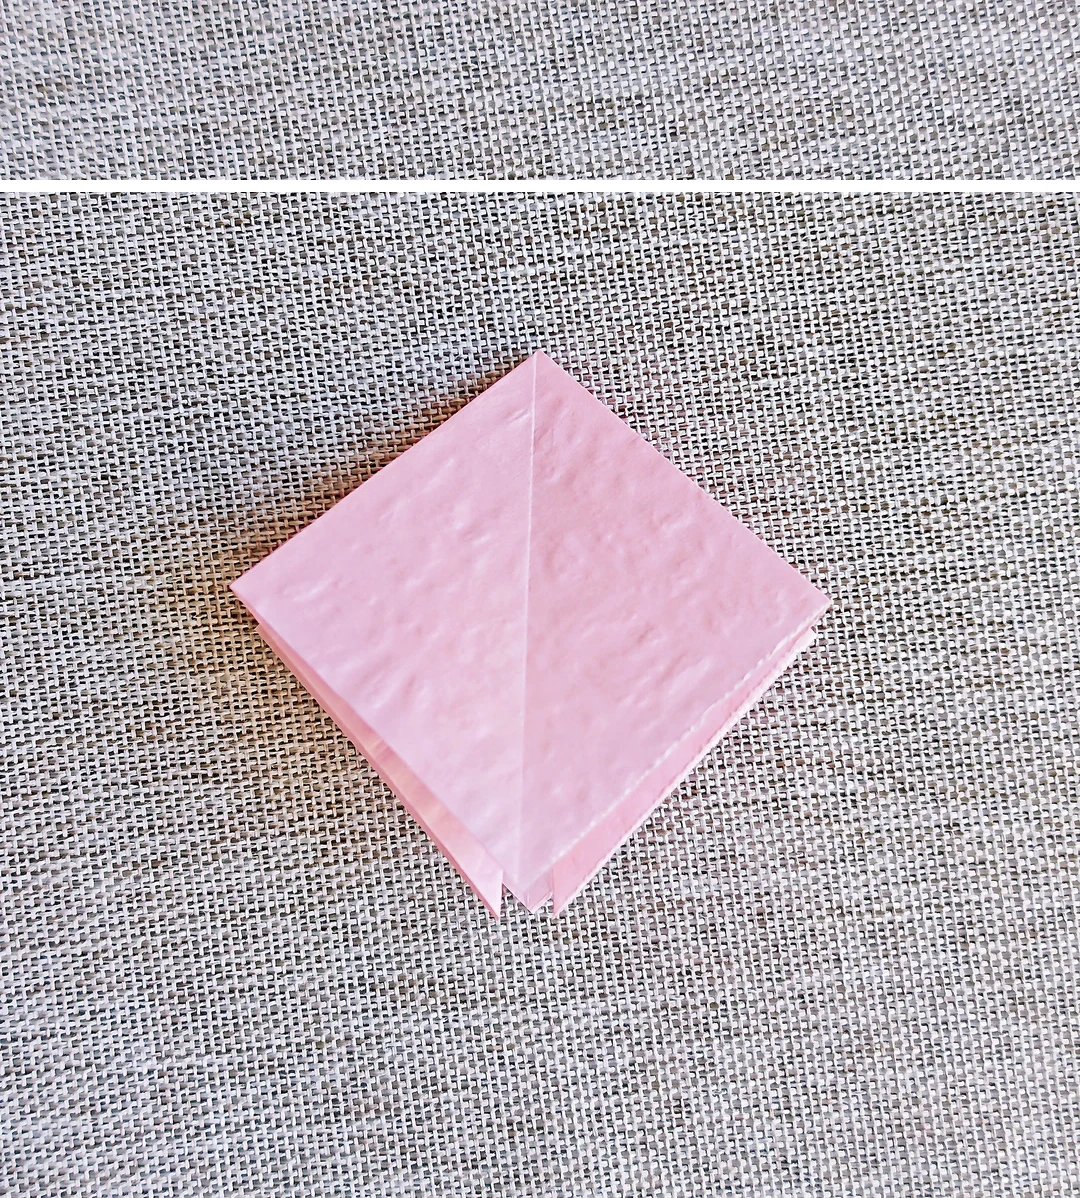
Collapse the base
 Open image at full size ↗
Collapse into a square base with the opening facing down.
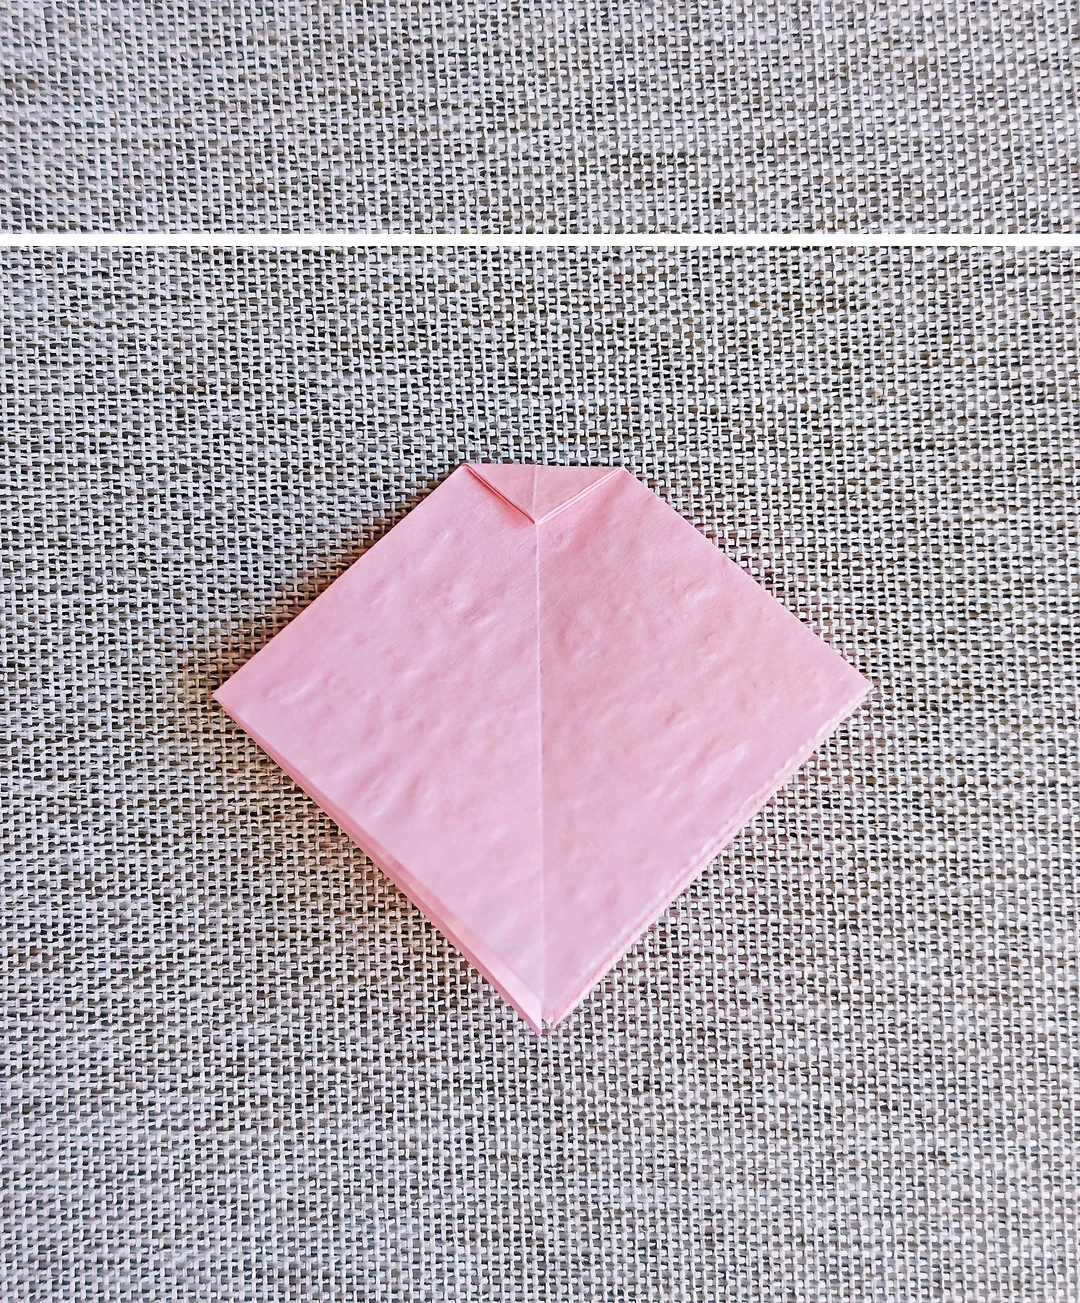
Crease the center knot
 Open image at full size ↗
Fold a small triangle down at the top and crease firmly.
Open the square
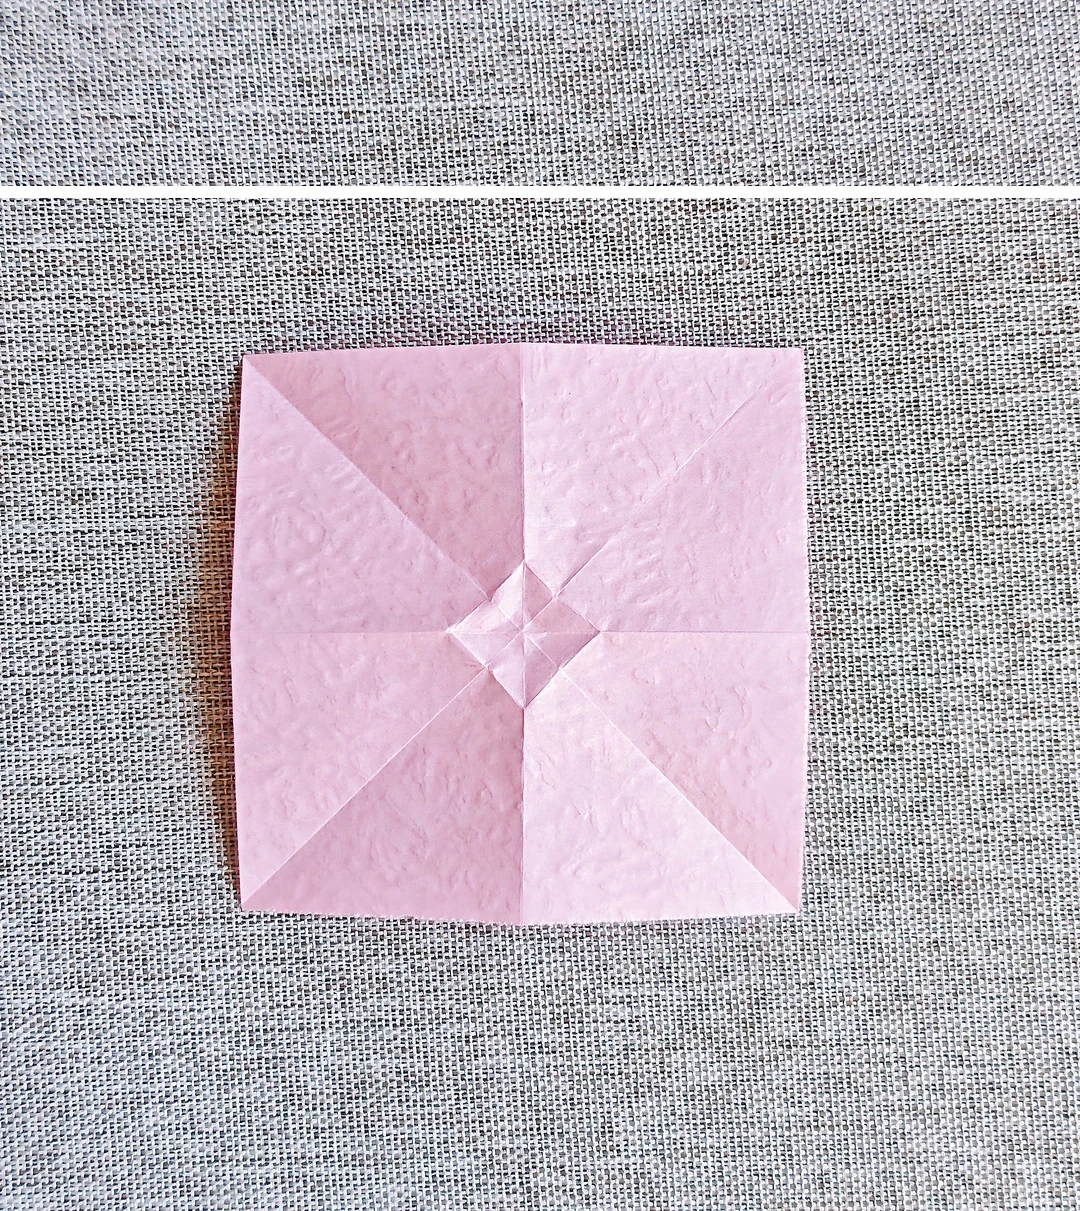 Open image at full size ↗
Unfold completely and sharpen the small central square.
Sink the center
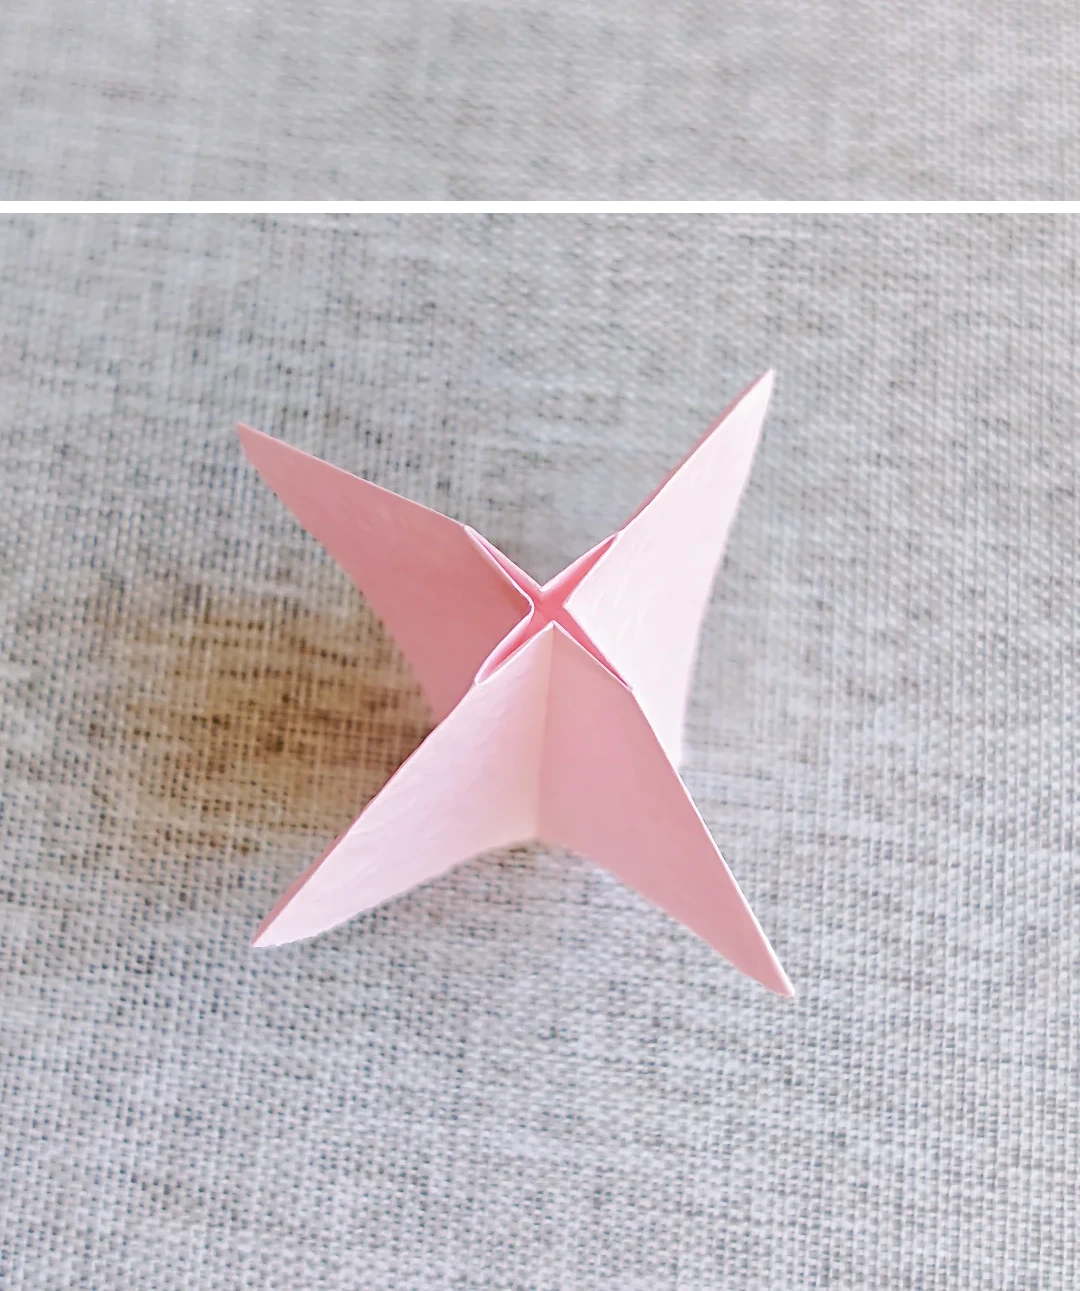 Open image at full size ↗
Push the central square inward while bringing the surrounding layers together.
Flatten the base
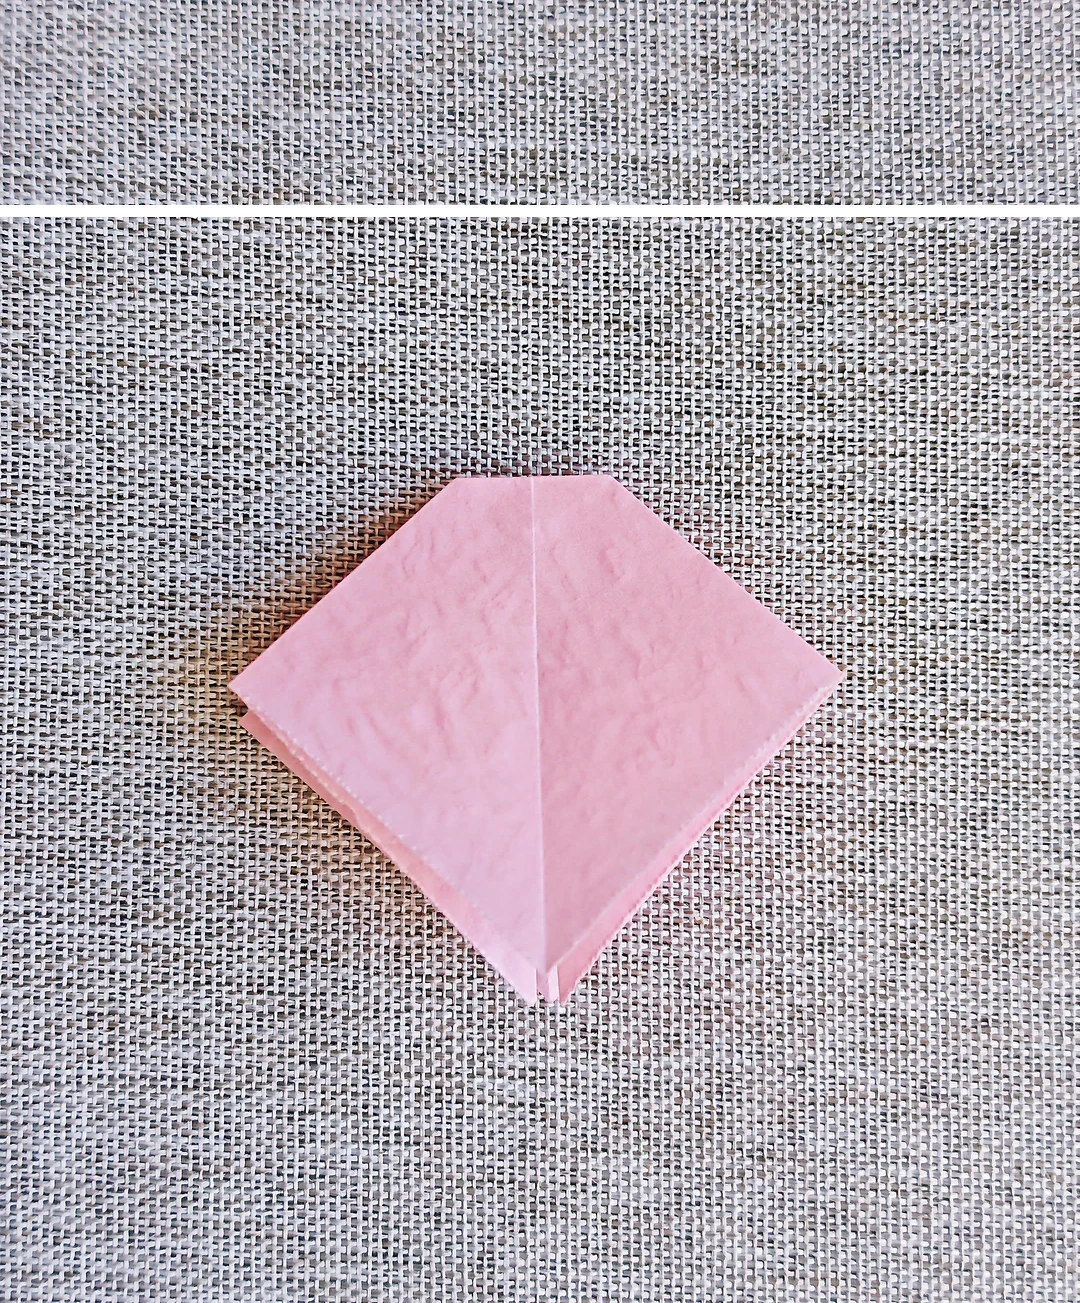 Open image at full size ↗
Flatten the model into the diamond shown.
Fold one narrow edge
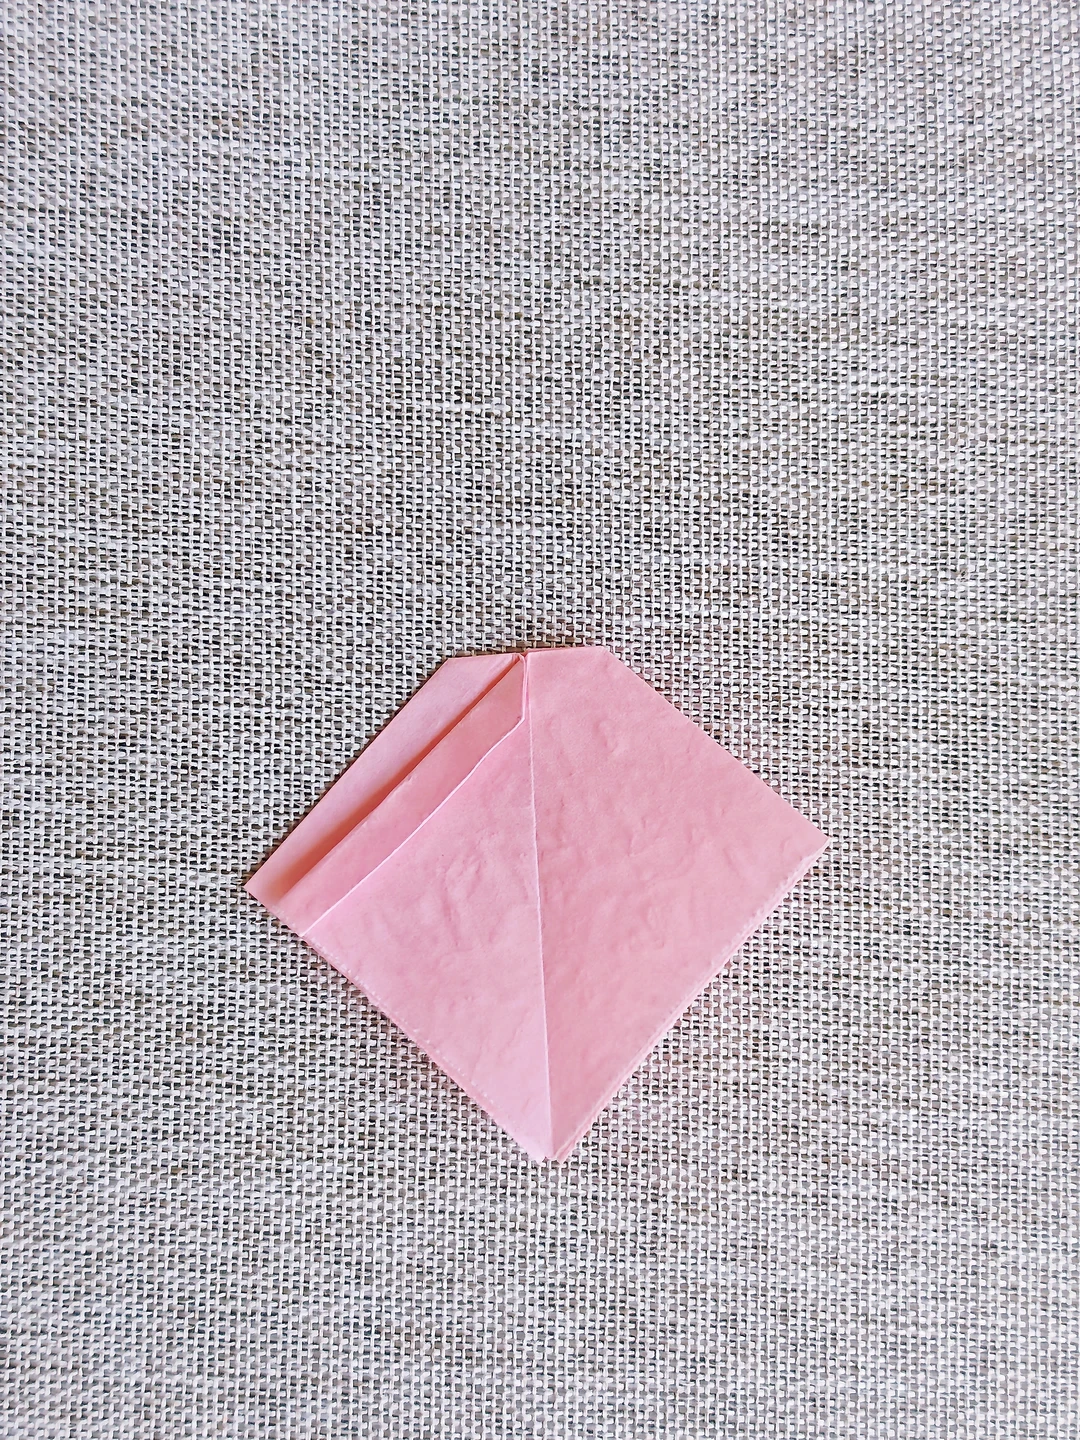 Open image at full size ↗
Fold one upper side edge toward the center.
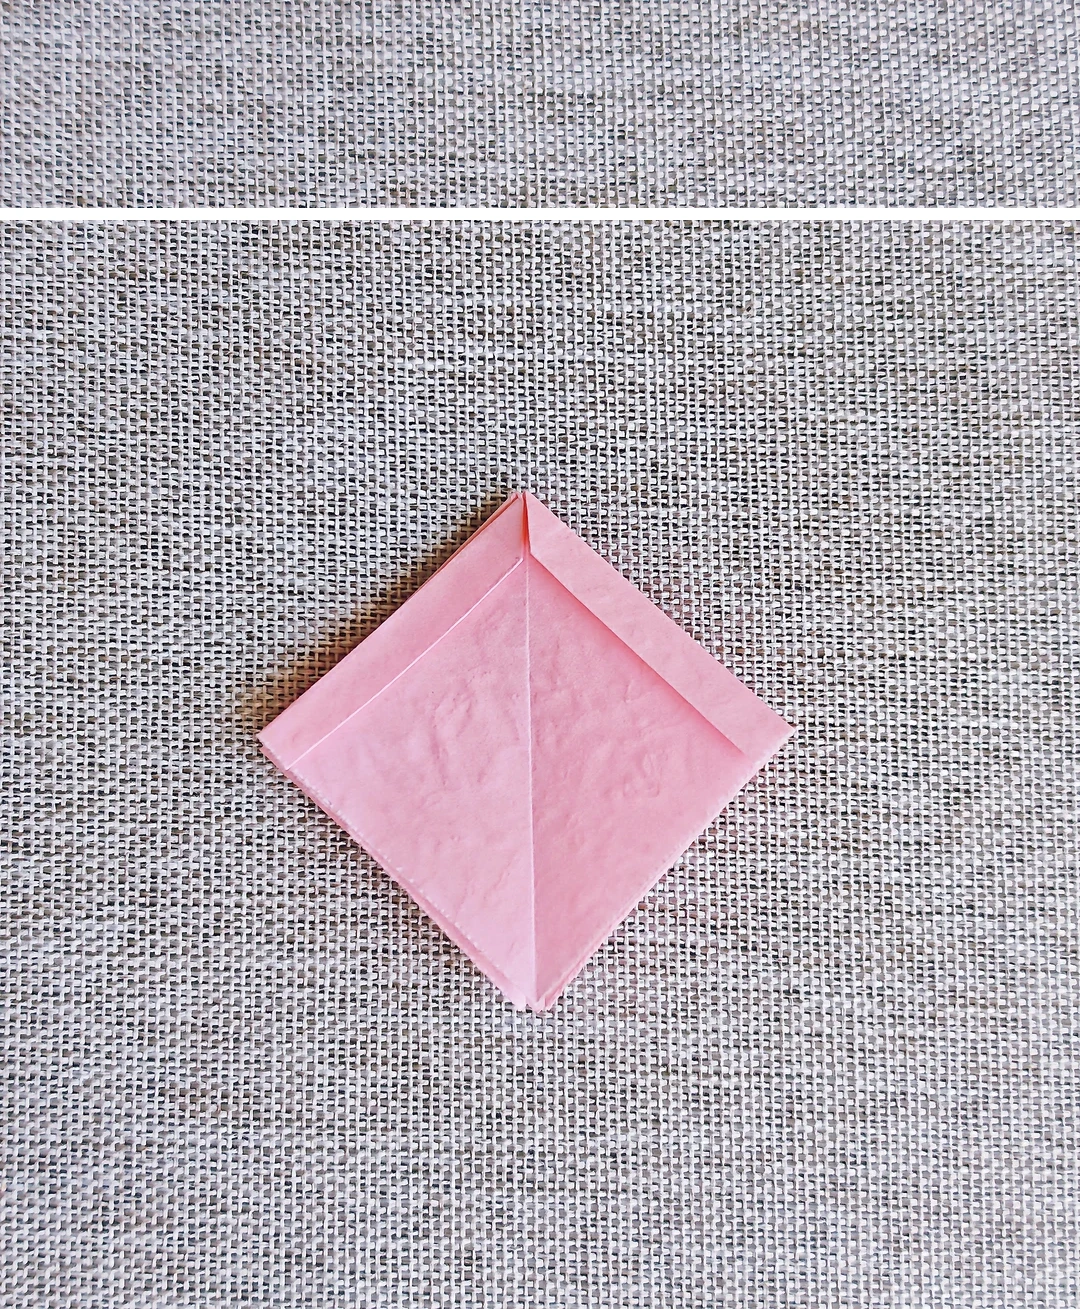
Repeat the edge folds
 Open image at full size ↗
Repeat on the other three edges.
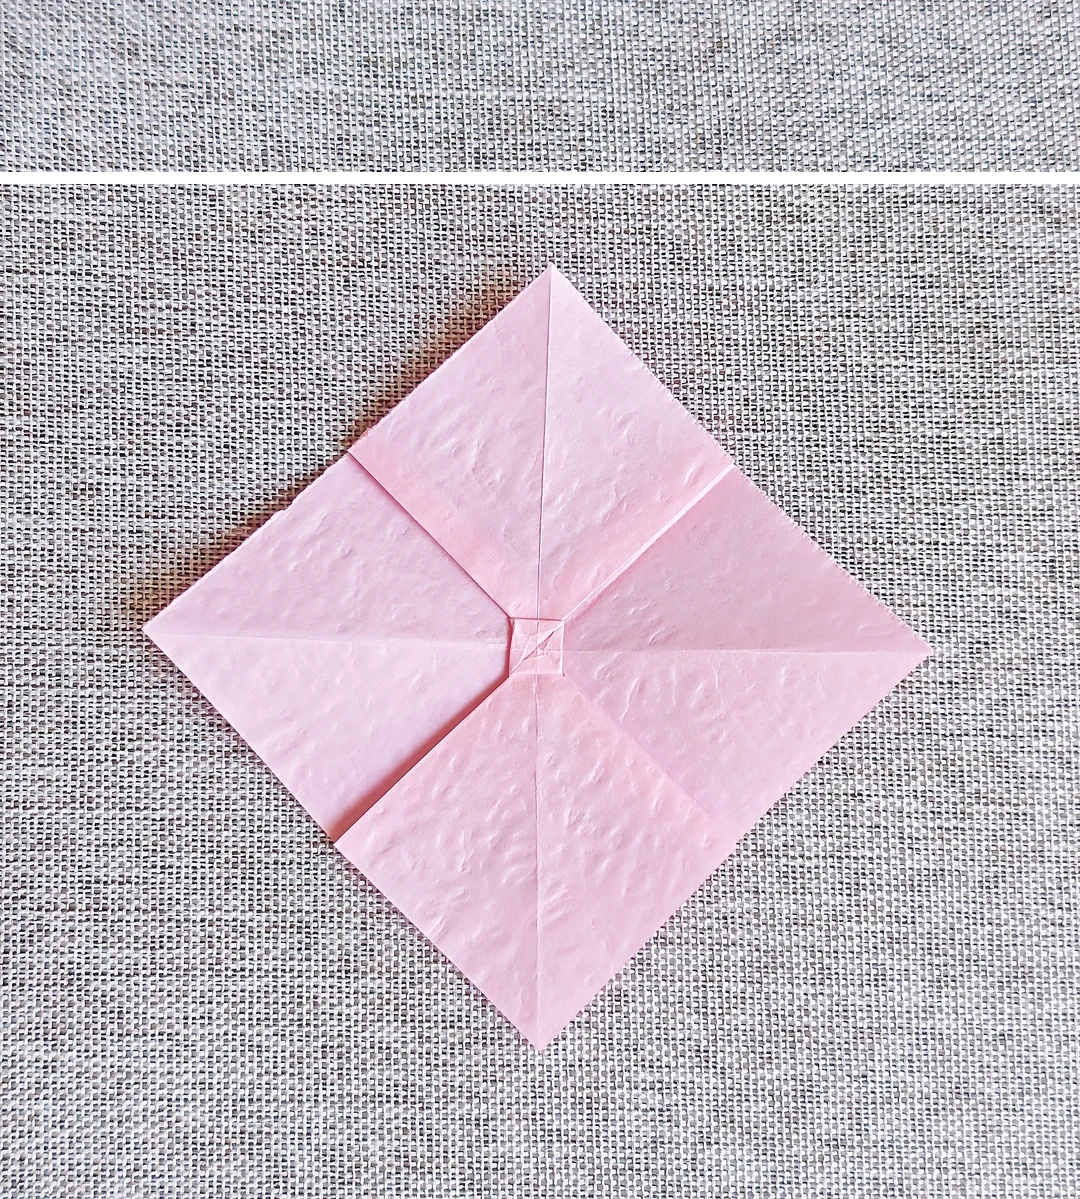
Open the bow blank
 Open image at full size ↗
Unfold the outer layers and press the small center square flat.
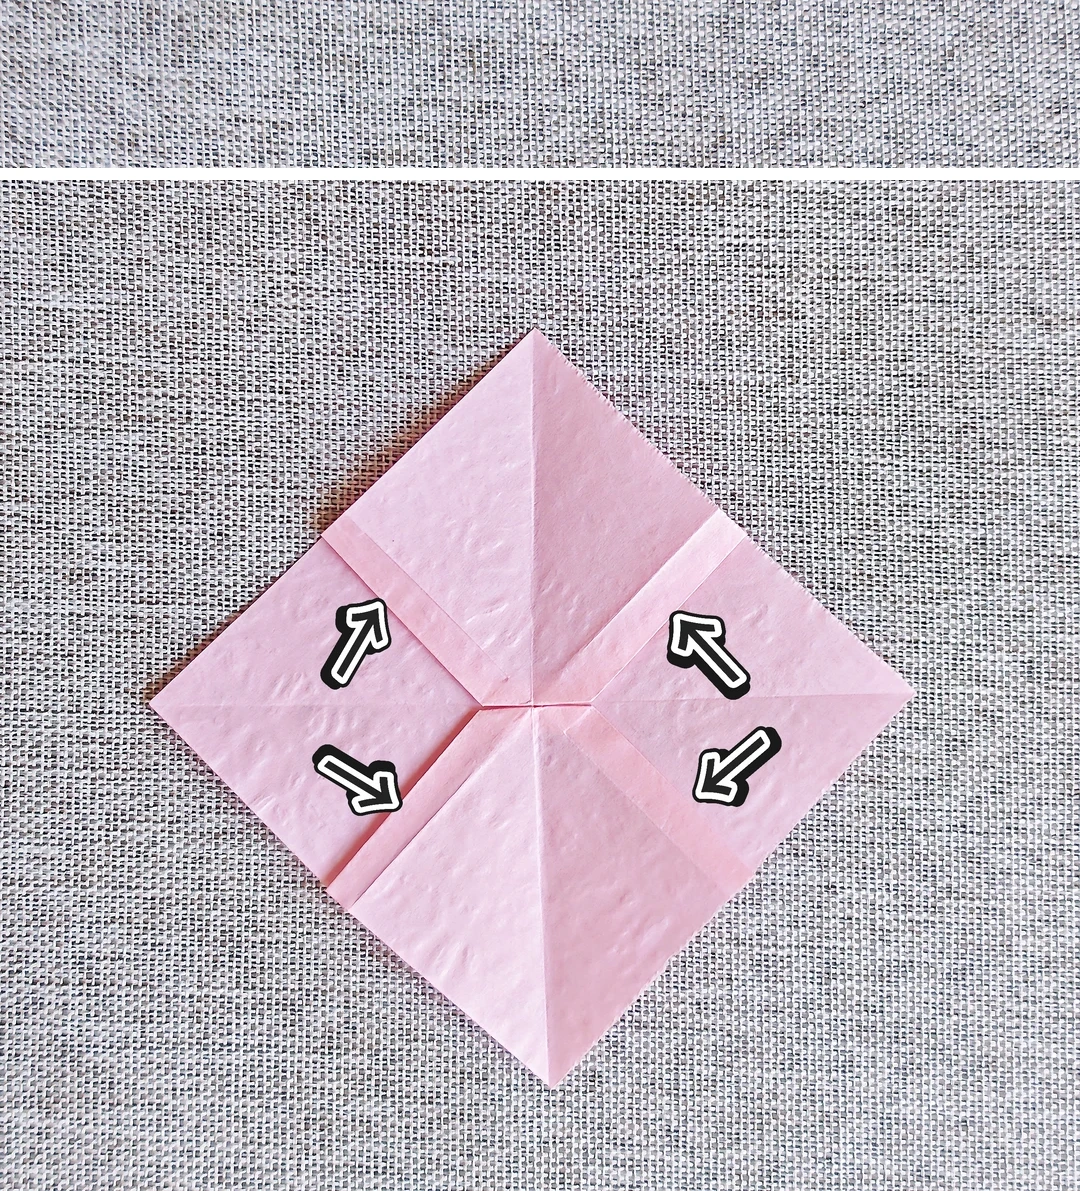
Cut four edges
 Open image at full size ↗
Turn over and cut the four indicated folded edges, stopping at the center section.
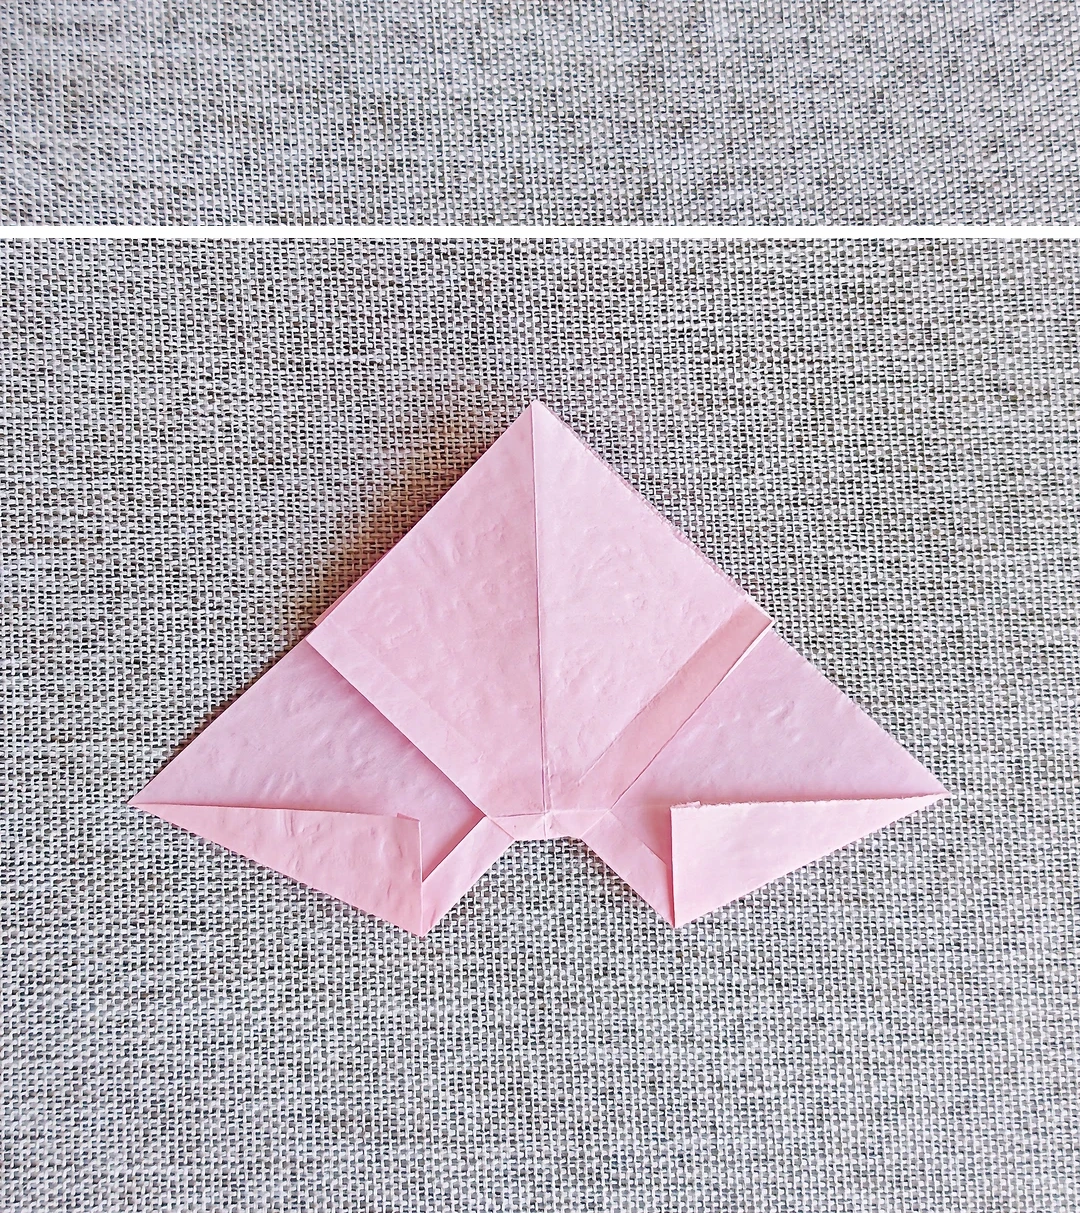
Shape the first side
 Open image at full size ↗
Lift the lower flap upward and fold its side edges to the center.
Shape the other side
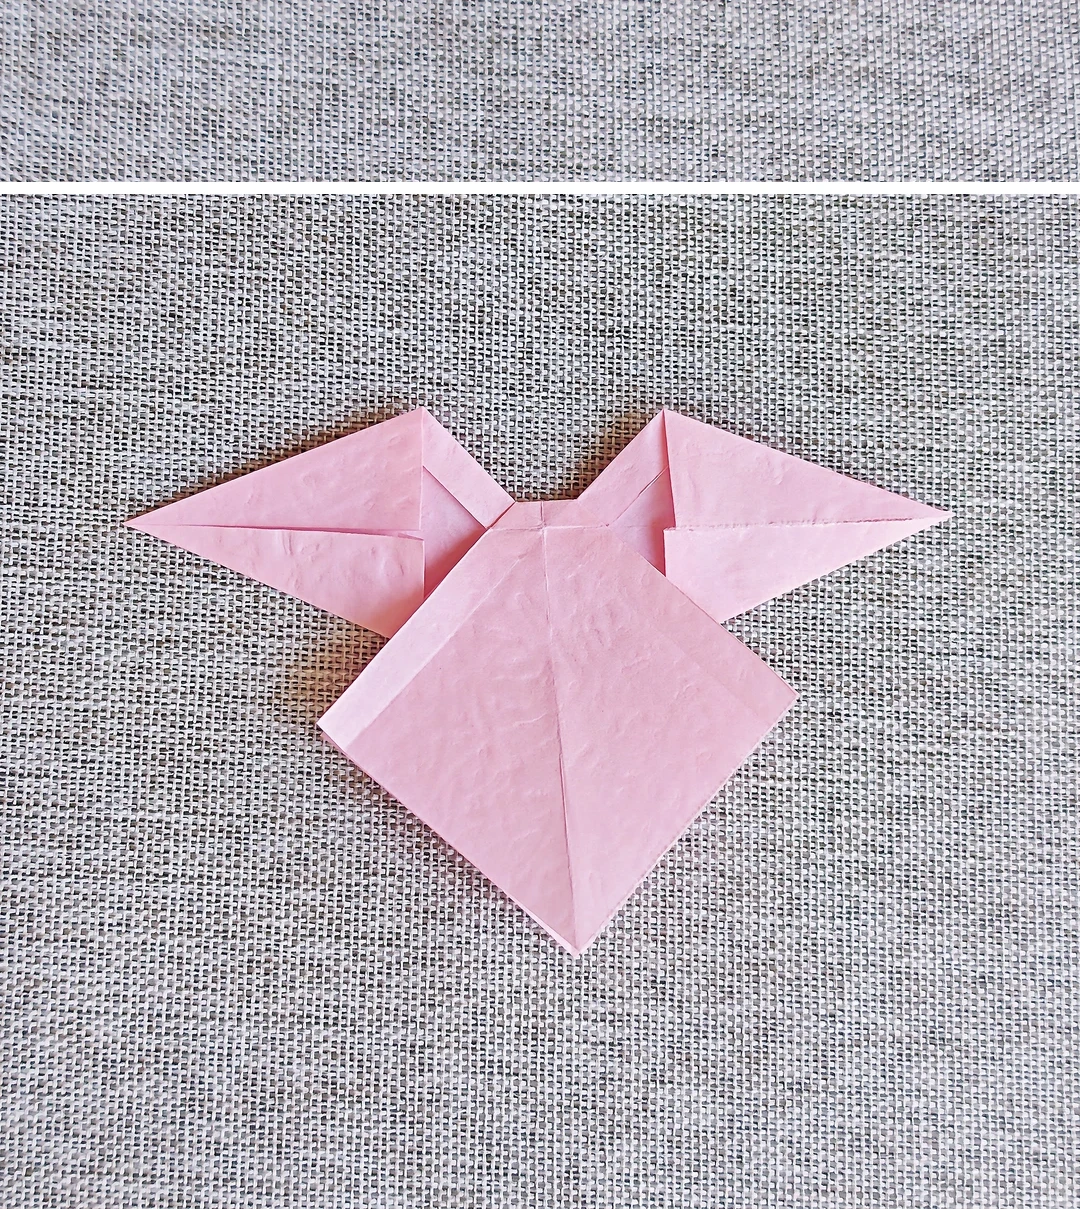 Open image at full size ↗
Bring the two upper layers down and fold their edges toward the middle.
Split the tails
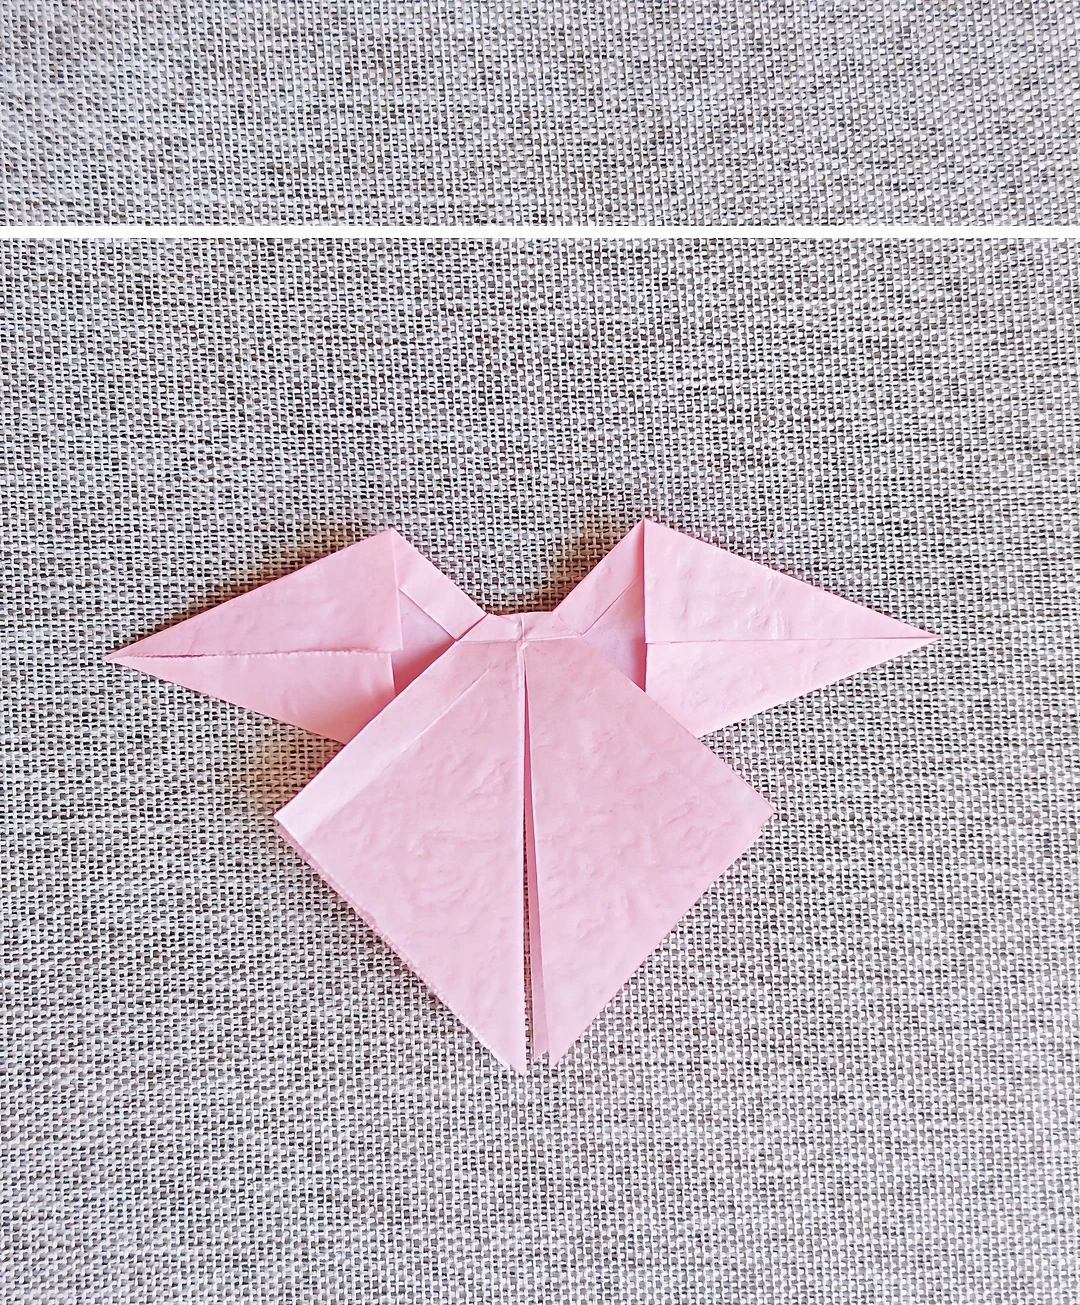 Open image at full size ↗
Cut along the center line of the large lower flap to separate the two tails.
Fold the tails outward
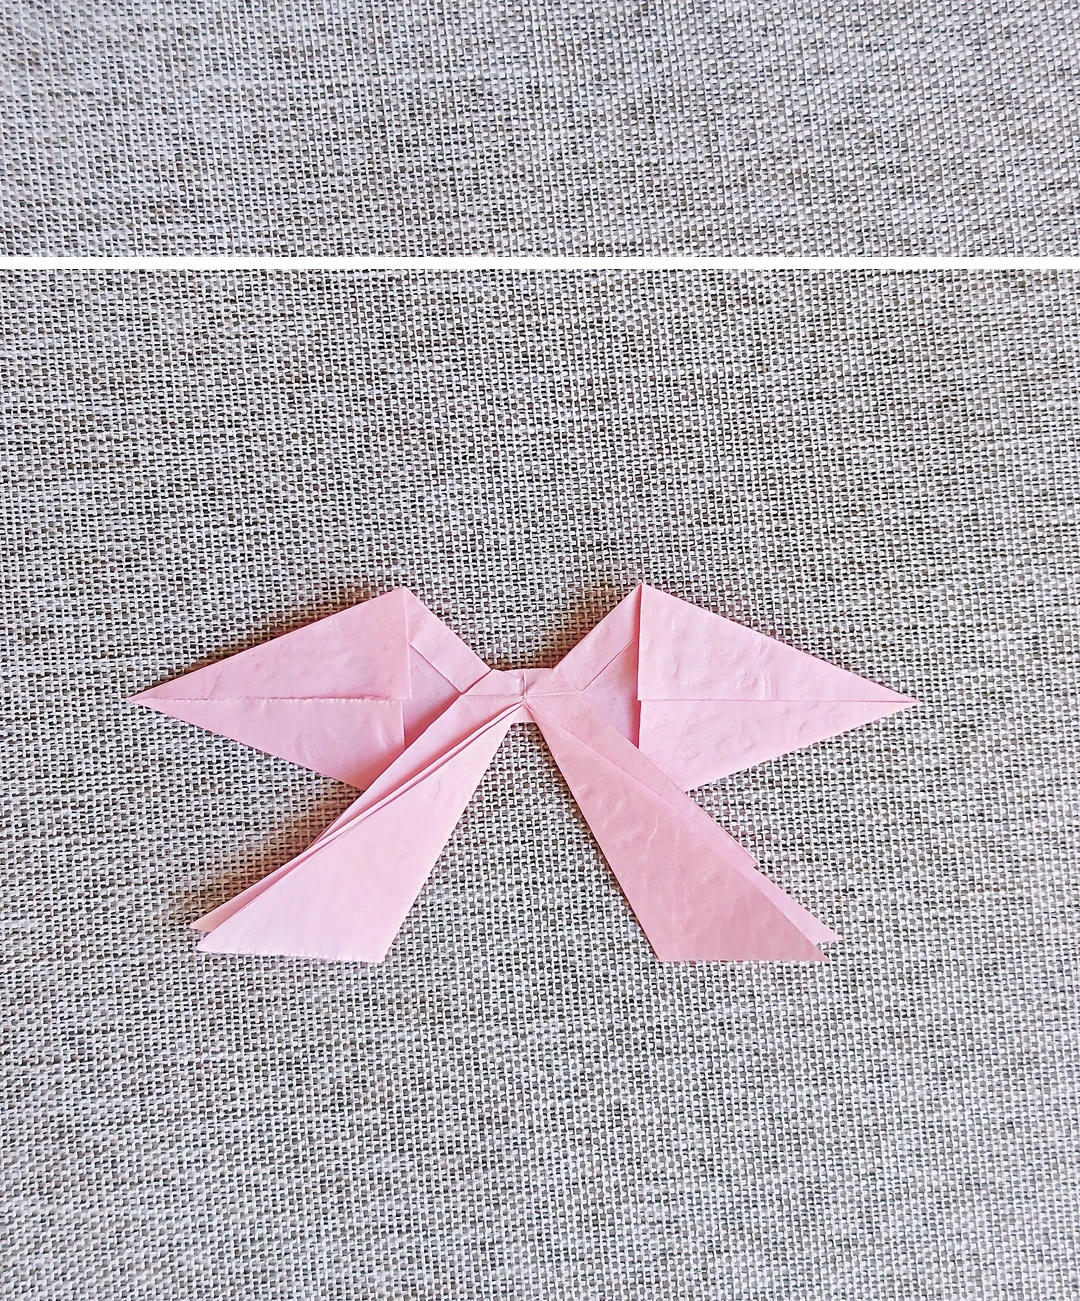 Open image at full size ↗
Fold each tail outward along the pictured diagonal.
Narrow the tails
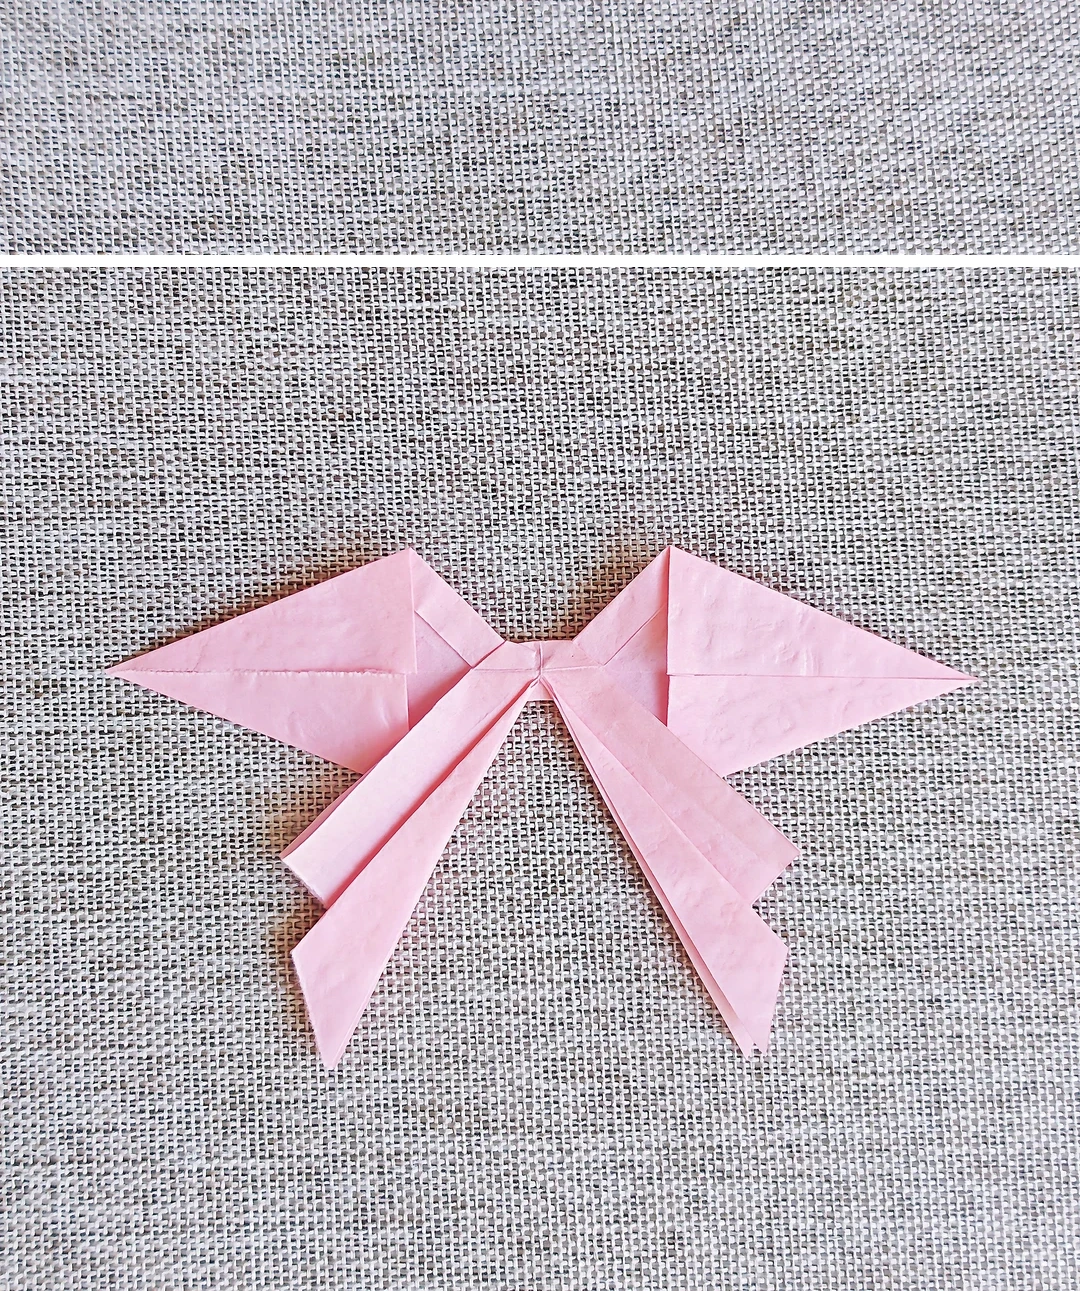 Open image at full size ↗
Fold each tail once more to make the long, narrow shape.
Turn the bow over
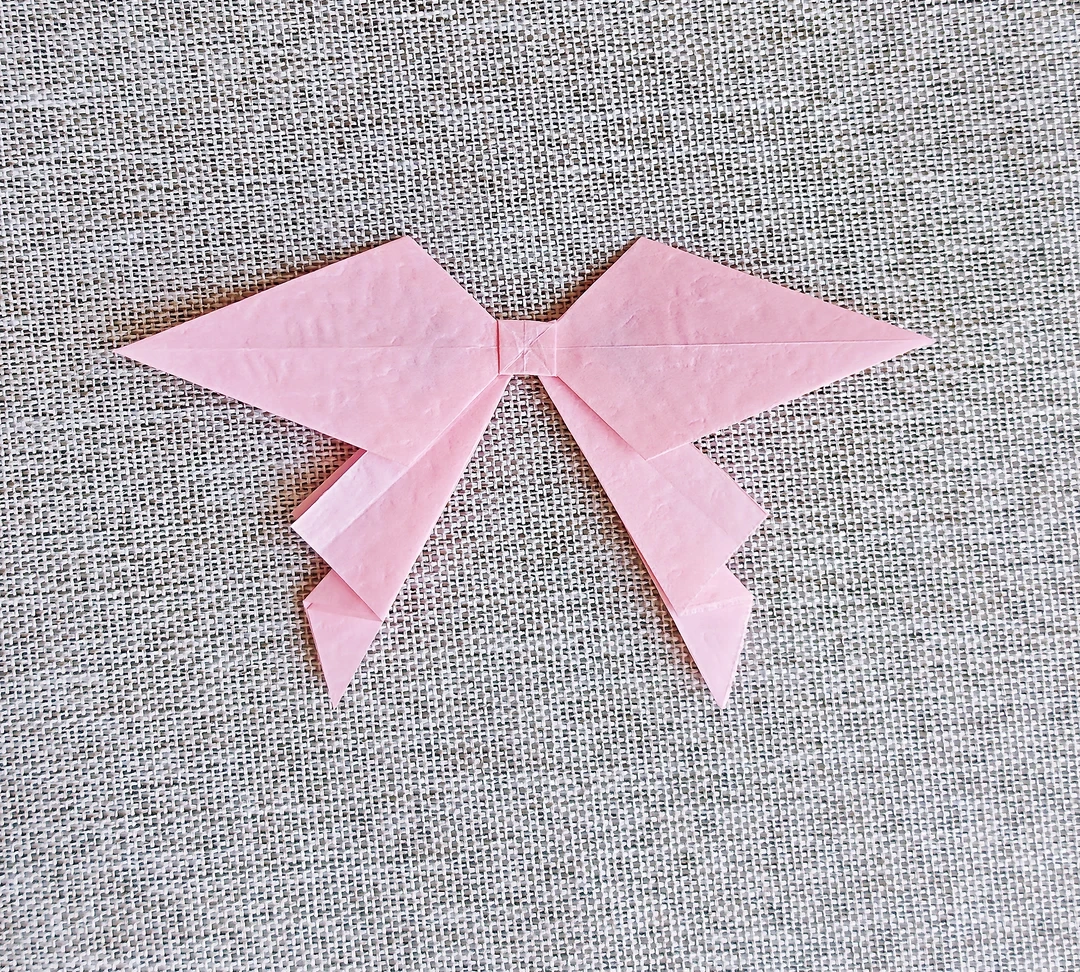 Open image at full size ↗
Turn the model to its front face.
Tuck the bow tips
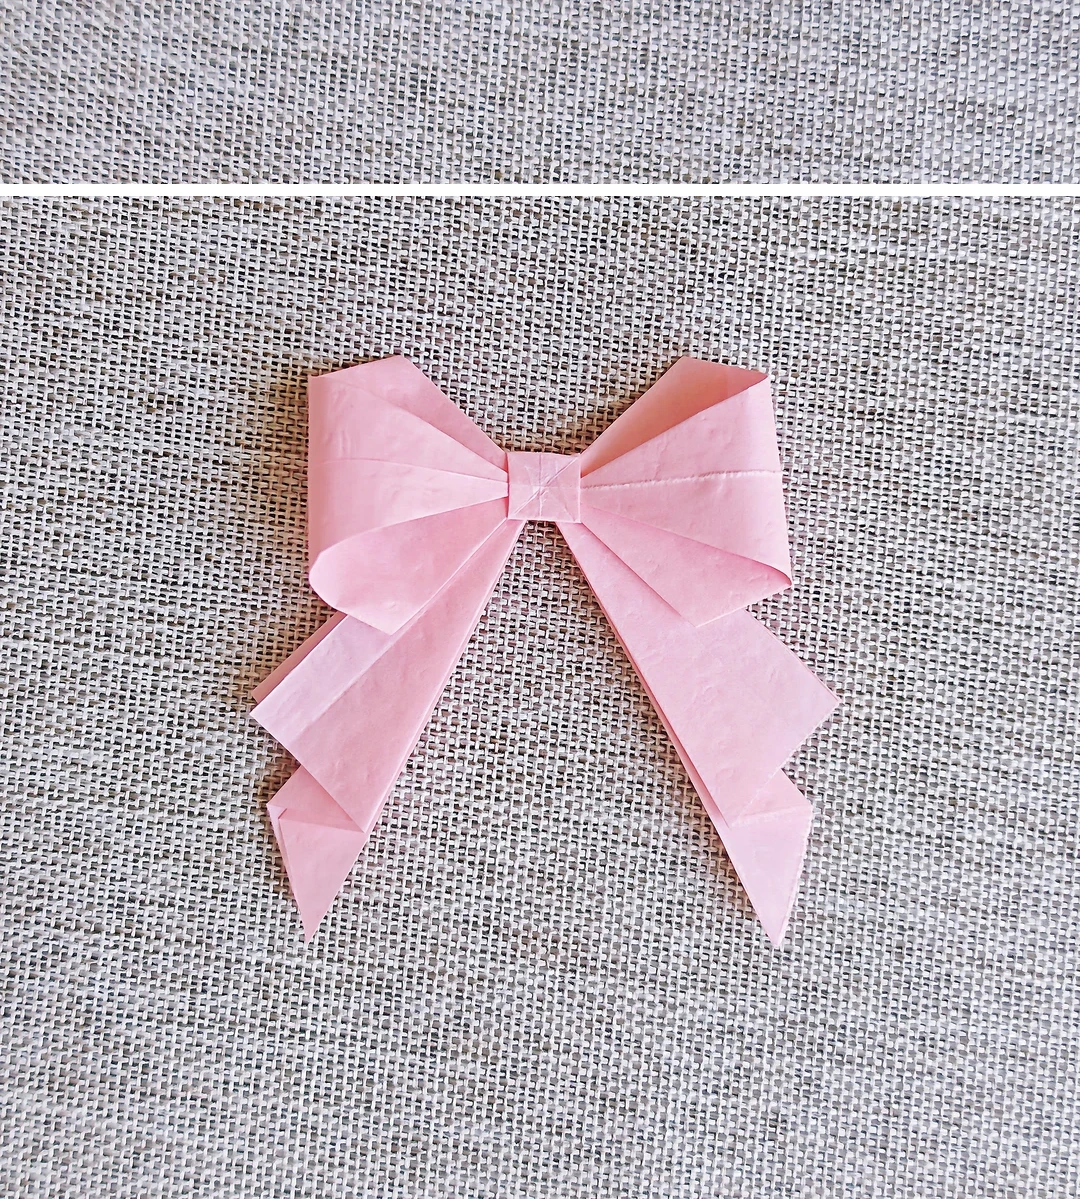 Open image at full size ↗
Tuck both side points beneath the center square and gently round the bow loops.
Follow the diagrams alongside the step-by-step English instructions.
Choose your next project →