
Flowers & nature · Step-by-step guide
Modular Maple Leaf
Join five folded leaf units into a broad maple leaf and add a curved paper stem.
What you’ll need
- Five equal paper squares
- A paper strip for the stem
- Glue
Modular paper folding · Five units & glued assembly
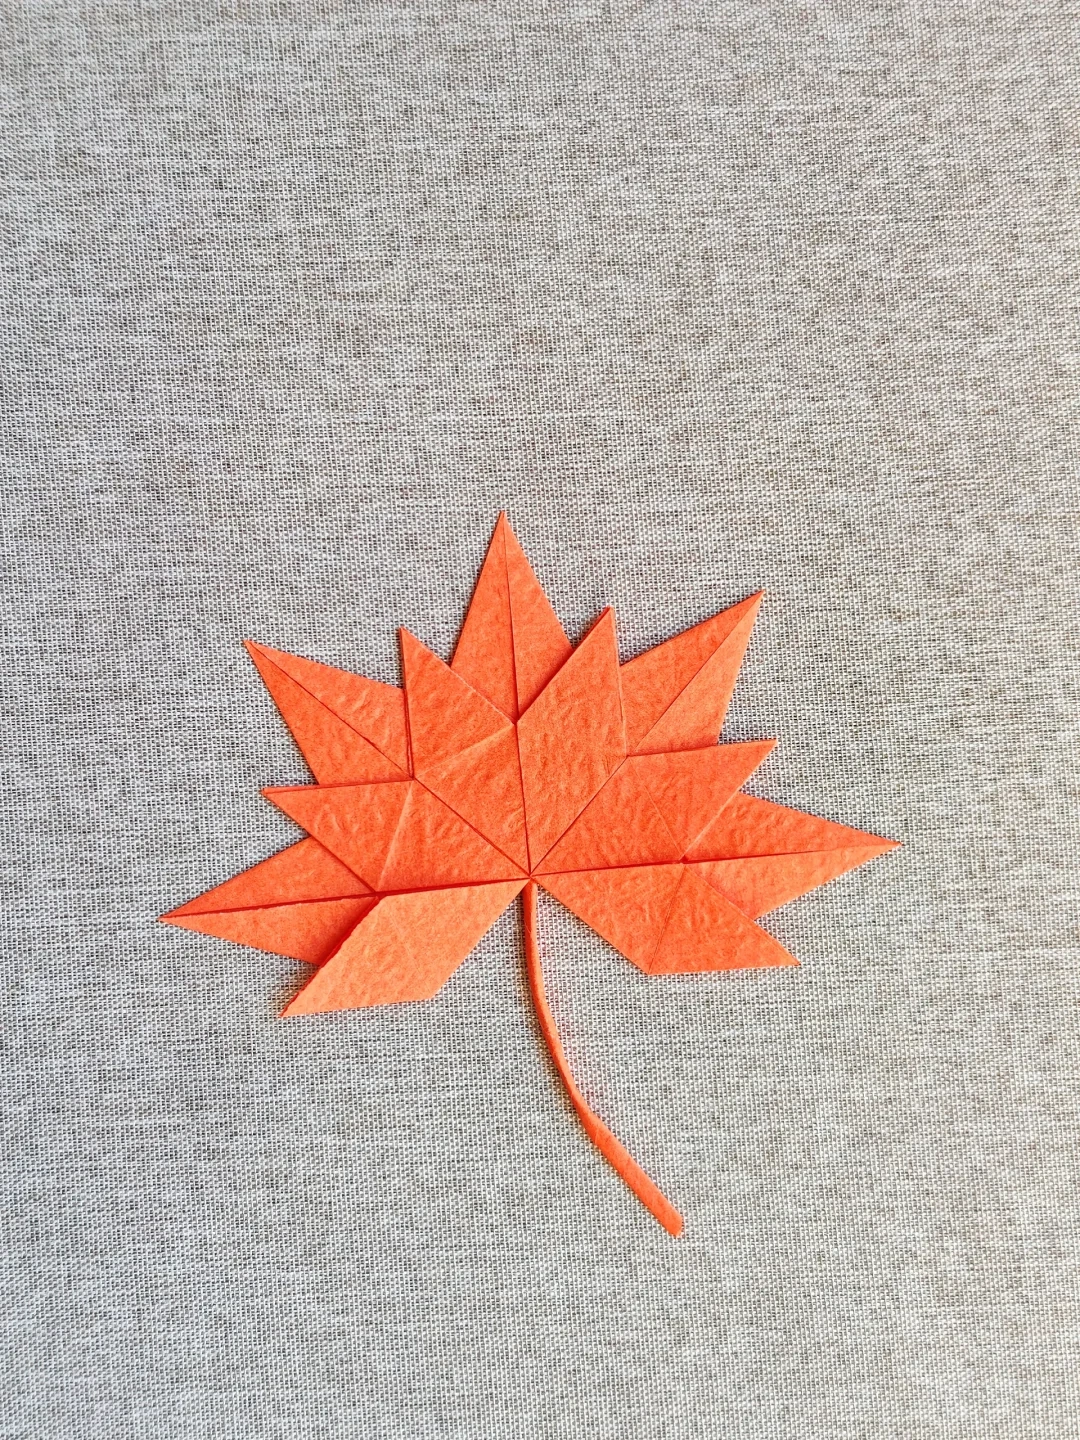
Make it, step by step.
14 steps · Original diagrams with English instructions
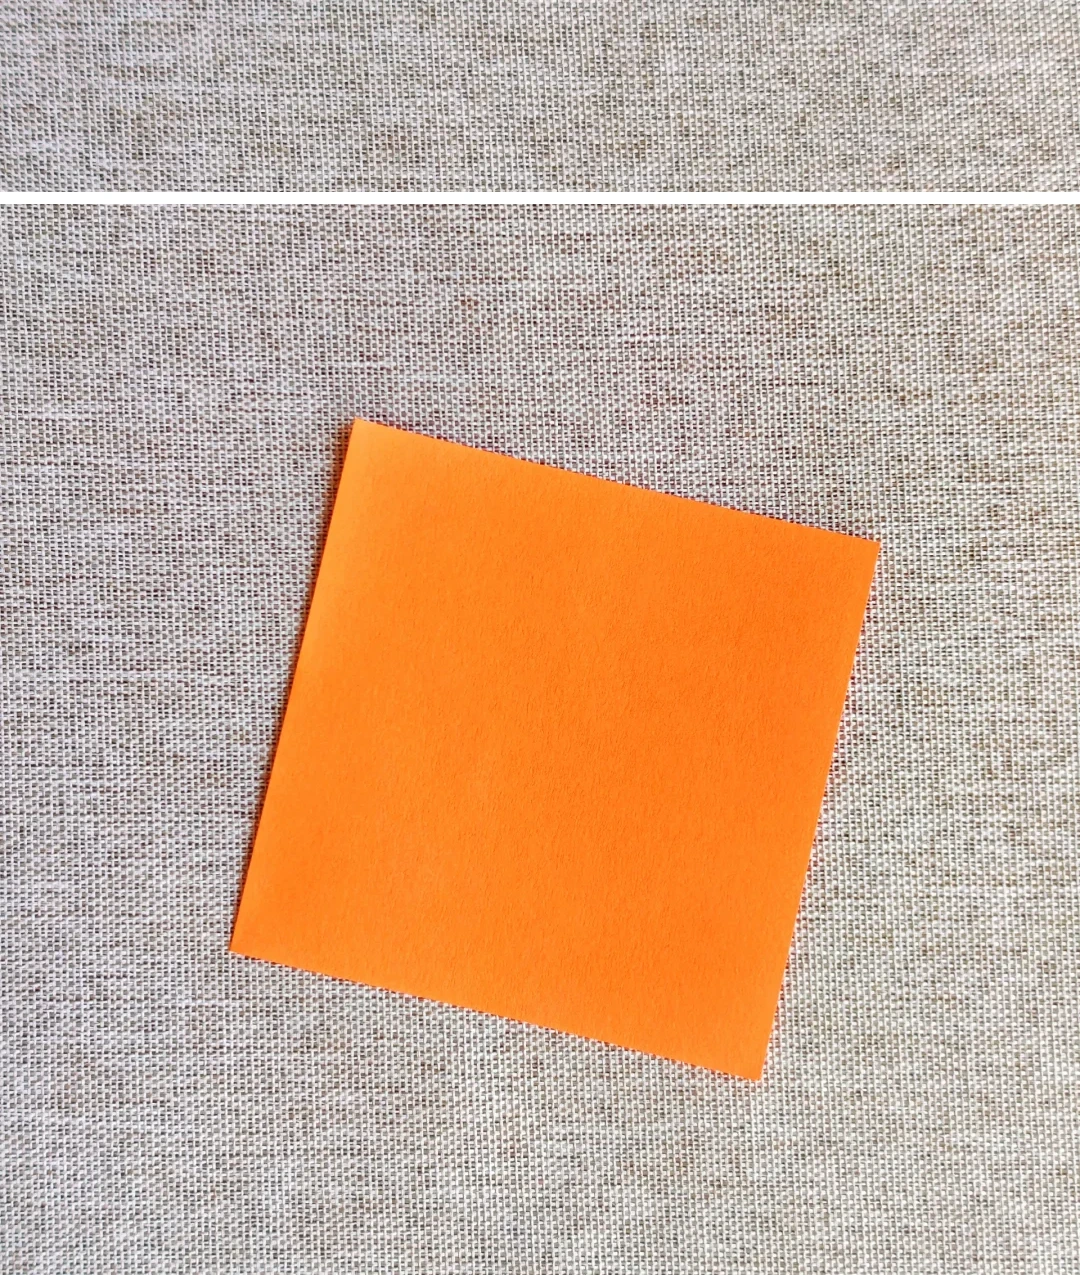
Prepare the units
 Open image at full size ↗
Use five matching squares and a narrow strip for the stem.
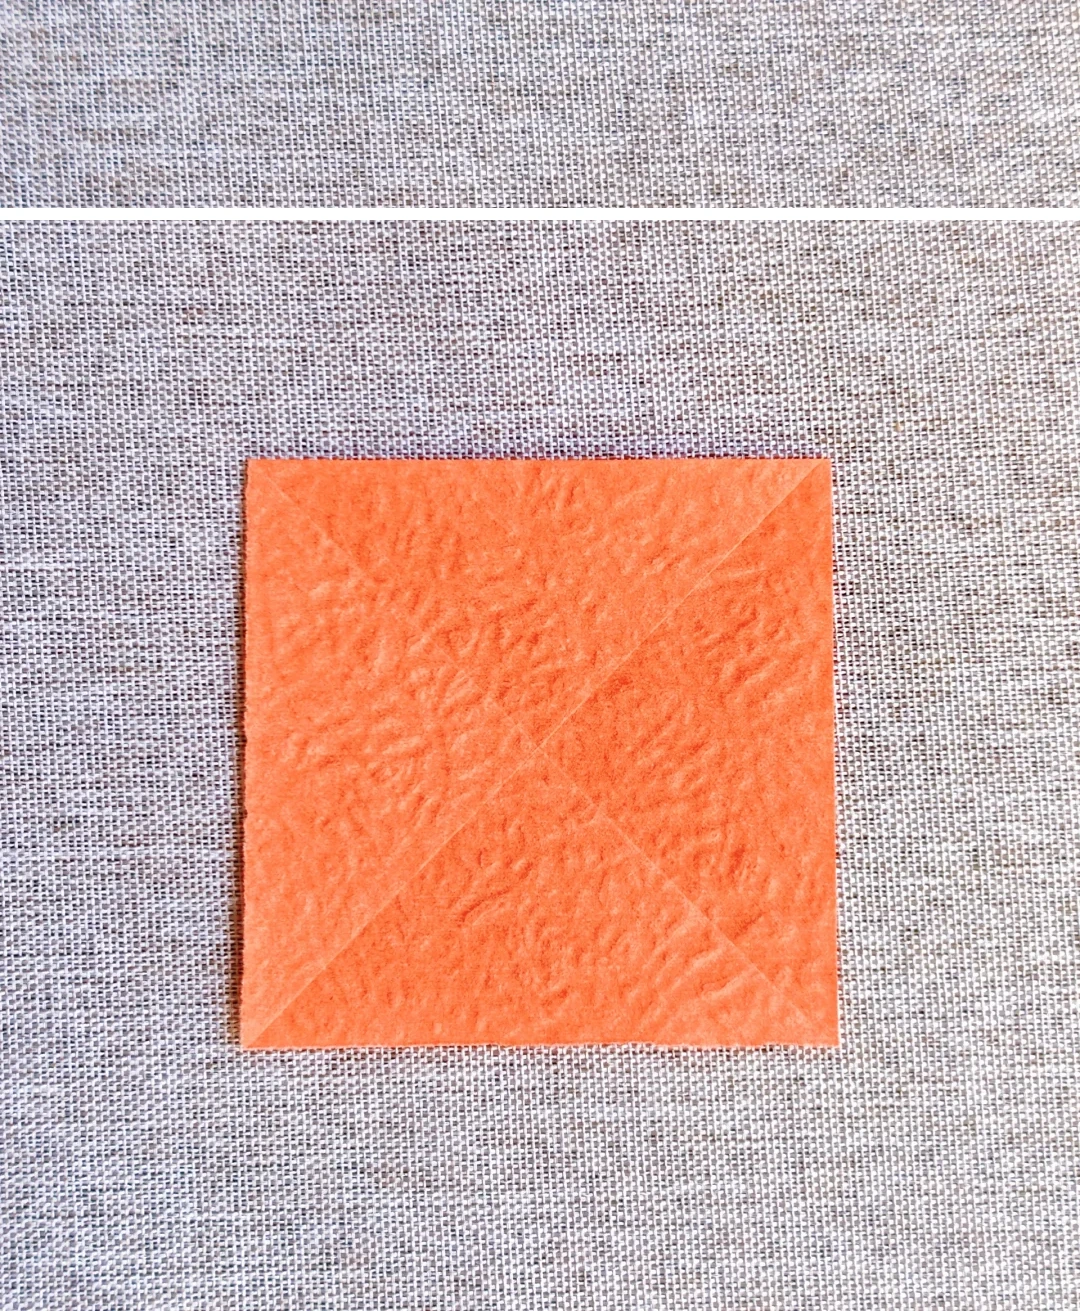
Mark the diagonals
 Open image at full size ↗
Fold and unfold both diagonals of one square.
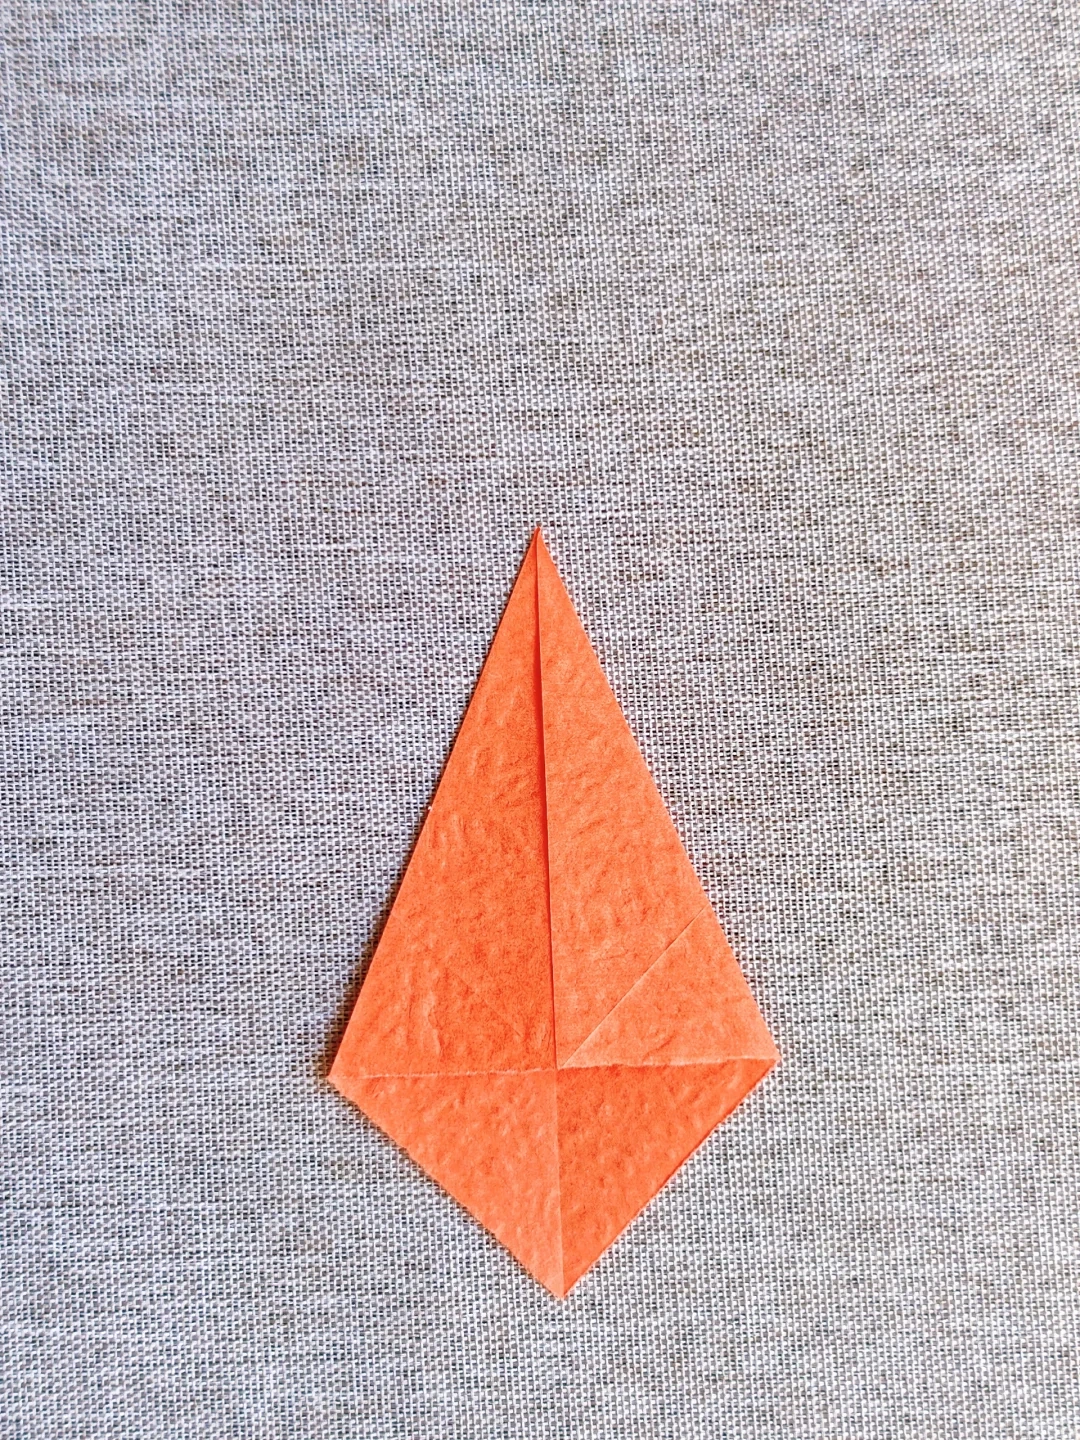
Make a kite
 Open image at full size ↗
Fold the two upper side edges to the center.
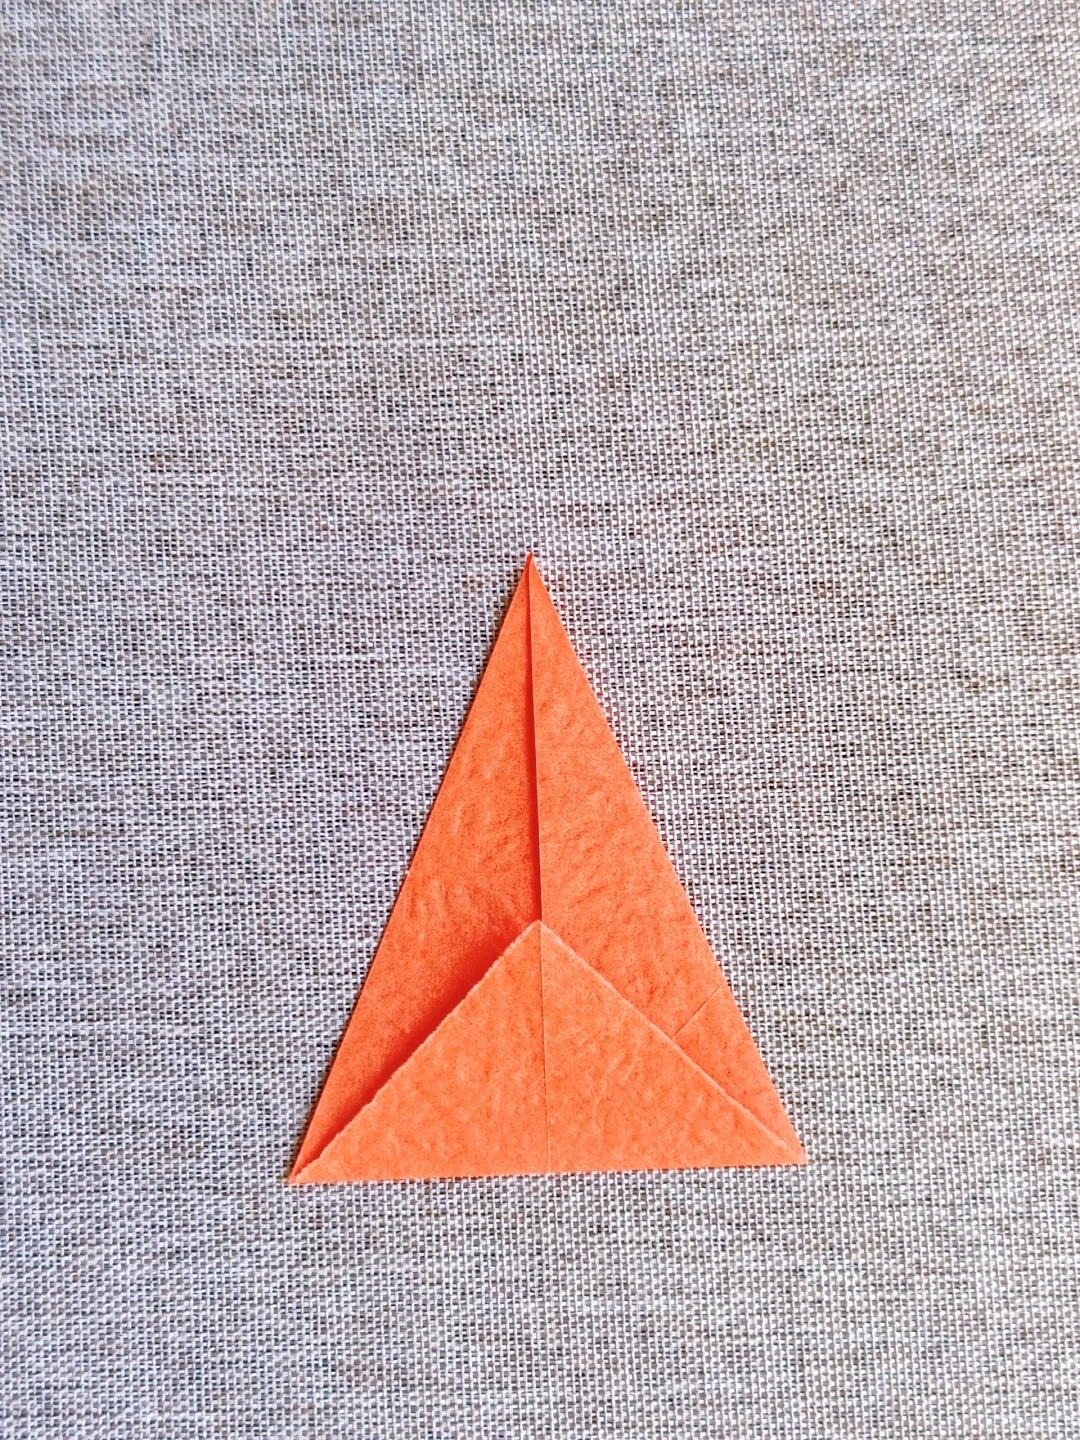
Lift the lower point
 Open image at full size ↗
Fold the lower triangle upward.
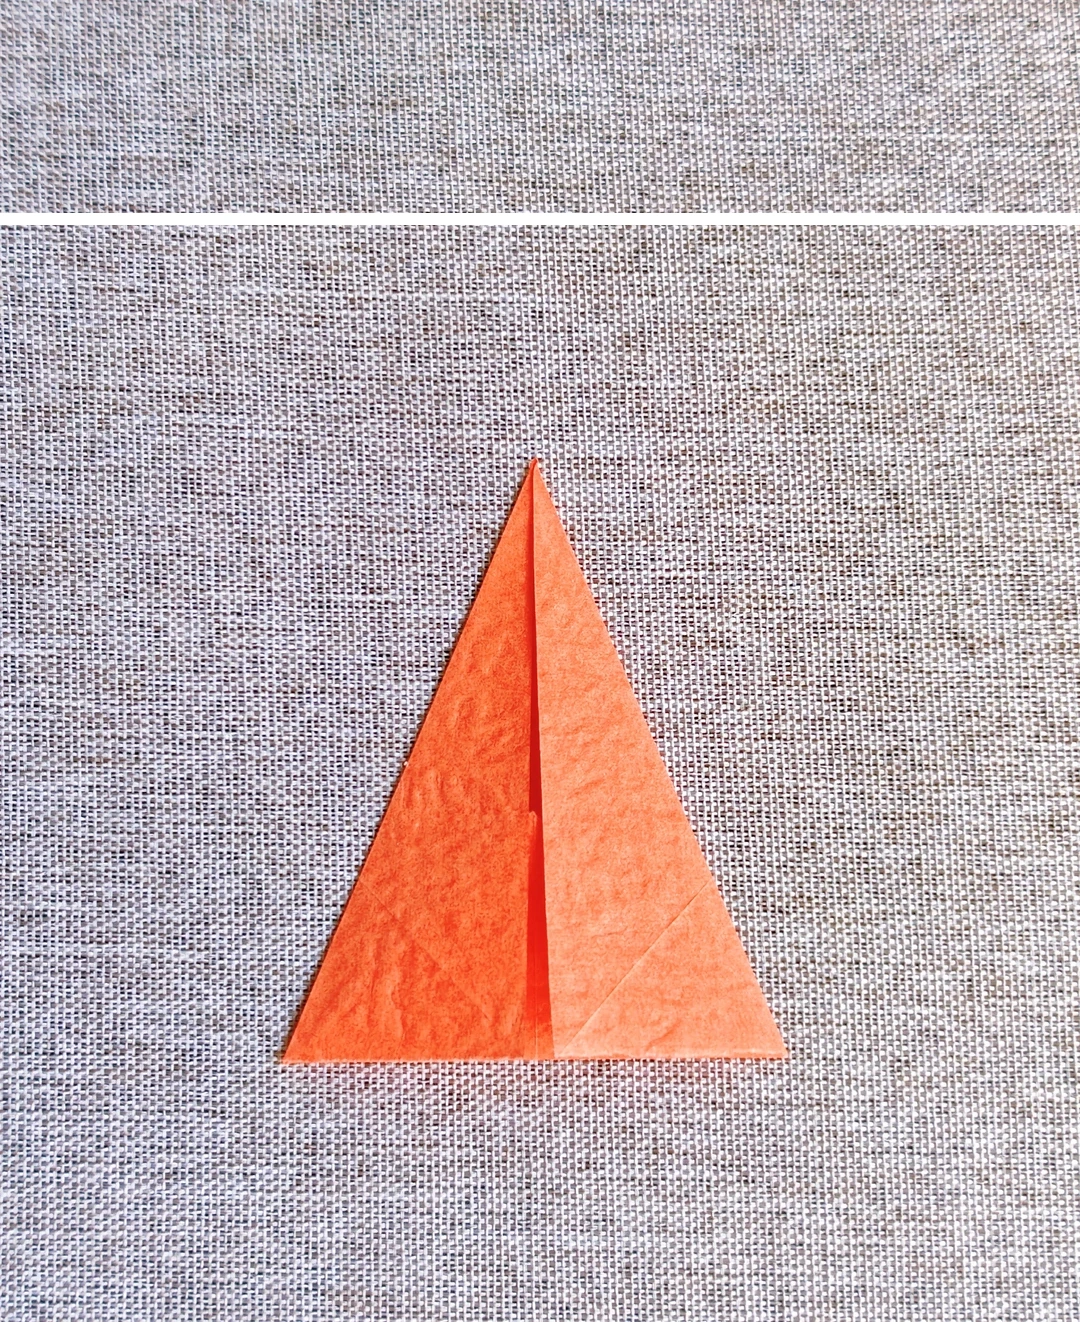
Tuck the triangle inside
 Open image at full size ↗
Open slightly and tuck the lifted triangle between the layers.
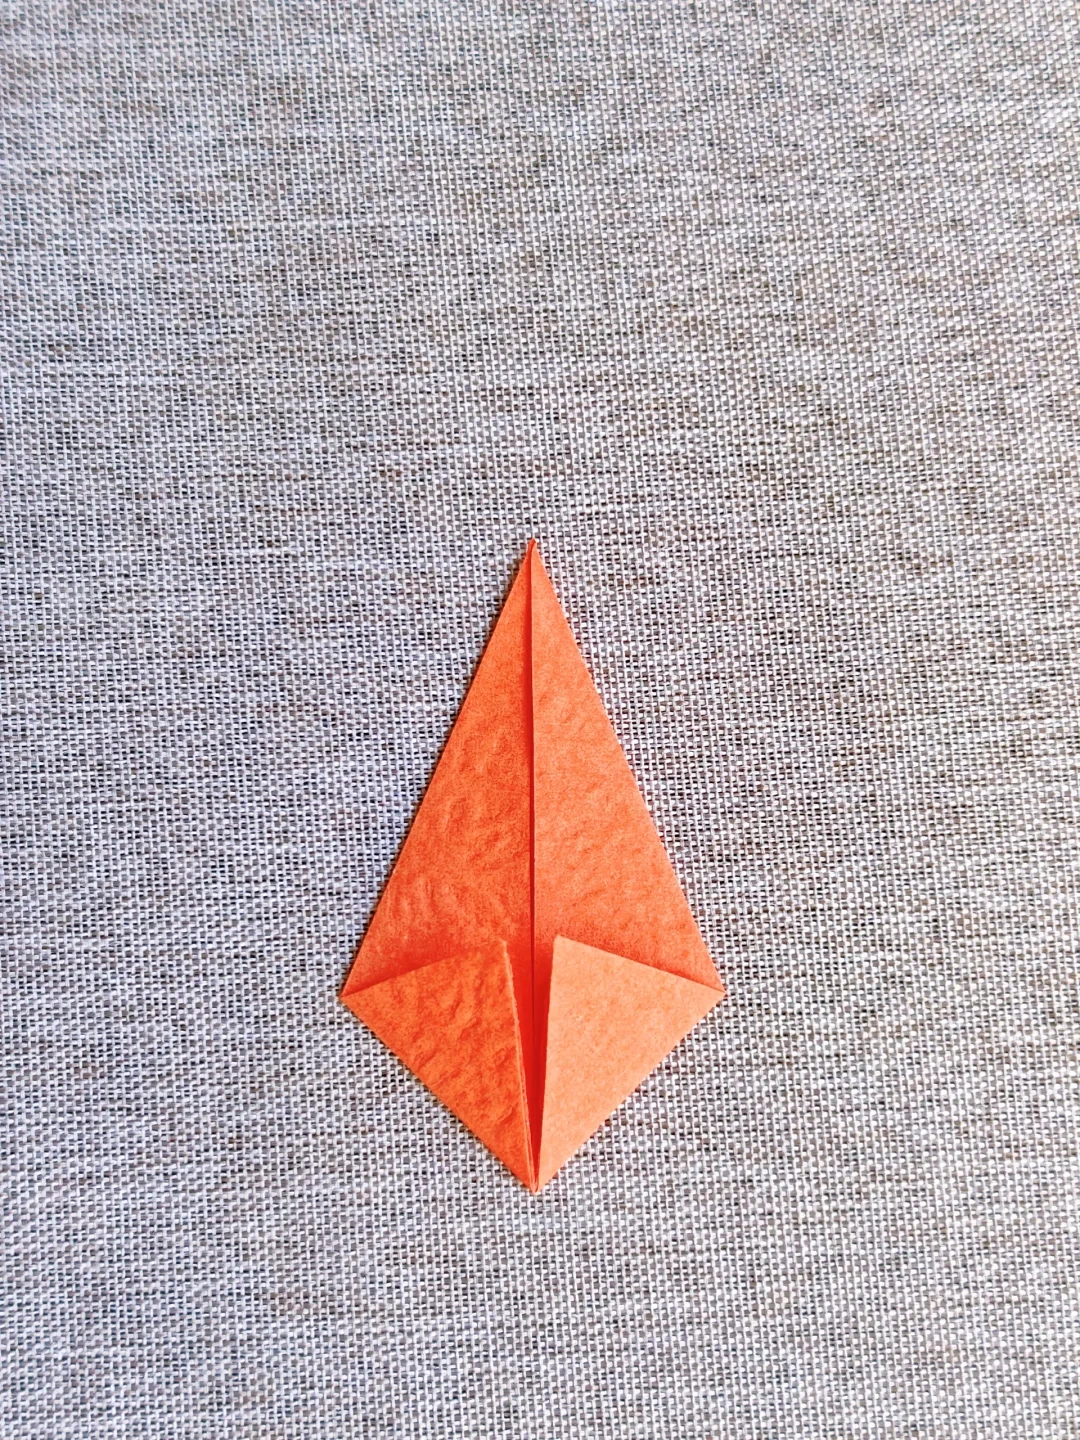
Fold the lower edges
 Open image at full size ↗
Bring the lower edges to the center to form the narrow diamond shown.
Open the unit
 Open image at full size ↗
Spread the side layers along their creases.
Raise a side flap
 Open image at full size ↗
Pinch the side section upward along the diagonal crease.
Fold the raised flap
 Open image at full size ↗
Fold the raised section upward and flatten it.
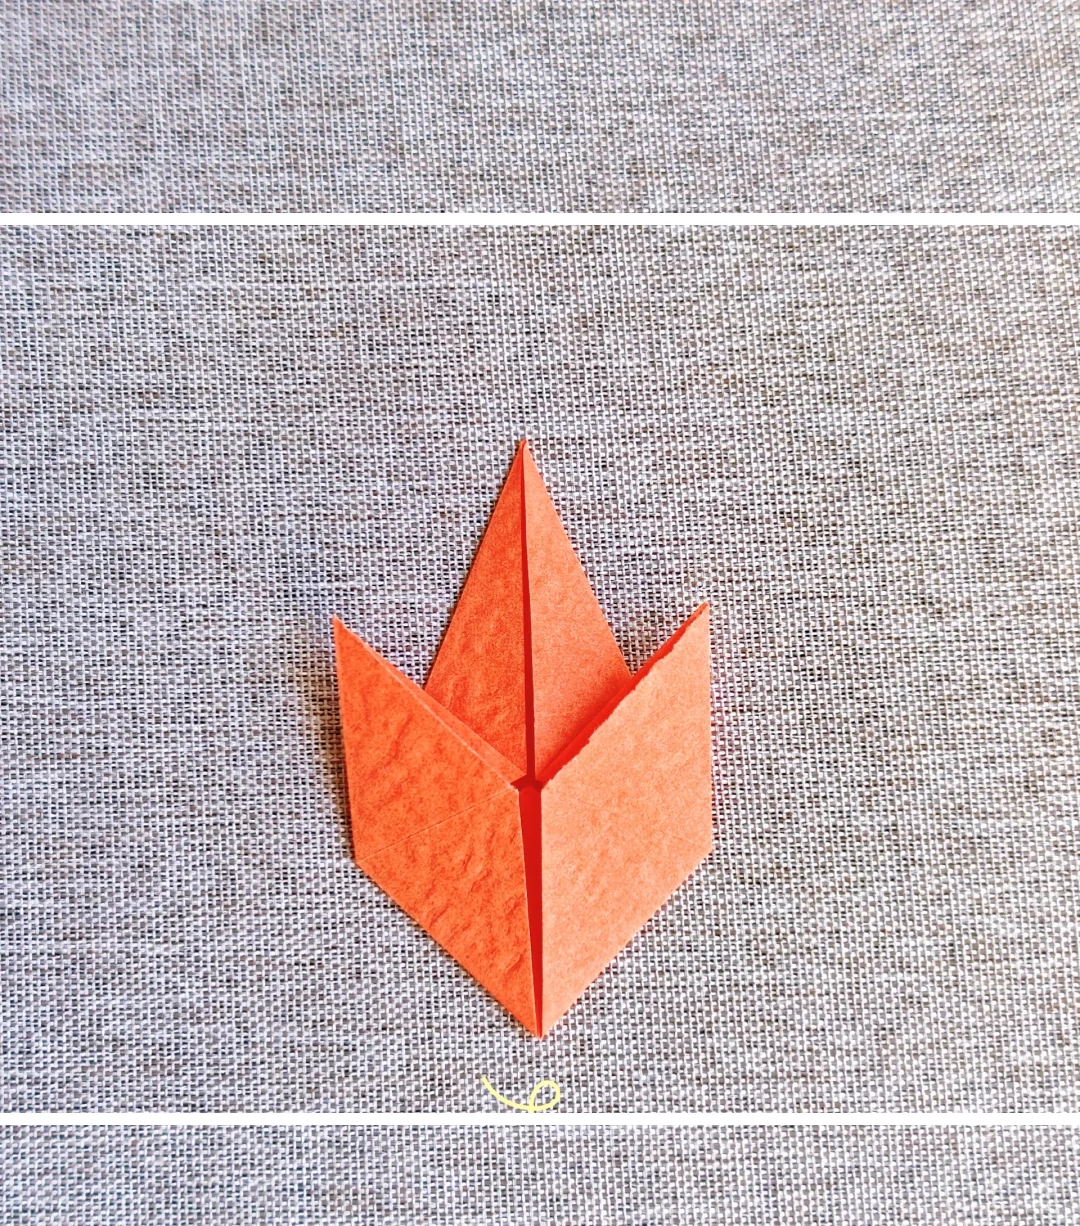
Mirror the unit
 Open image at full size ↗
Repeat on the other side. Make five identical units.
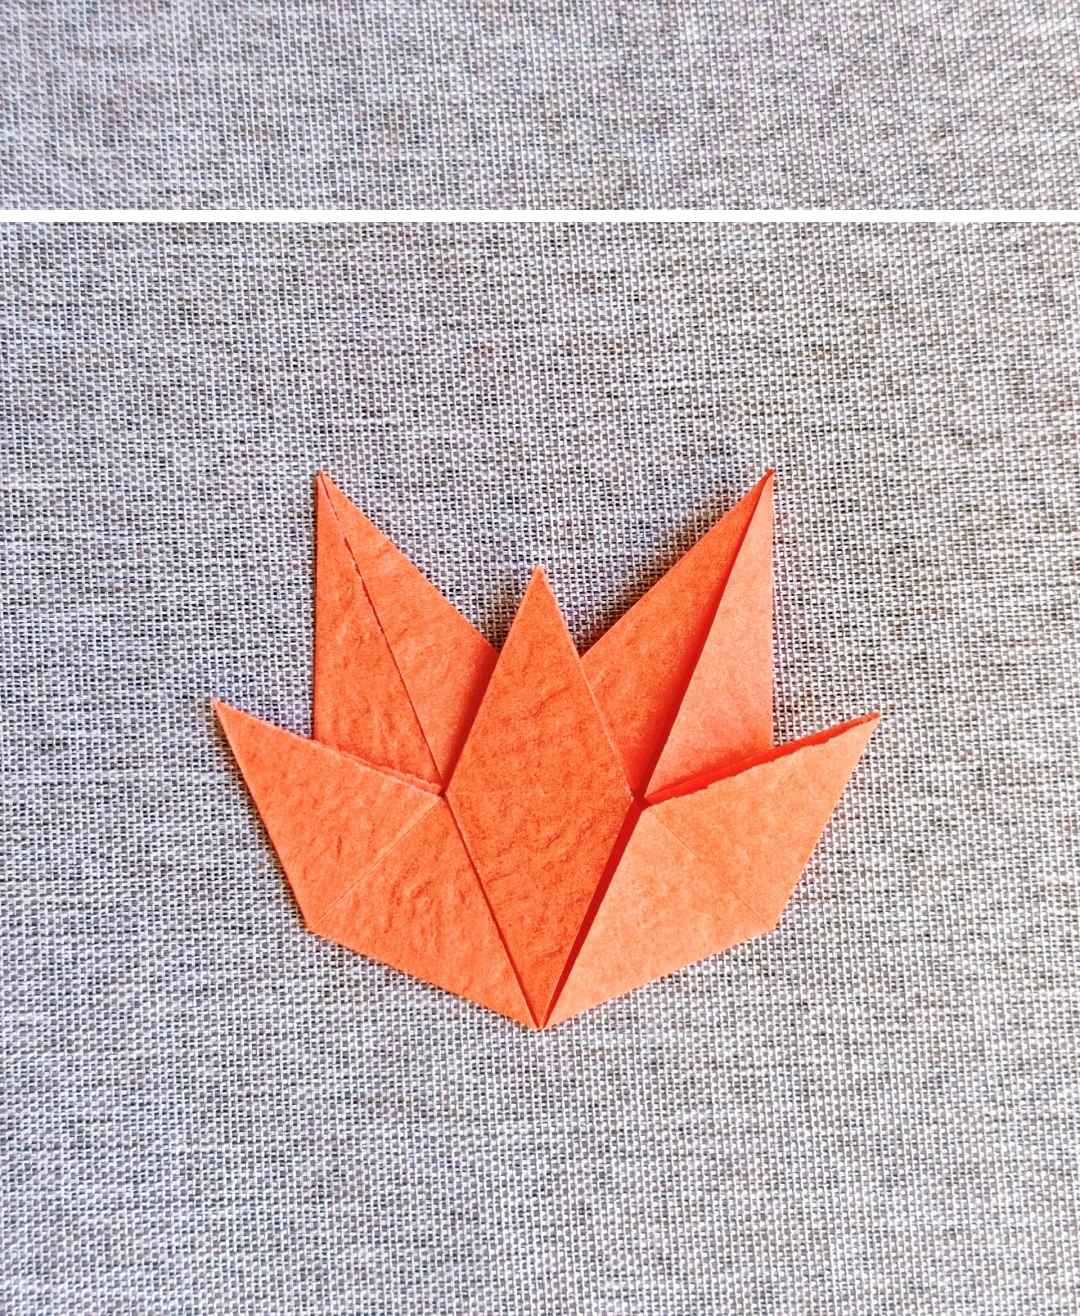
Join two units
 Open image at full size ↗
Glue neighboring units together at their overlapping lower sections.
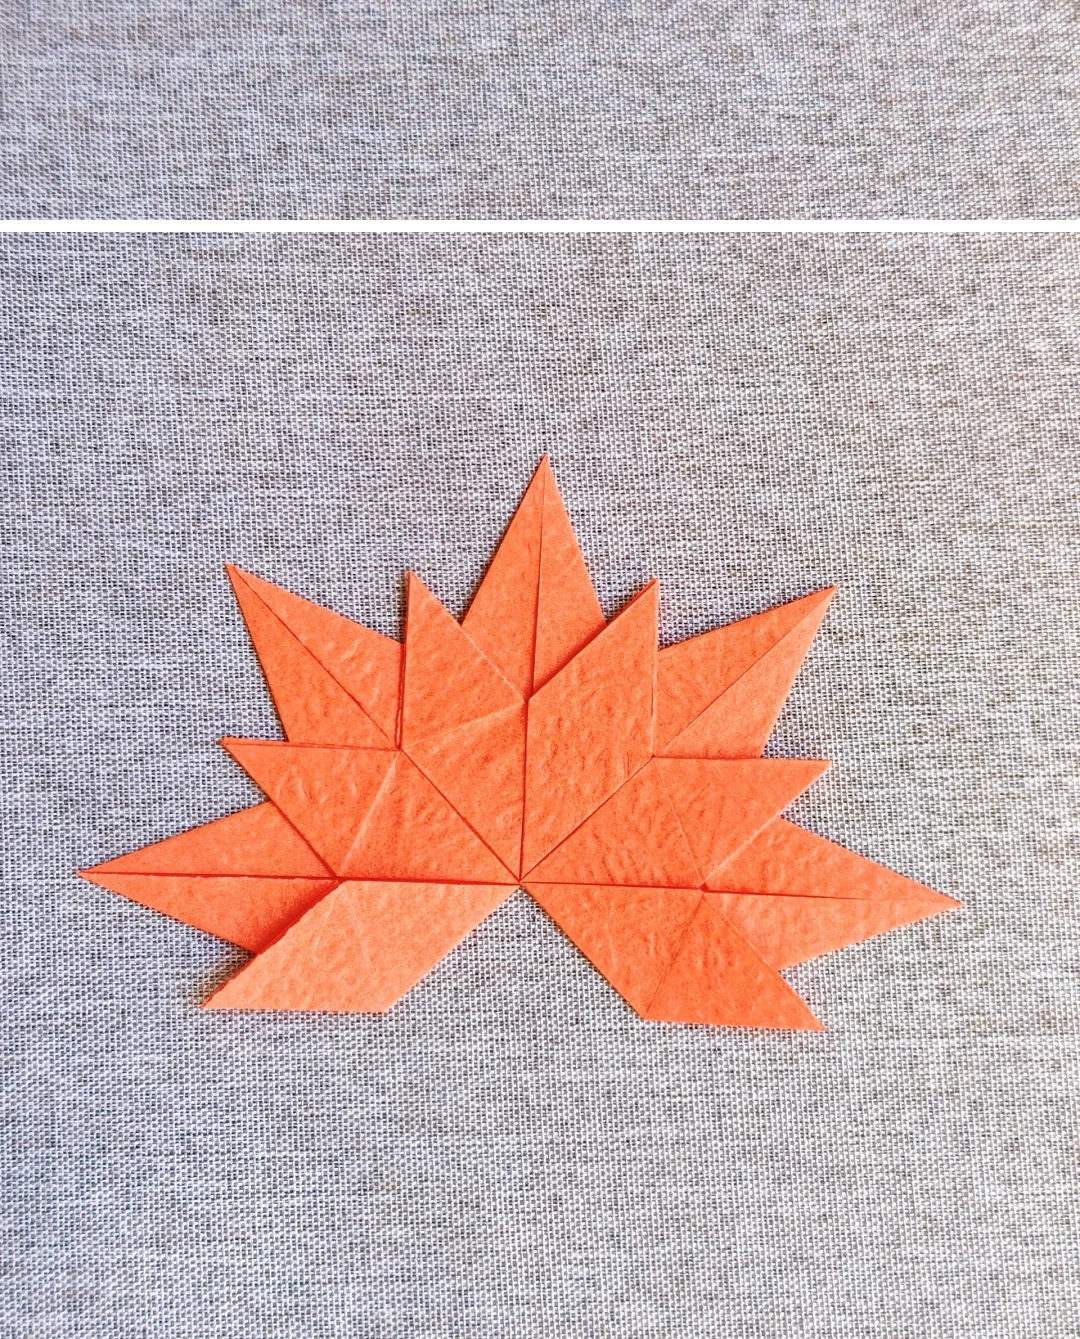
Complete the leaf
 Open image at full size ↗
Join all five units into a fan, with their bases meeting at the bottom.
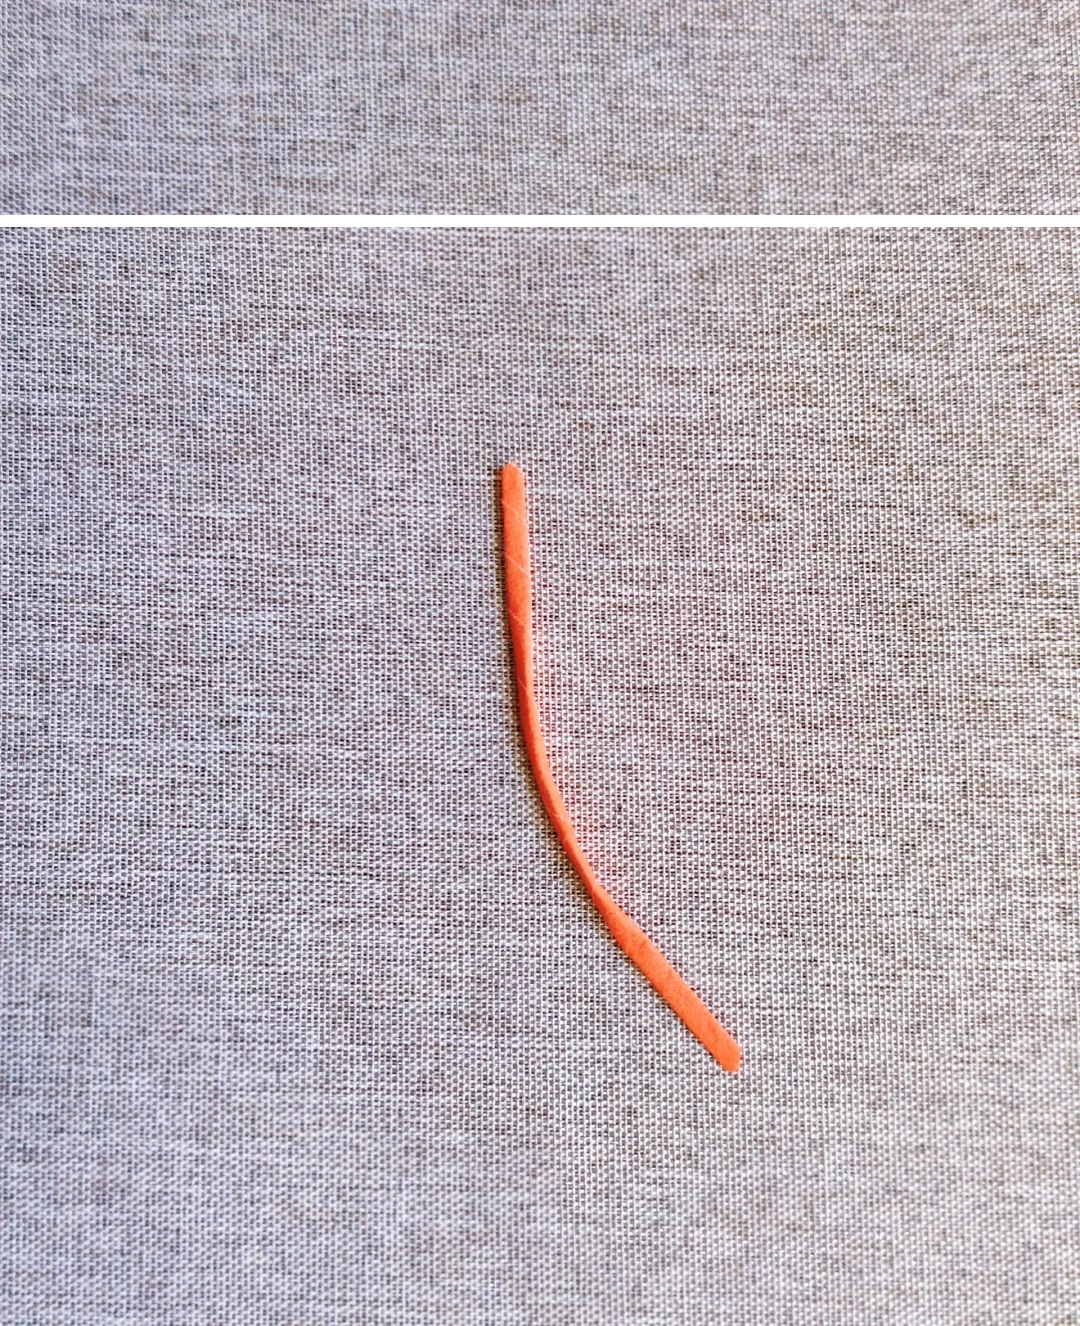
Roll the stem
 Open image at full size ↗
Roll the paper strip tightly into a stem and curve it slightly.
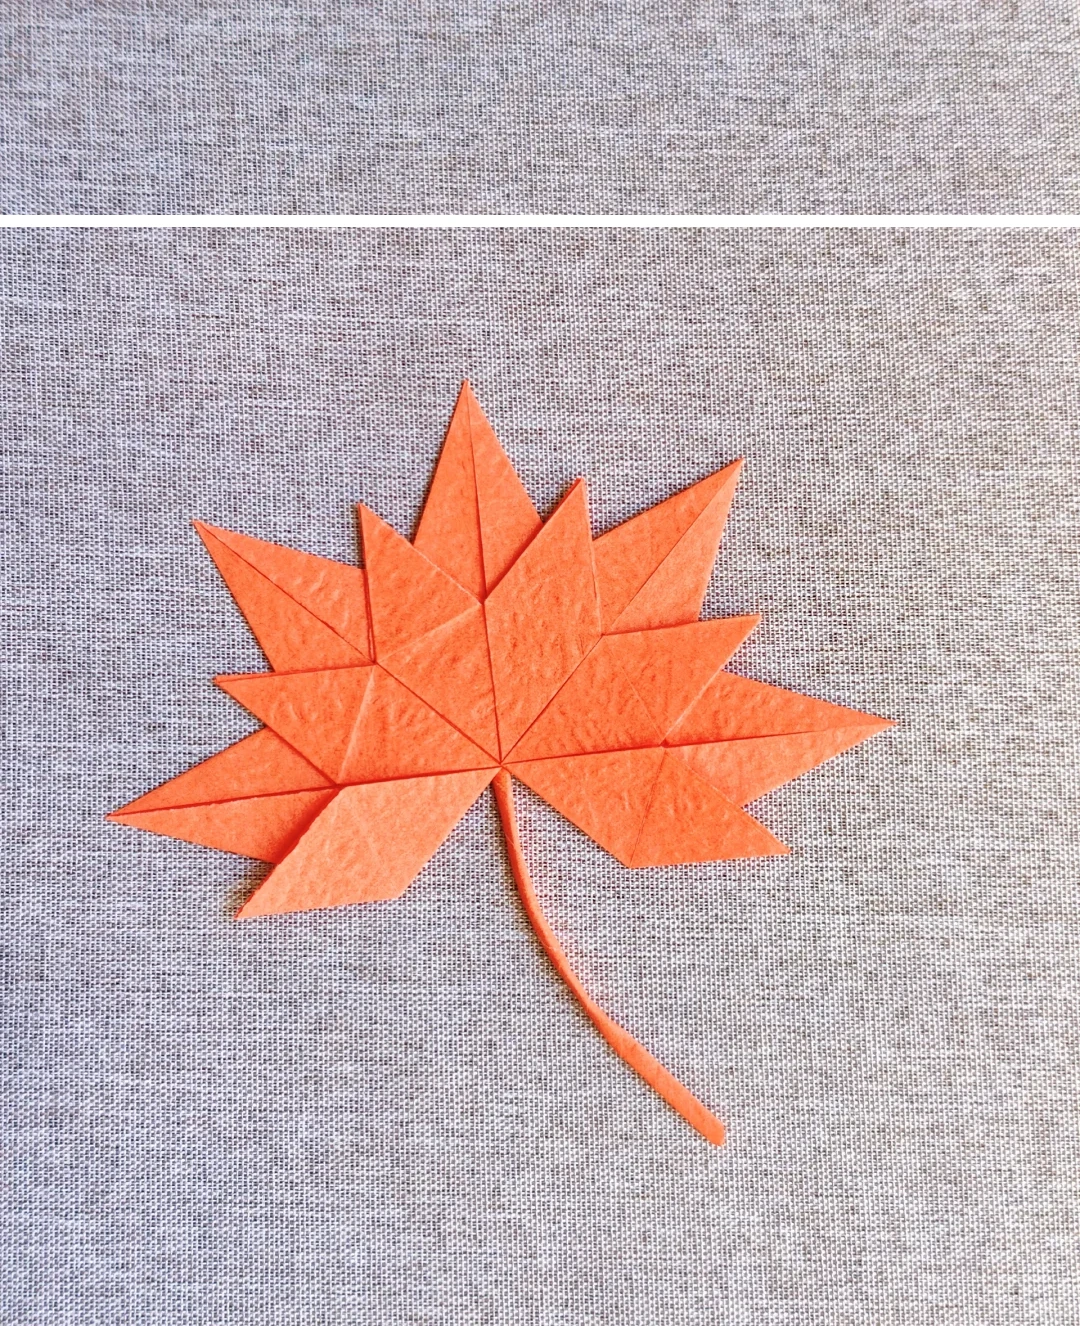
Attach the stem
 Open image at full size ↗
Glue the upper part of the stem behind the leaf's base.
Follow the diagrams alongside the step-by-step English instructions.
Choose your next project →