
Flowers & nature · Step-by-step guide
Modular Cherry Blossom
Fold five broad petals with notched tips and join them into a cherry blossom.
What you’ll need
- Five equal paper squares
- Glue
Modular paper folding · Five petal units & glue
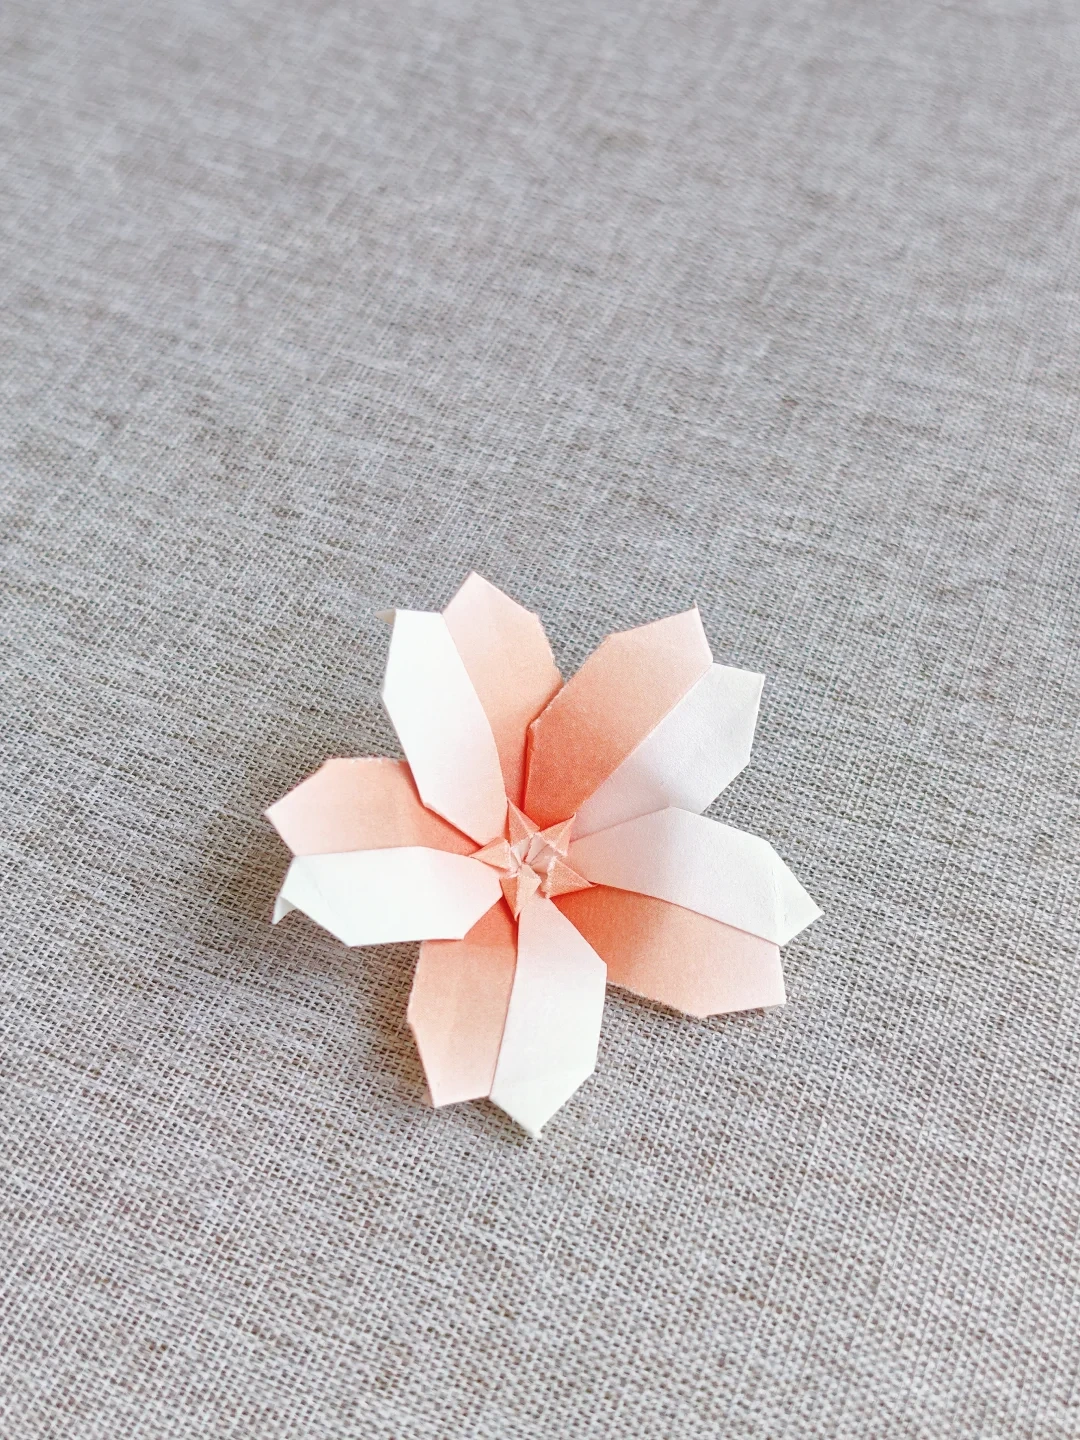
Make it, step by step.
17 steps · Original diagrams with English instructions
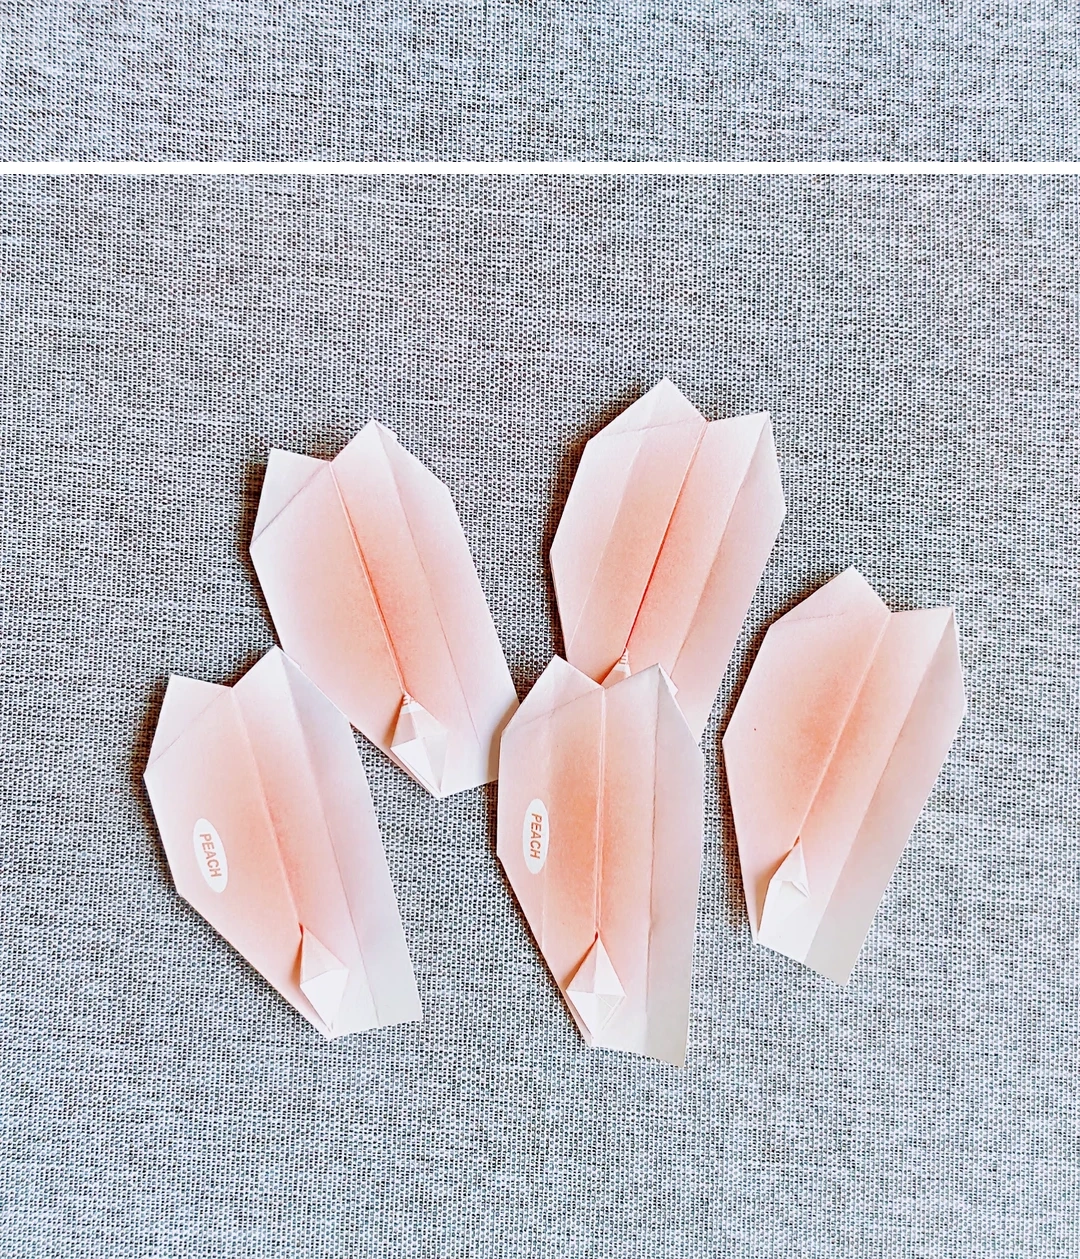
Prepare five squares
 Open image at full size ↗
Use five matching squares for an evenly sized flower.
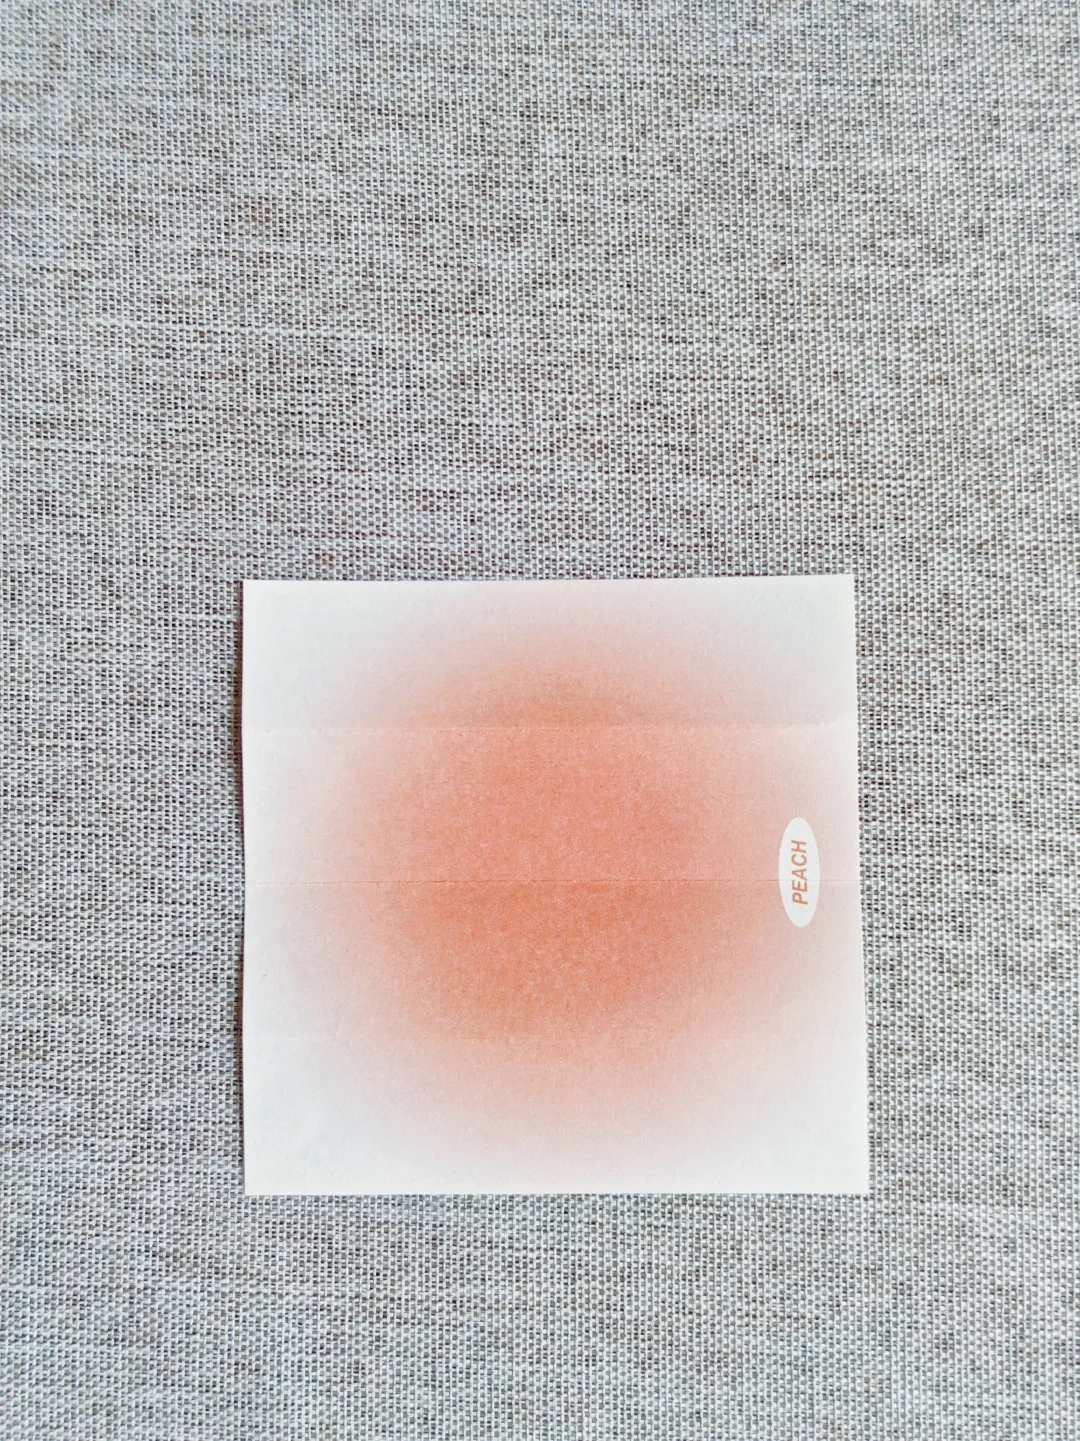
Start a petal
 Open image at full size ↗
Place one square with the desired petal color facing up.
Crease in thirds
 Open image at full size ↗
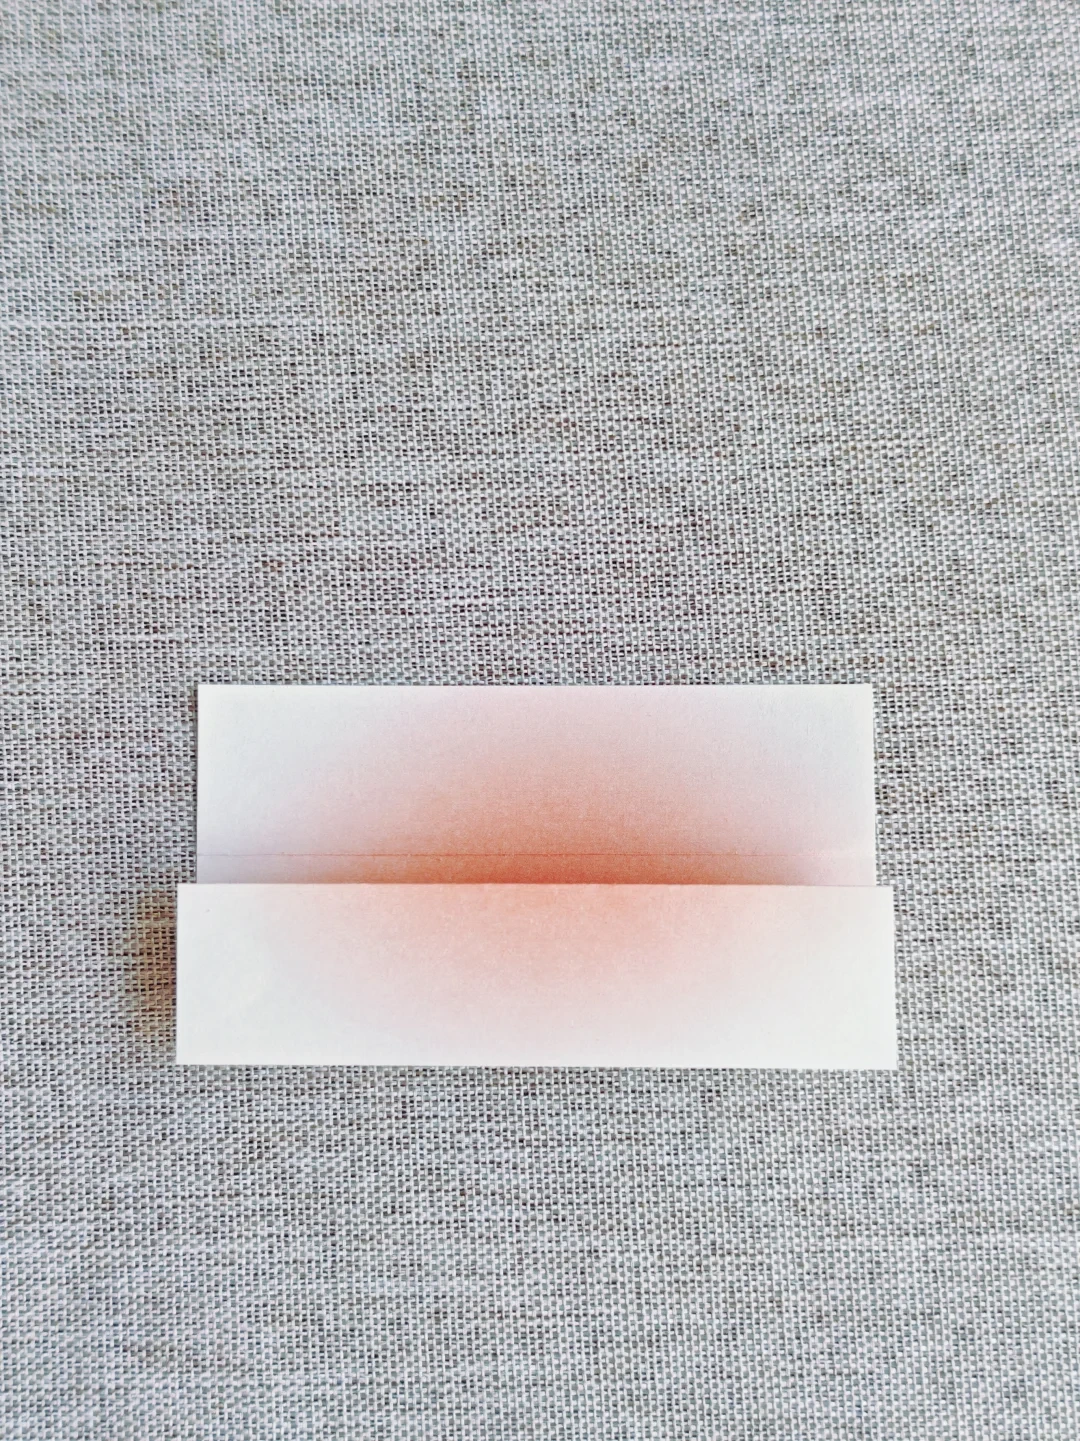
Fold the upper and lower edges inward to divide the square into three bands.
Open one flap
 Open image at full size ↗
Open the upper folded section, leaving the lower band folded.
Fold one end
 Open image at full size ↗
Fold the right-hand corners inward into the pointed arrangement shown.
Refine the tip
 Open image at full size ↗
Fold the small right-hand triangular flap back along its diagonal.
Shape the notch
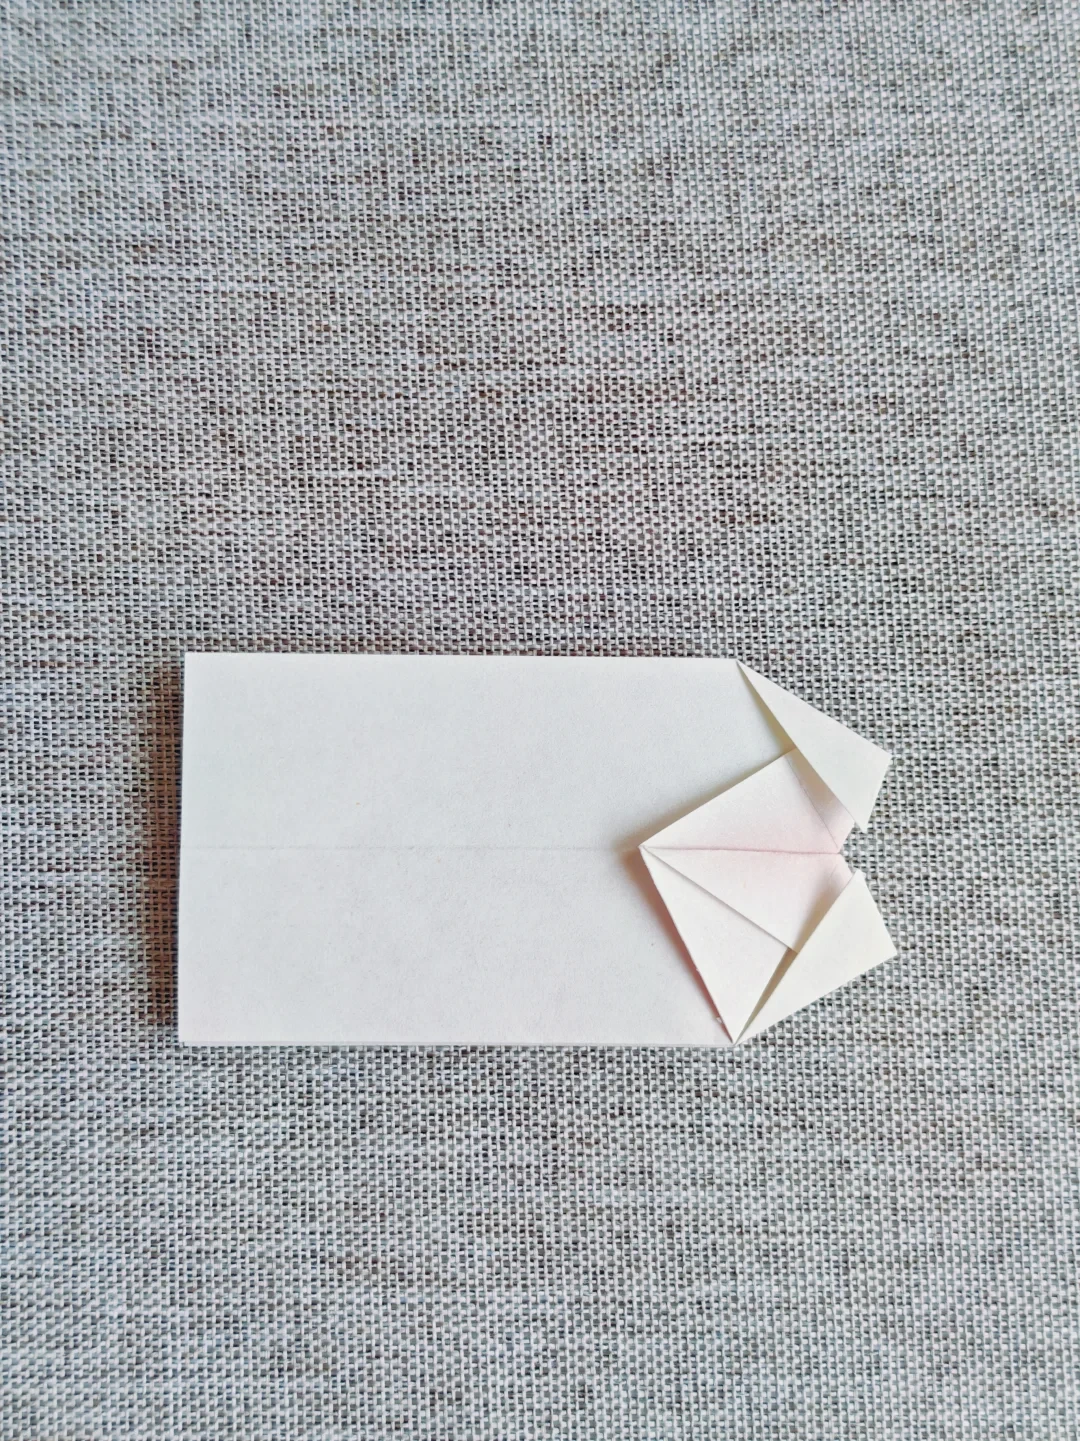 Open image at full size ↗
Fold the remaining tip inward to create the petal's shallow notch.
Turn the paper over
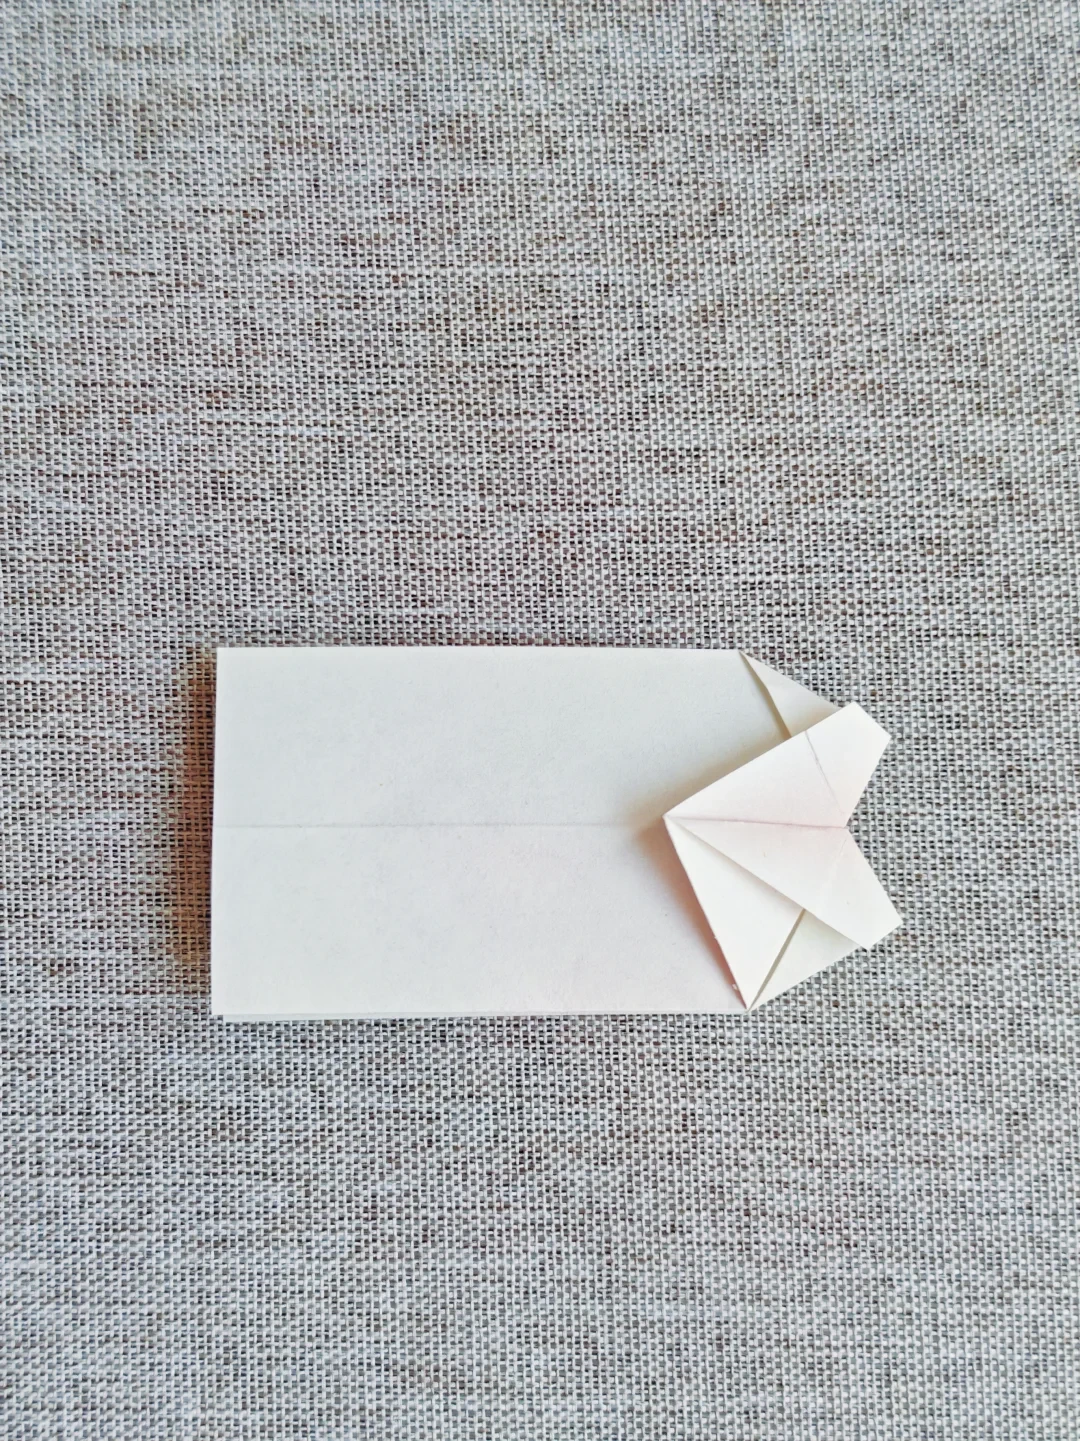 Open image at full size ↗
Turn to the opposite face without opening the end folds.
Fold the long edge
 Open image at full size ↗
Fold one long edge toward the center.
Fold the opposite edge
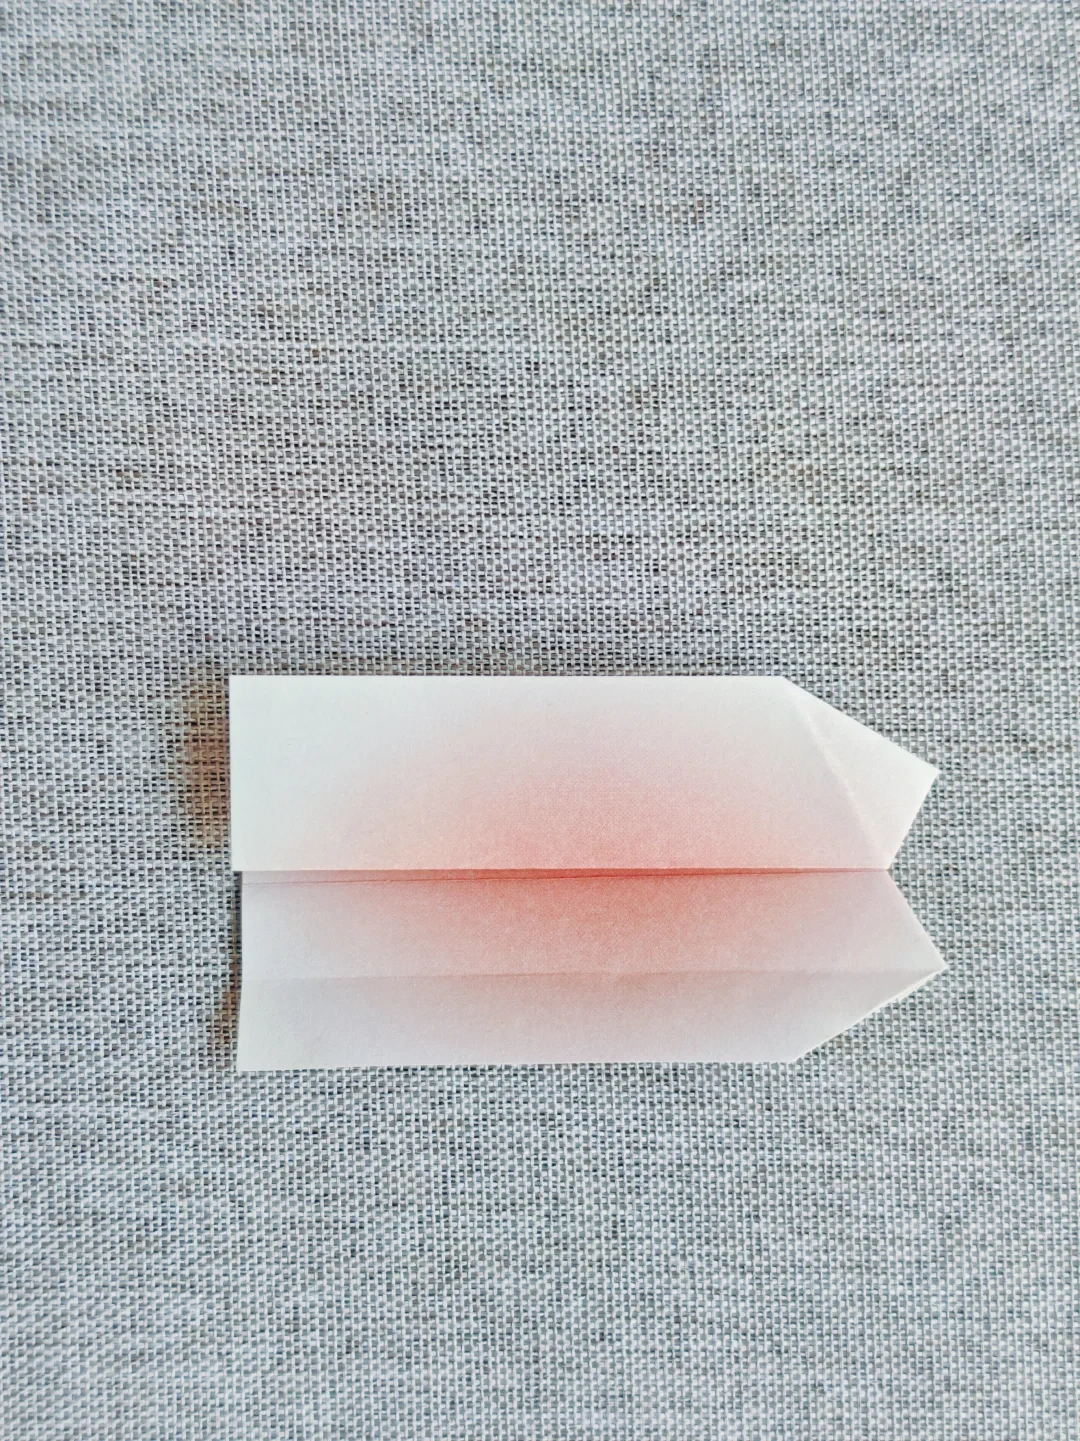 Open image at full size ↗
Bring the other long edge inward to match it.
Shape the petal base
 Open image at full size ↗
Fold the left end inward along the pictured diagonal.
Tuck the small triangle
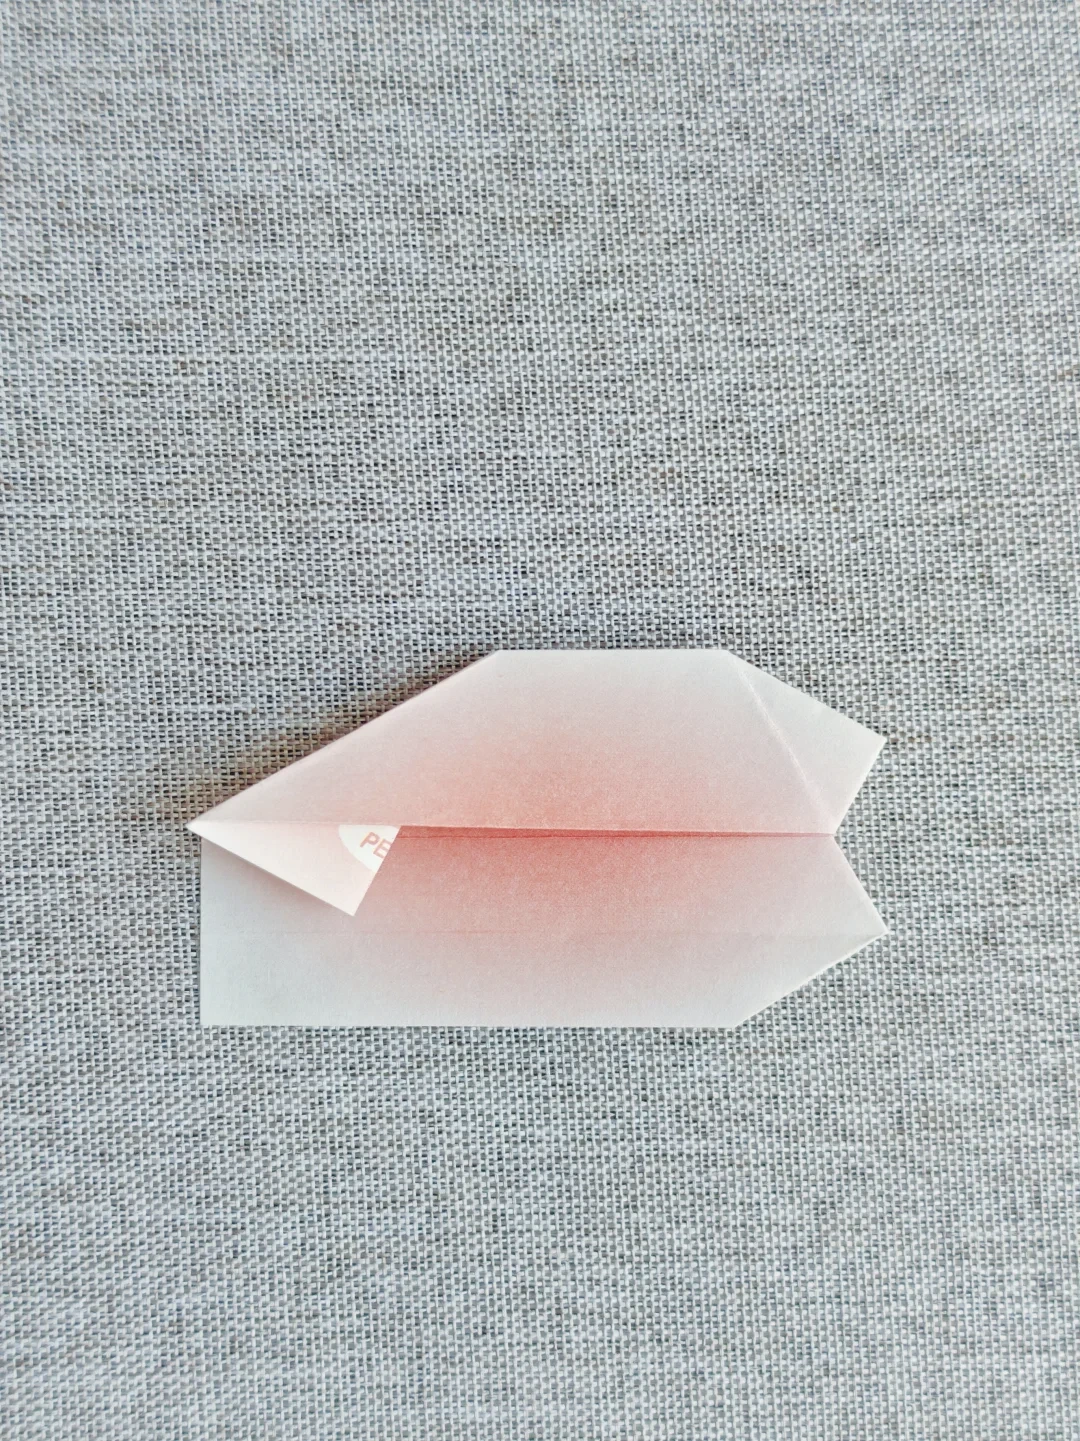 Open image at full size ↗
Tuck the small triangular flap inside the base.
Turn the petal over
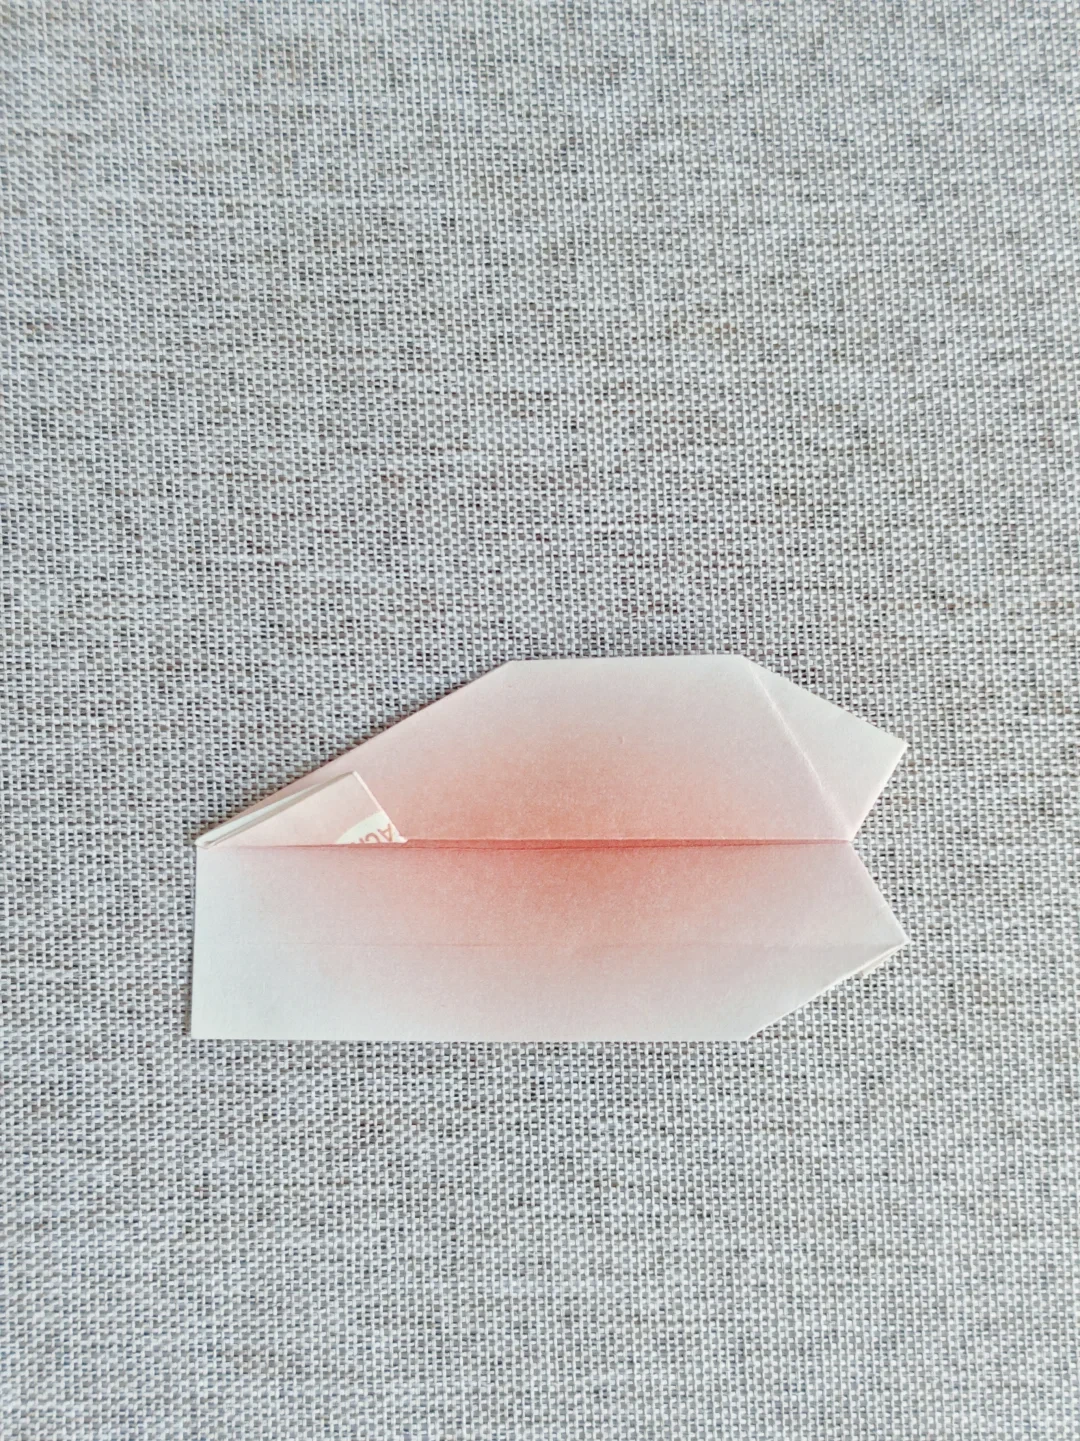 Open image at full size ↗
Turn over to reveal the broad petal face.
Flatten the unit
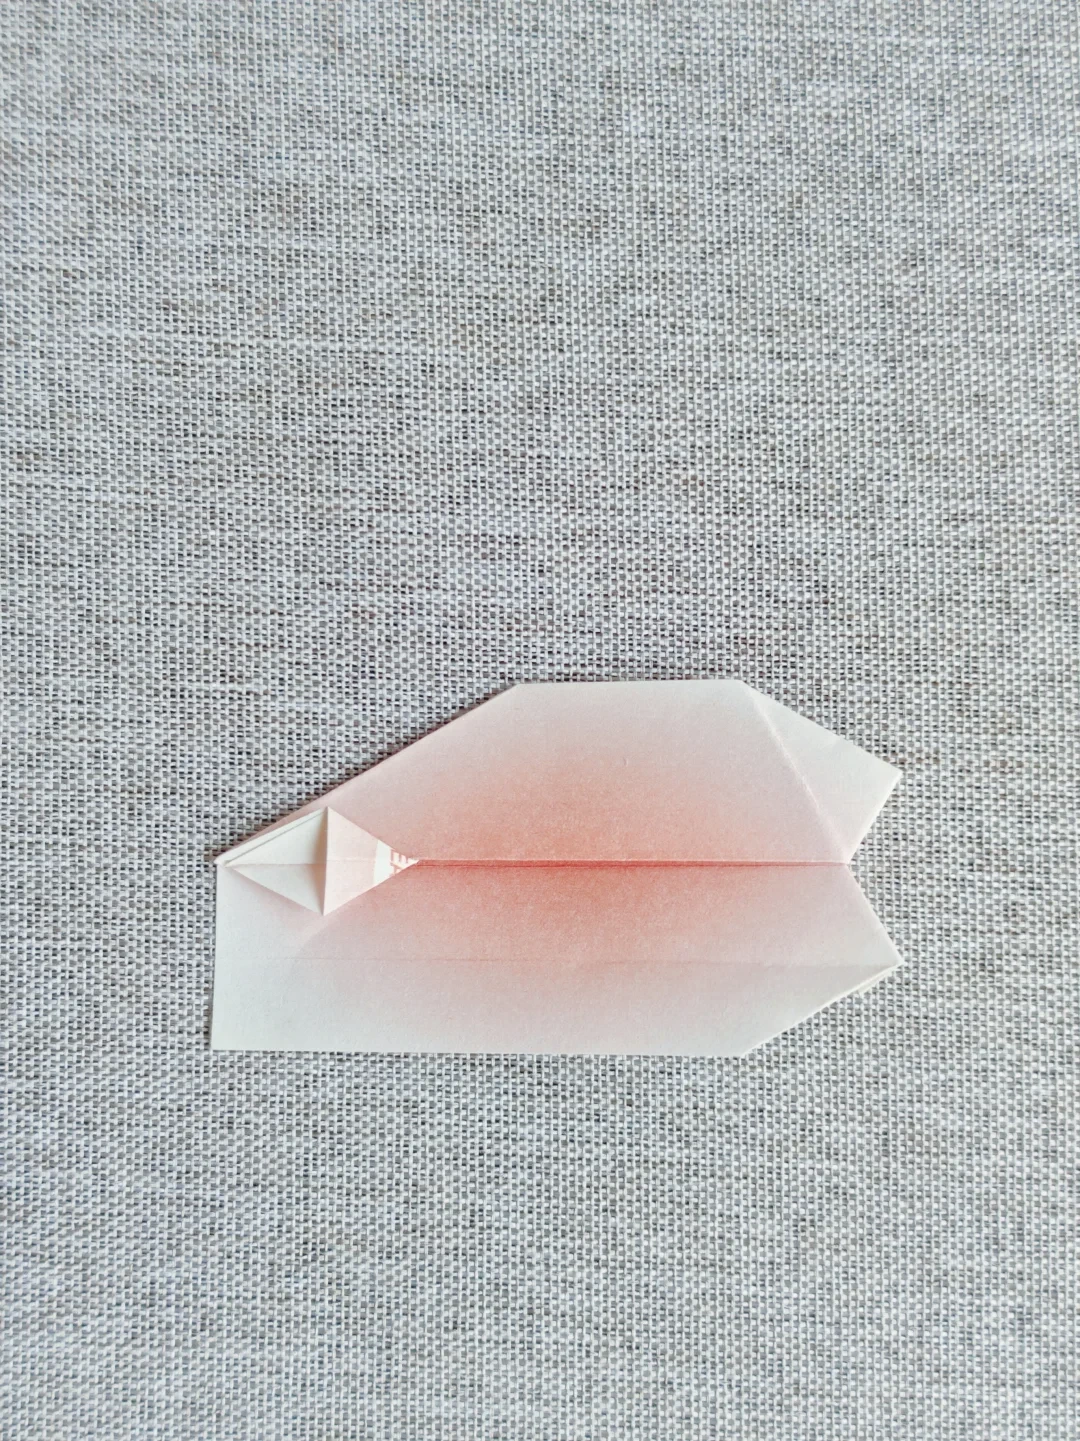 Open image at full size ↗
Press the narrow base while keeping the upper petal open.
Join two petals
 Open image at full size ↗
Glue two petal bases together at the overlapping faces.
Close the five-petal ring
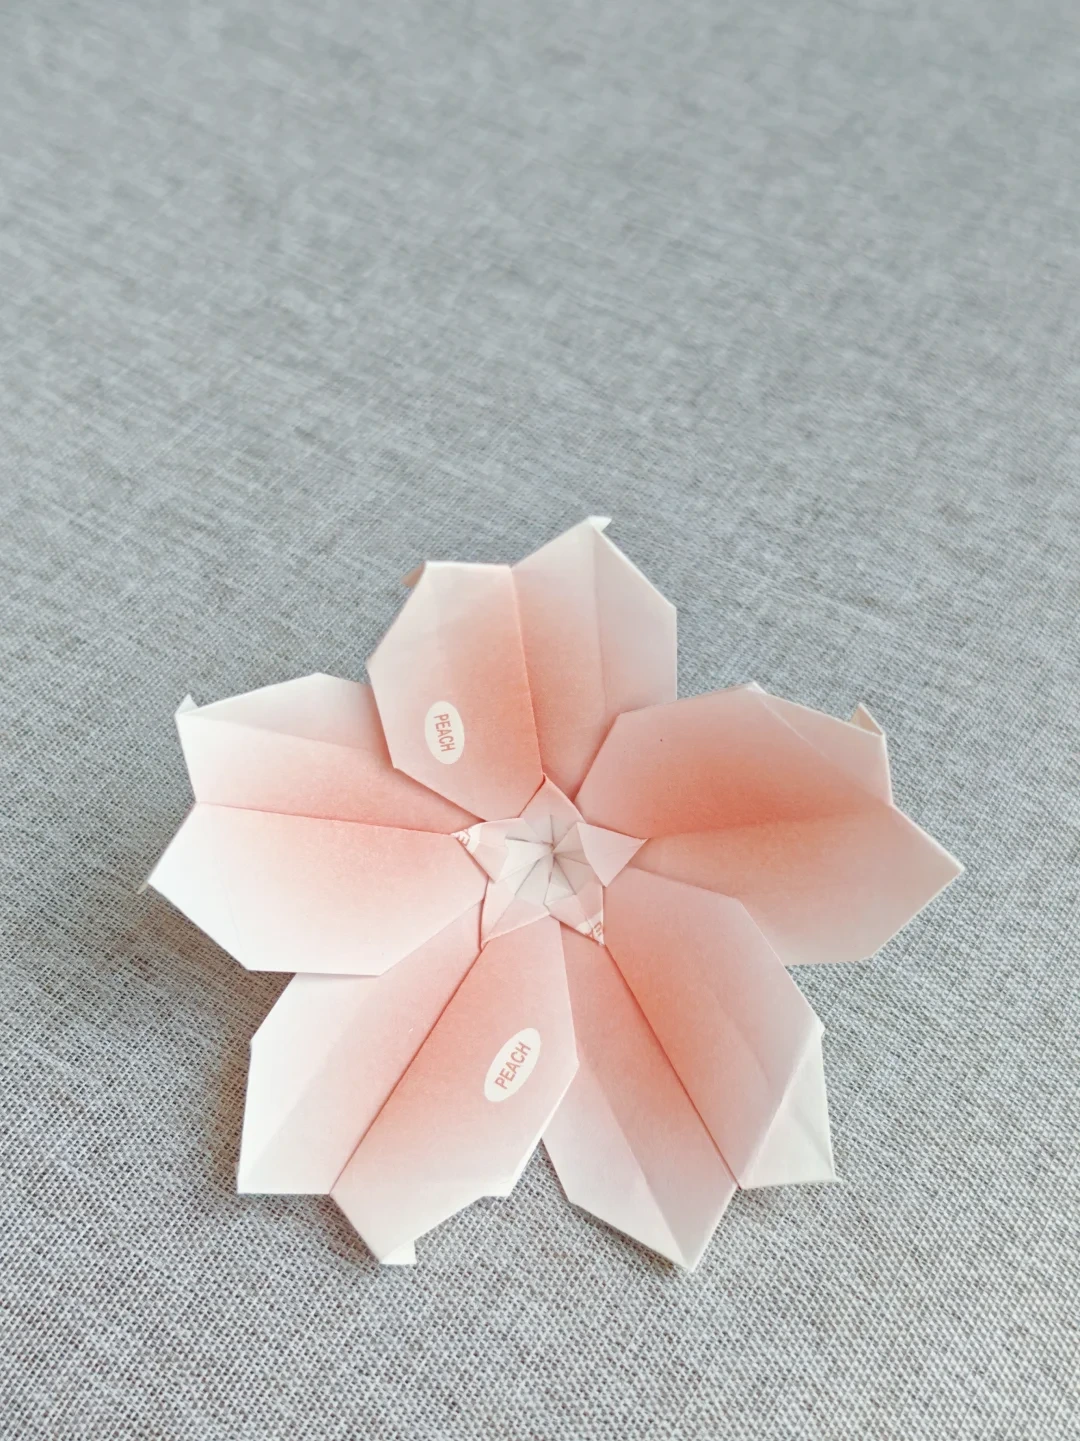 Open image at full size ↗
Add the remaining units and join the first and last petals.
Open the blossom
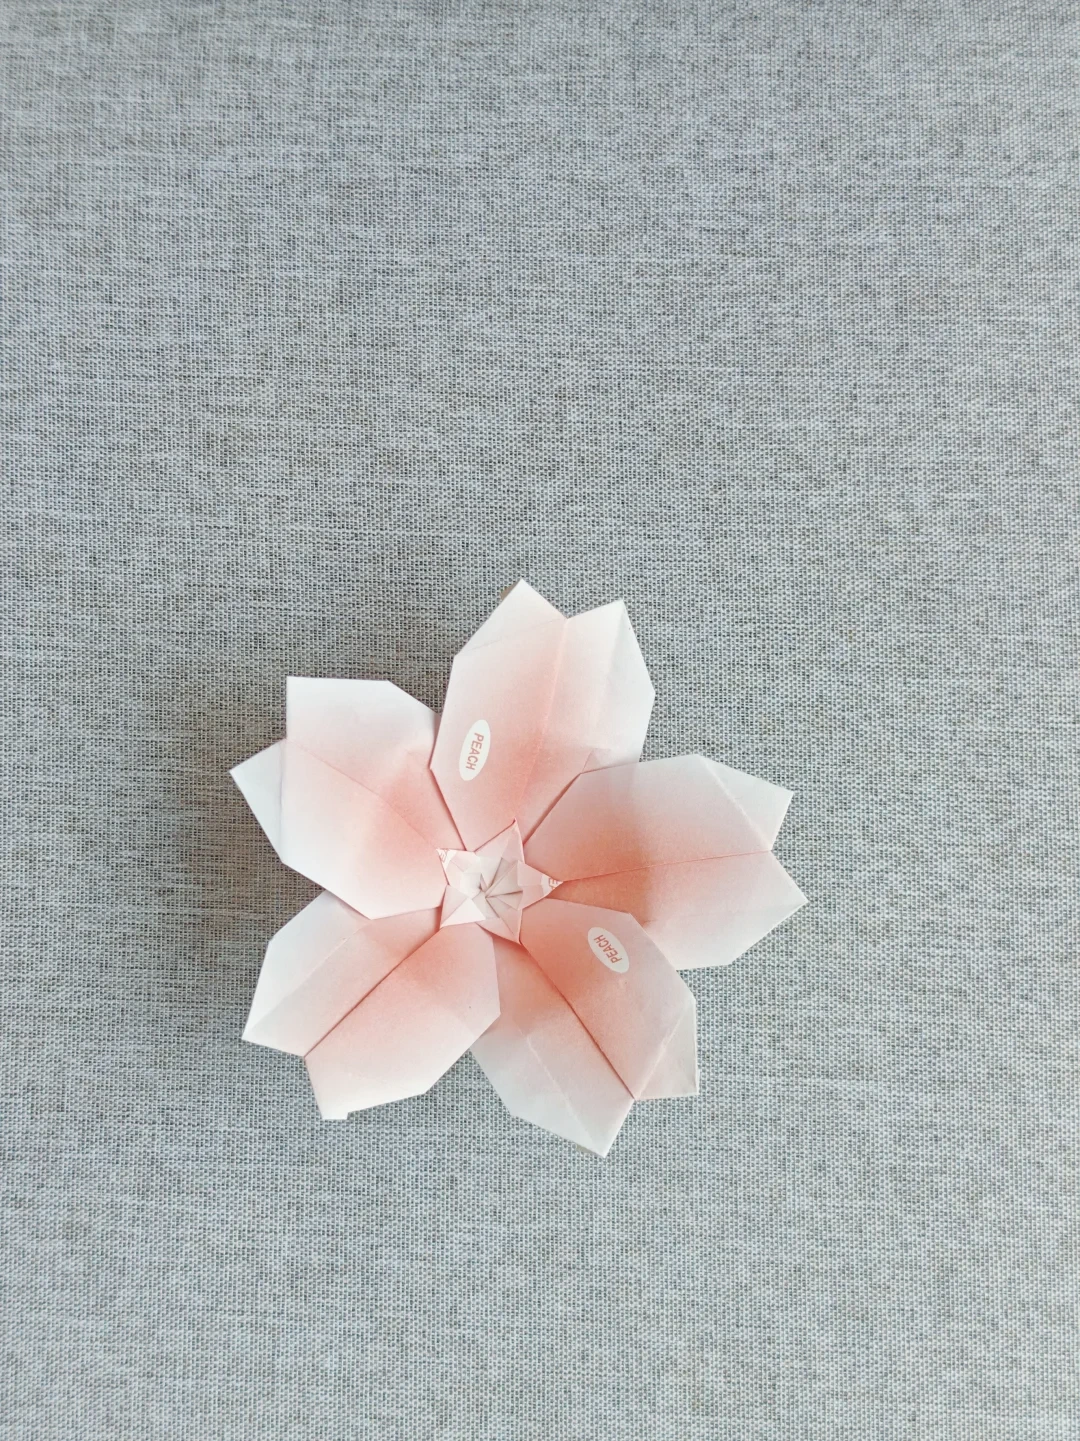 Open image at full size ↗
Spread and shape all five petals evenly.
Follow the diagrams alongside the step-by-step English instructions.
Choose your next project →