
Paper toys · Step-by-step guide
Miniature Paper Umbrella
Fold a small umbrella canopy, join its overlapping sections and add a rolled paper handle.
What you’ll need
- One square of paper for the canopy
- A paper strip for the handle
- Glue
Paper folding · Canopy folds & glued assembly
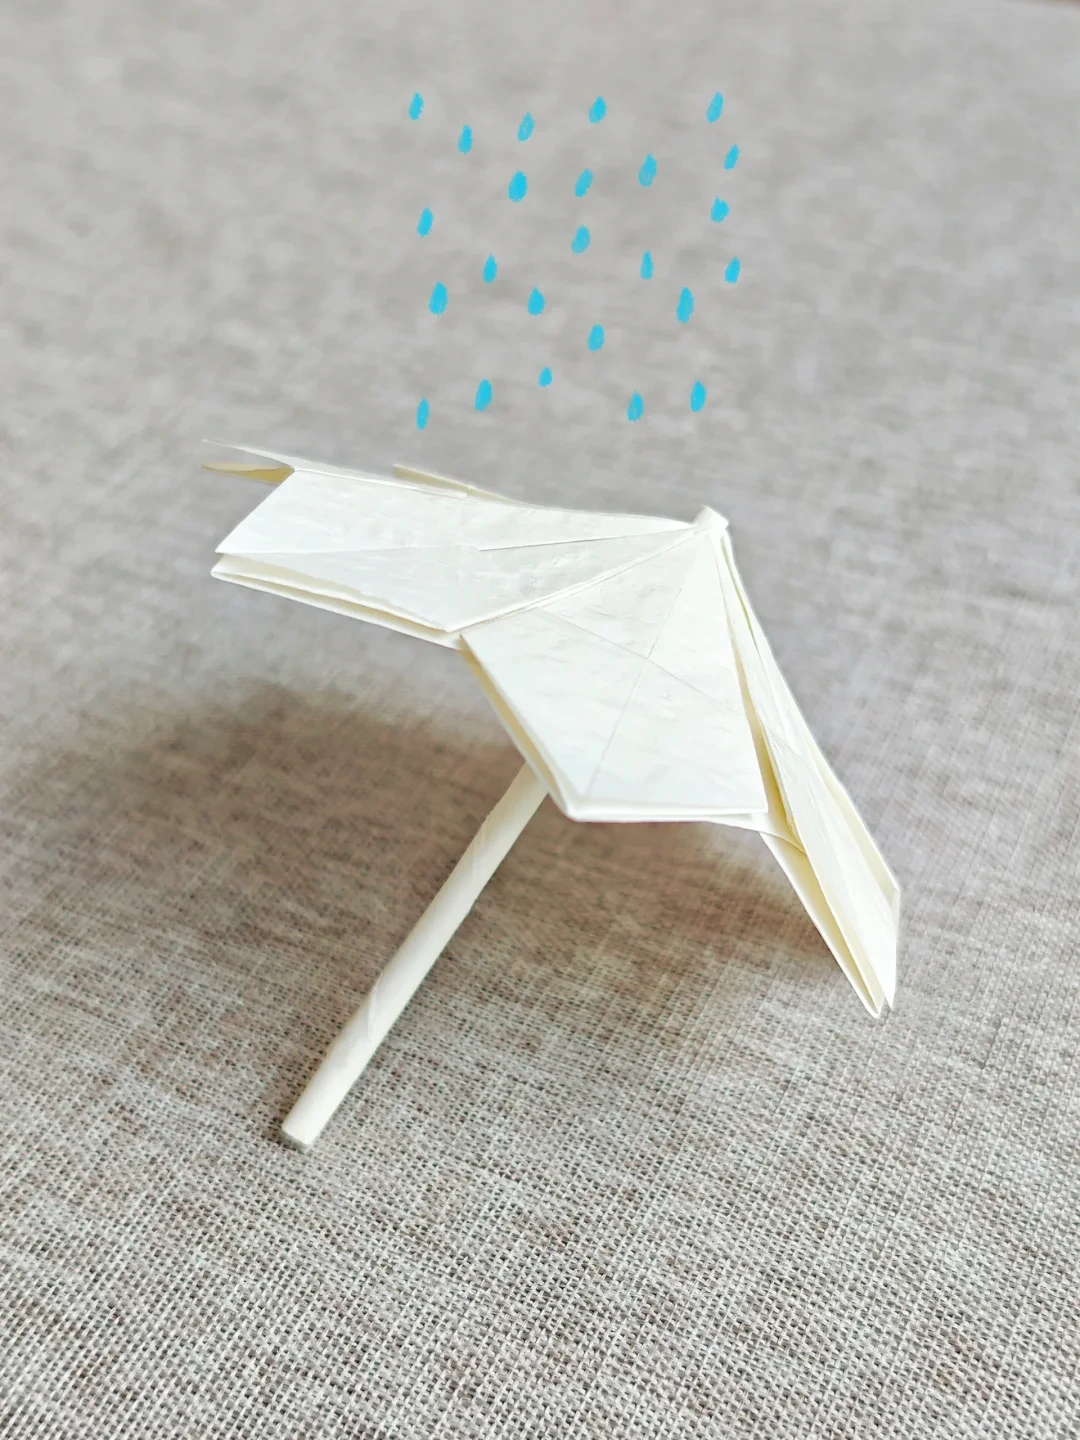
Make it, step by step.
13 steps · Original diagrams with English instructions
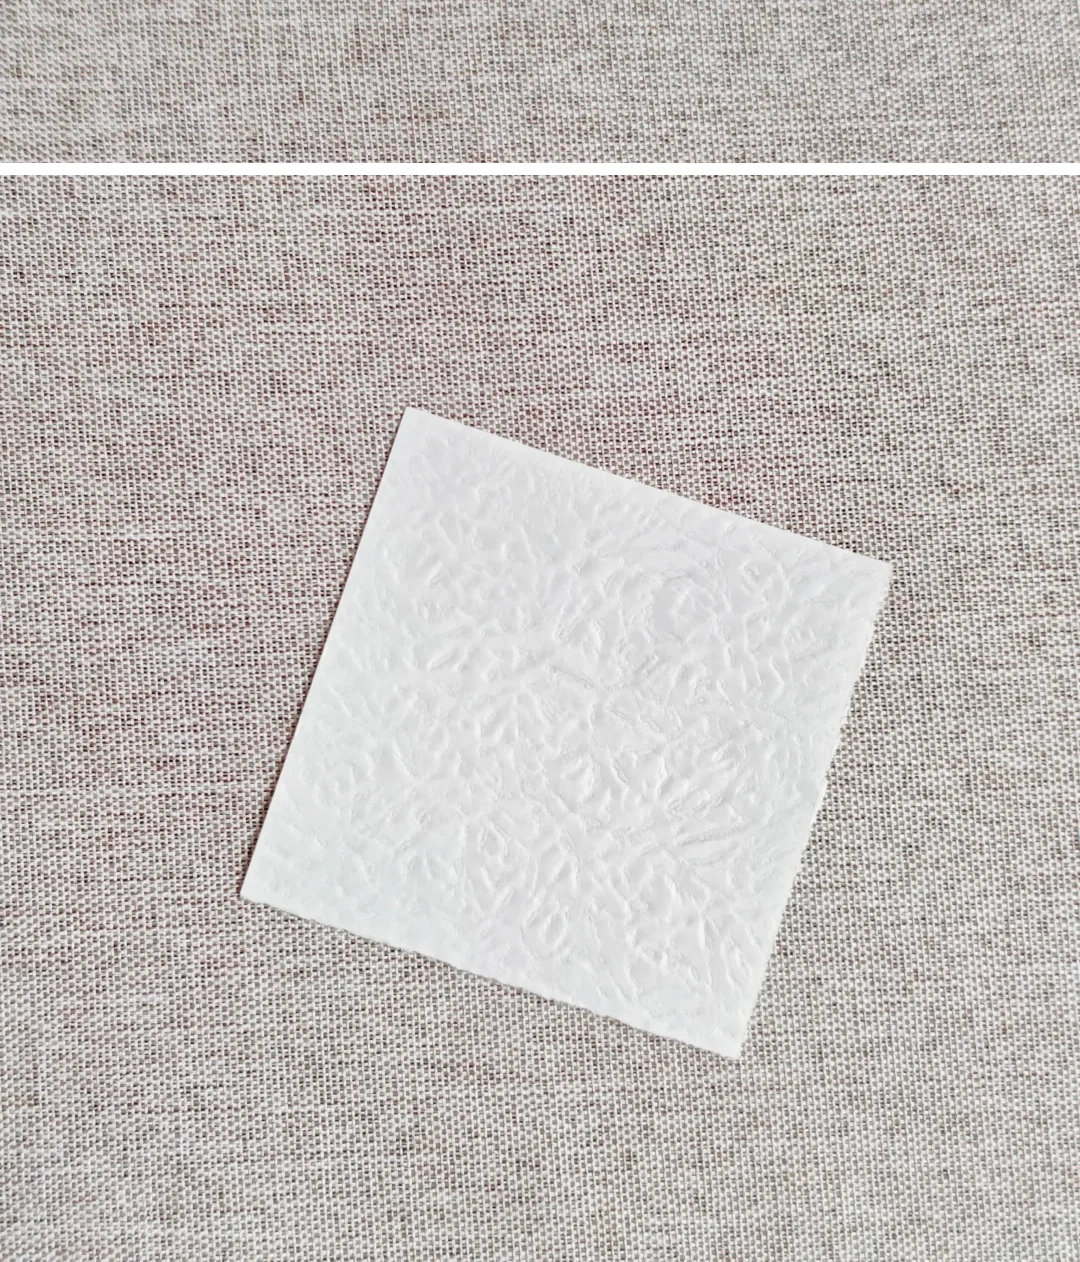
Prepare the paper
 Open image at full size ↗
Choose a square for the canopy and a strip for its handle.
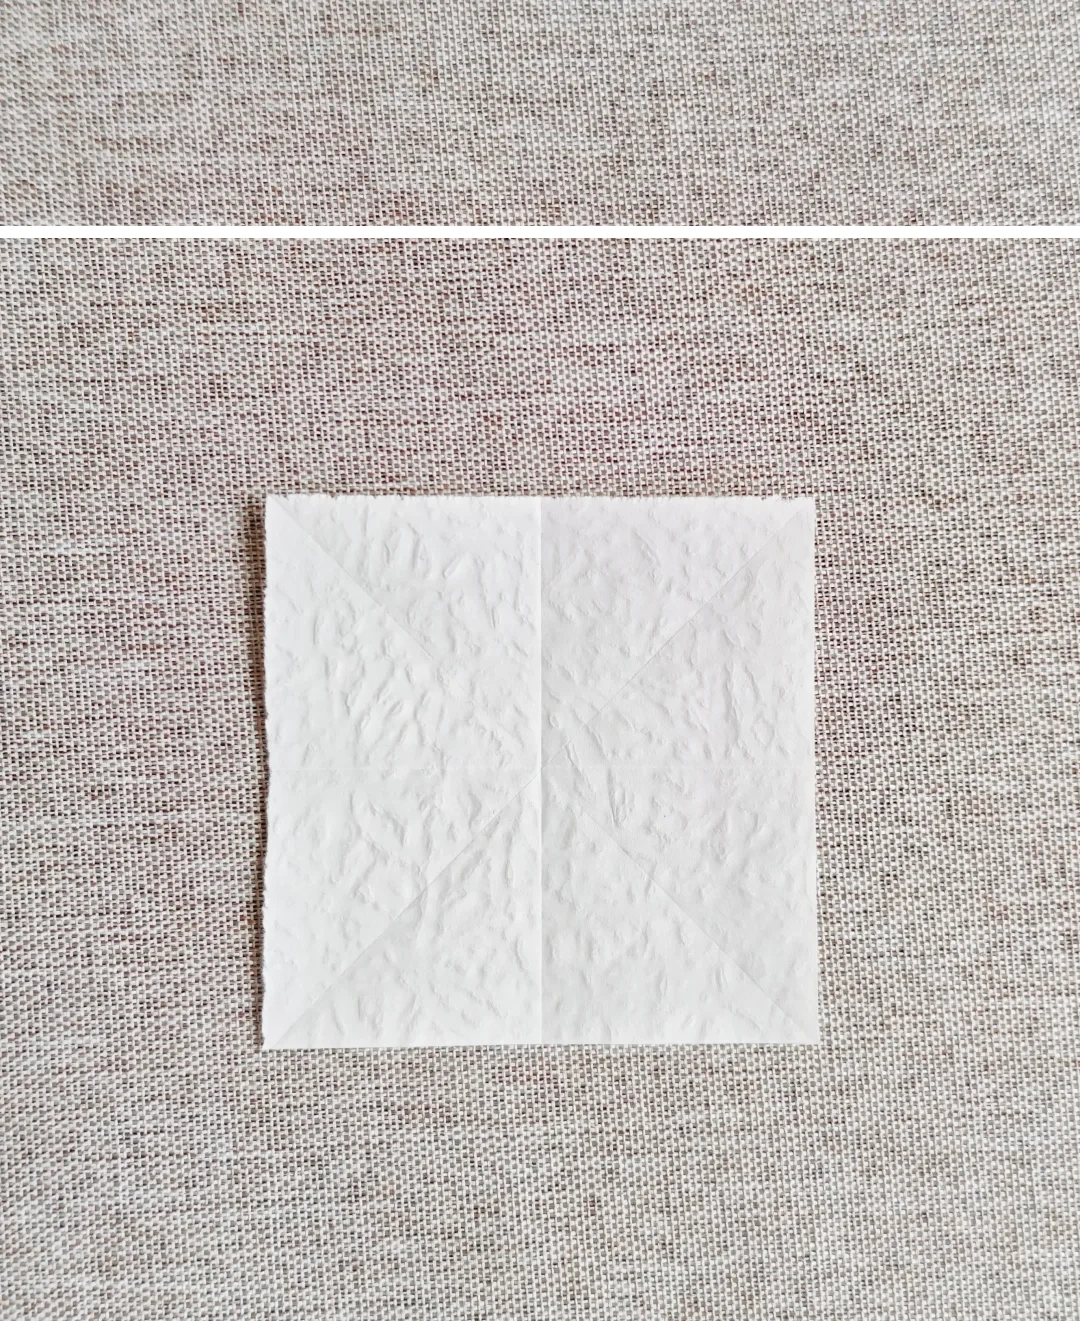
Crease the square
 Open image at full size ↗
Fold and unfold both diagonals and both midlines.
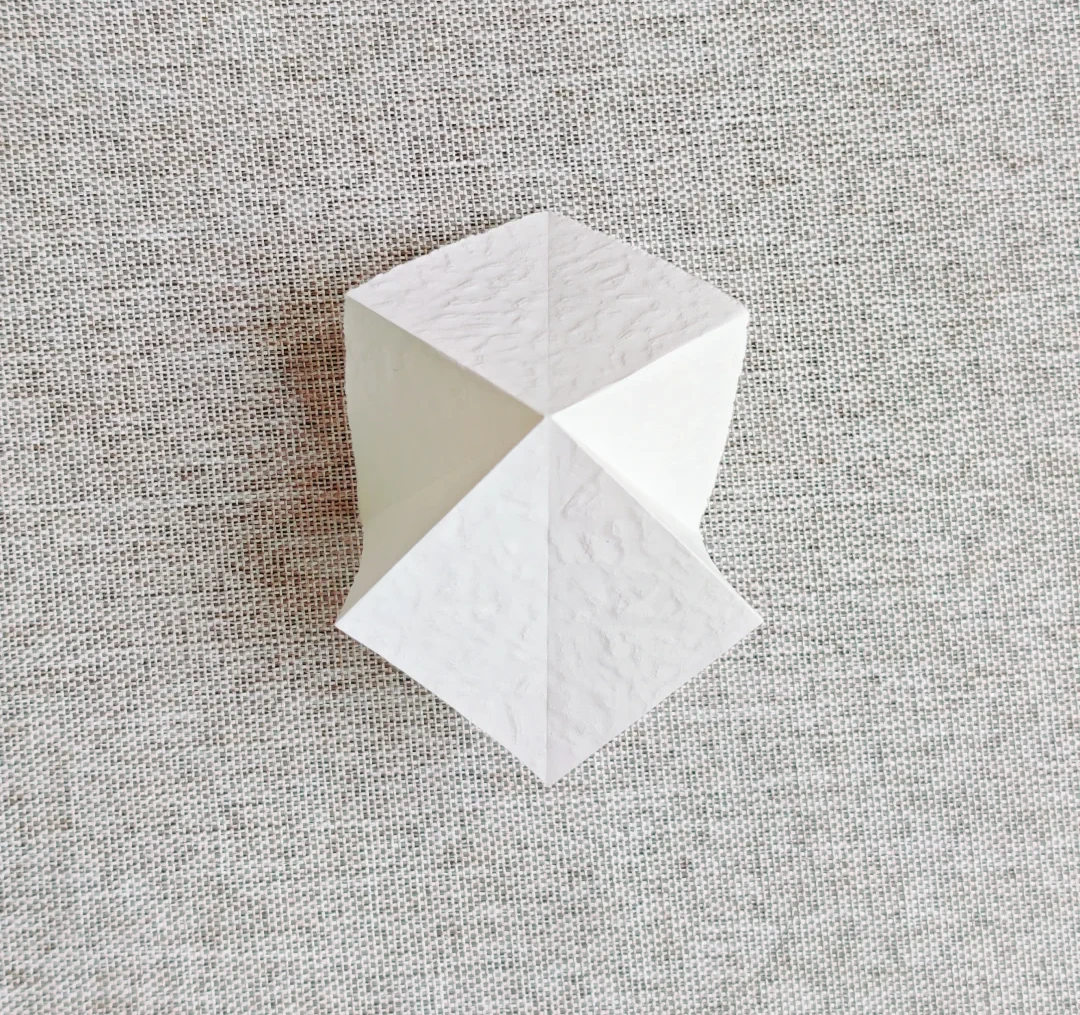
Bring the sides inward
 Open image at full size ↗
Push the two sides inward along the diagonal creases.
Flatten the base
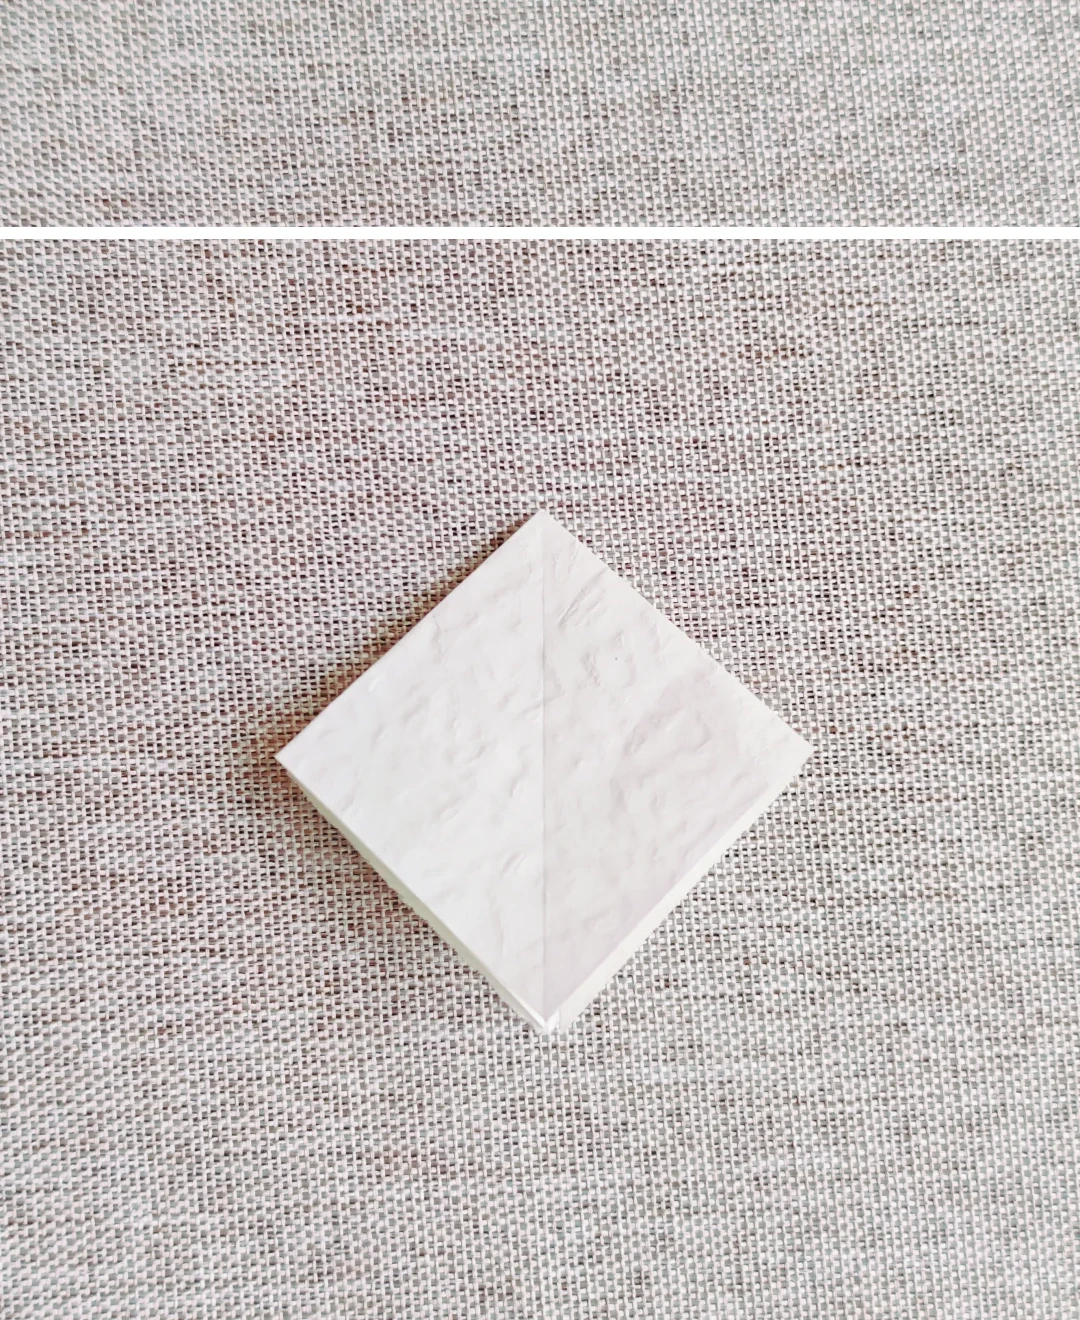 Open image at full size ↗
Collapse the layers into a square base.
Fold upward
 Open image at full size ↗
Fold the lower front flap upward.
Turn the flap
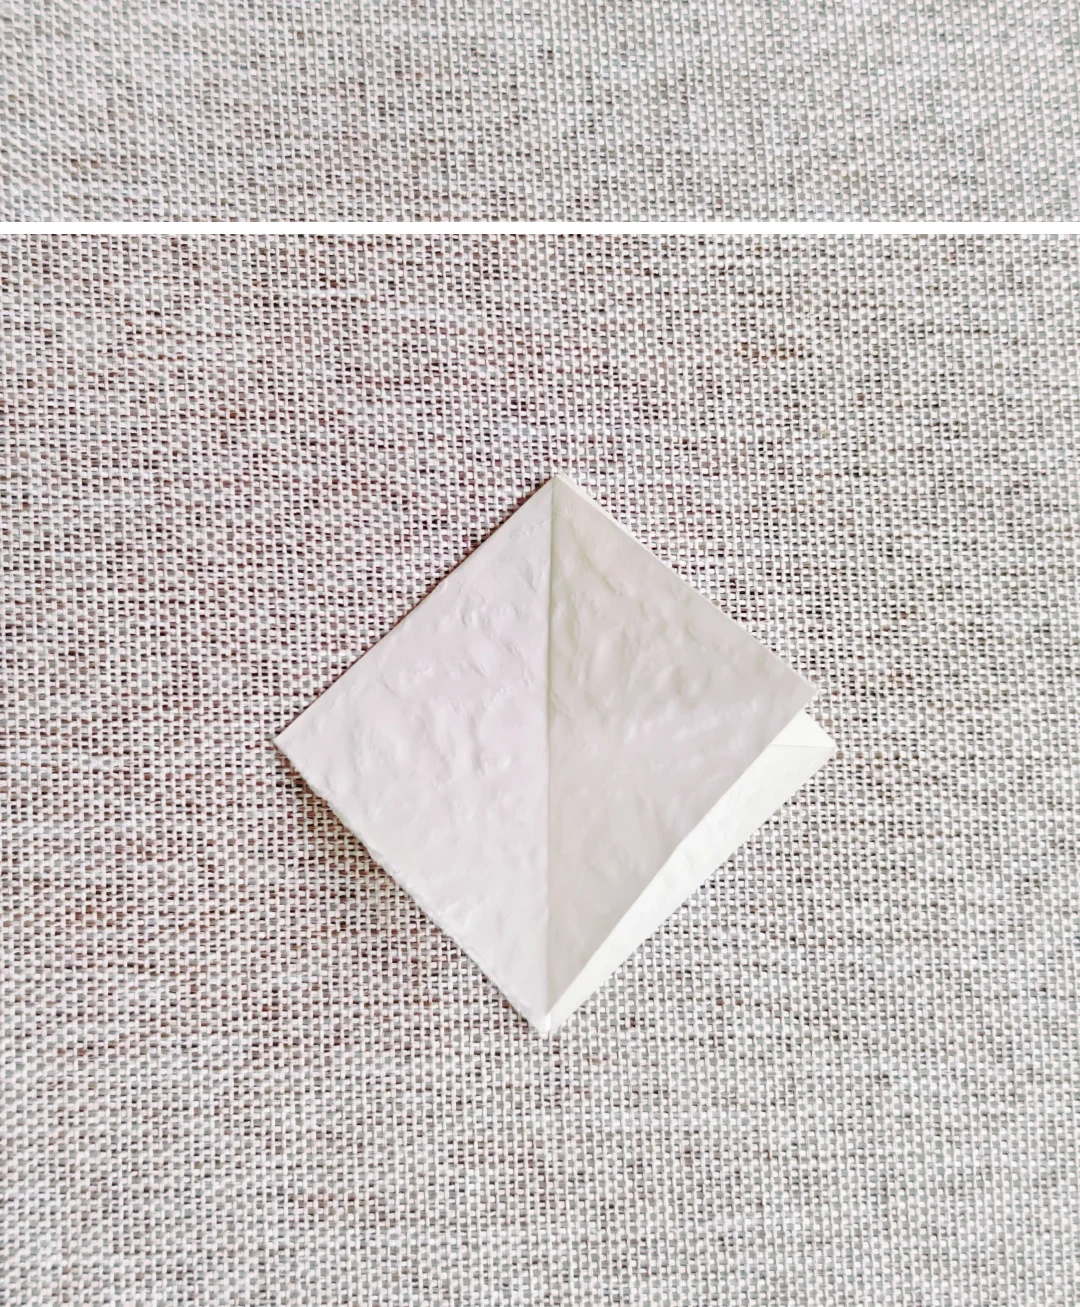 Open image at full size ↗
Turn the flap to the right to expose the next layer.
Fold the exposed edge
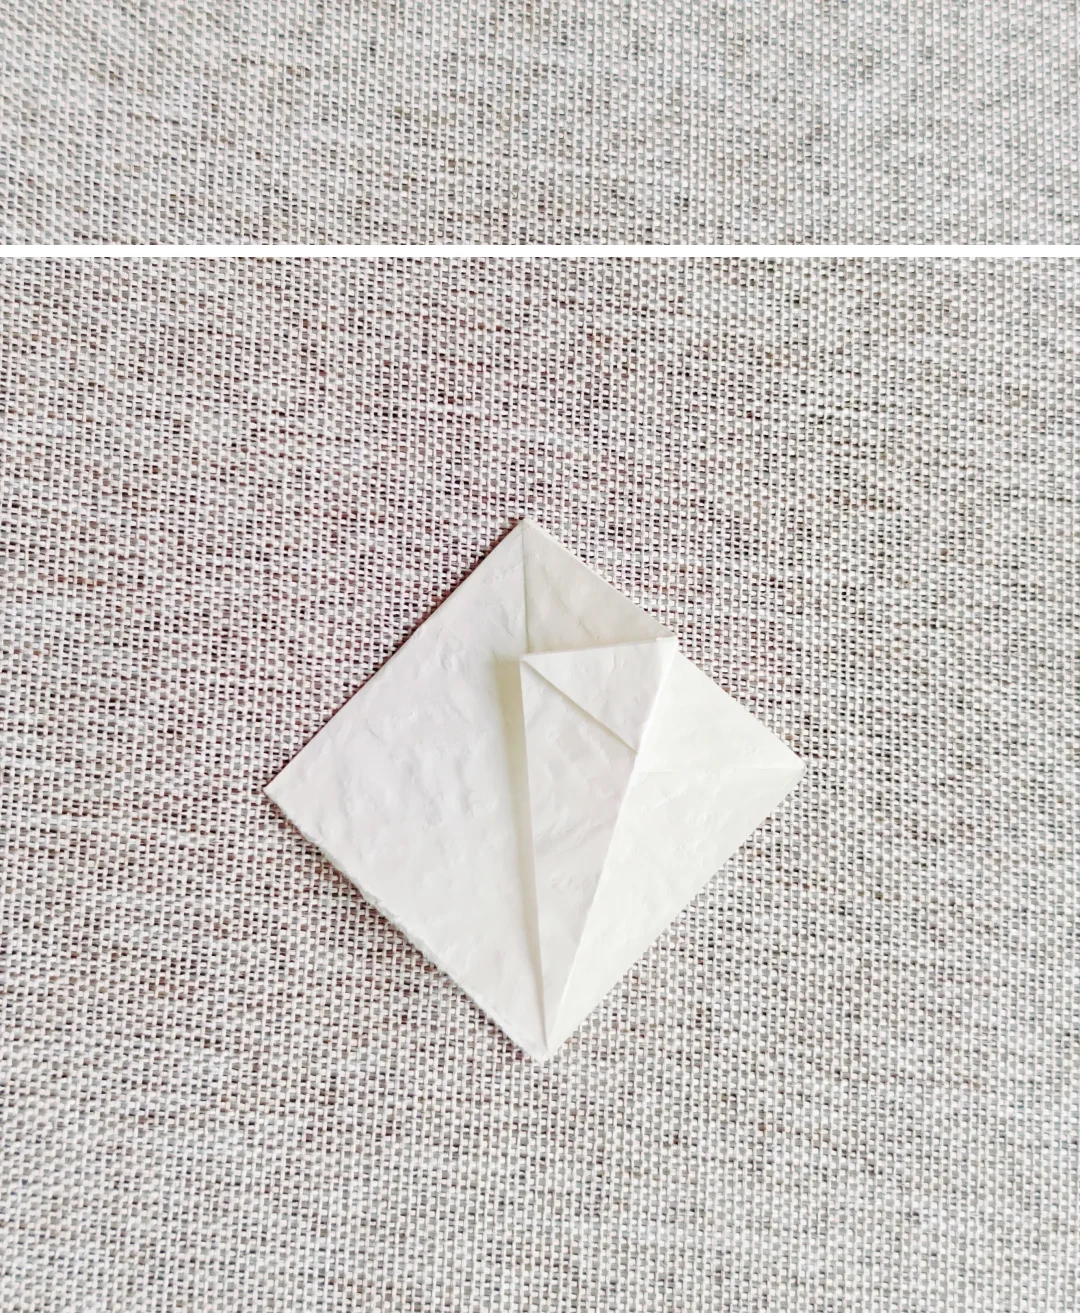 Open image at full size ↗
Bring the exposed edge inward along the diagonal shown.
Return the flap
 Open image at full size ↗
Turn the flap back to its previous position.
Repeat on the right
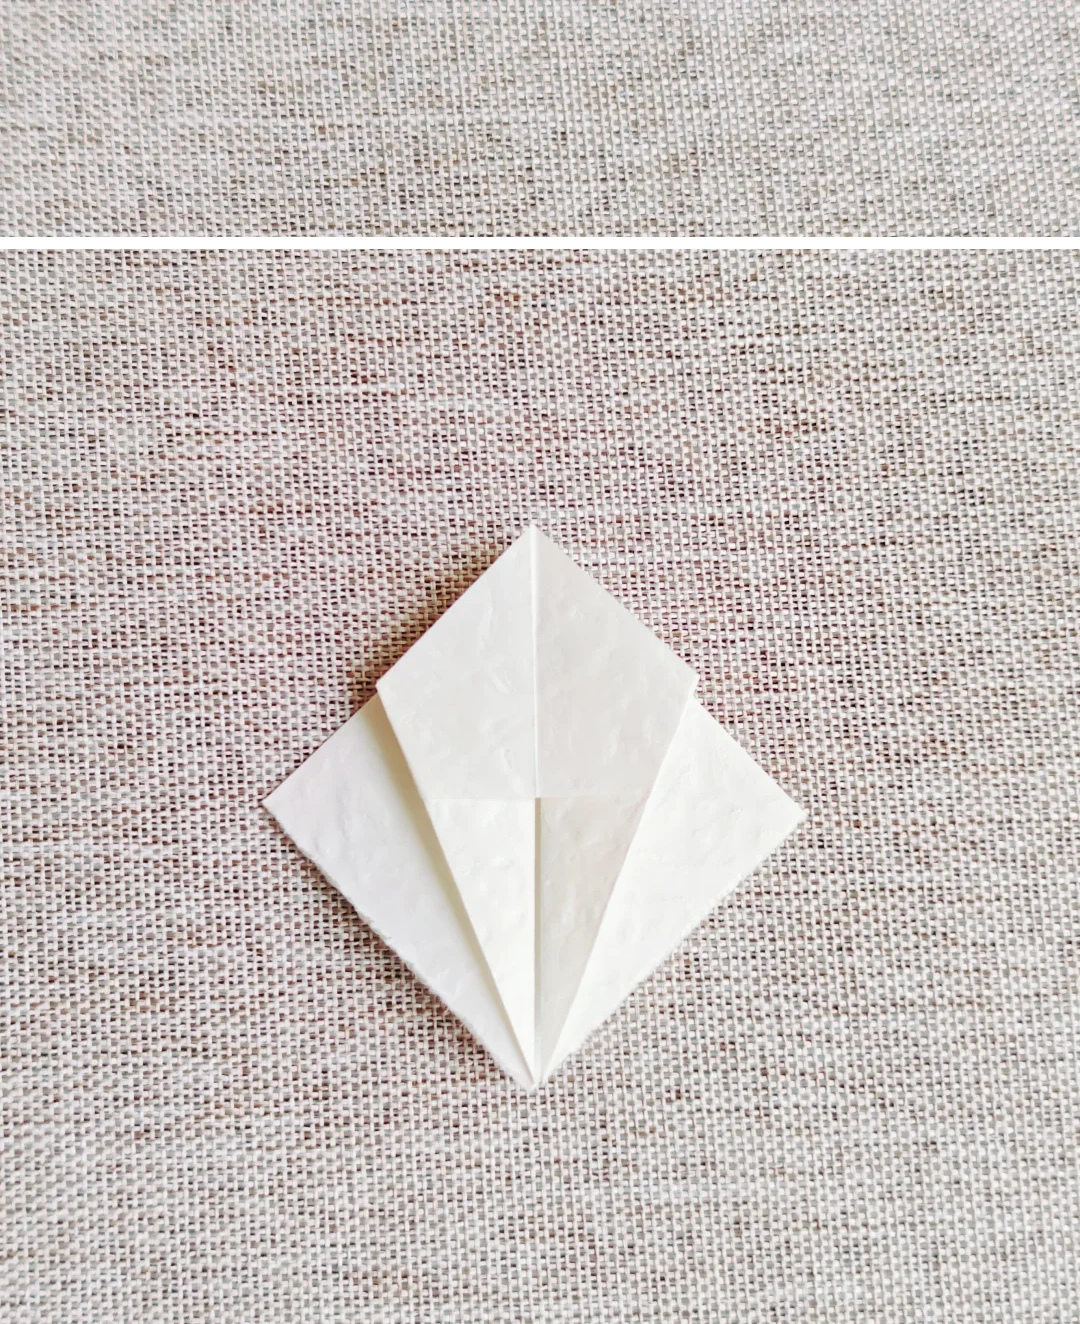 Open image at full size ↗
Repeat the same folds on the right-hand section.
Join the overlaps
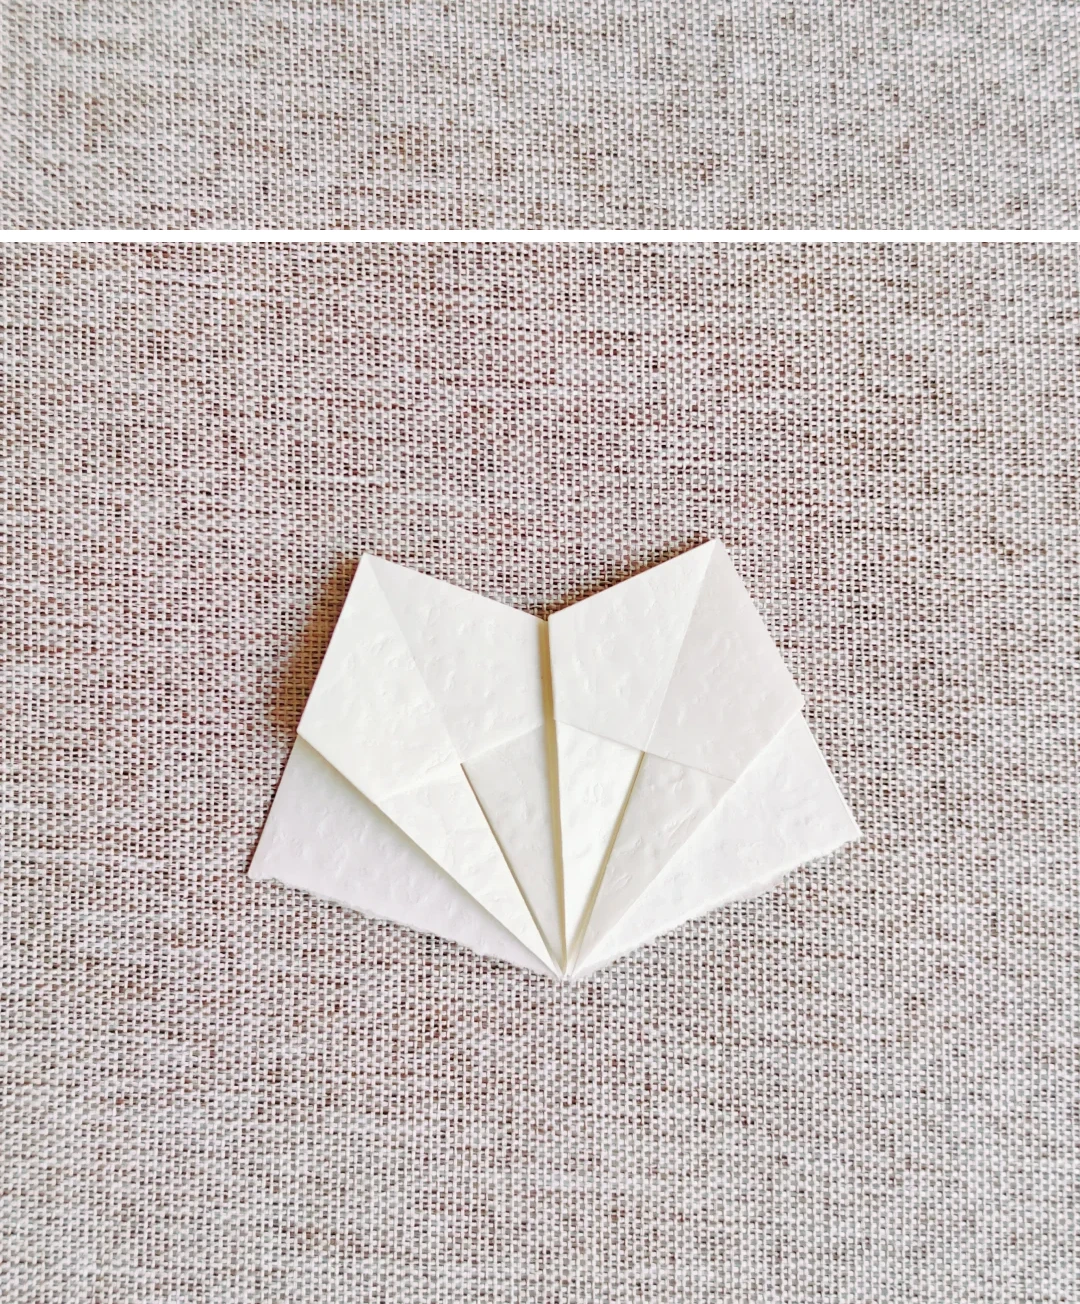 Open image at full size ↗
Spread the sections and glue neighboring overlapping faces together.
Close the canopy
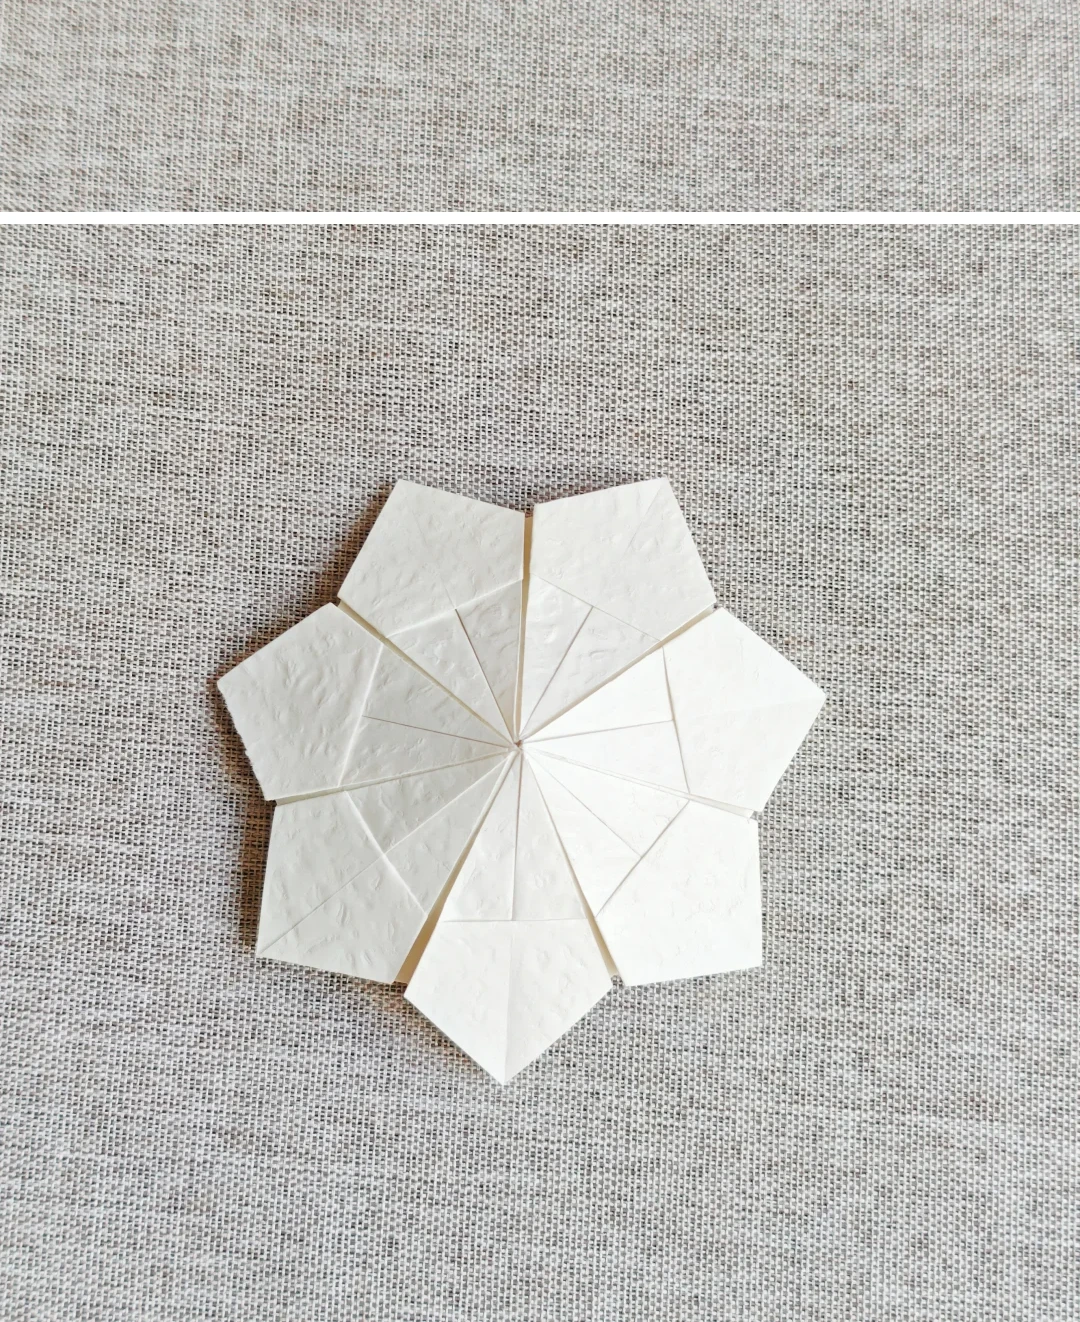 Open image at full size ↗
Continue around the center until the canopy forms a complete circle.
Roll the handle
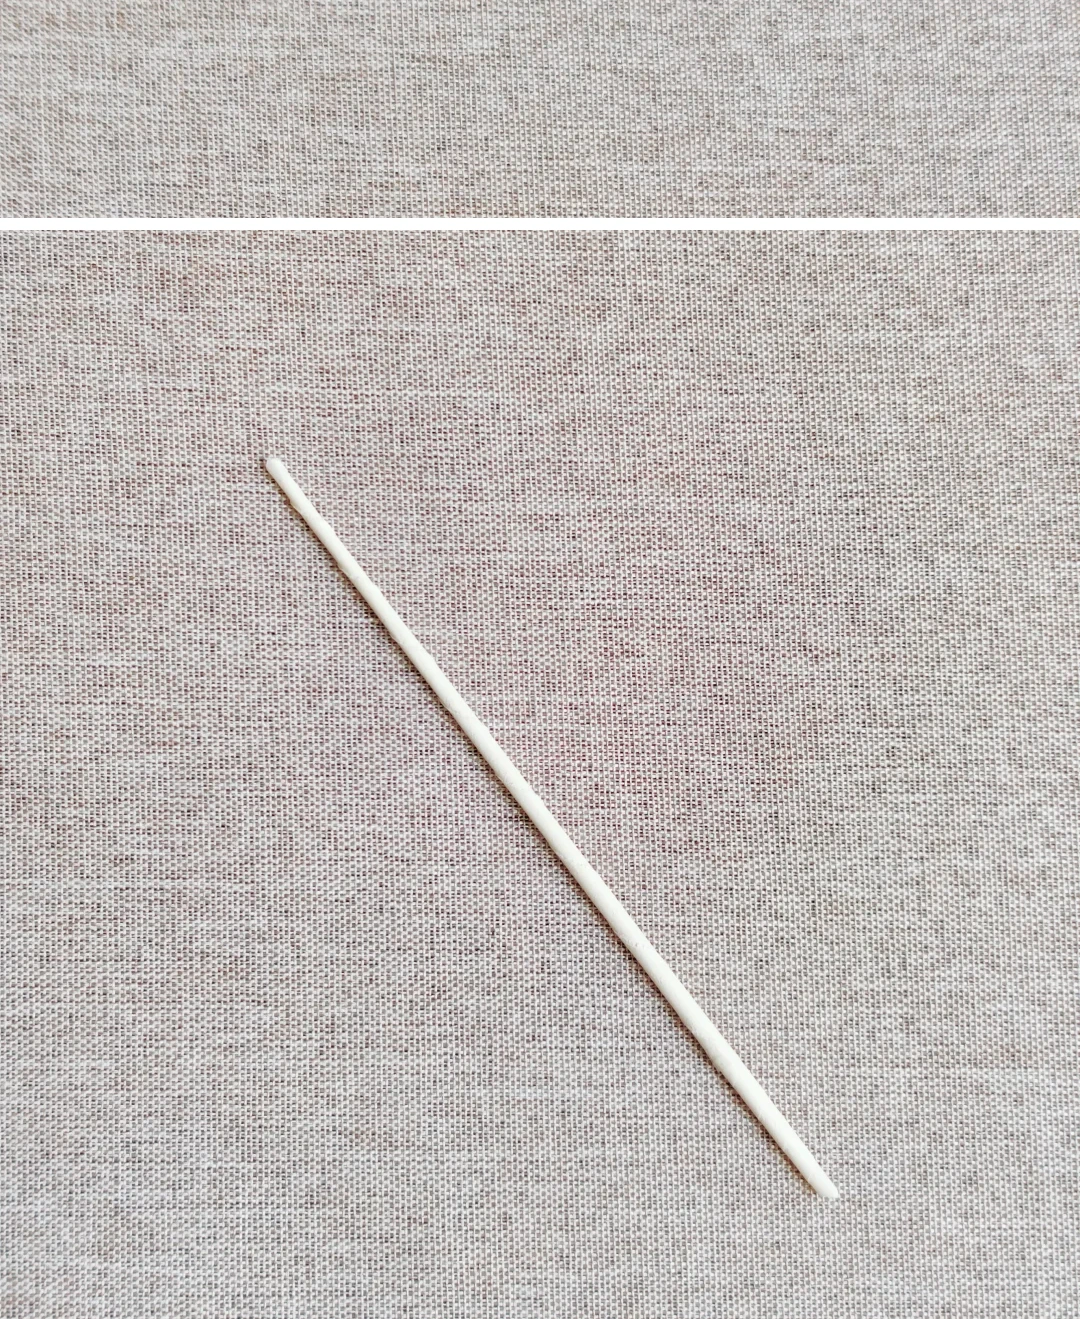 Open image at full size ↗
Roll the paper strip tightly into a thin rod and secure its end.
Attach the handle
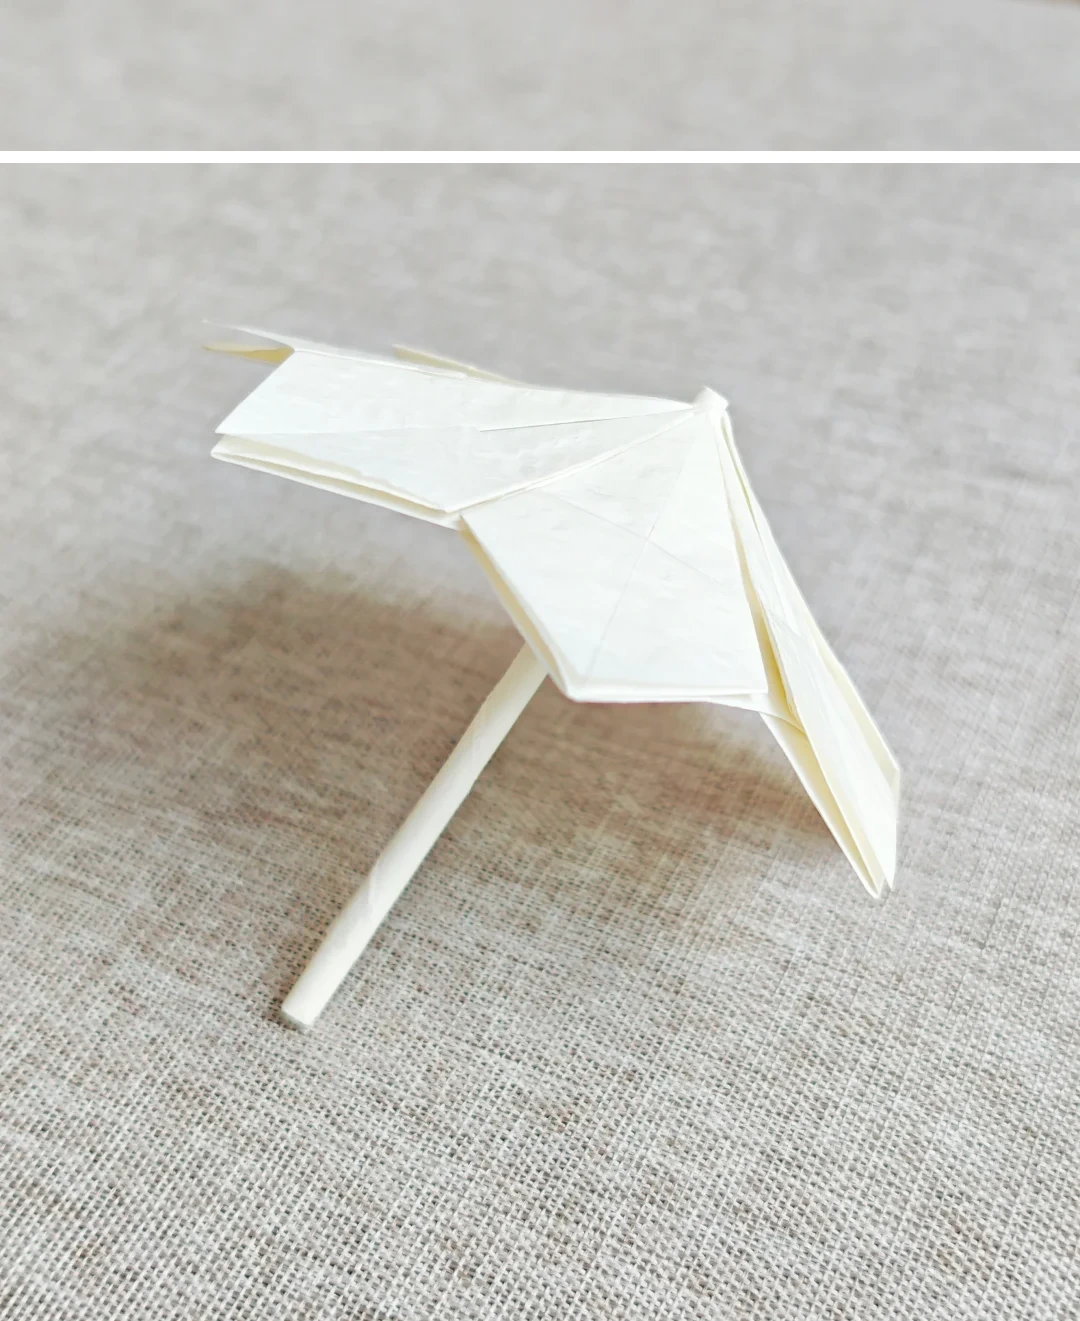 Open image at full size ↗
Pass the rod through the center of the canopy and glue it in place.
Follow the diagrams alongside the step-by-step English instructions.
Choose your next project →