
Flowers & nature · Step-by-step guide
Miniature Paper Sprout Pot
Shape a tiny sprout and its cylindrical pot from one rectangular sheet. A fine grid of creases makes the stem and leaves possible.
What you’ll need
- One two-color paper rectangle with a 1:2 ratio
- Craft glue
Paper craft · Grid creasing, reverse folds & gluing
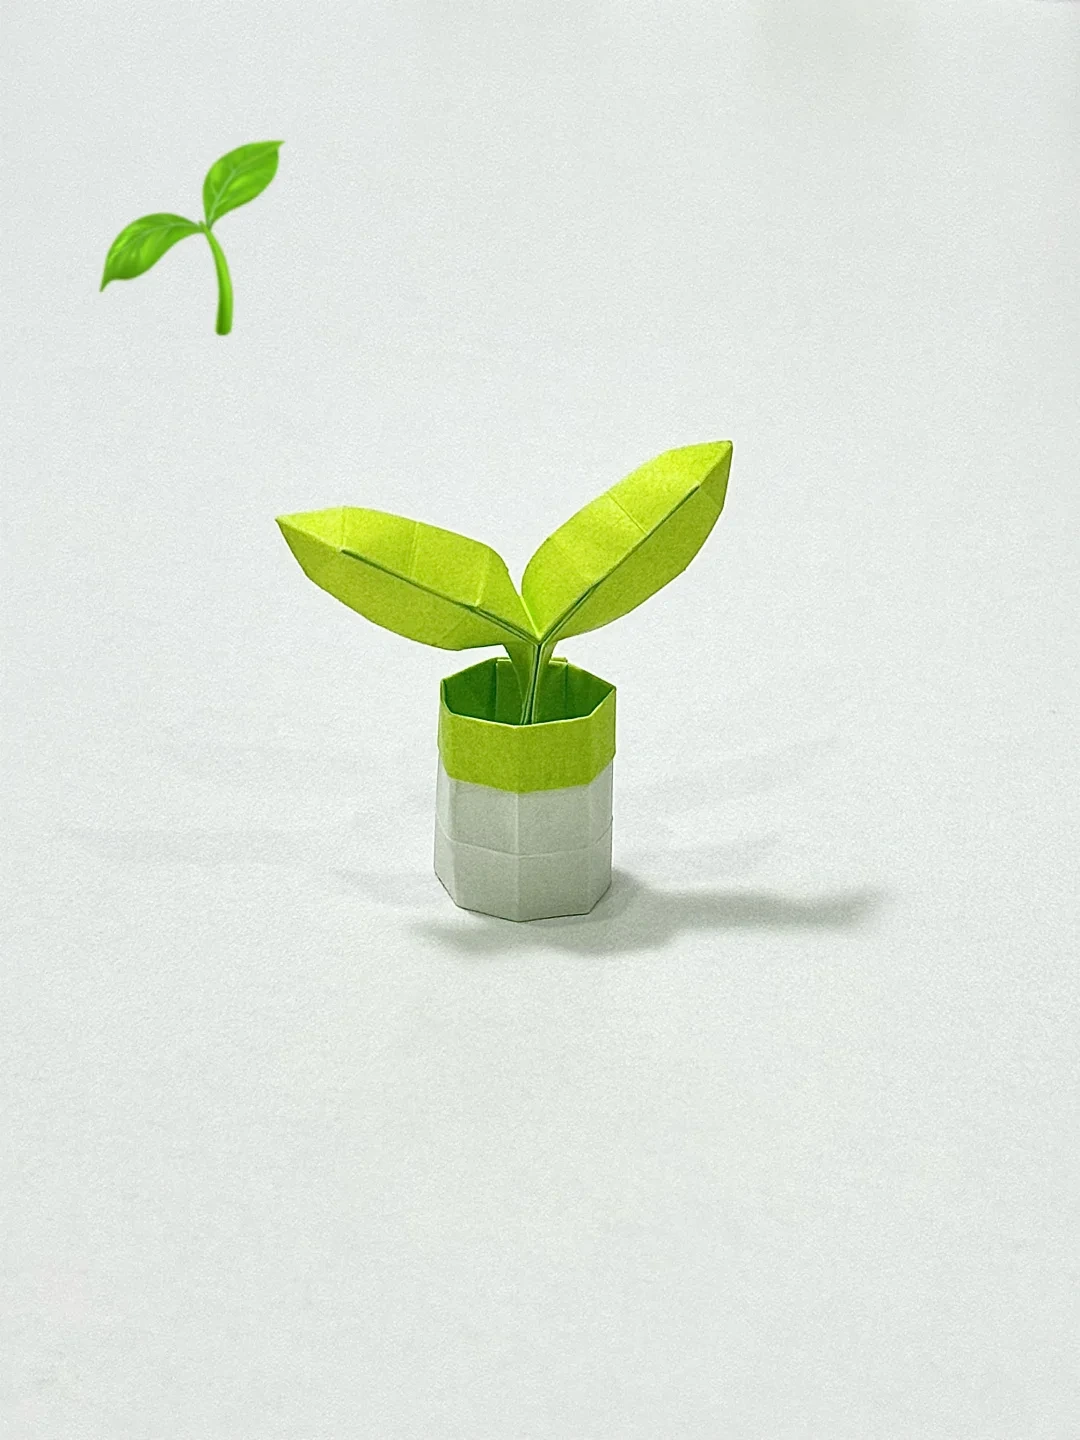
Make it, step by step.
16 steps · Original diagrams with English instructions
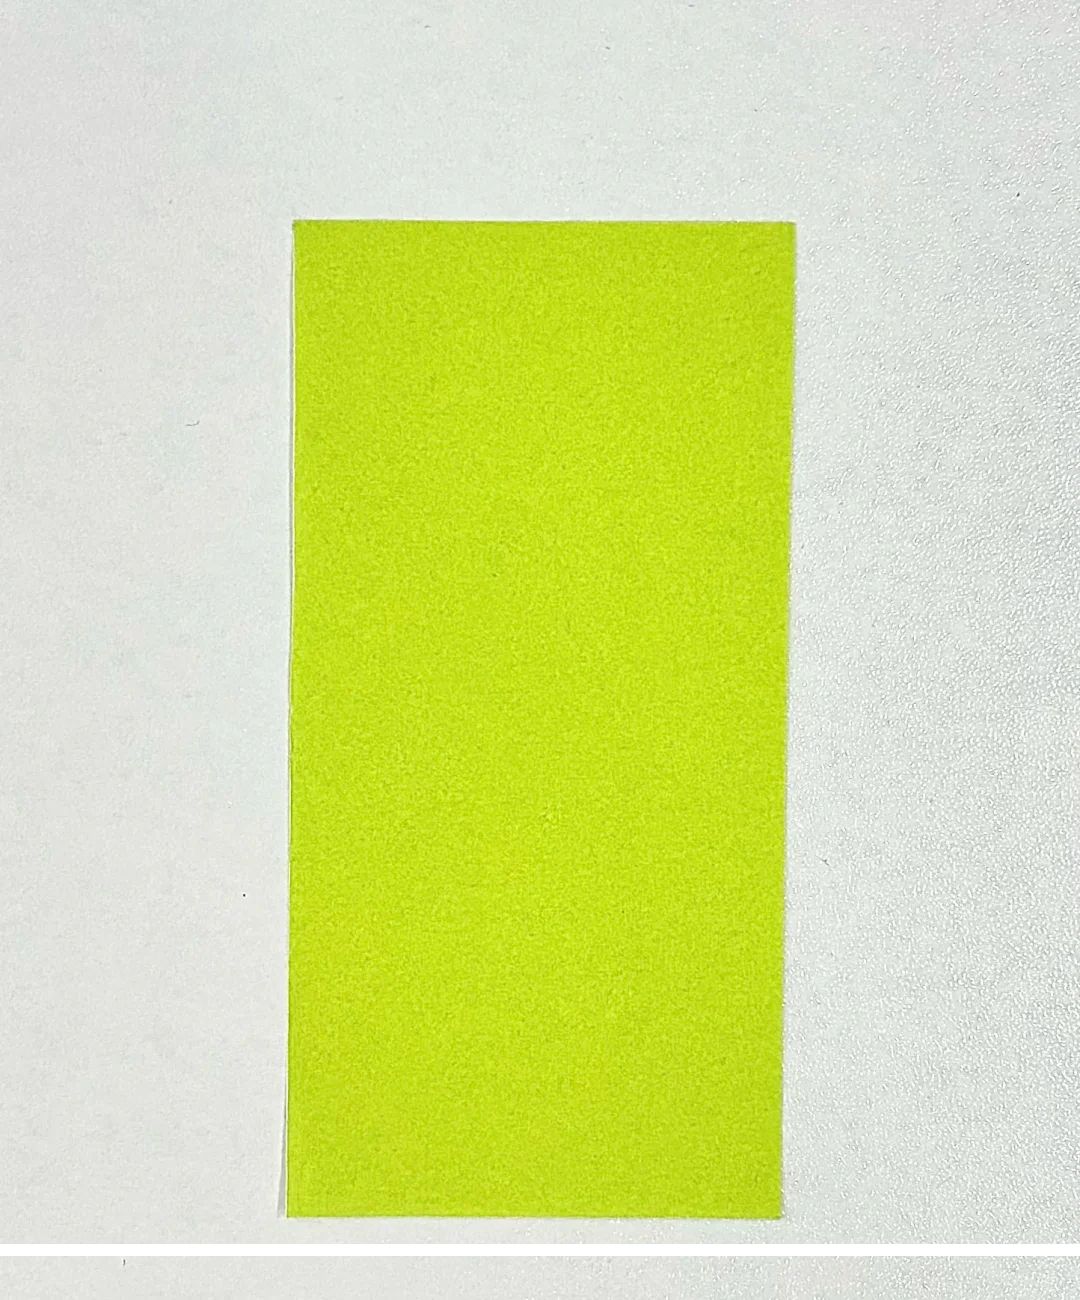
Choose the rectangle
 Open image at full size ↗
Use a rectangle twice as long as it is wide, with green on one side and a contrasting reverse for the pot.
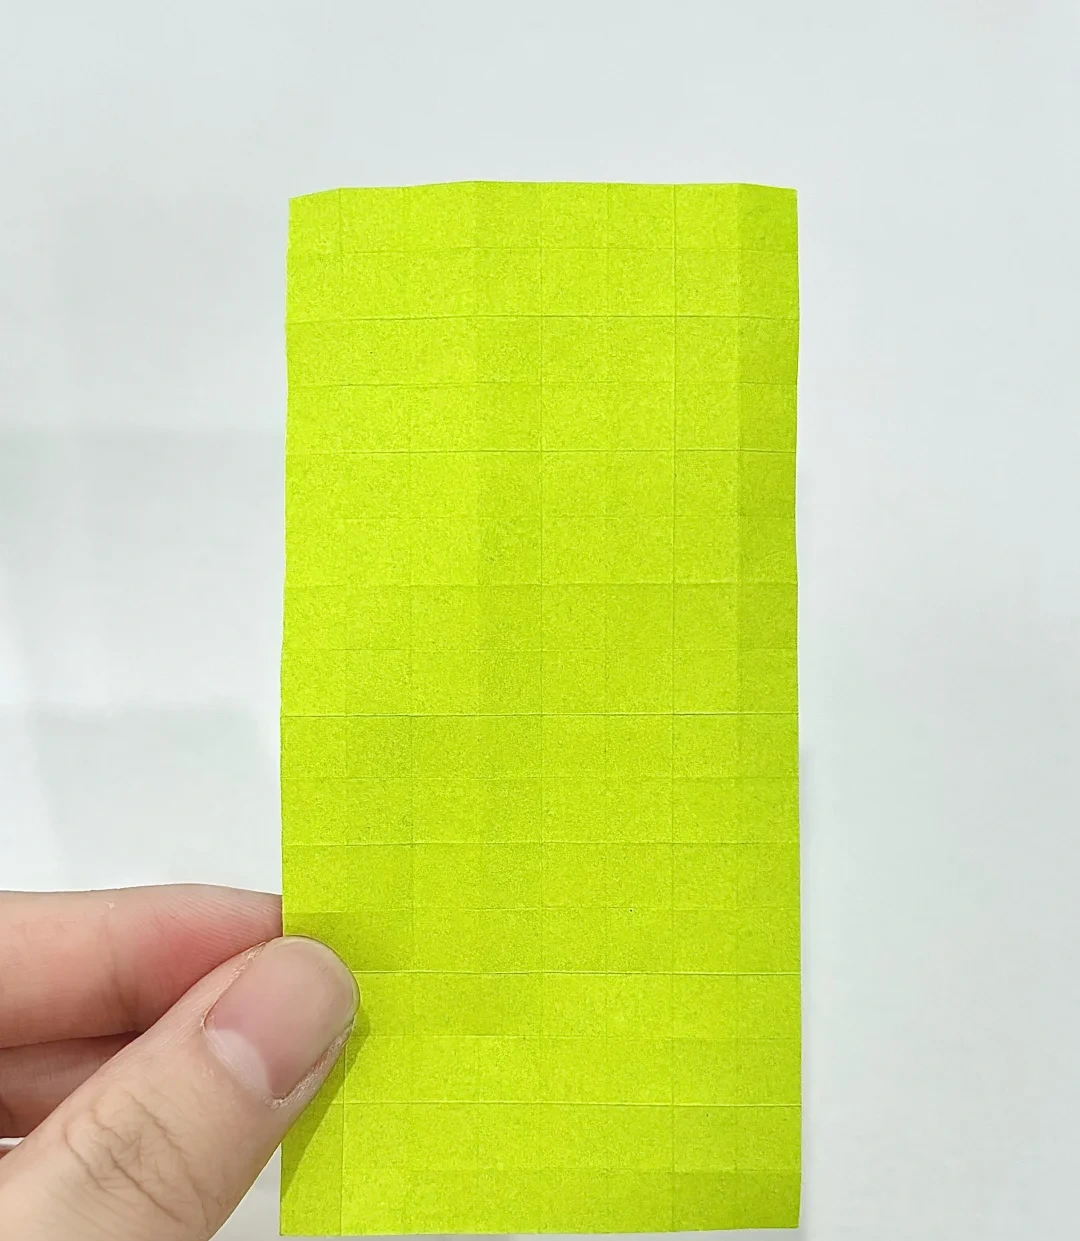
Make a crease grid
 Open image at full size ↗
Divide the short side into eight equal parts and the long side into sixteen equal parts. Crease carefully and reopen the sheet.
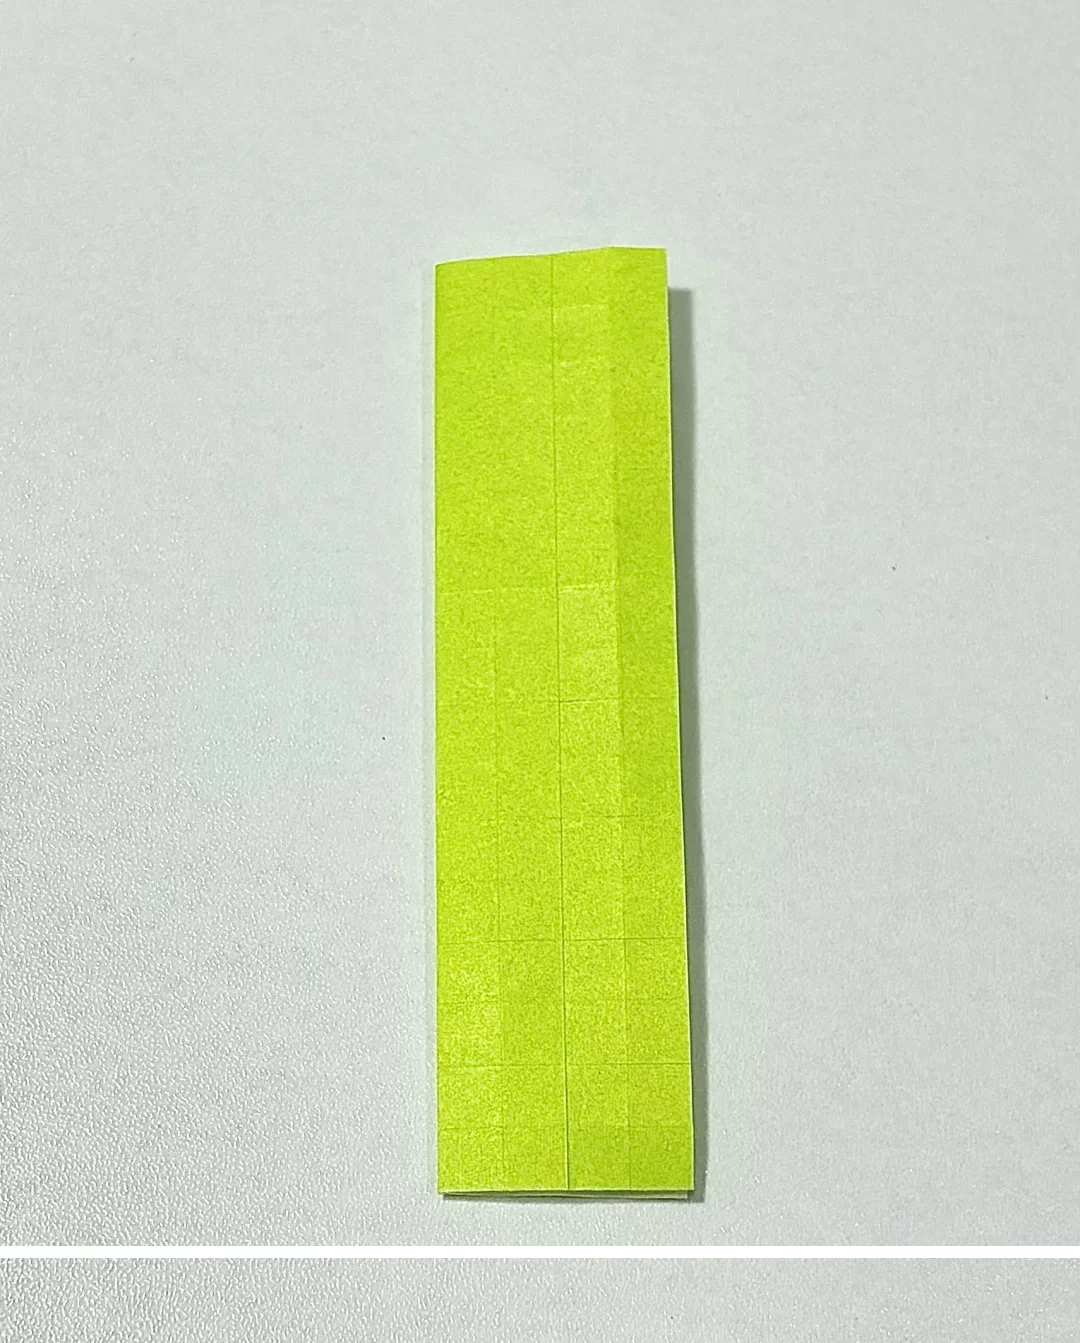
Fold lengthwise
 Open image at full size ↗
Fold the rectangle in half lengthwise with the green side visible.
Mark the diagonal folds
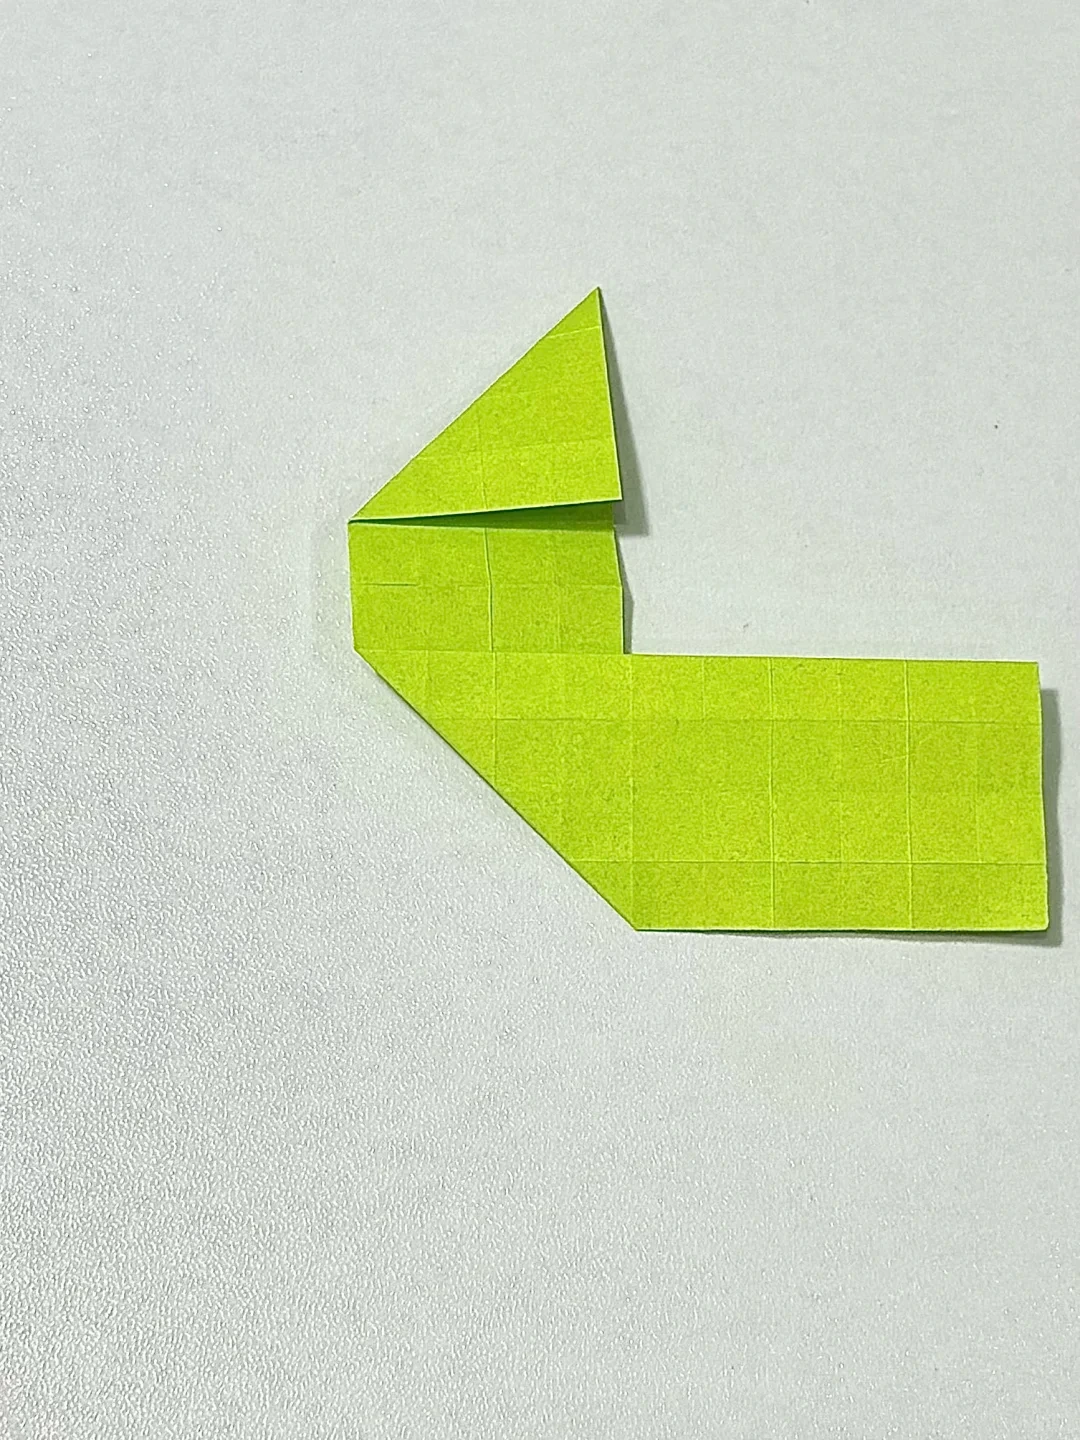 Open image at full size ↗
Fold the end sections along the diagonals shown, using the grid to align the folds.
Open the sheet
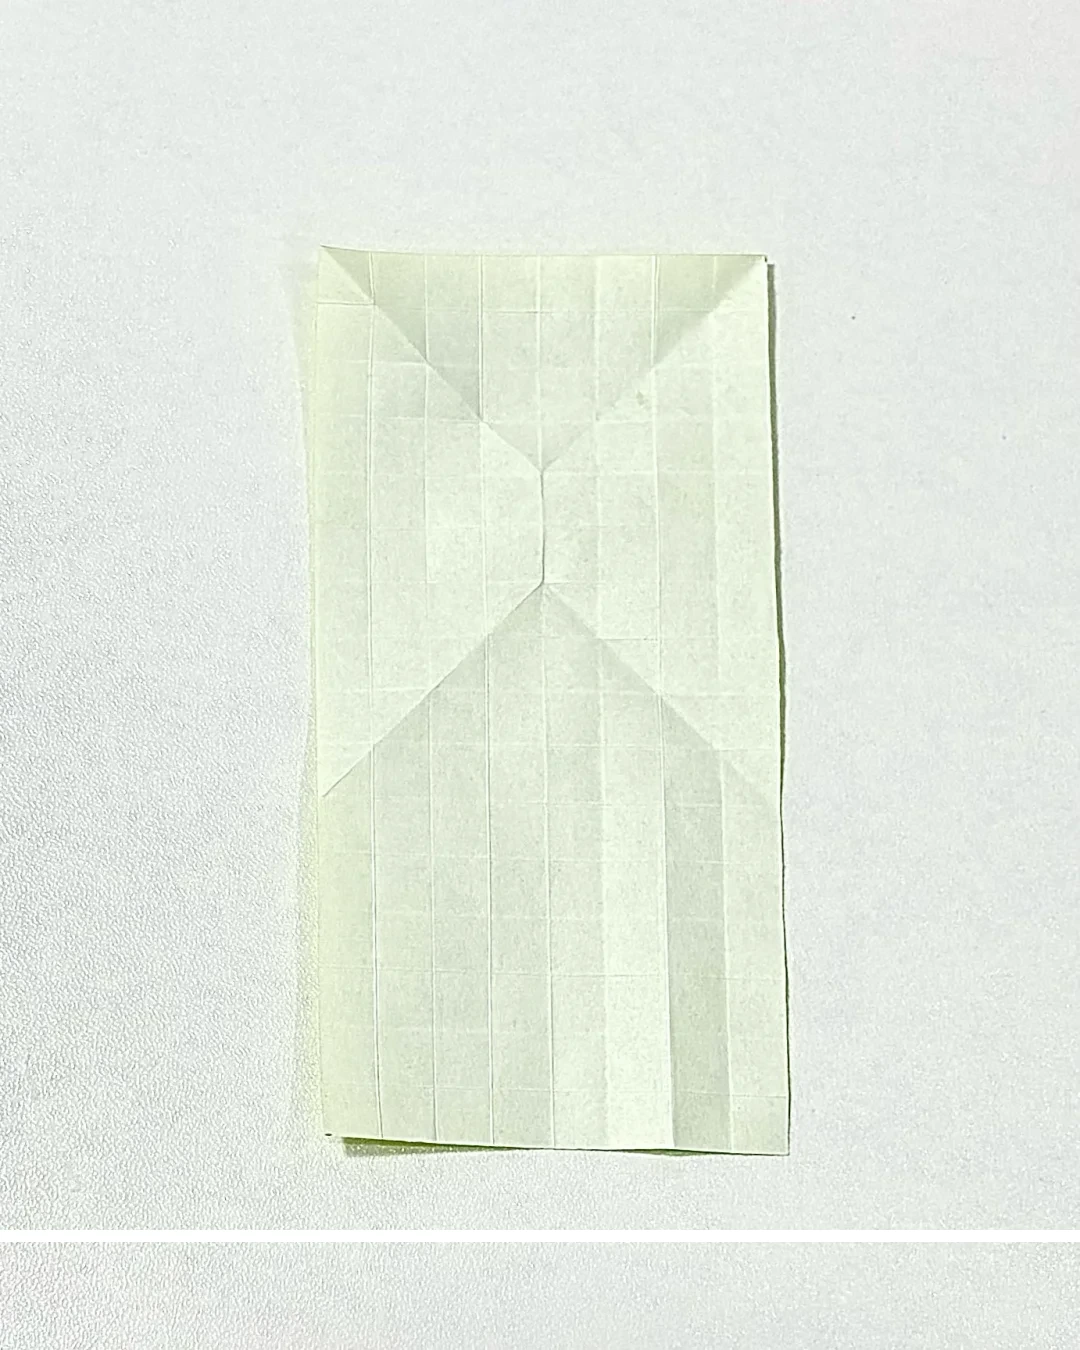 Open image at full size ↗
Open the paper with its contrasting side facing upward, retaining the diagonal creases in the upper section.
Sink the outer rectangle
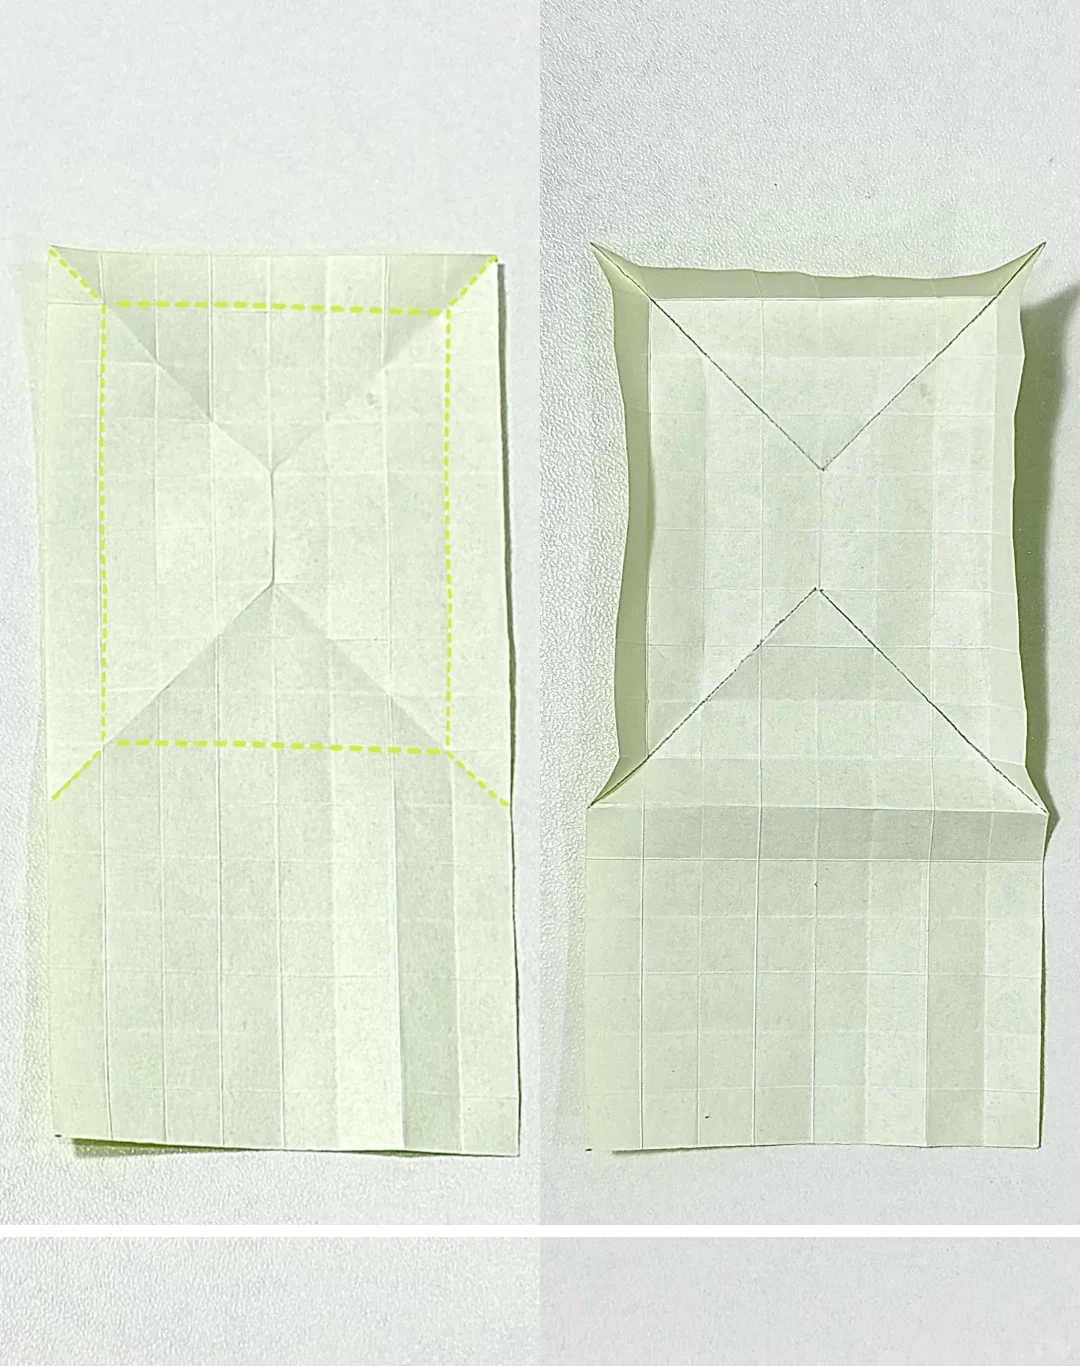 Open image at full size ↗
Press the marked rectangular crease inward to make the first recessed panel.
Raise the next rectangle
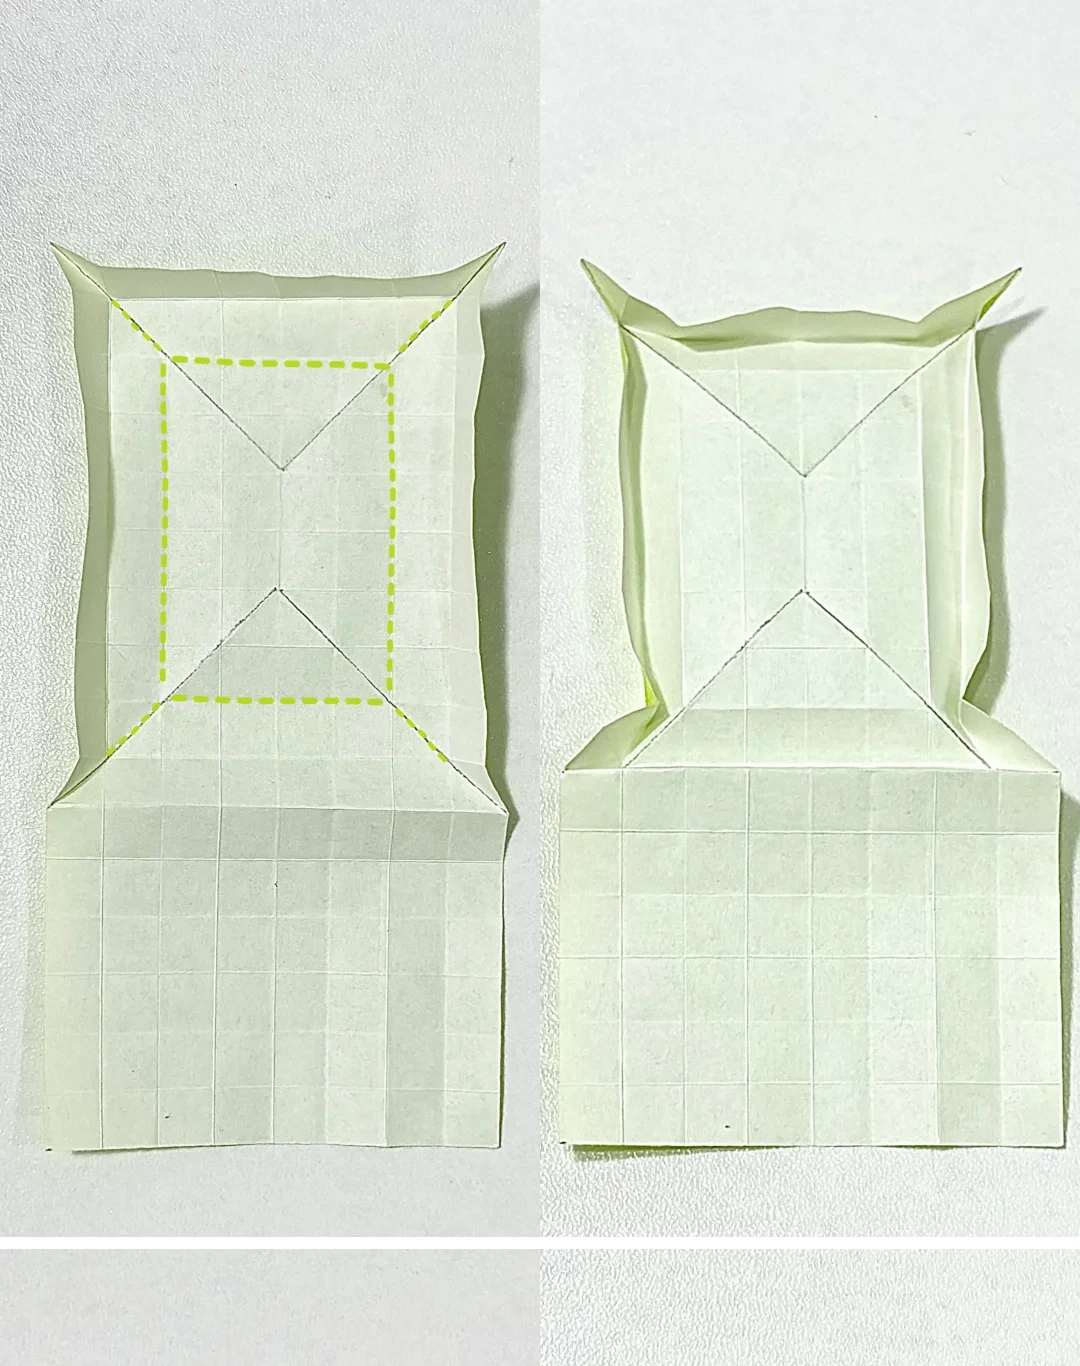 Open image at full size ↗
Reverse the next rectangular crease outward, lifting the inner section.
Sink the inner rectangle
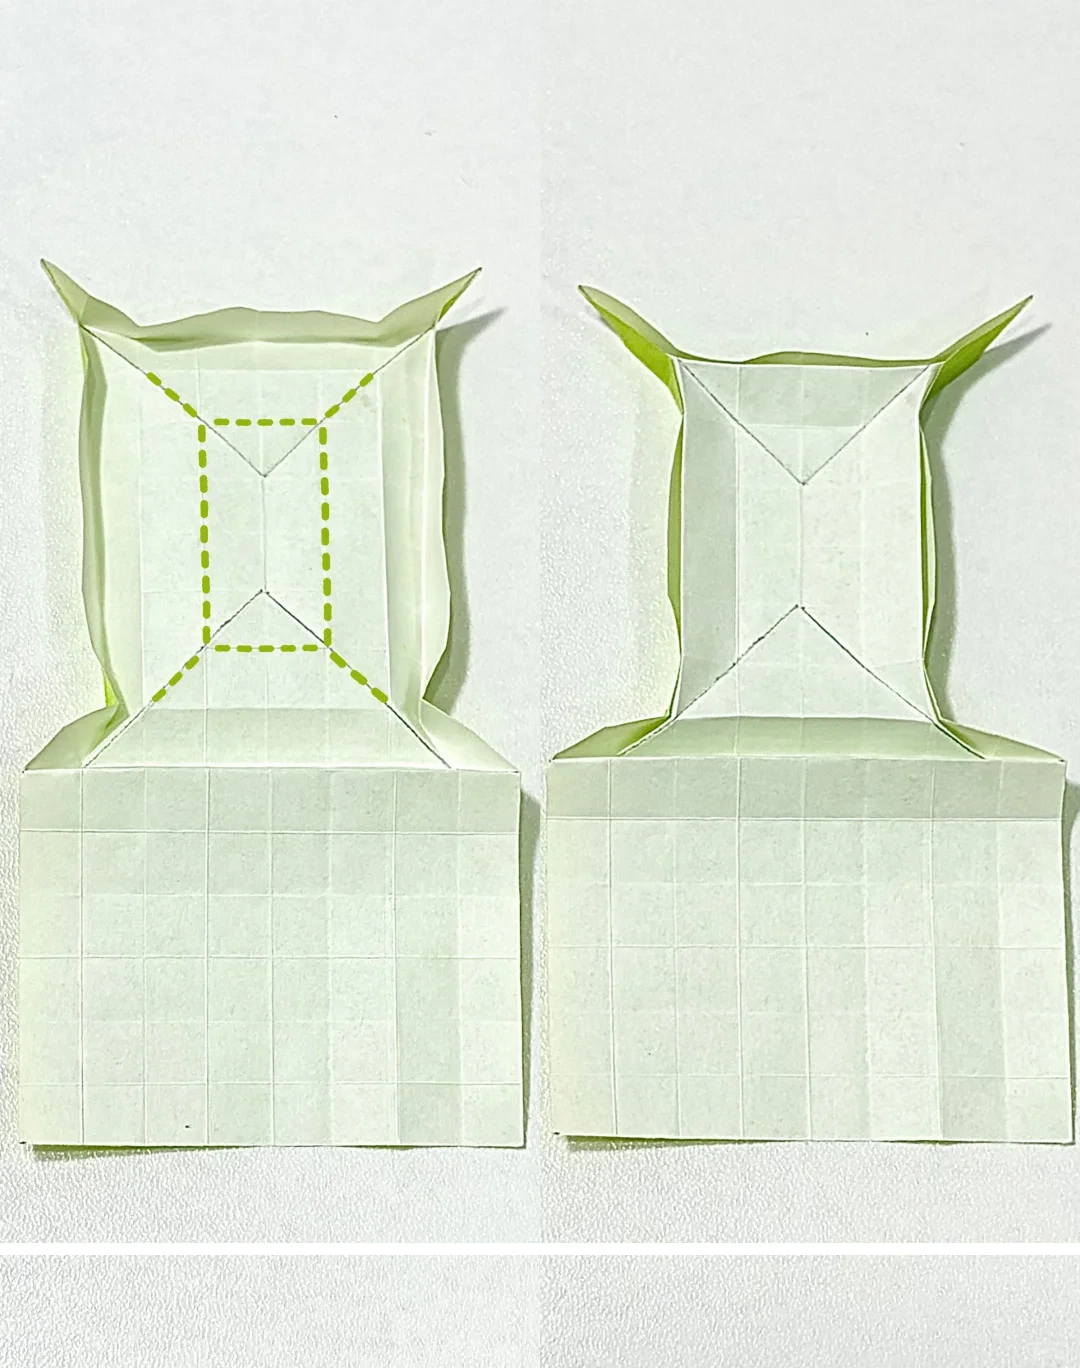 Open image at full size ↗
Press the smaller marked rectangle inward while keeping the surrounding layers organized.
Raise the center
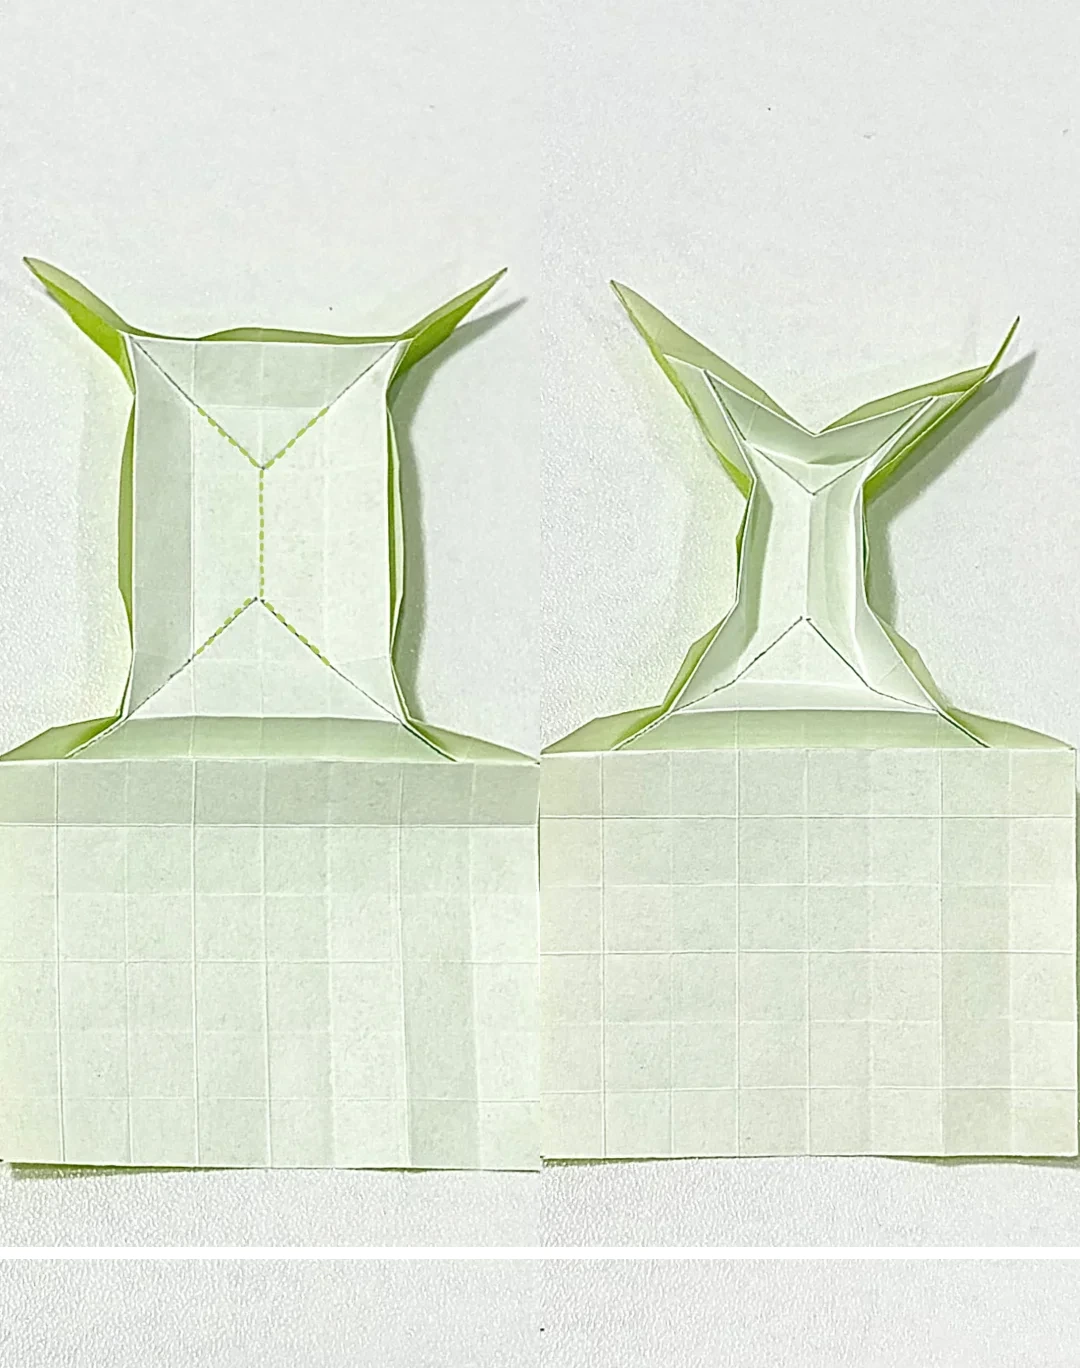 Open image at full size ↗
Reverse the narrow central crease outward to develop the sprout's stem.
Collapse the sprout
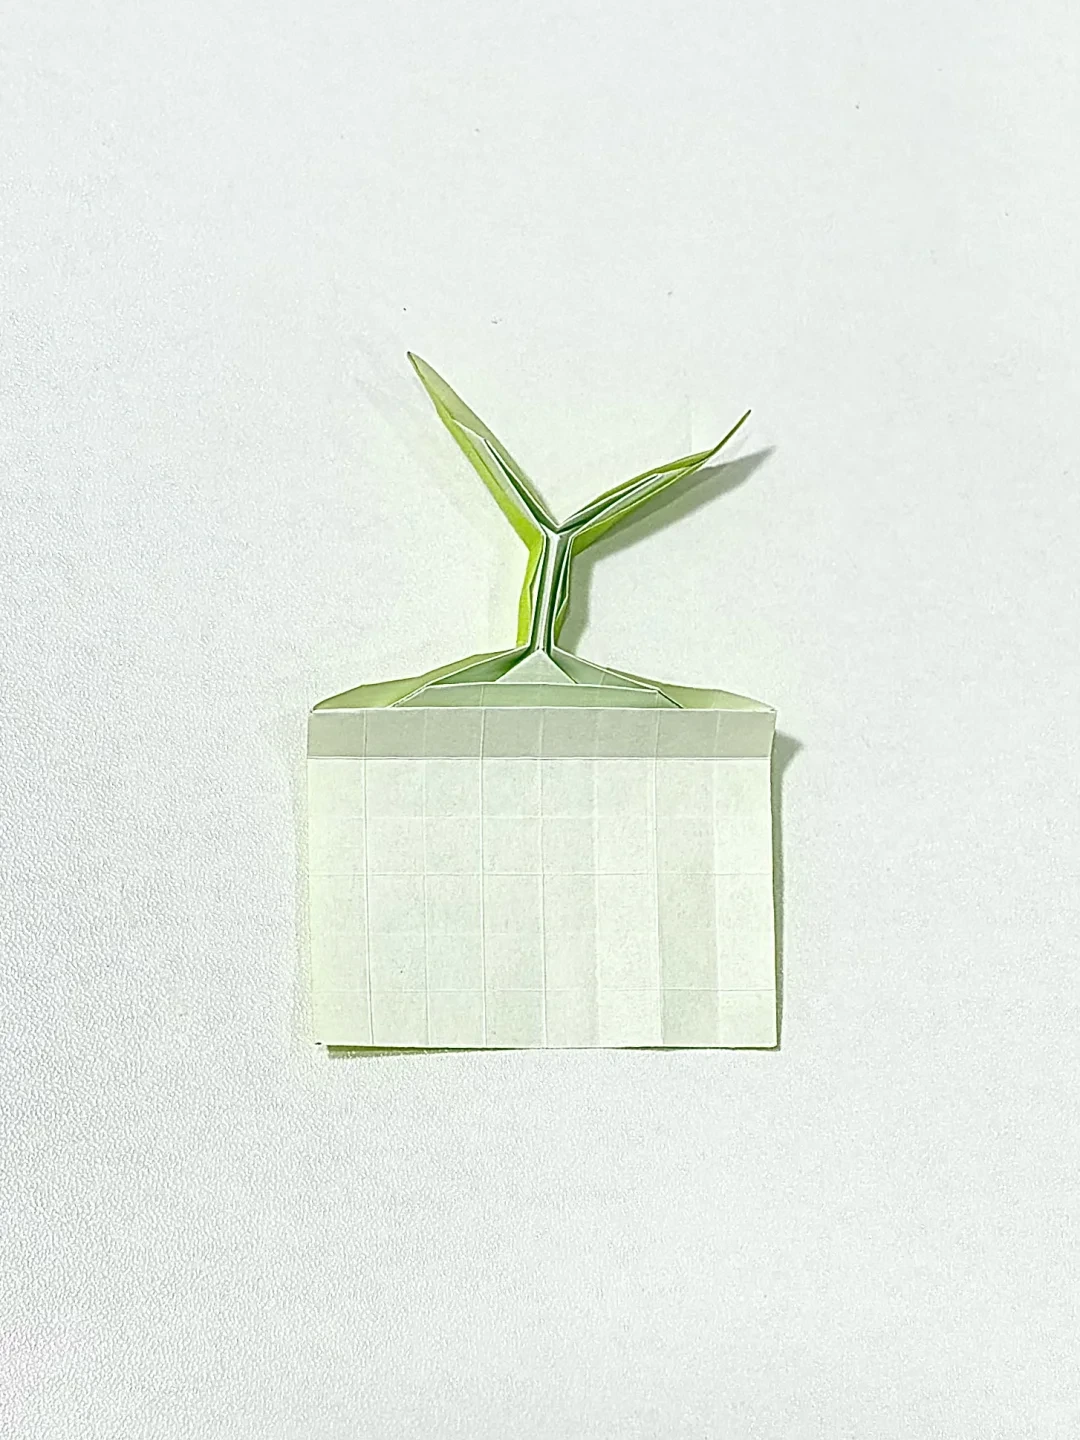 Open image at full size ↗
Gather the upper folds into a narrow stem with two pointed leaves, leaving a flat lower section for the pot.
Roll up the lower edge
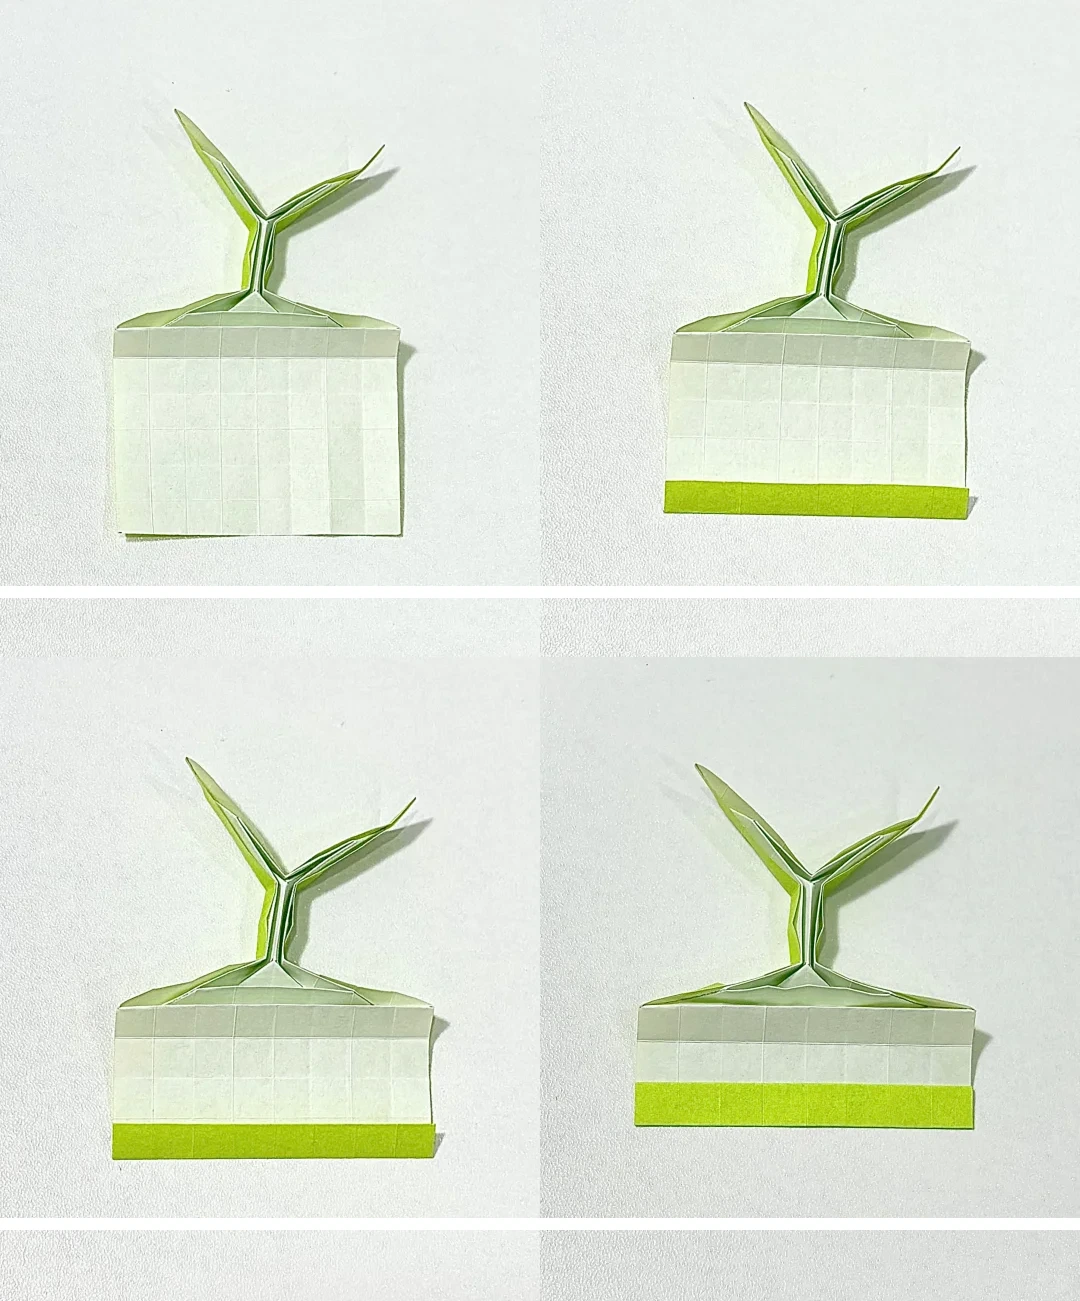 Open image at full size ↗
Fold the bottom edge upward by one grid unit, then repeat twice to form the pot's rim band.
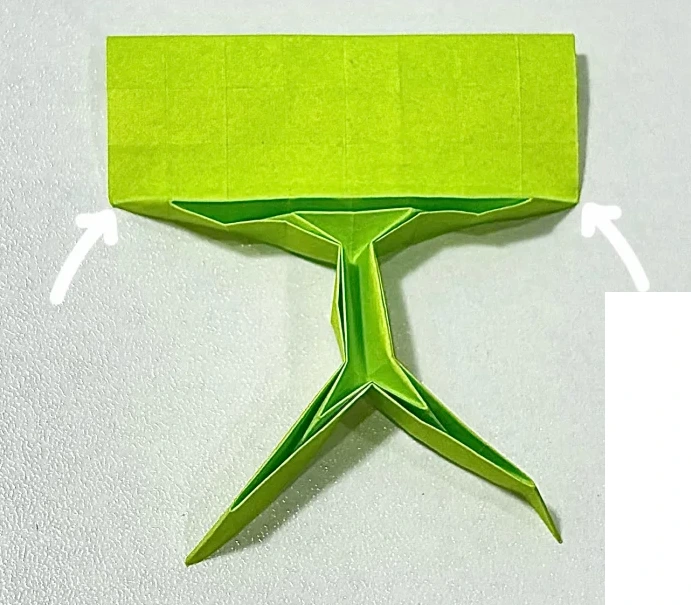
Turn the band upward
 Open image at full size ↗
Rotate the model and lift the broad band in the direction of the arrows. Turn the piece over afterward.
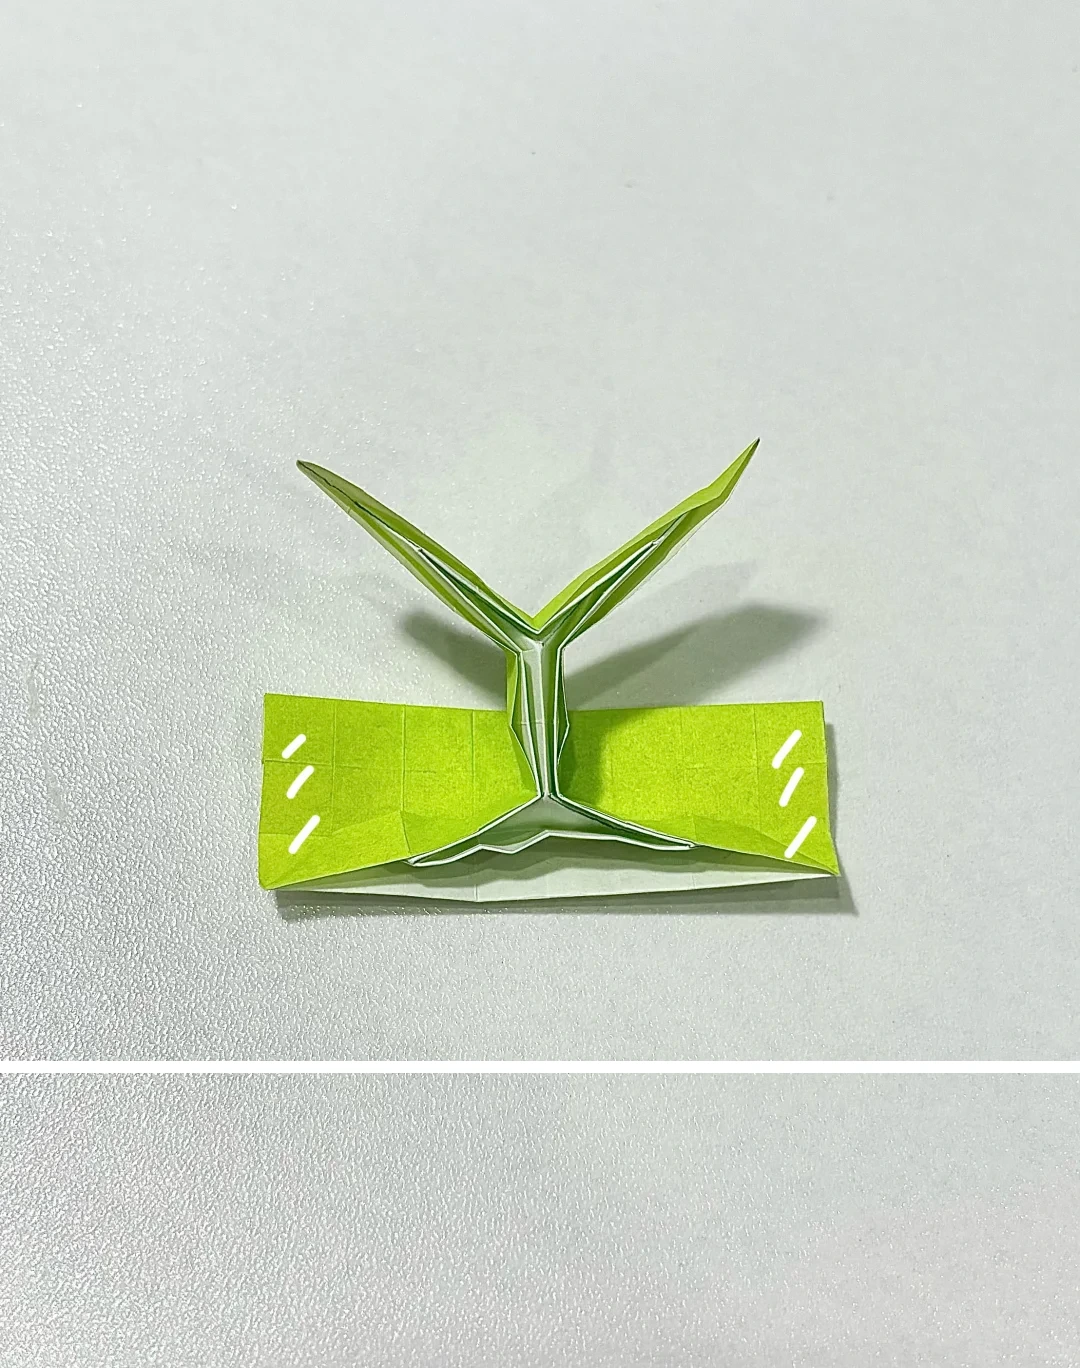
Close the pot
 Open image at full size ↗
Bring the two ends of the broad band together. Glue the marked ends to form a cylinder around the stem.
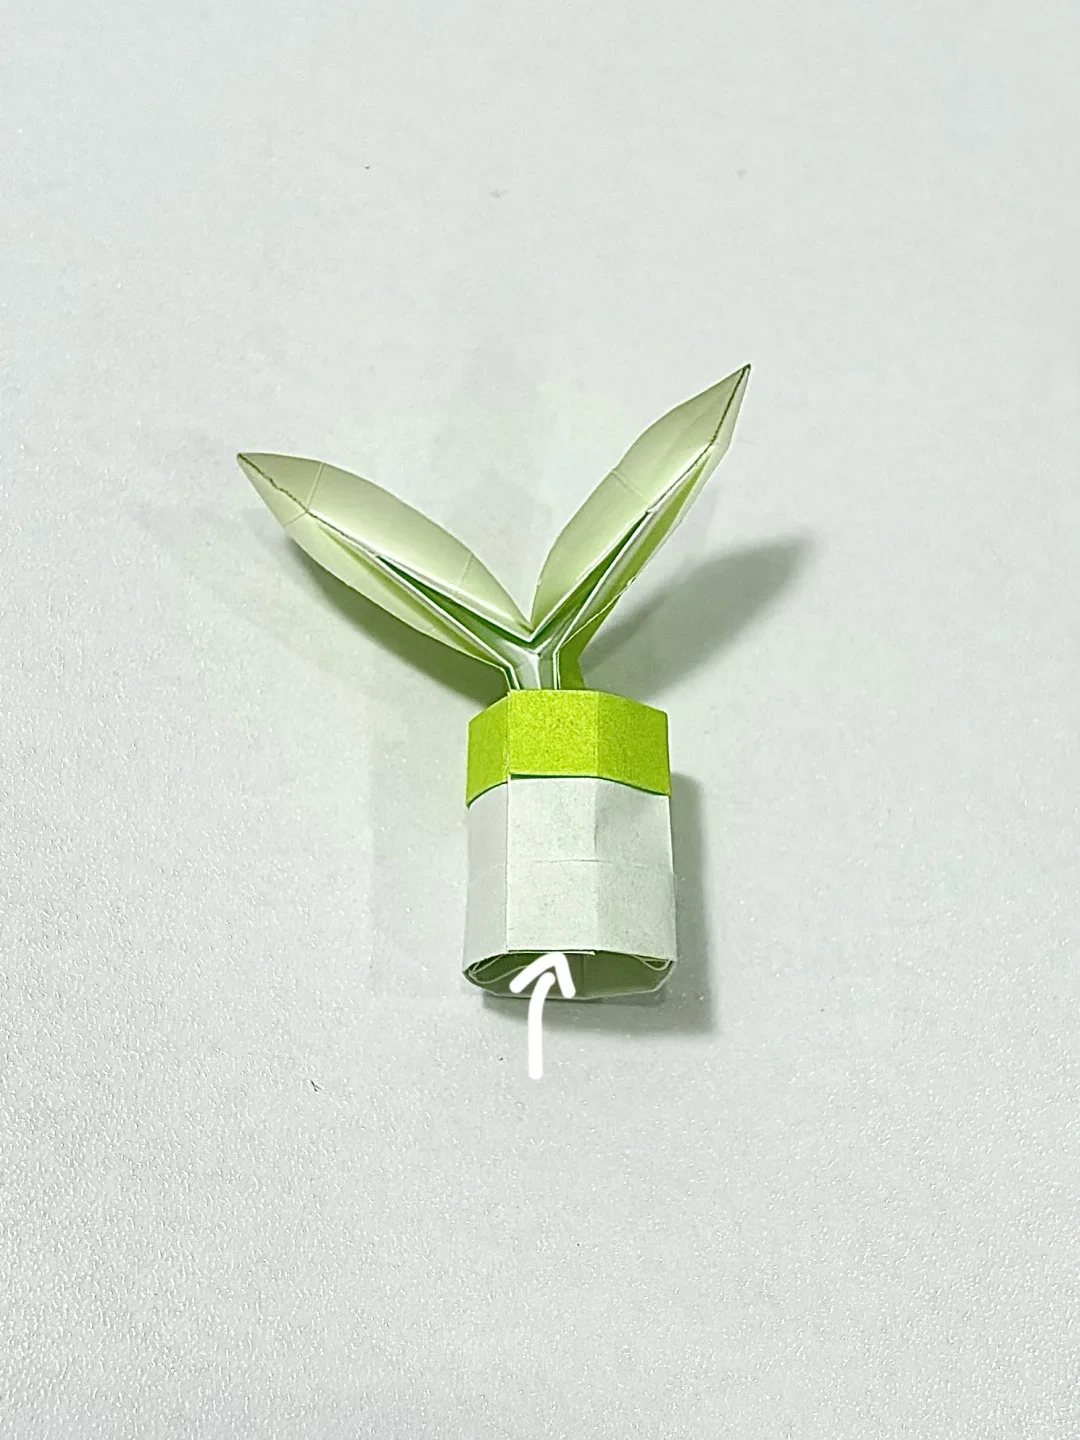
Round the base
 Open image at full size ↗
Open the lower cylinder gently and press its bottom edge into a stable round shape.
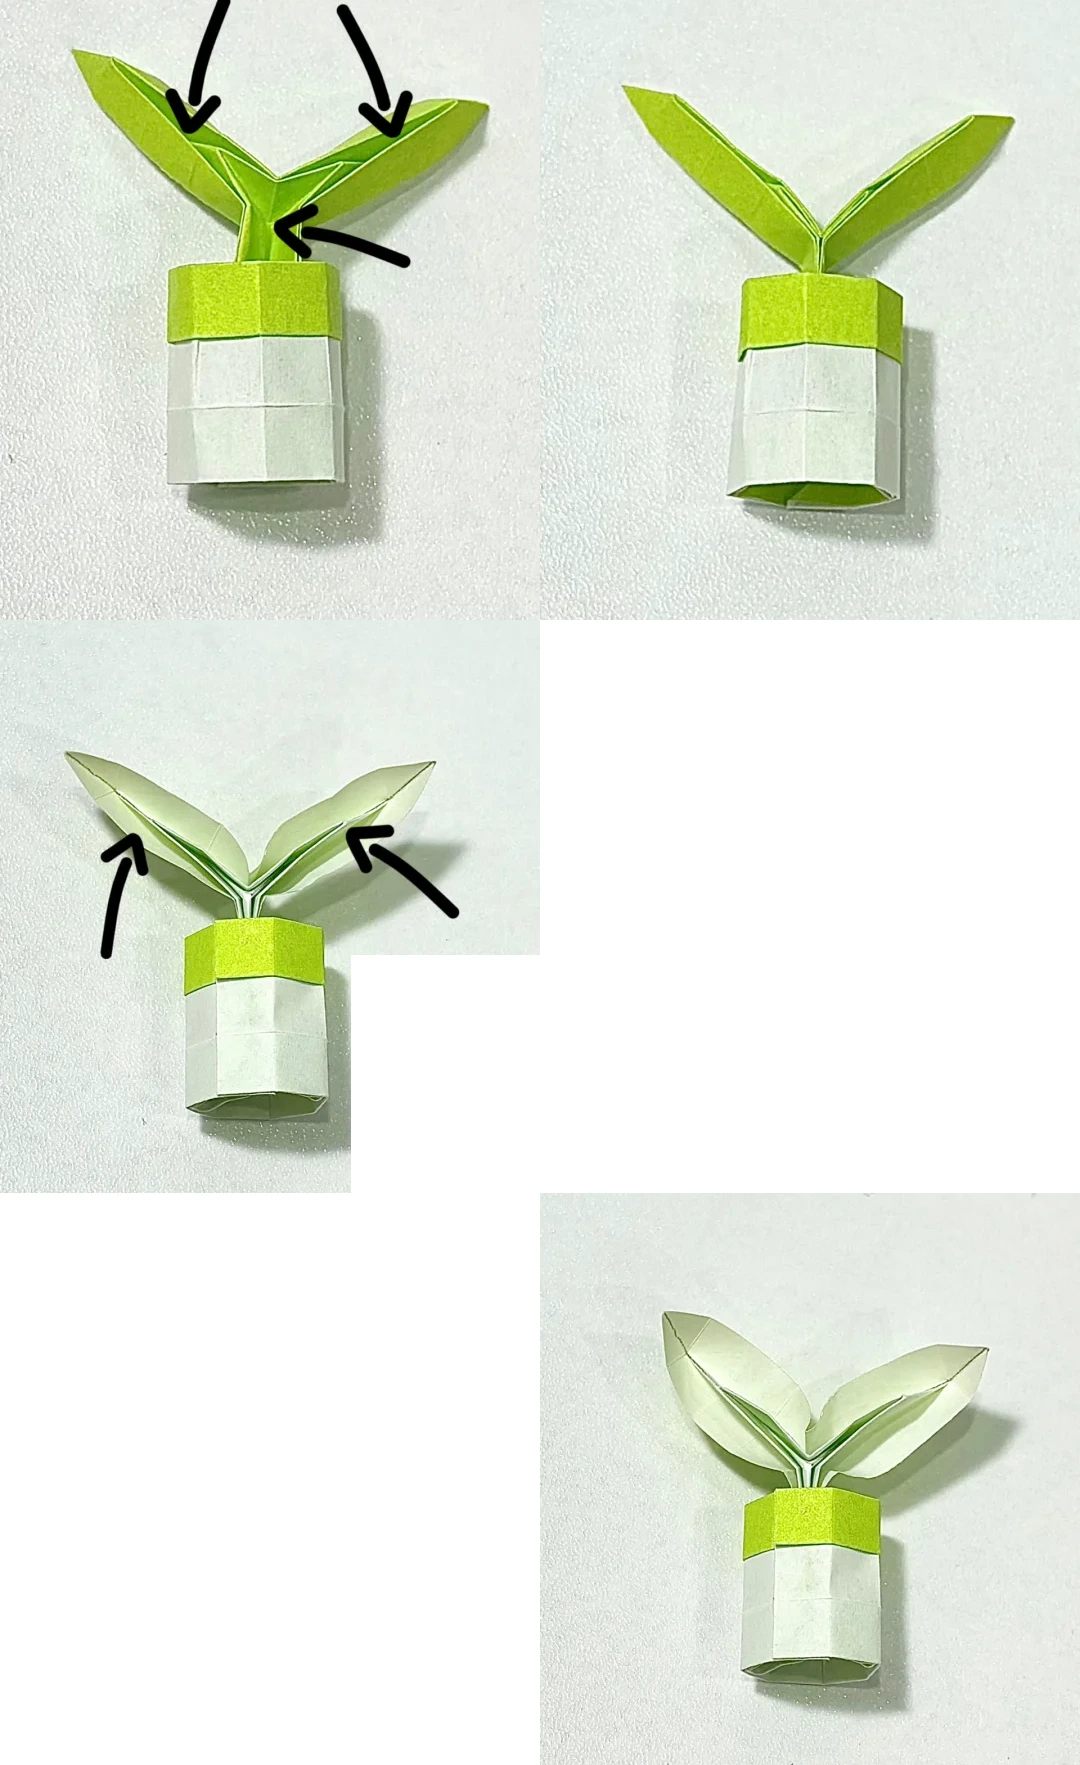
Secure and open the leaves
 Open image at full size ↗
Glue the small loose layers at the stem and leaf bases. Carefully open both leaf pockets to give them volume.
Finish the sprout
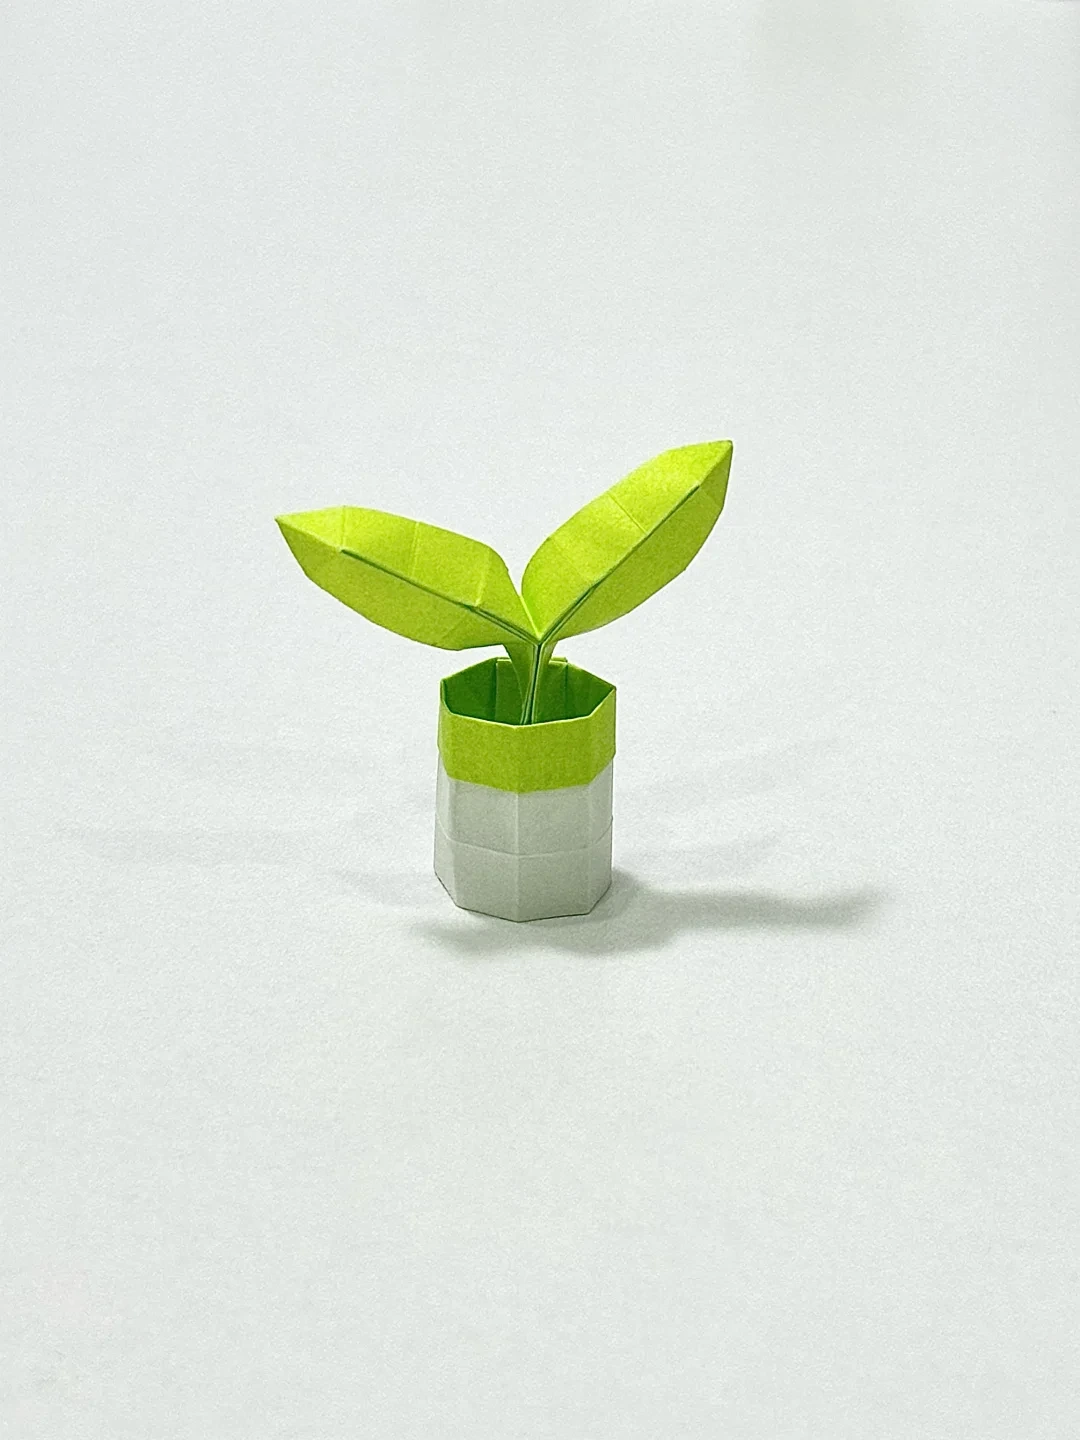 Open image at full size ↗
Round the pot, balance the stem, and spread the two leaves evenly.
Follow the diagrams alongside the step-by-step English instructions.
Choose your next project →