
Decorations · Step-by-step guide
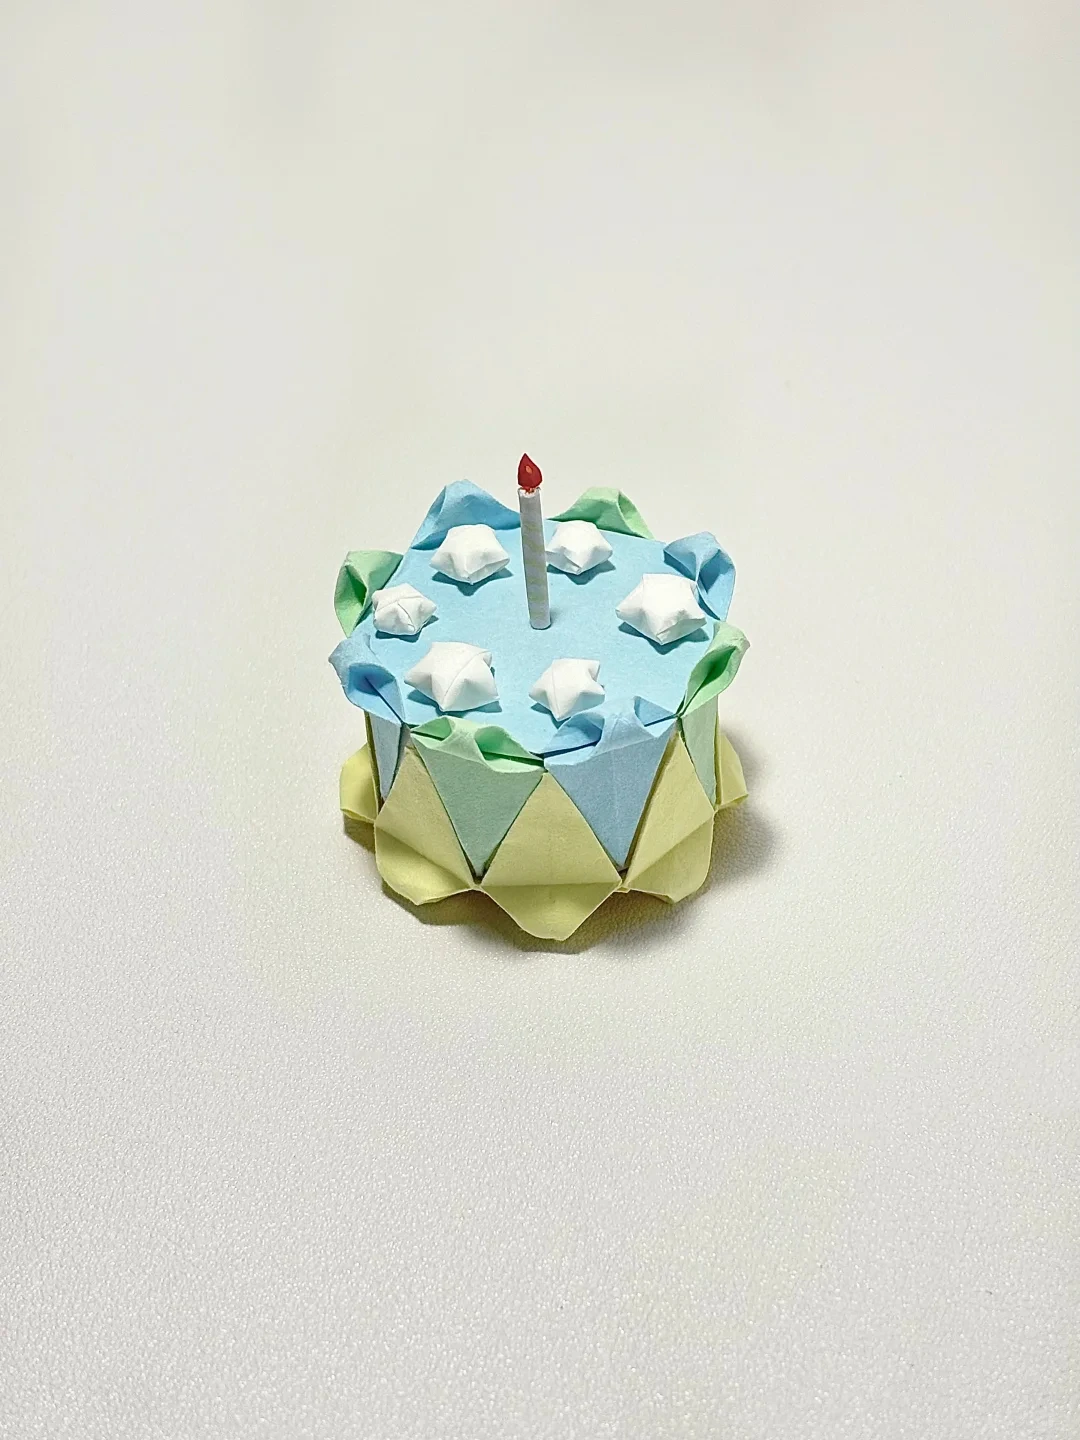
Miniature Folded Celebration Cake
Make a small display cake from four folded circular units and a paper cylinder. Stars, candles, and other toppers can be added separately.
What you’ll need
- Four equal paper squares in coordinating colors
- A paper strip for the cake wall
- Craft glue
- Small paper decorations, optional
Paper craft · Squash folds, modular assembly & gluing
Make it, step by step.
17 steps · Original diagrams with English instructions
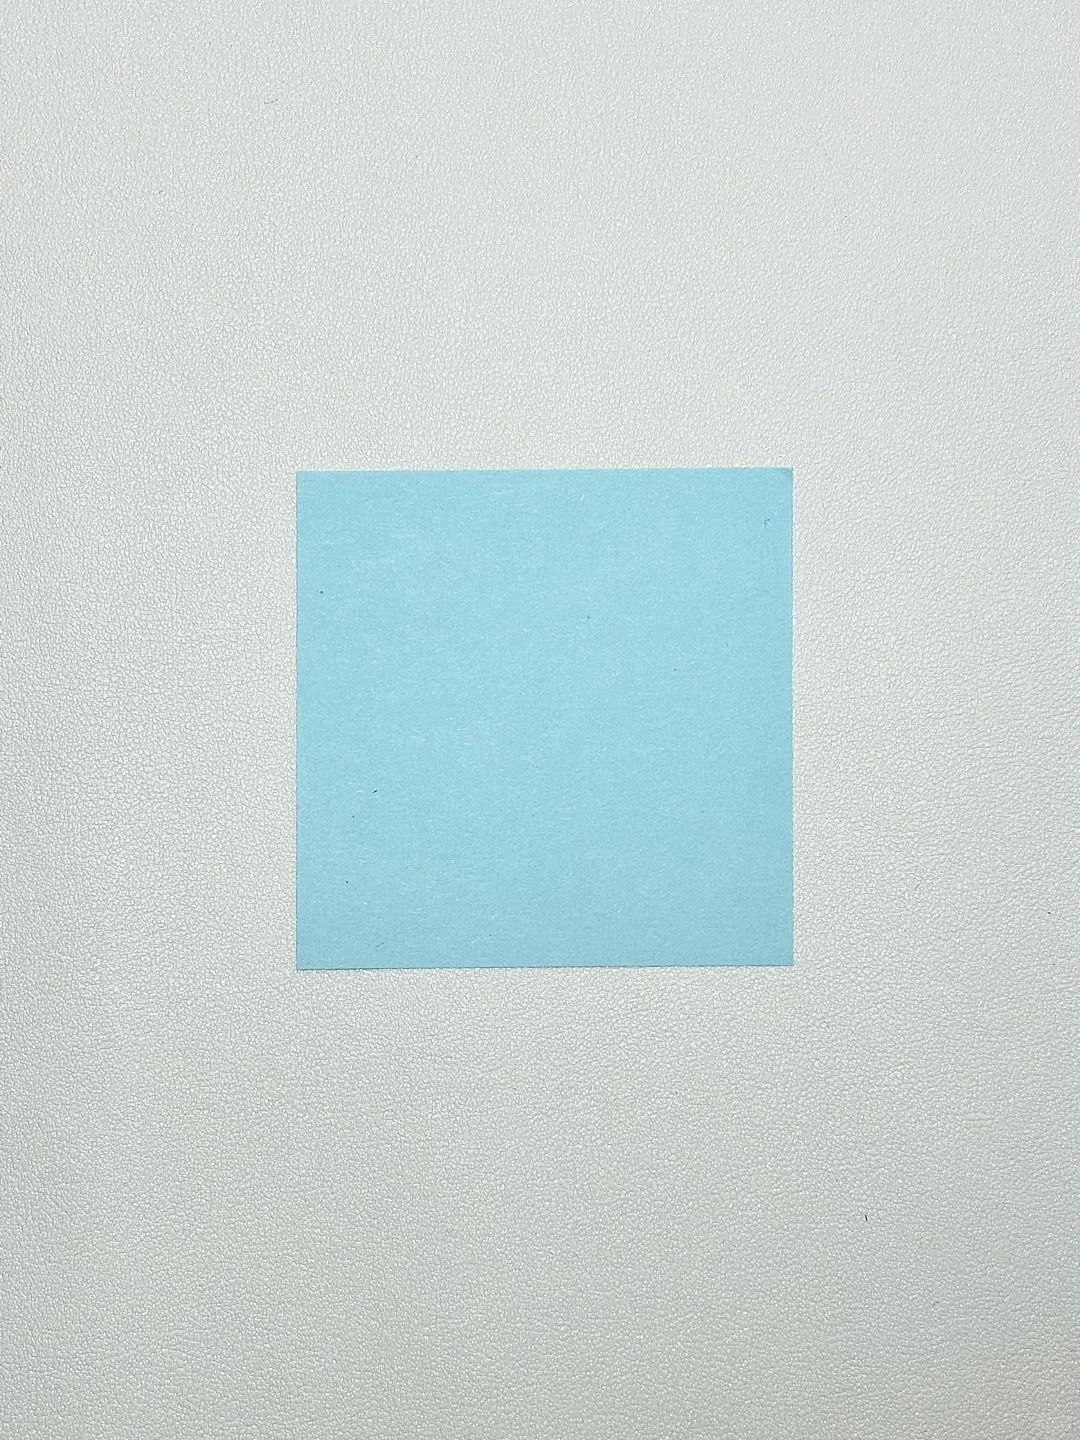
Choose a square
 Open image at full size ↗
Start with one square of thin colored paper. Use equal squares for the four units that form the cake's top and base.
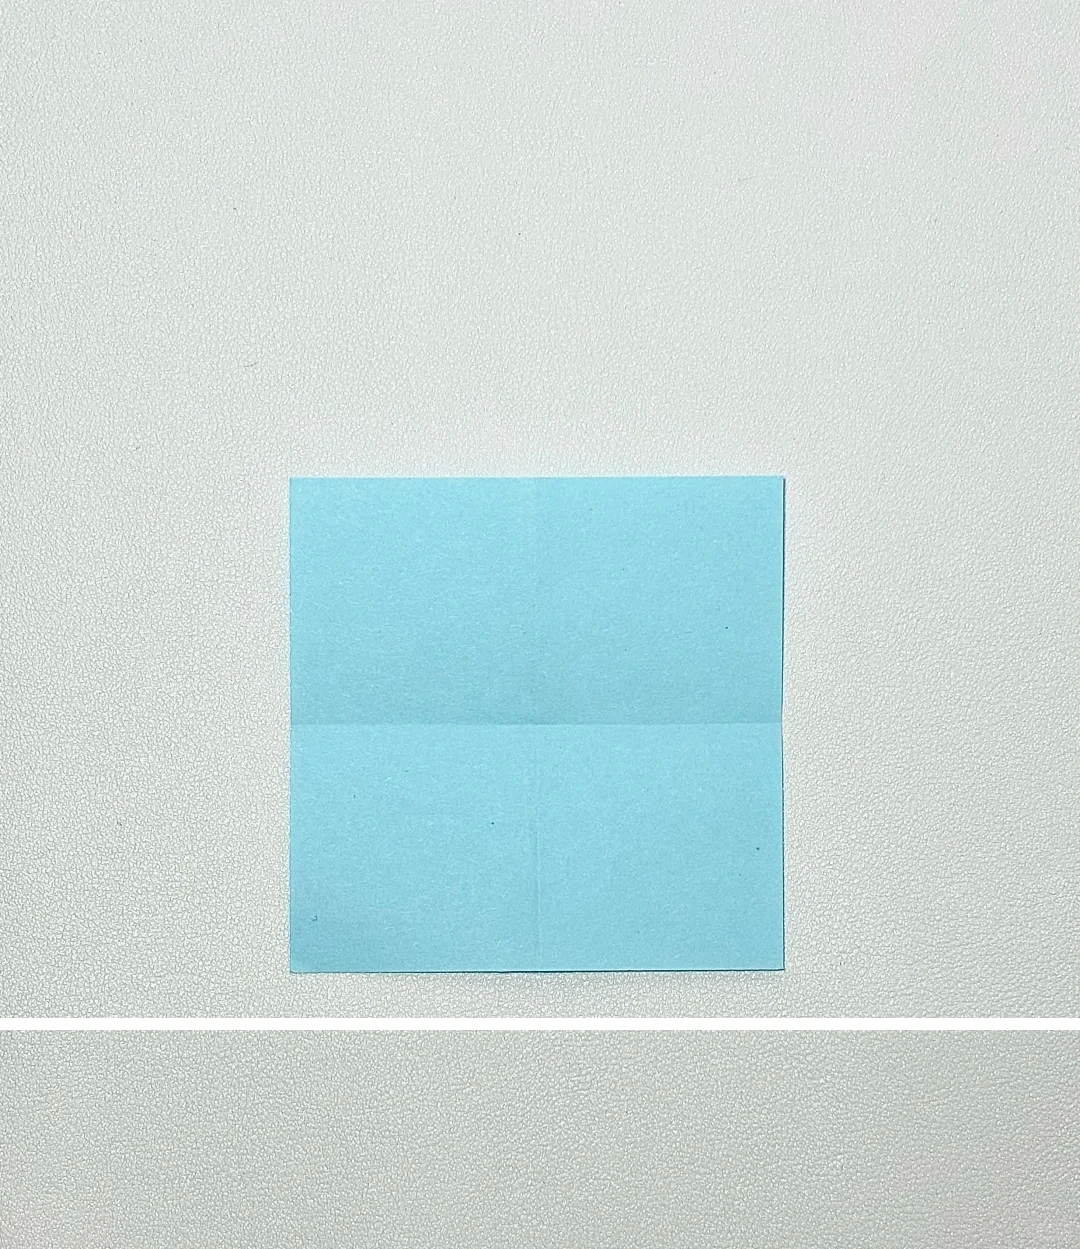
Mark quarter folds
 Open image at full size ↗
Fold the square in half, fold it in half again, and reopen to mark the quarter divisions.
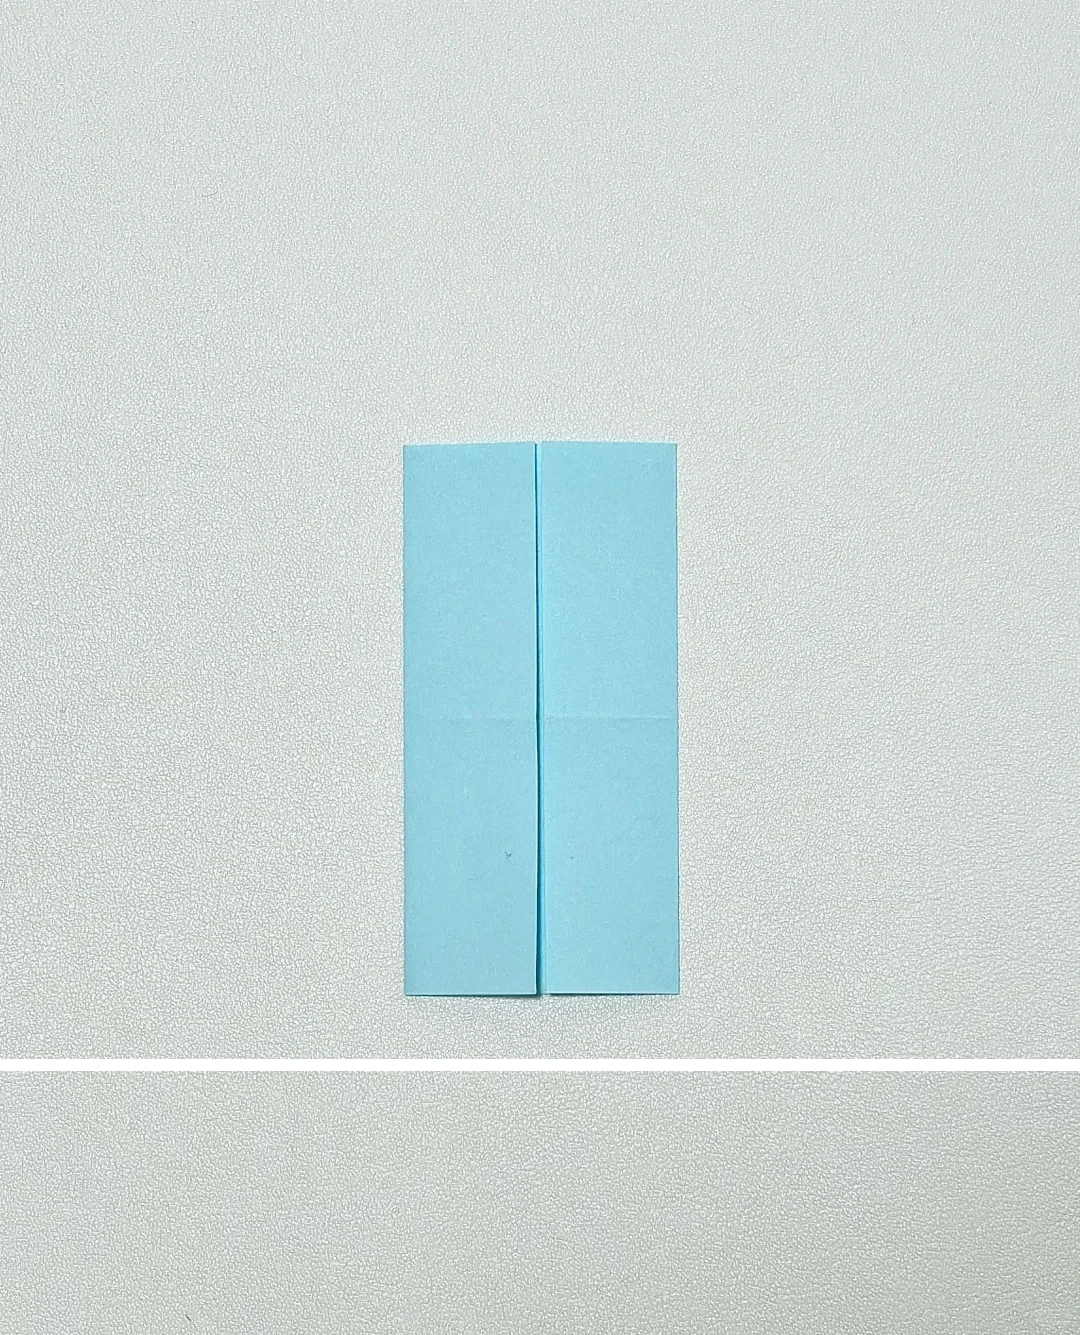
Fold the long edges
 Open image at full size ↗
Bring the two opposite edges toward the center line.
Fold across the middle
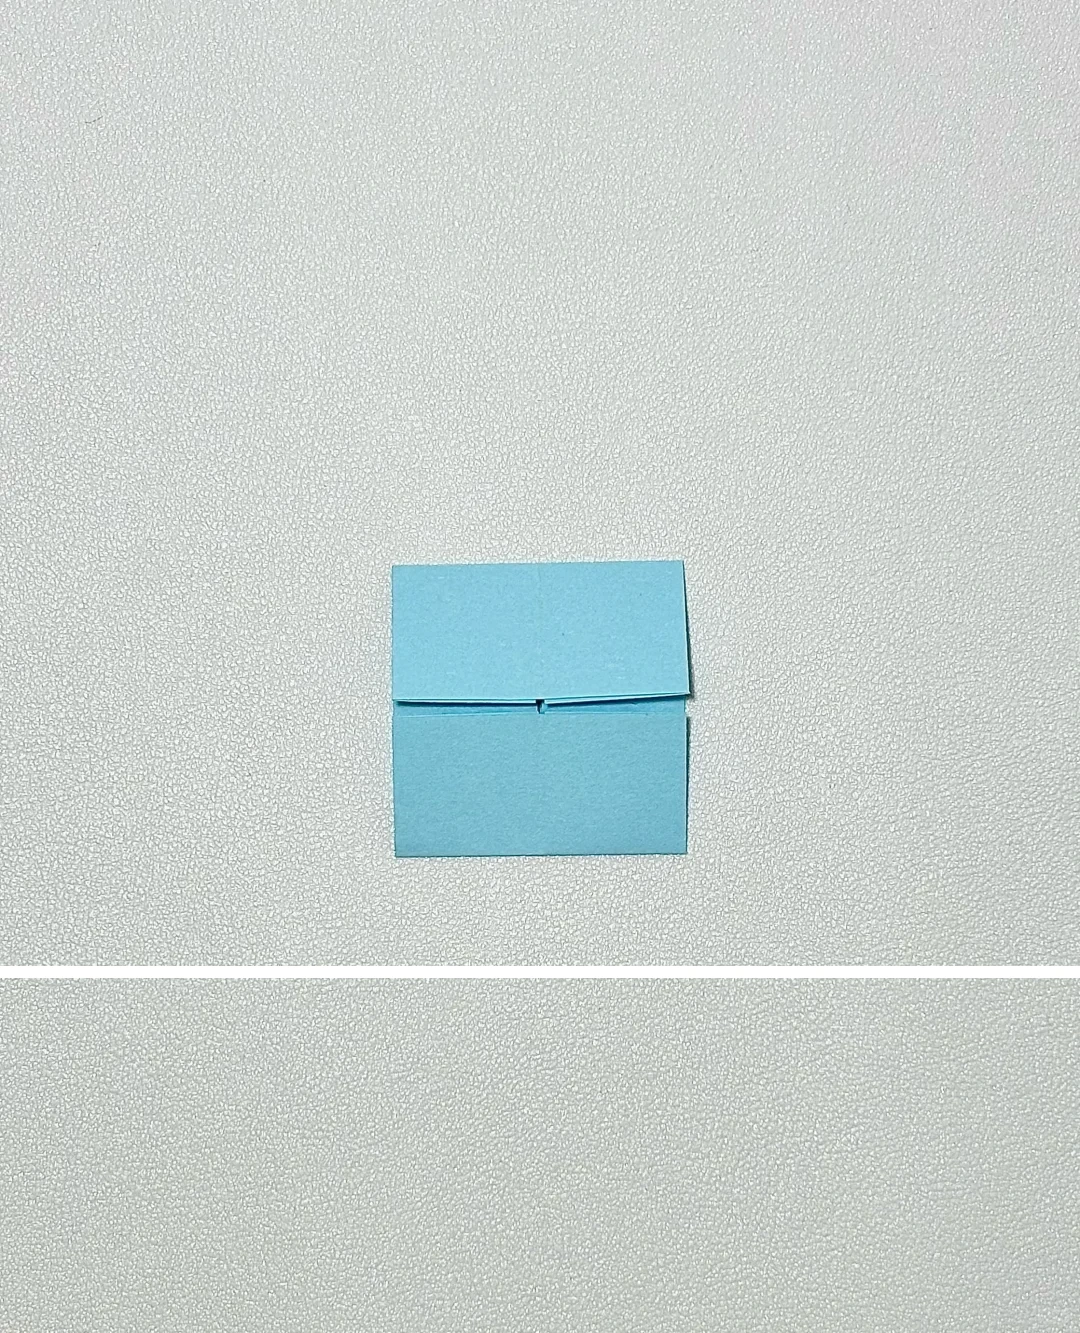 Open image at full size ↗
Bring the shorter ends toward the middle to form a compact square packet.
Mark the diagonal pockets
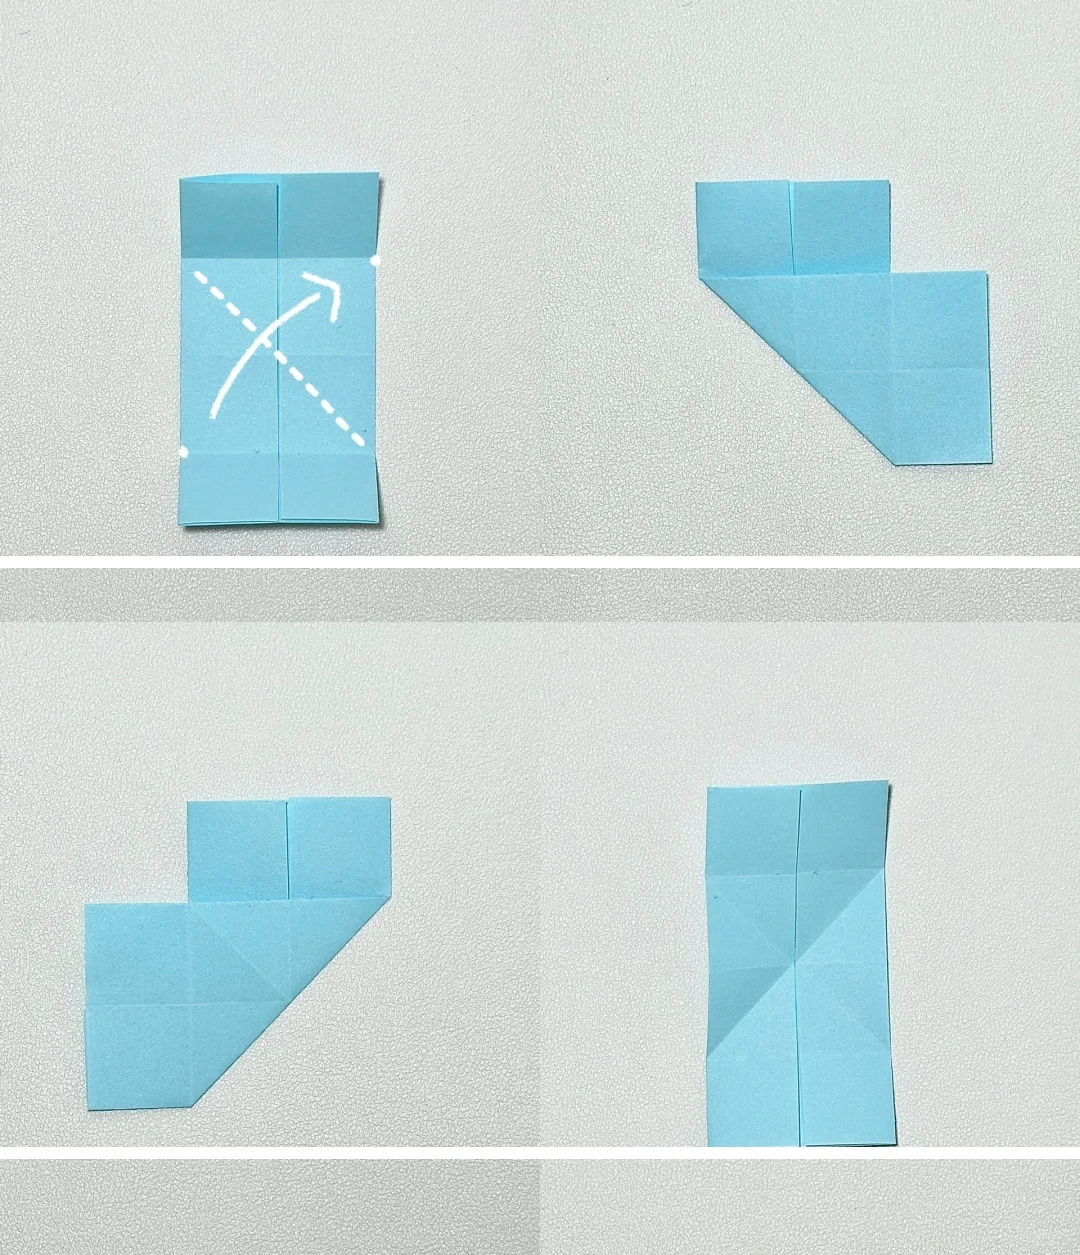 Open image at full size ↗
Open the last folds. Fold the right section diagonally, reopen it, then repeat to the left to mark the crossed guide creases.
Open the first end
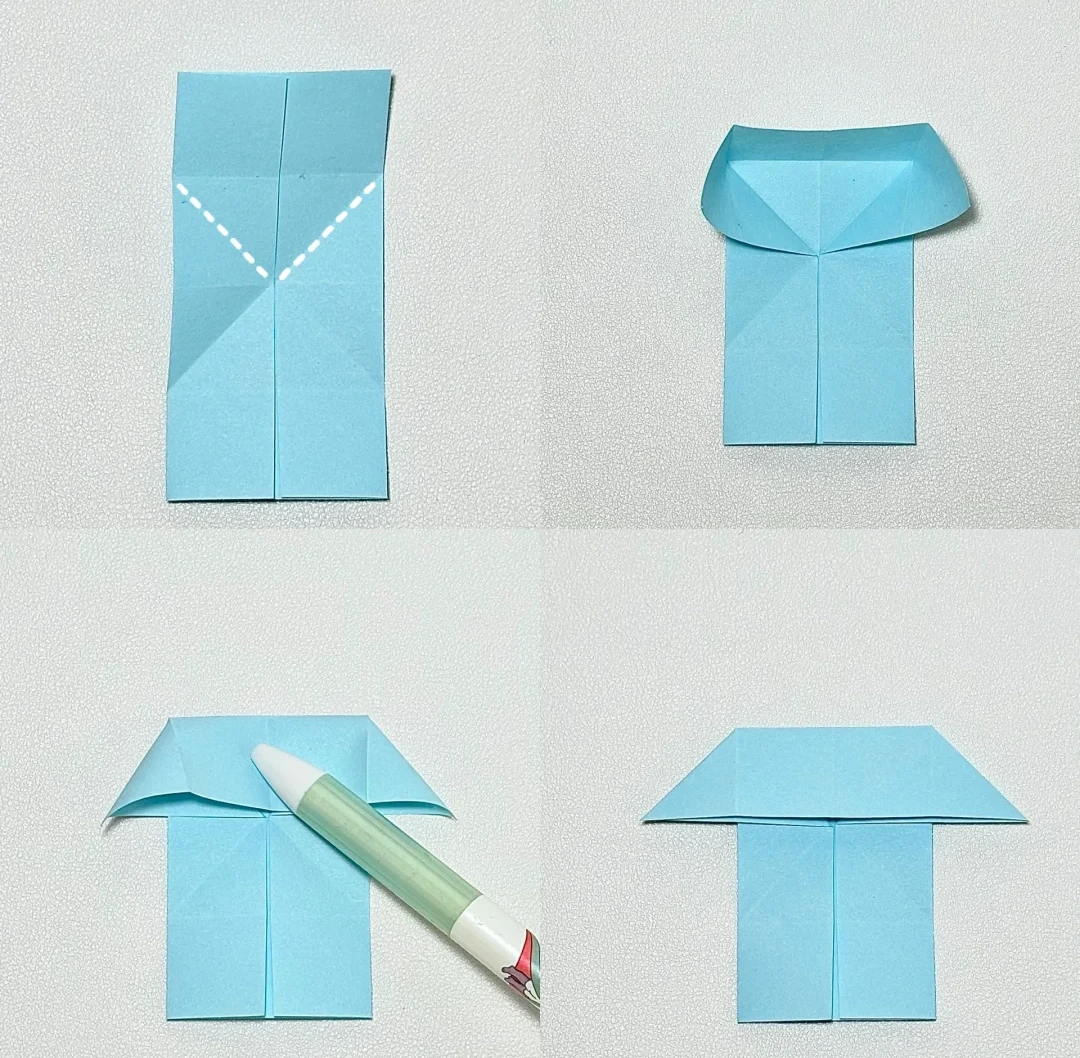 Open image at full size ↗
Open the upper pocket along its guide creases and flatten it into the broad flap shown.
Repeat at the other end
 Open image at full size ↗
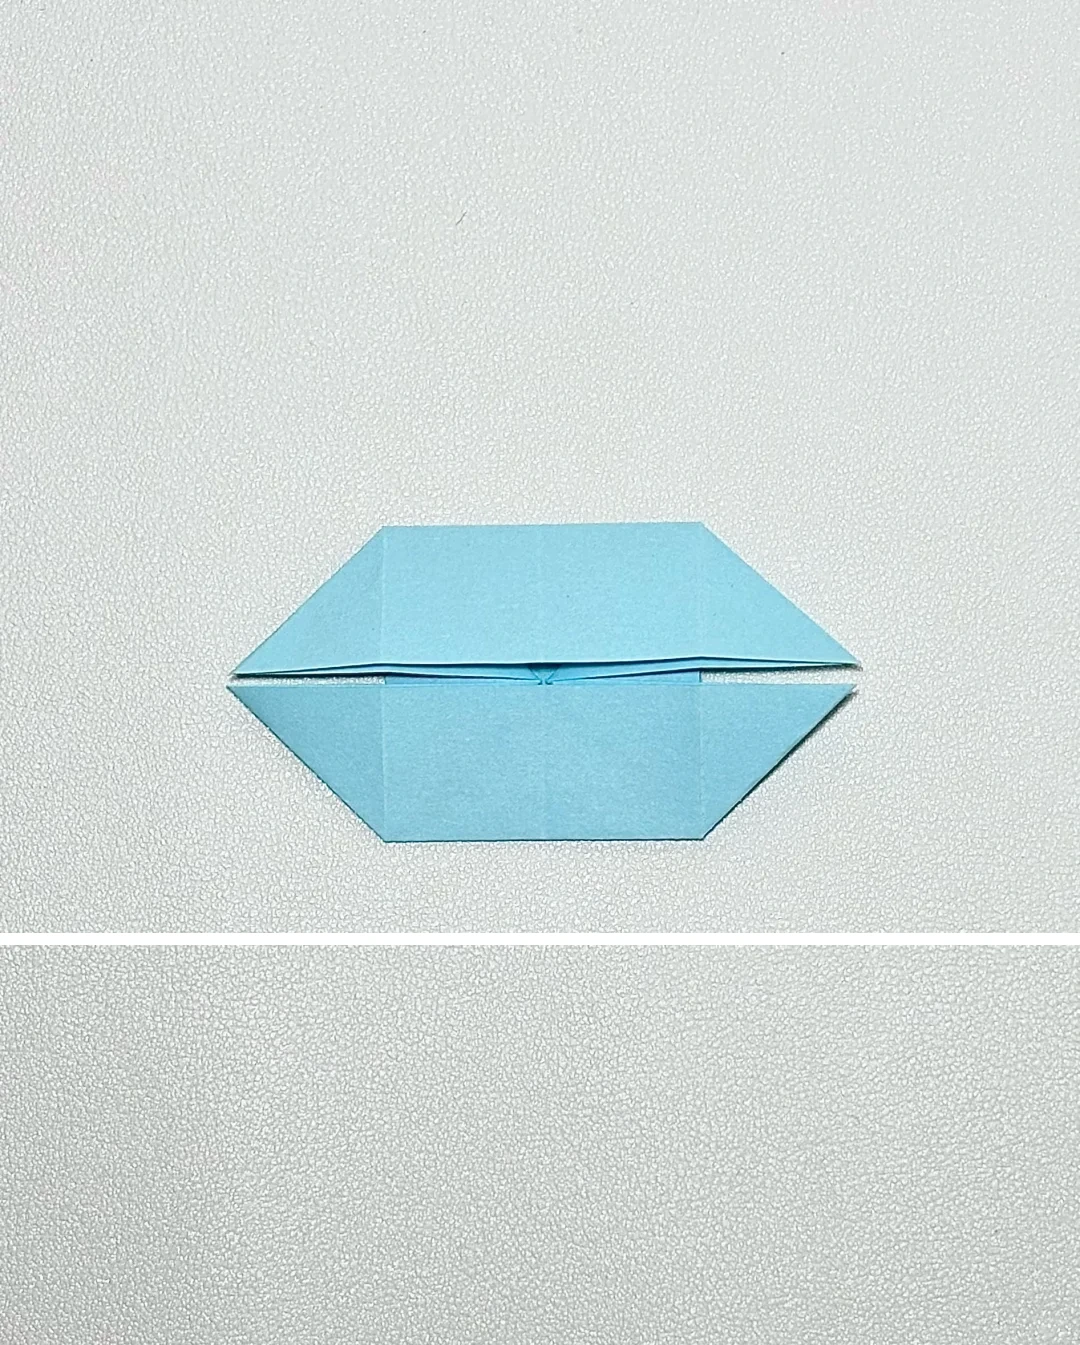
Open and flatten the opposite end to form the elongated six-sided base.
Squash all four corners
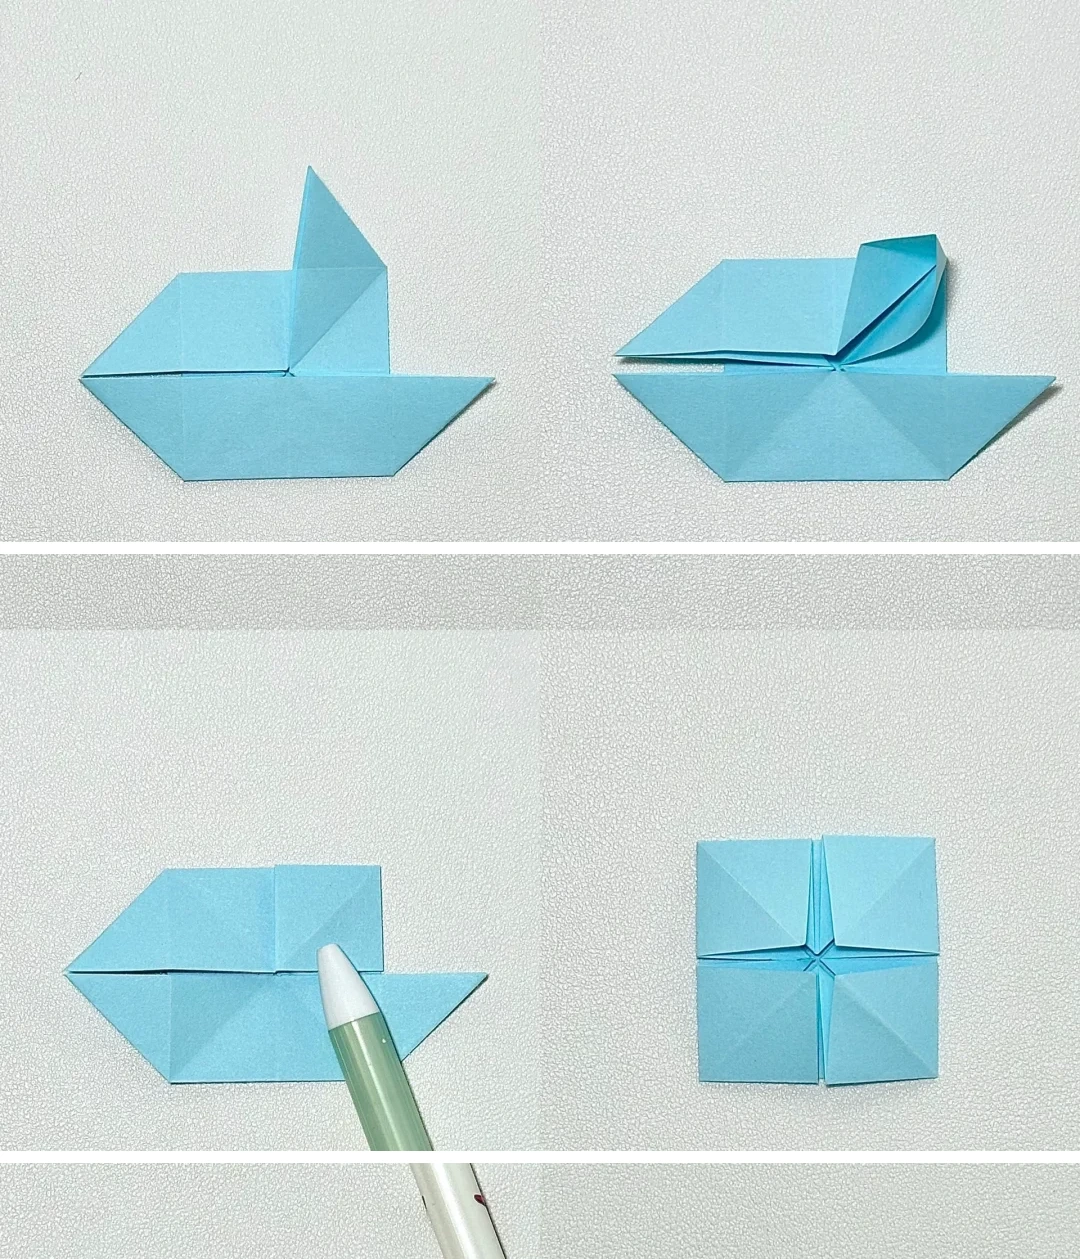 Open image at full size ↗
Lift each corner pocket, open it, and flatten it into a small square. Repeat for all four corners.
Precrease the petal folds
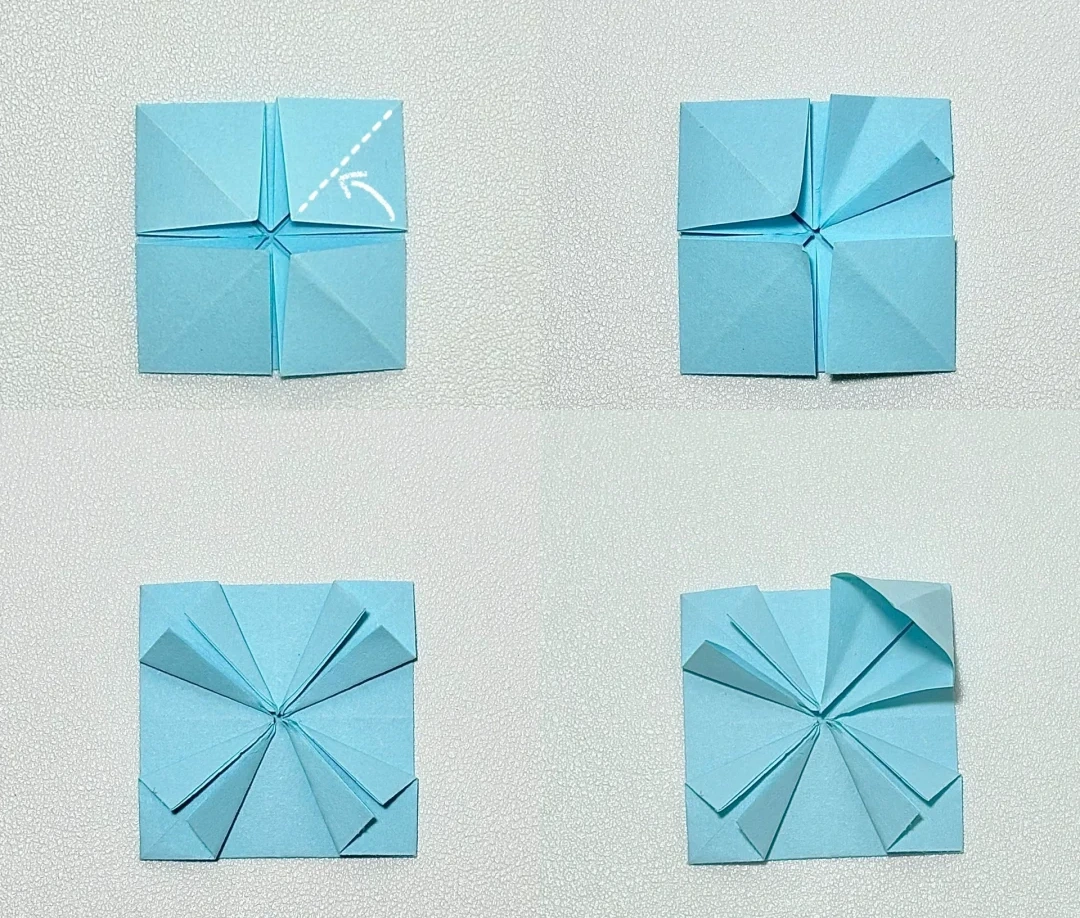 Open image at full size ↗
Fold the edges of each small square inward along the marked diagonals, then reopen them to leave guide creases.
Reverse the creases
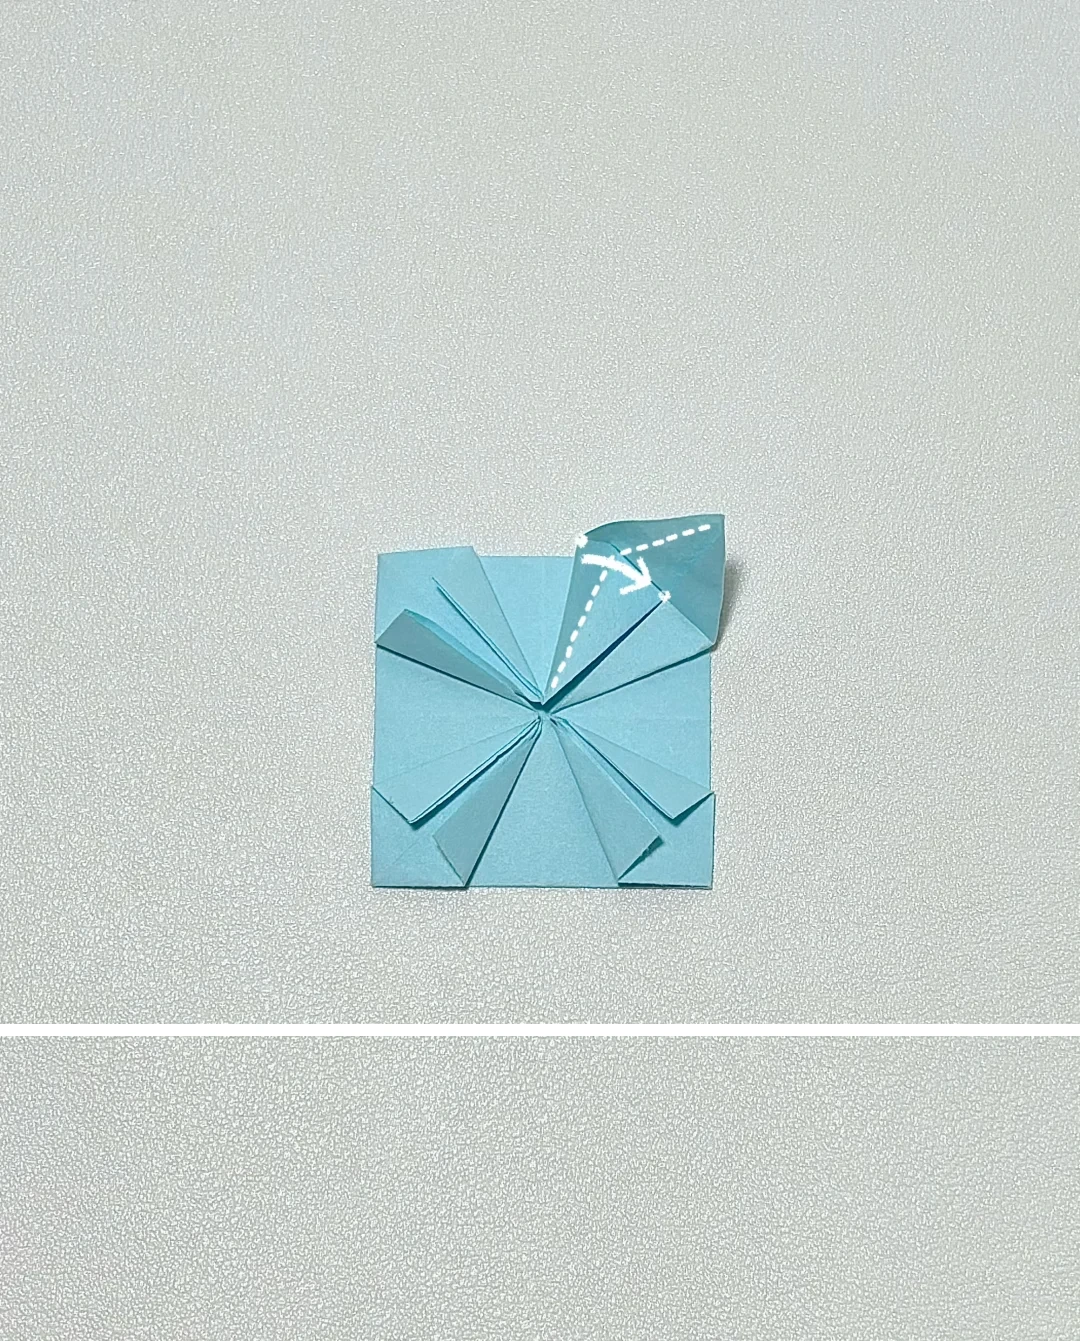 Open image at full size ↗
Fold the narrow sections inward along their guide lines so the surrounding points begin to lift.
Shape the four points
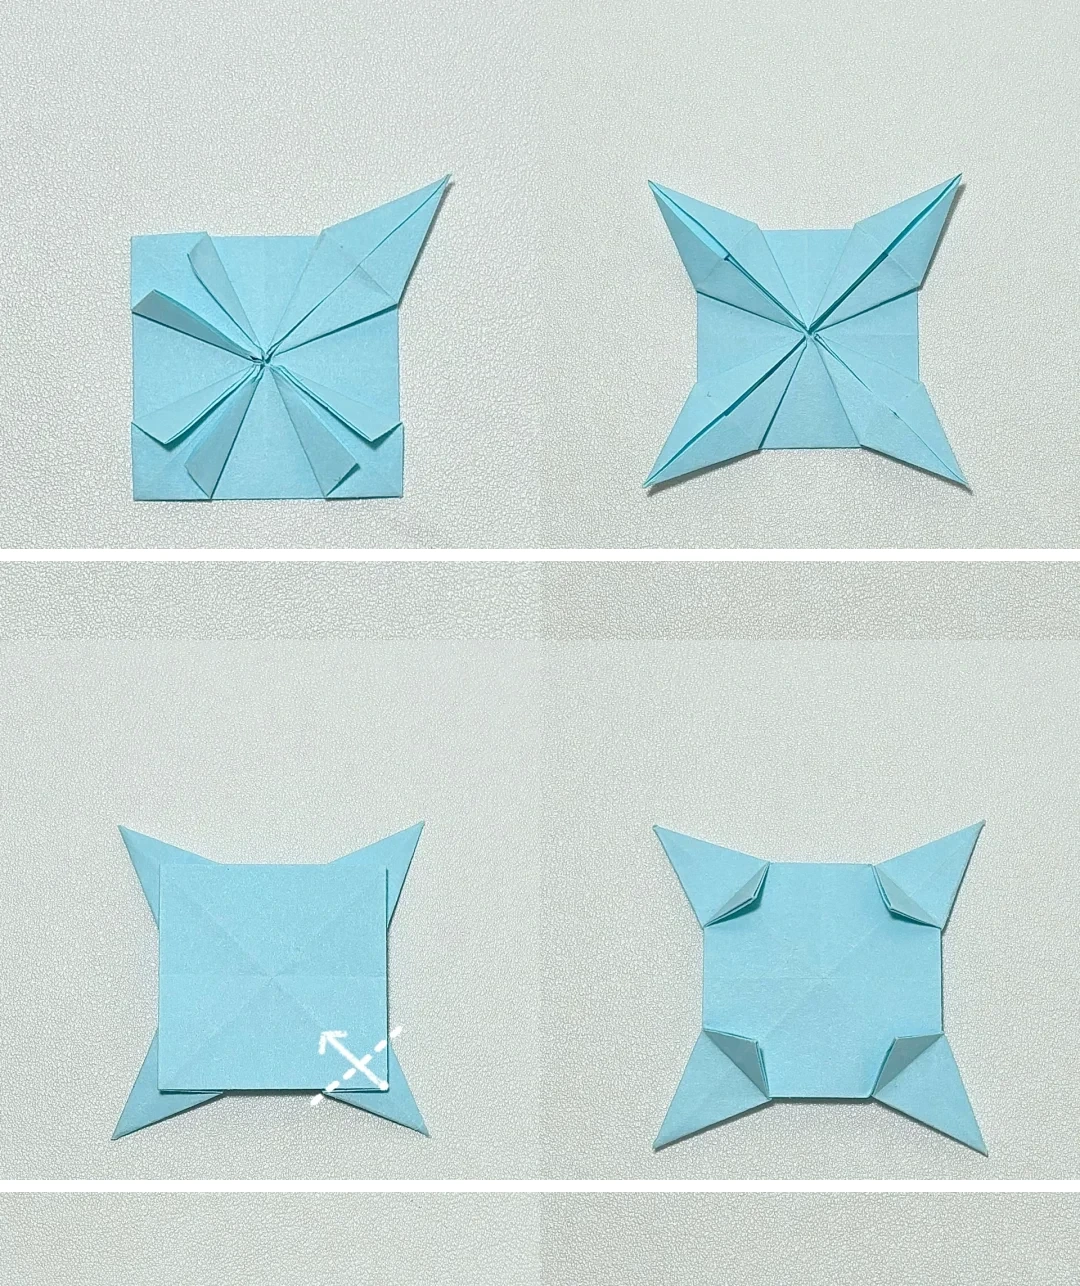 Open image at full size ↗
Repeat around all four corners. Turn the piece over and fold the small corner tabs inward as shown.
Open a small pocket
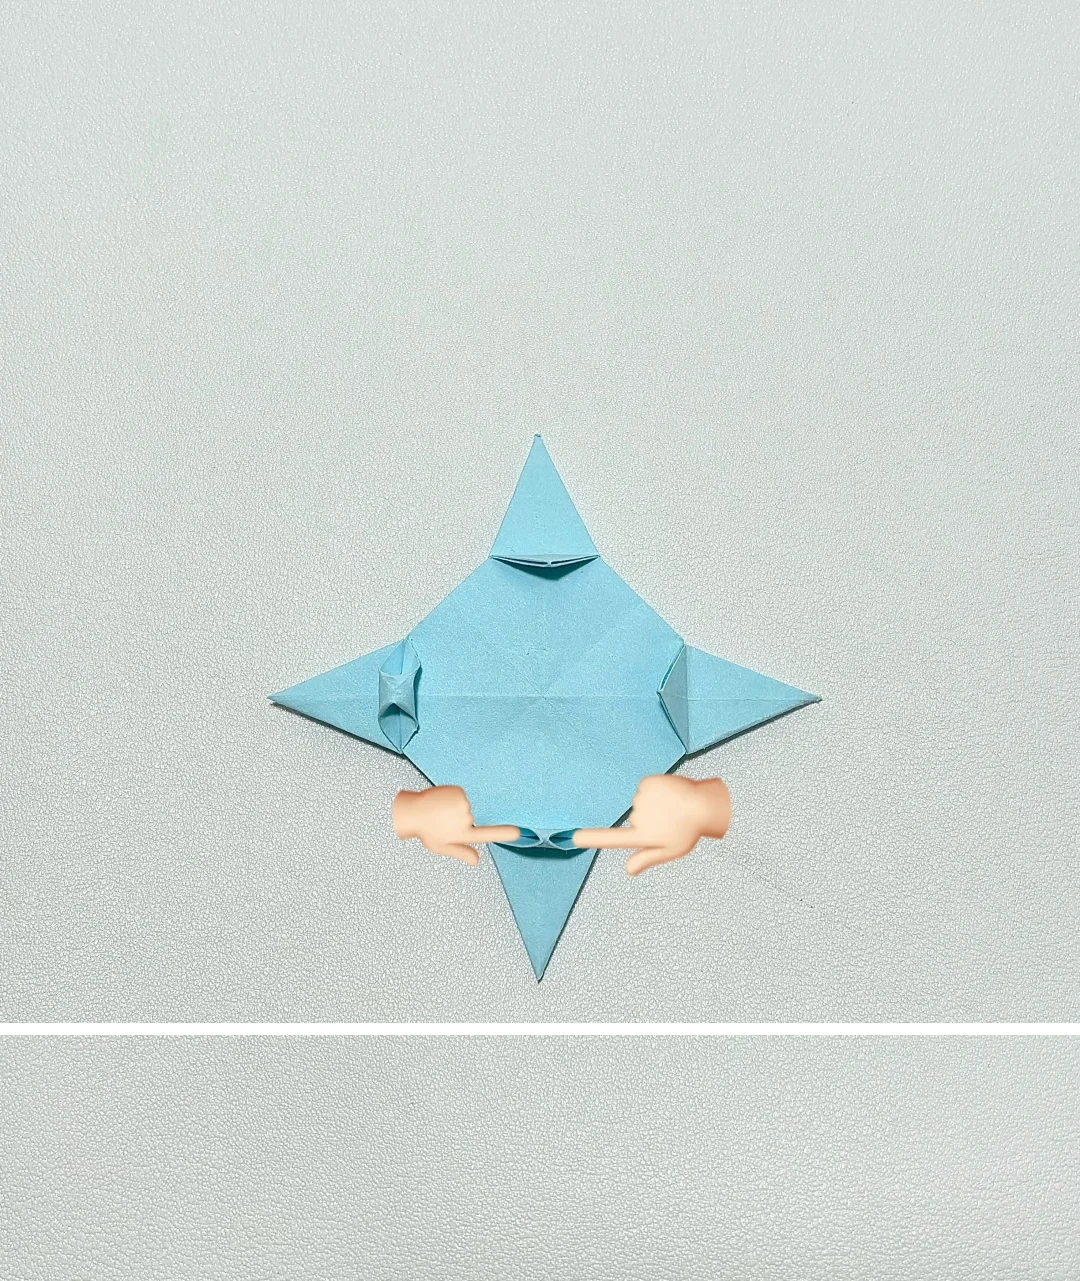 Open image at full size ↗
Open the small triangular pocket at one edge and press its center downward with a fingertip.
Repeat around the unit
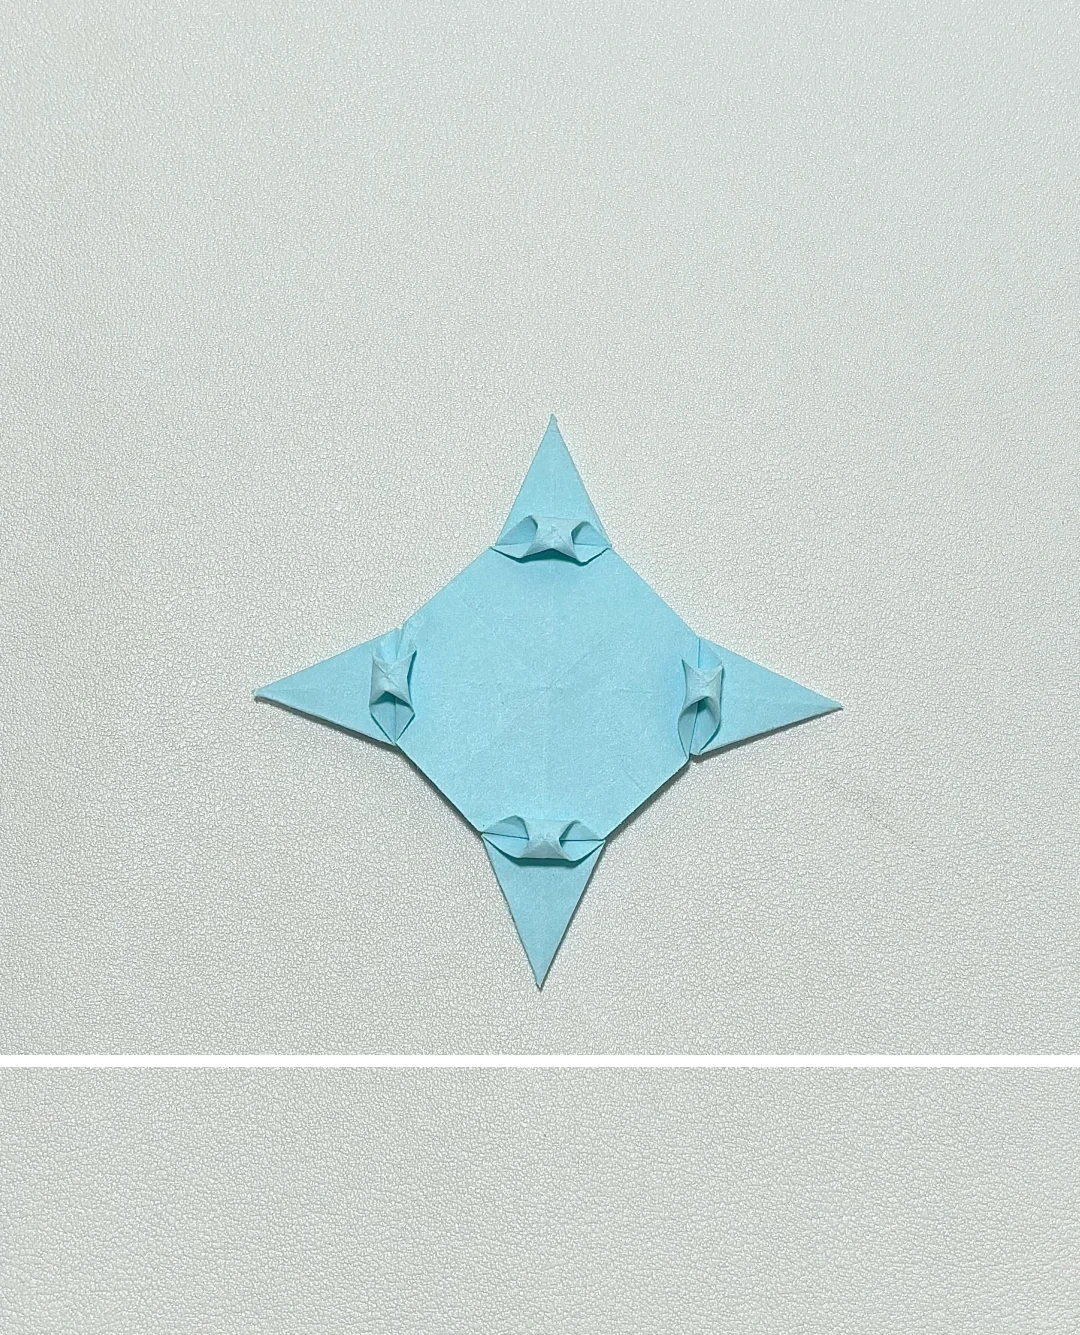 Open image at full size ↗
Open and press the remaining small pockets to create the rounded decorative edge.
Pair the units
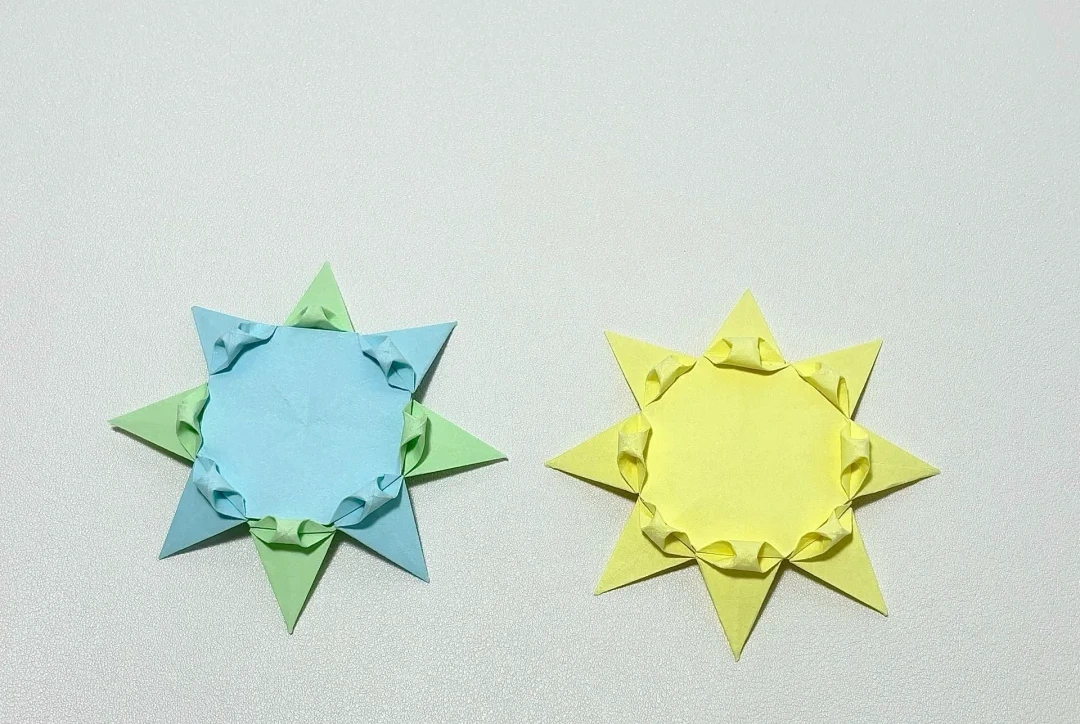 Open image at full size ↗
Make four units. Glue them together in offset pairs so each pair has eight alternating outer points.
Make the cake wall
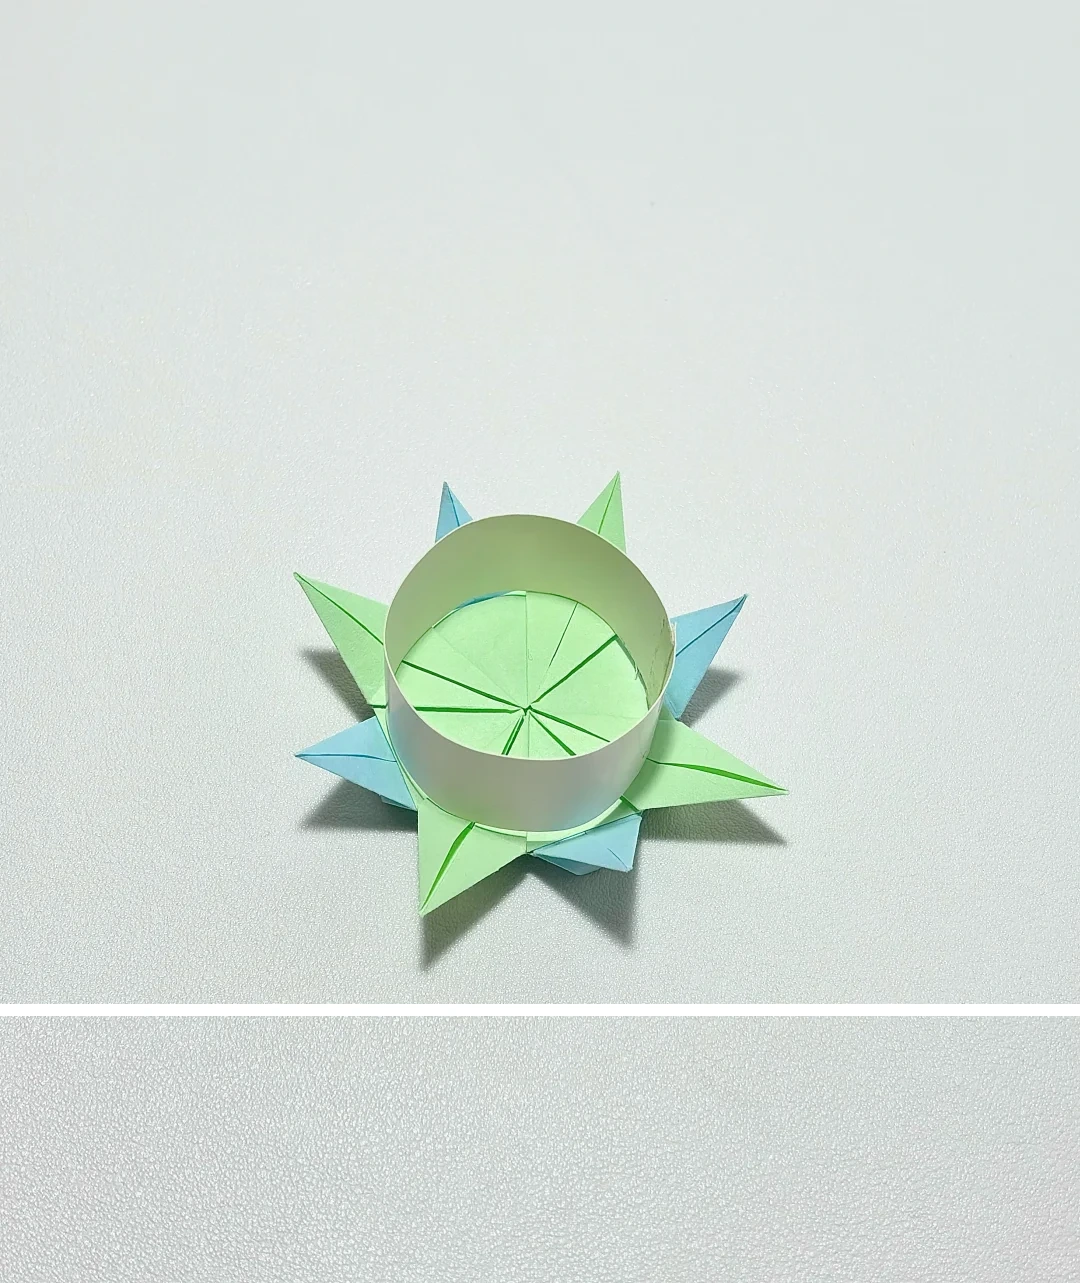 Open image at full size ↗
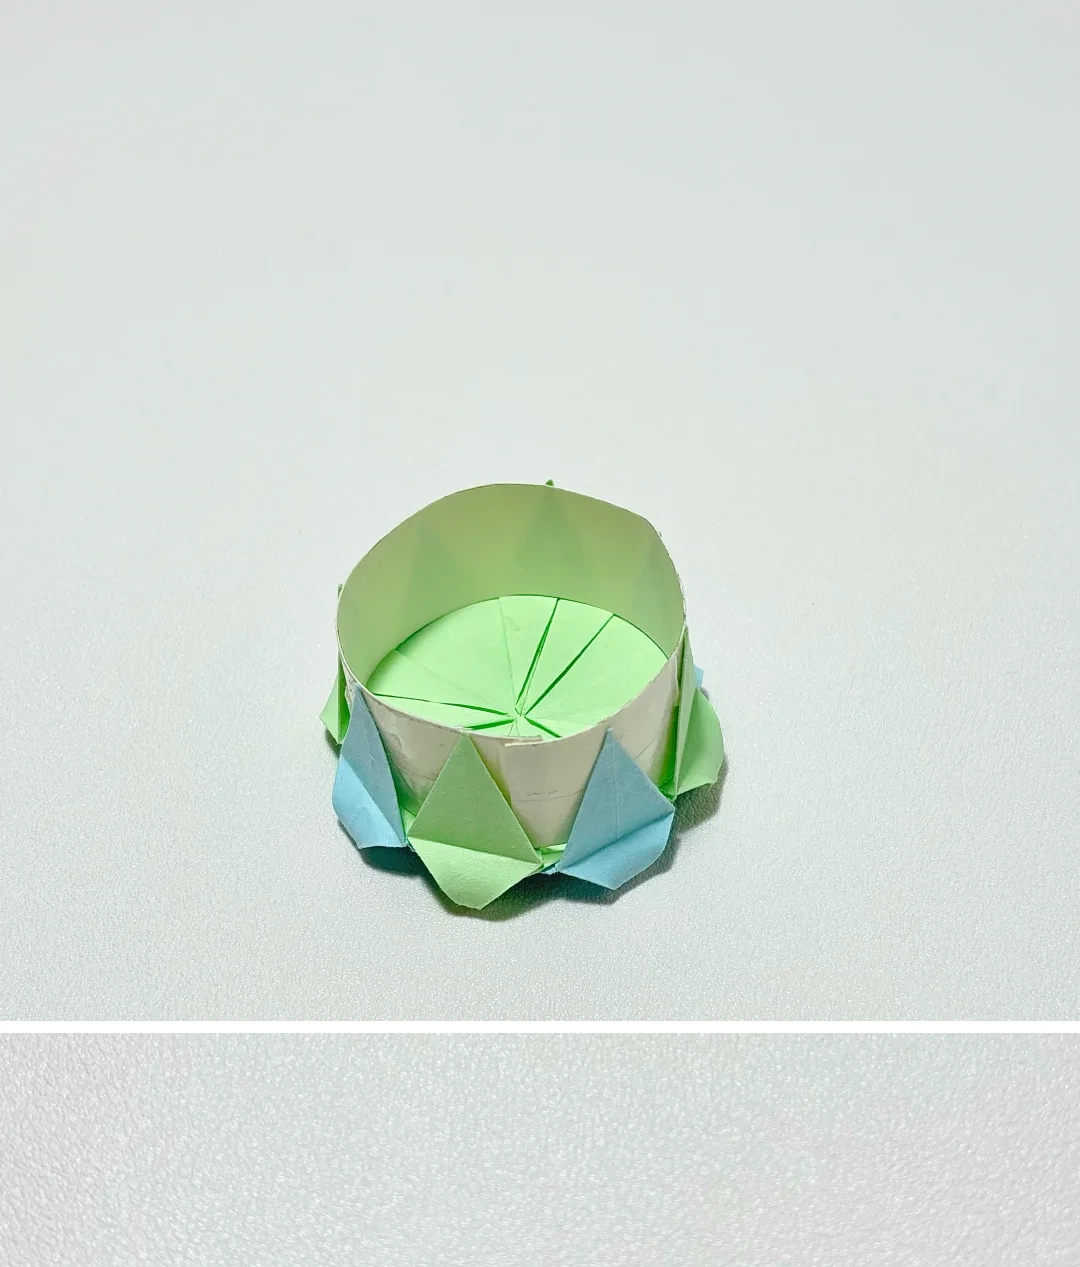
Roll a paper strip into a cylinder. Choose a strip width matching the height of the triangular side tabs and glue the overlap.
Attach the base and top
 Open image at full size ↗
Glue the lower tabs around one end of the cylinder. Attach the second paired unit at the opposite end in the same way.
Decorate the cake
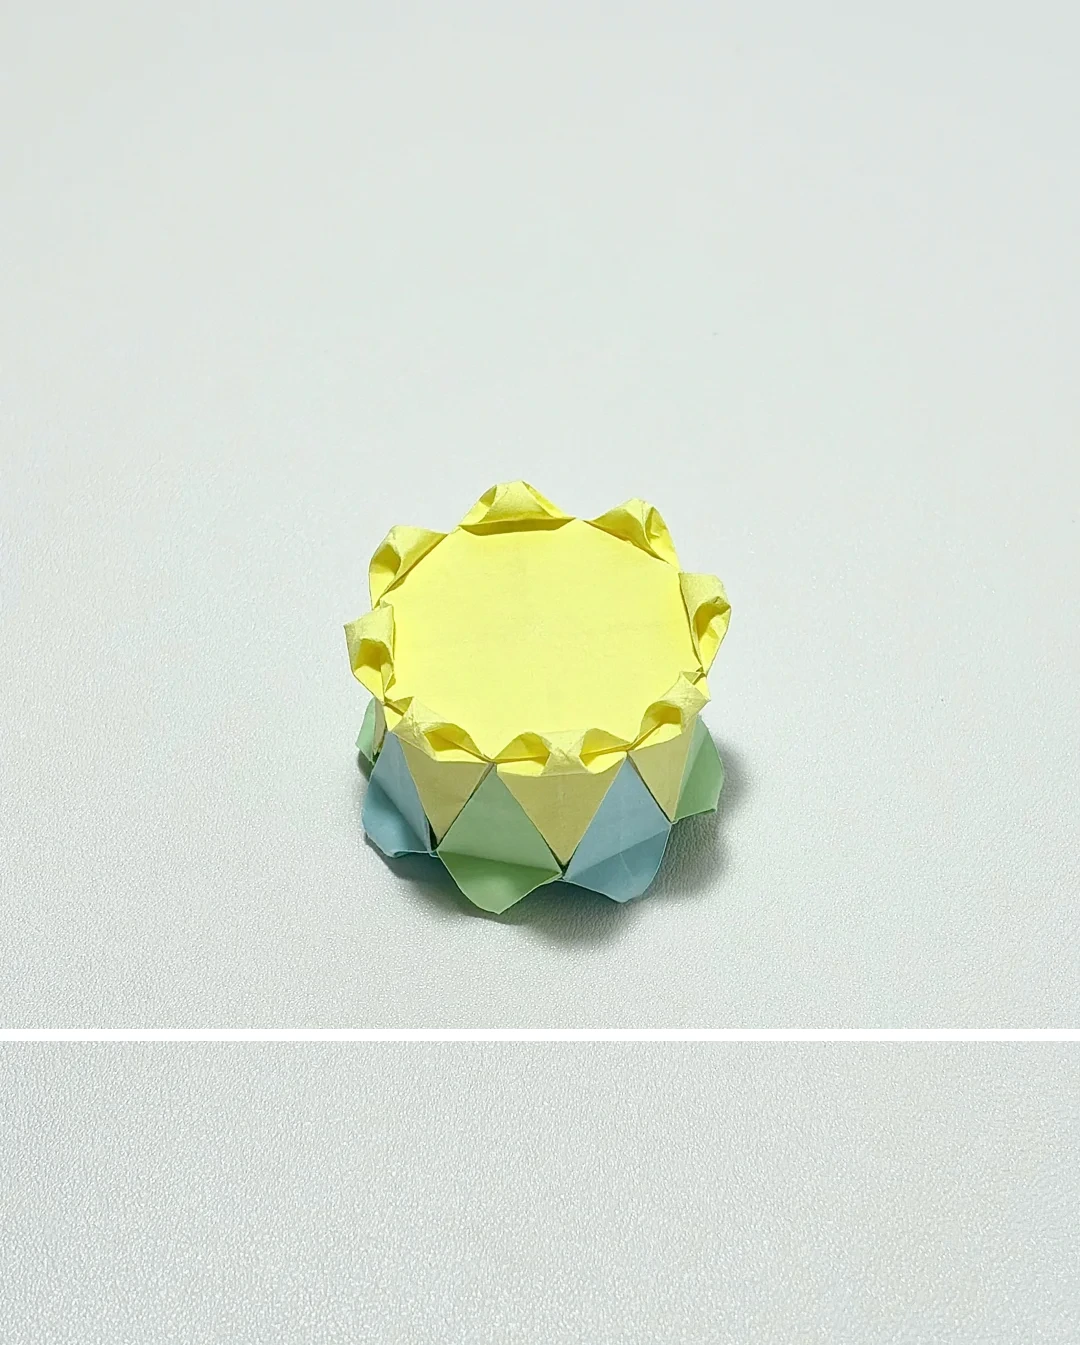 Open image at full size ↗
Let the glue set, then add separately made paper stars, a paper candle, or other lightweight decorations.
Follow the diagrams alongside the step-by-step English instructions.
Choose your next project →