
Paper toys · Step-by-step guide
Little Paper Ghost
Fold a playful ghost with outstretched arms and a curved tail. The optional hat in the photograph is a separate decoration.
What you’ll need
- One square of paper
- A pen
Origami · Creasing, collapse folds & shaping
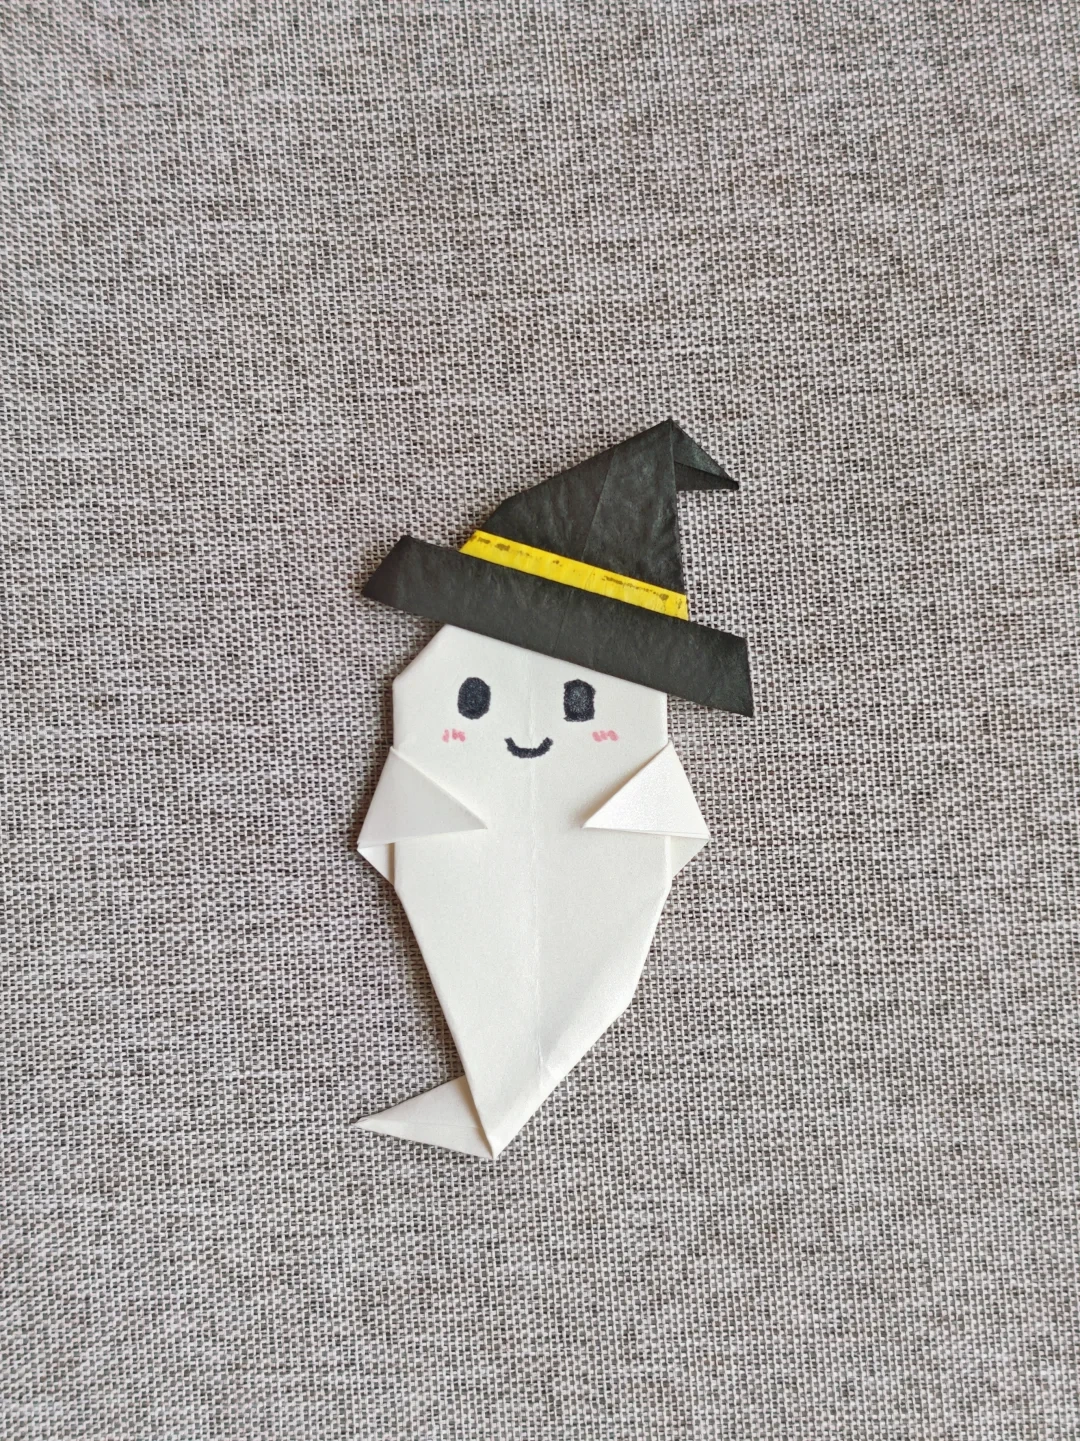
Make it, step by step.
17 steps · Original diagrams with English instructions
Prepare the paper
 Open image at full size ↗
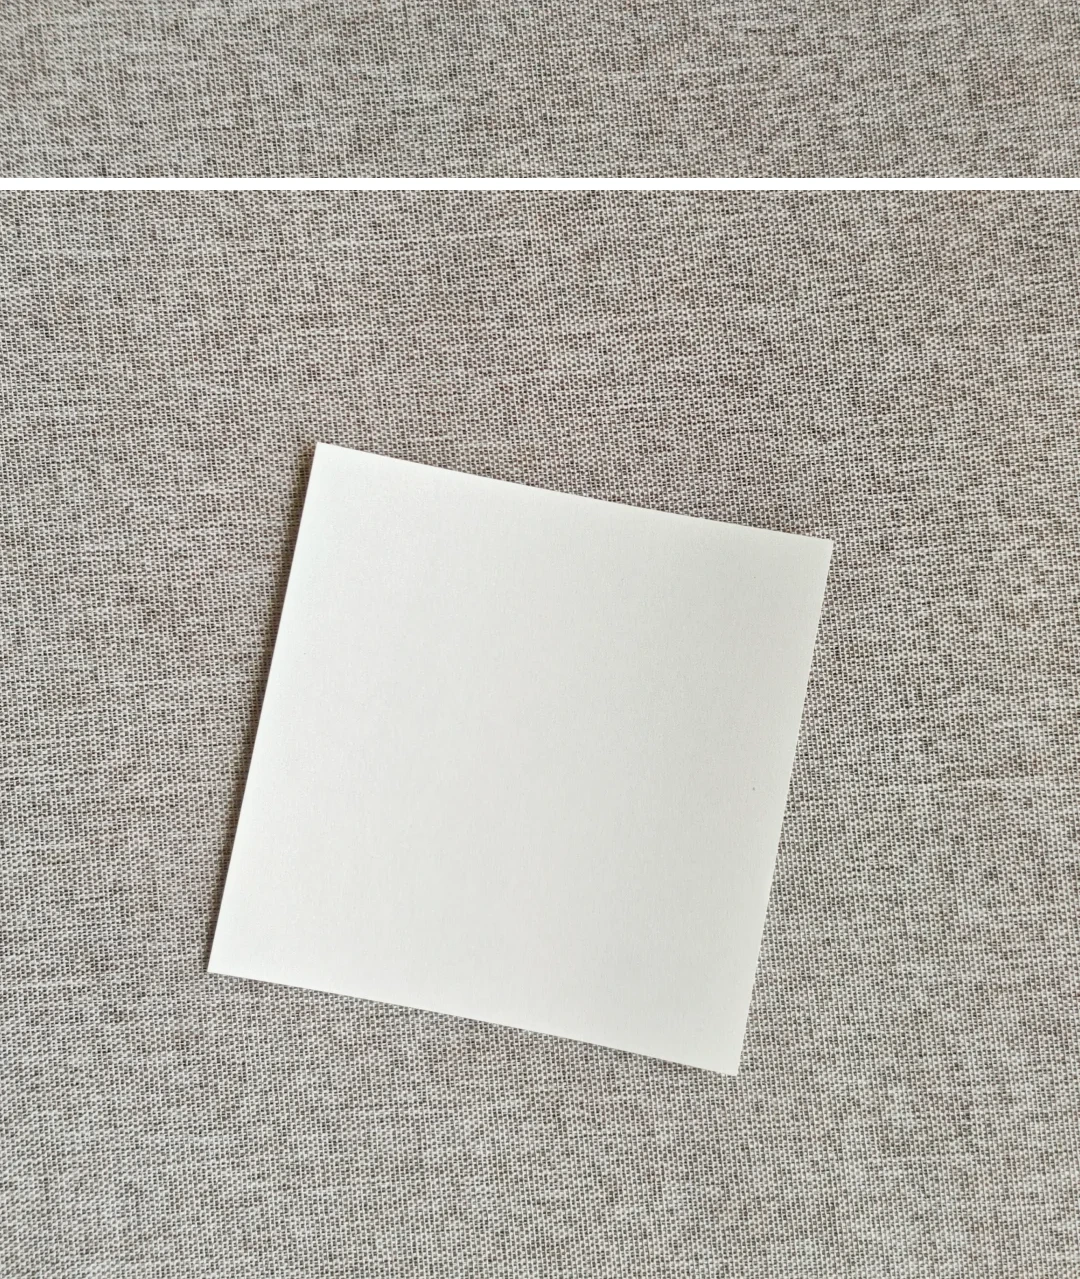
Start with a square sheet in the color you want for the ghost.
Mark the center
 Open image at full size ↗
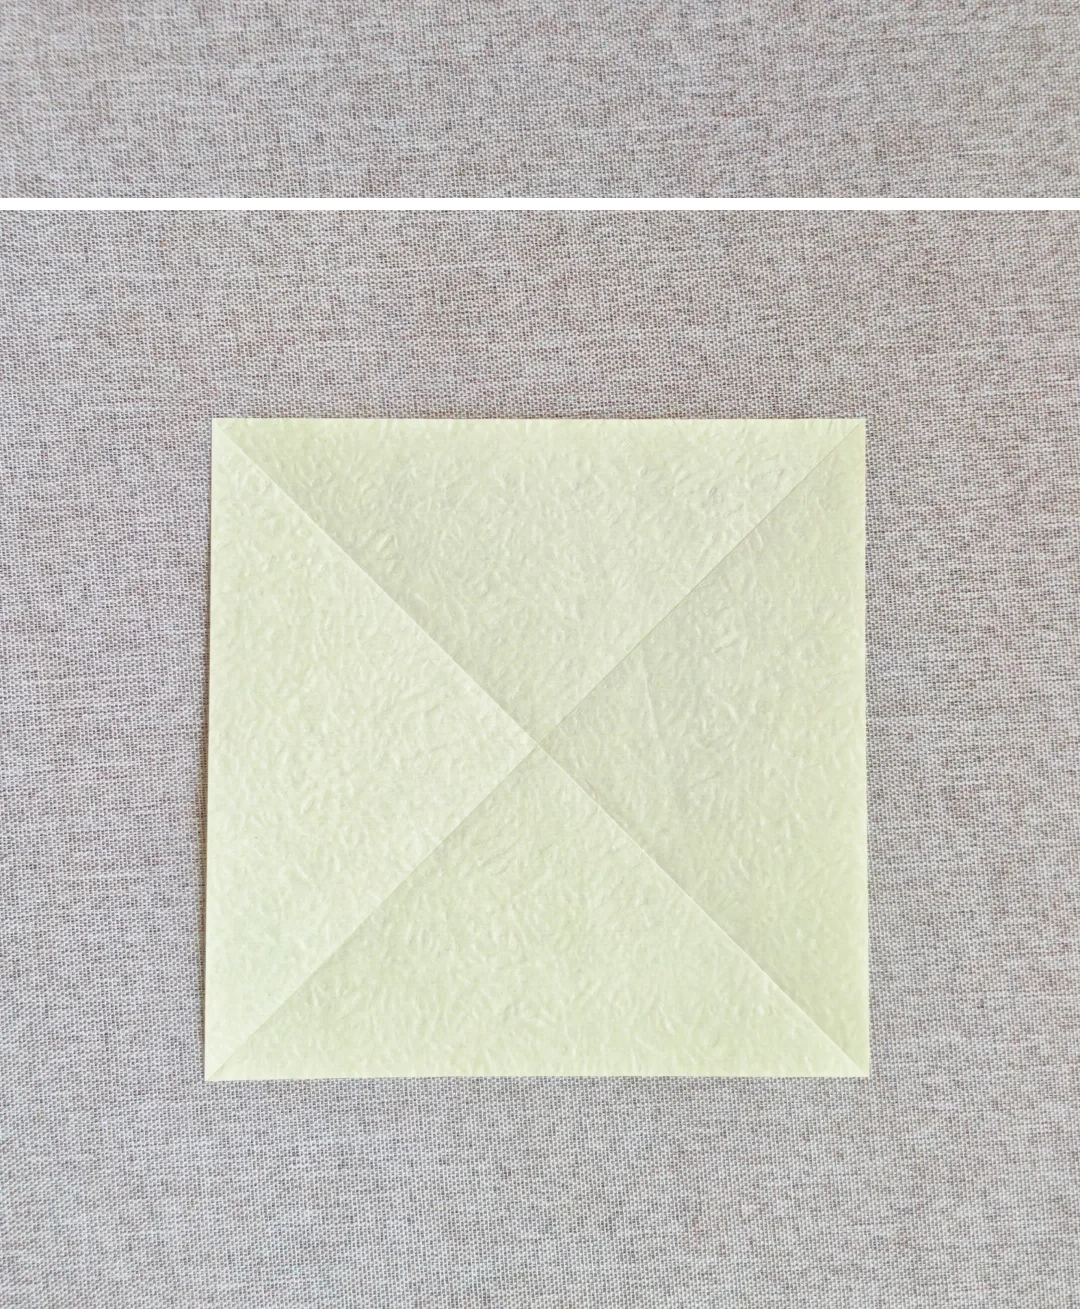
Fold and unfold both diagonals to locate the center.
Fold the corners
 Open image at full size ↗
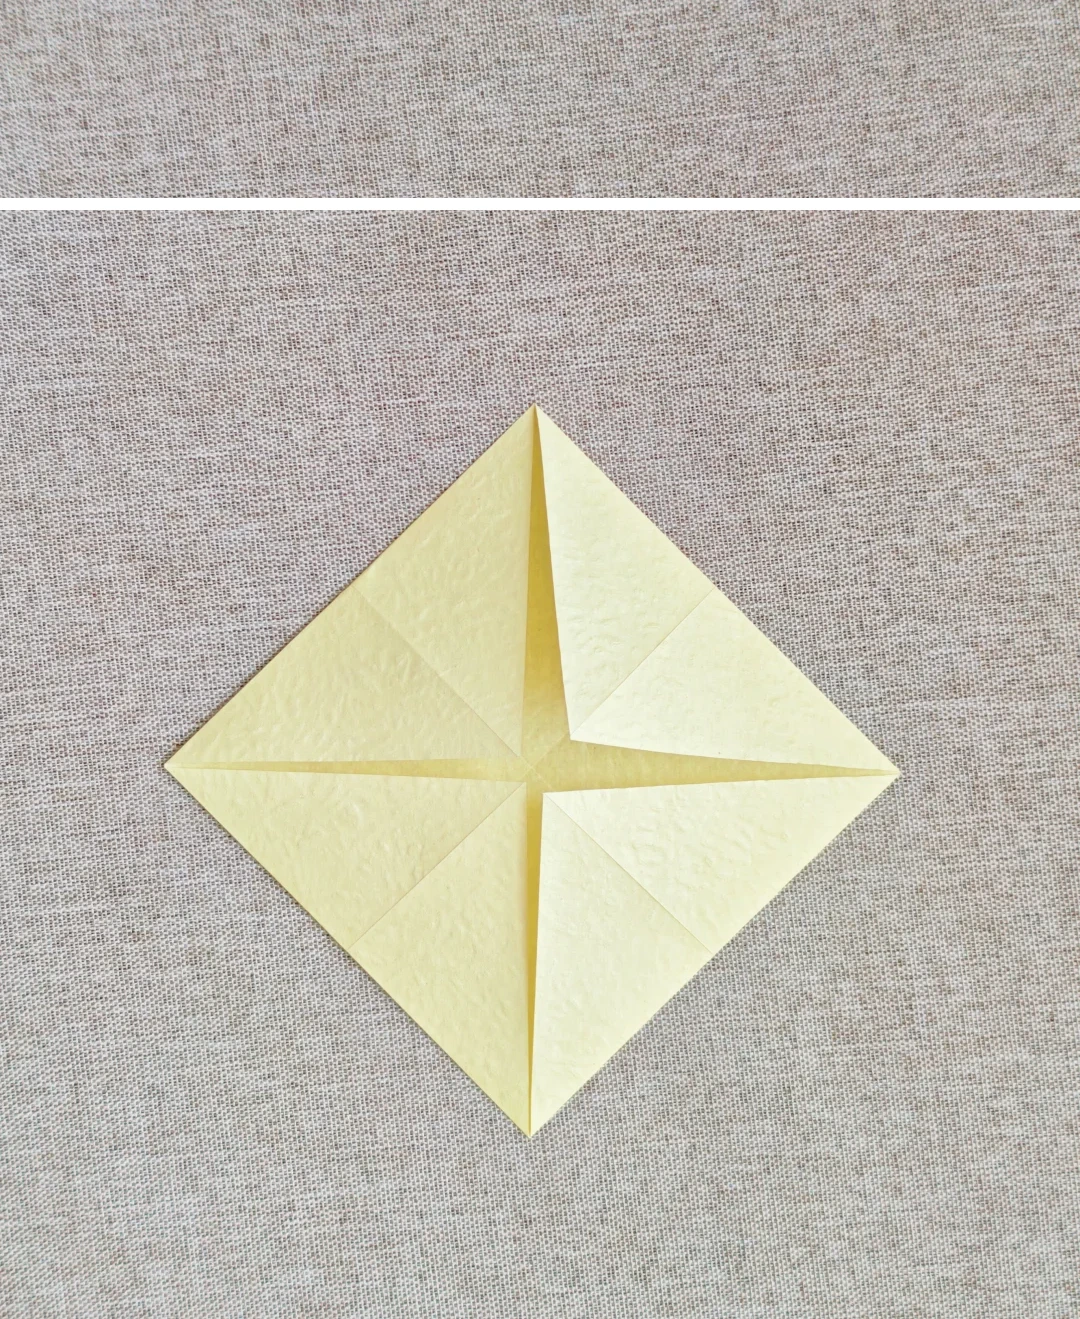
Bring all four corners to the center and crease.
Open and turn
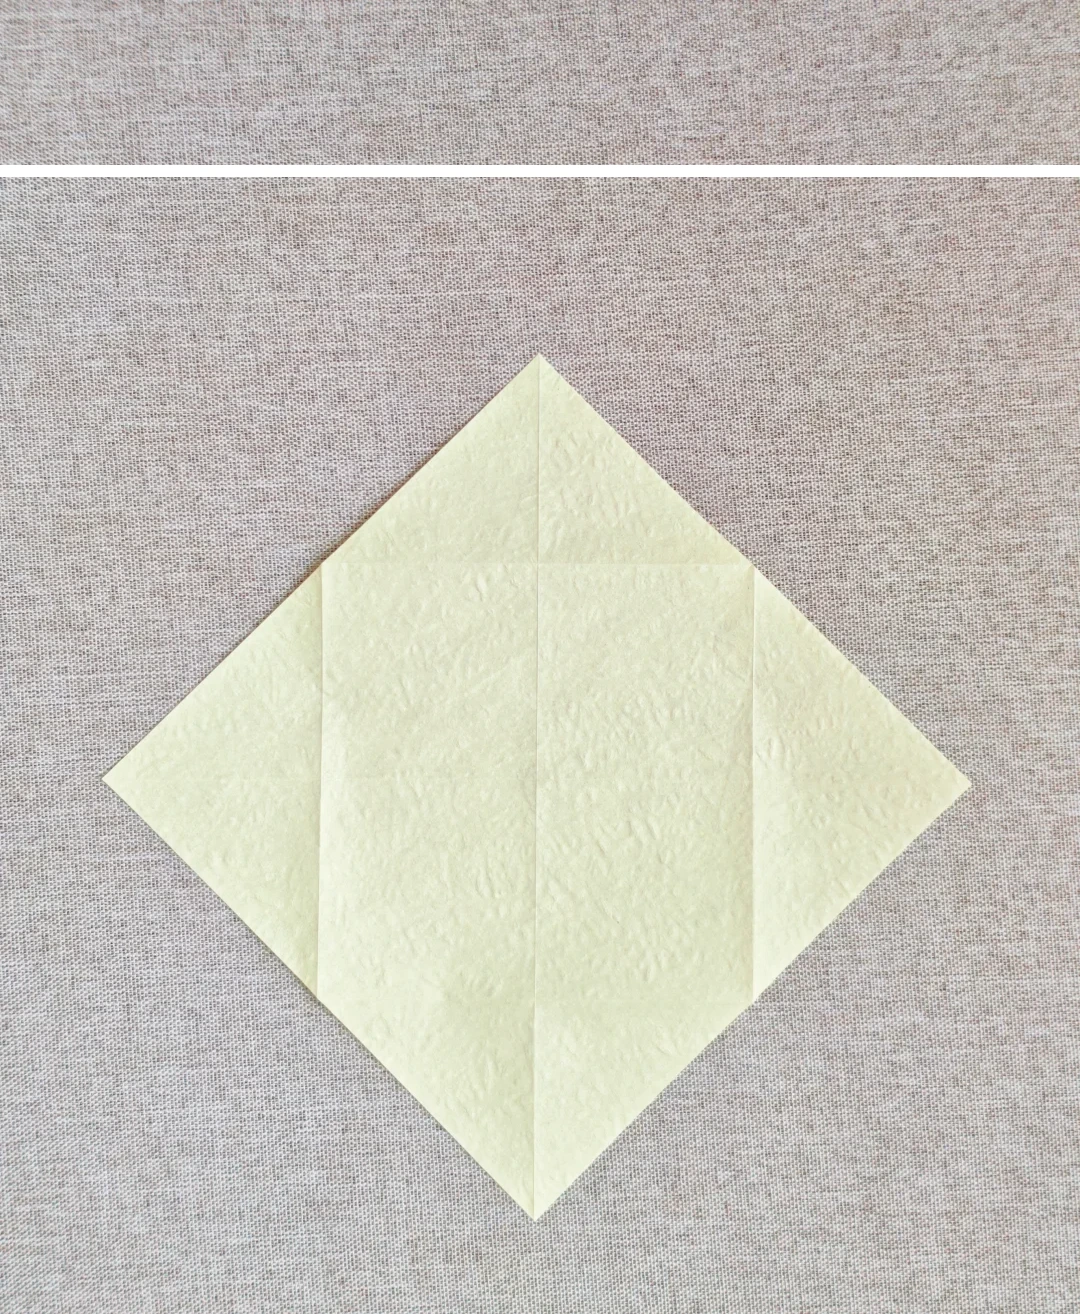 Open image at full size ↗
Unfold the corners, then turn the paper over.
Begin the body
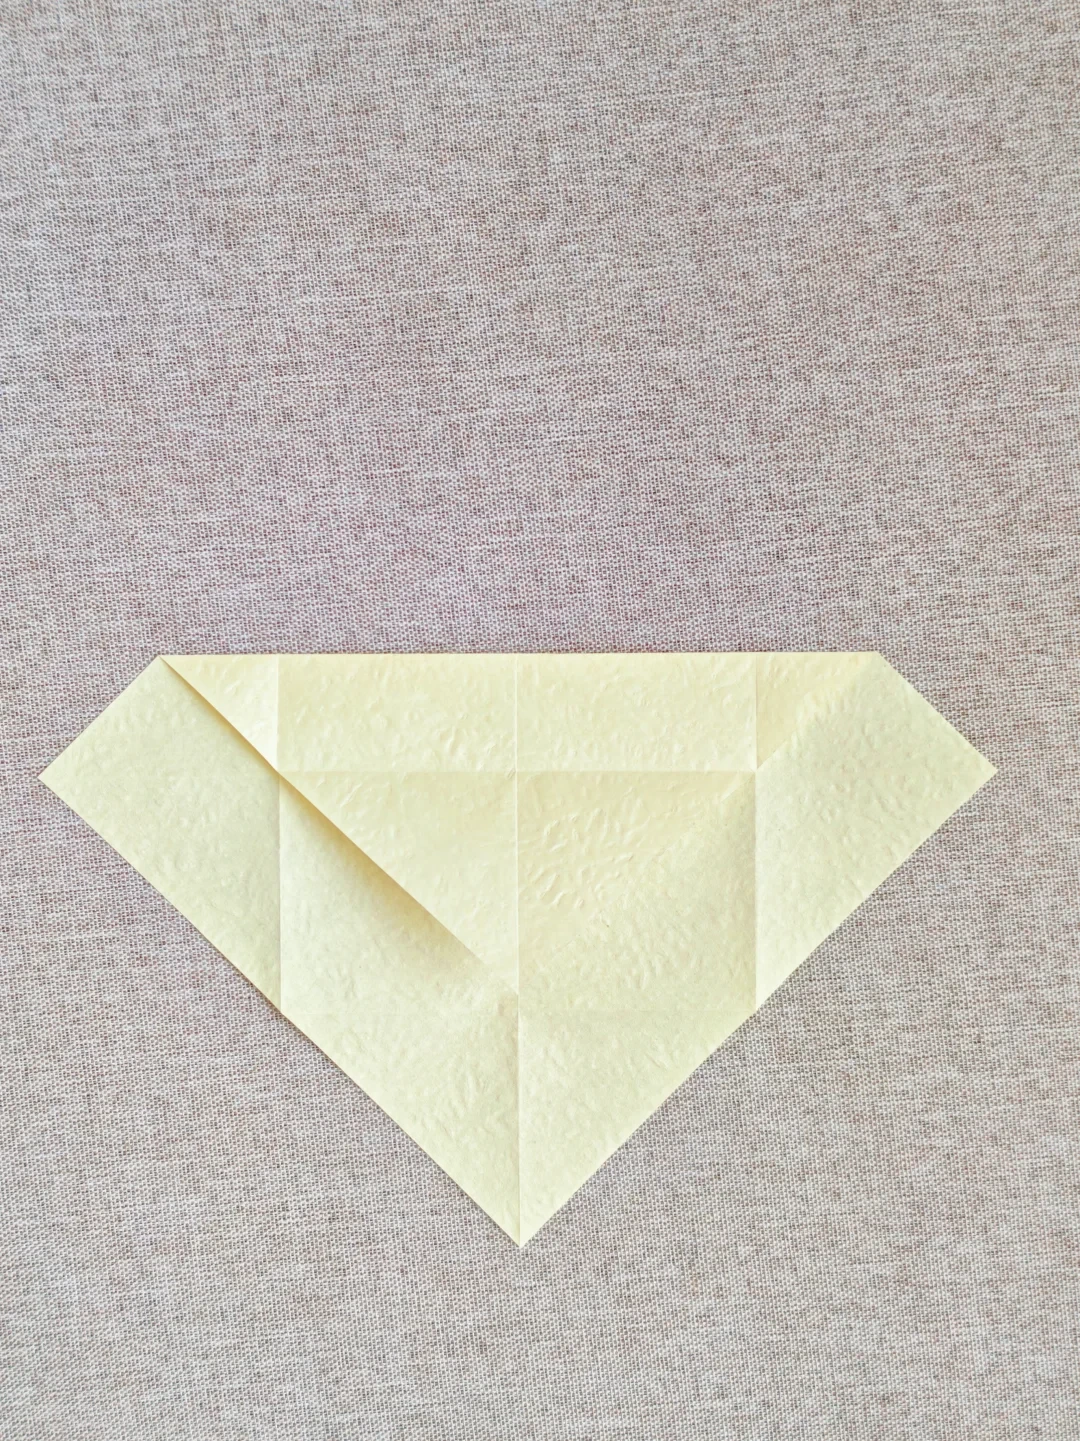 Open image at full size ↗
Fold the top corner downward along the horizontal crease, leaving the side points extended.
Shape the upper folds
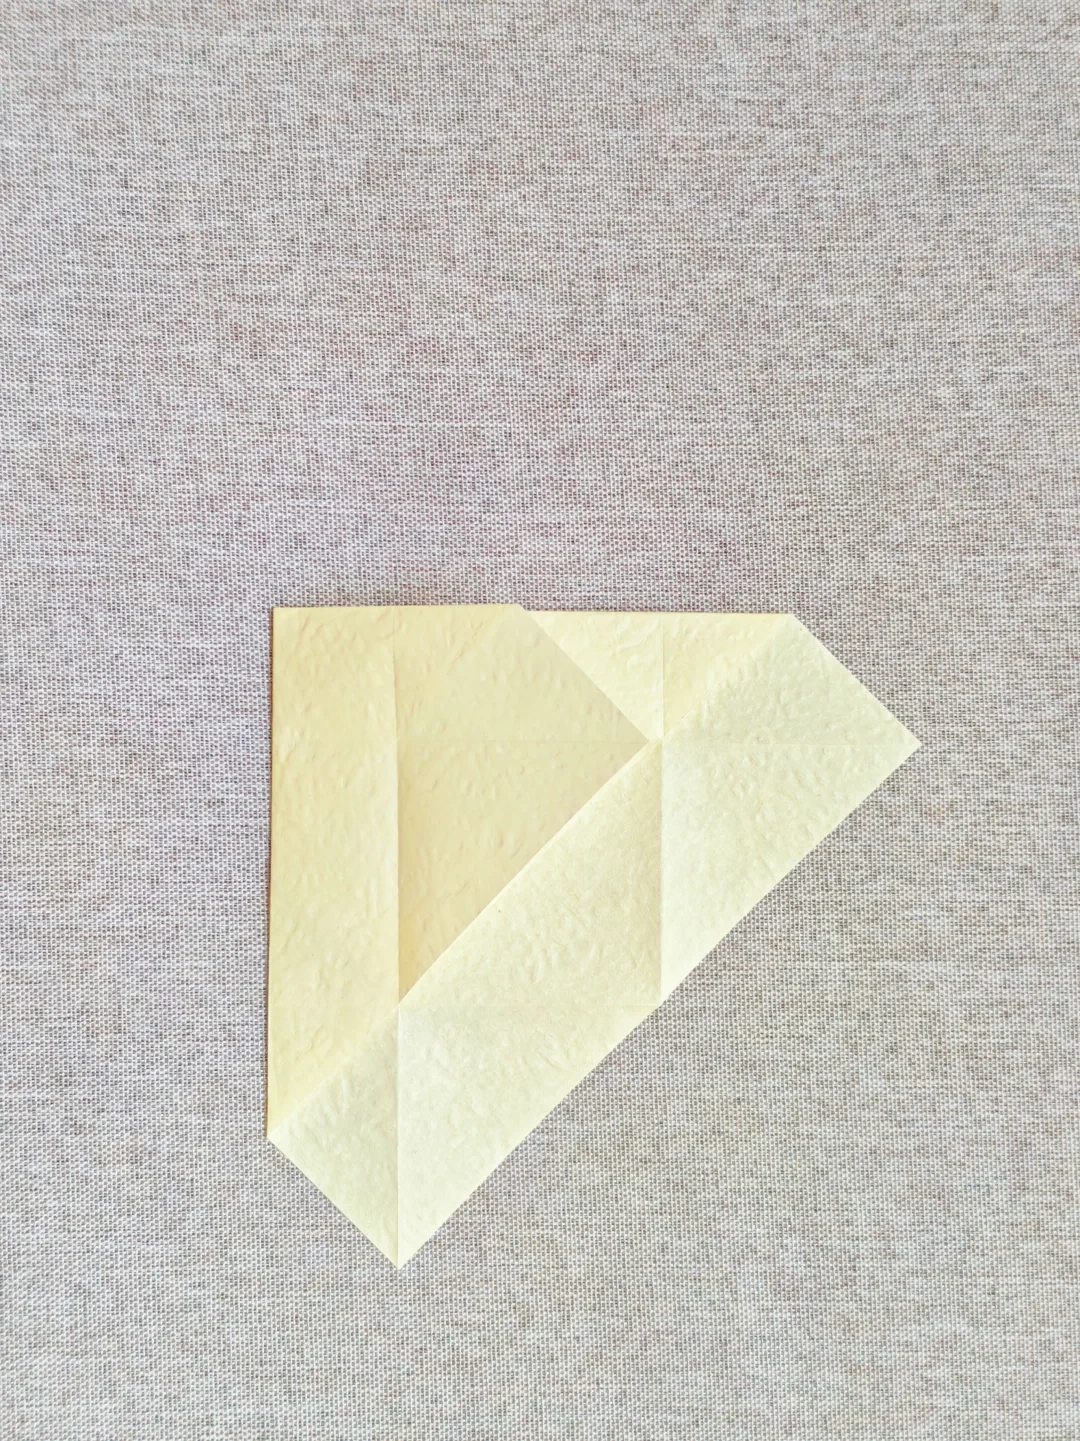 Open image at full size ↗
Fold the left side inward along the vertical crease.
Open the first arm
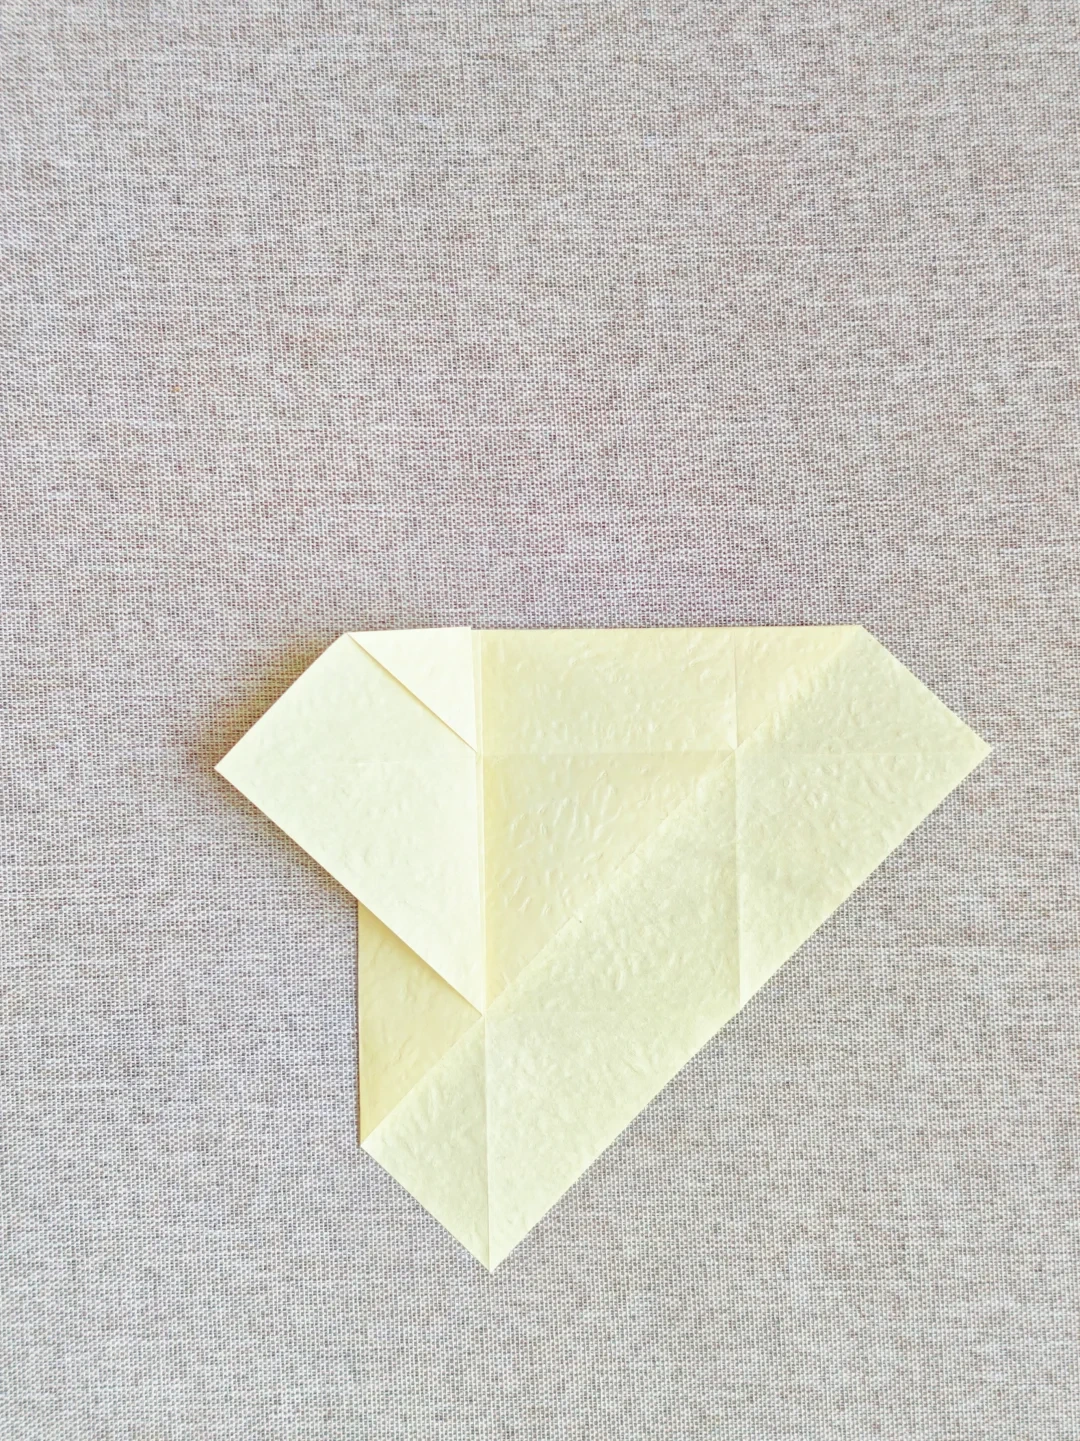 Open image at full size ↗
Open the left pocket and squash it flat, matching the broad upper corner shown.
Repeat the arm
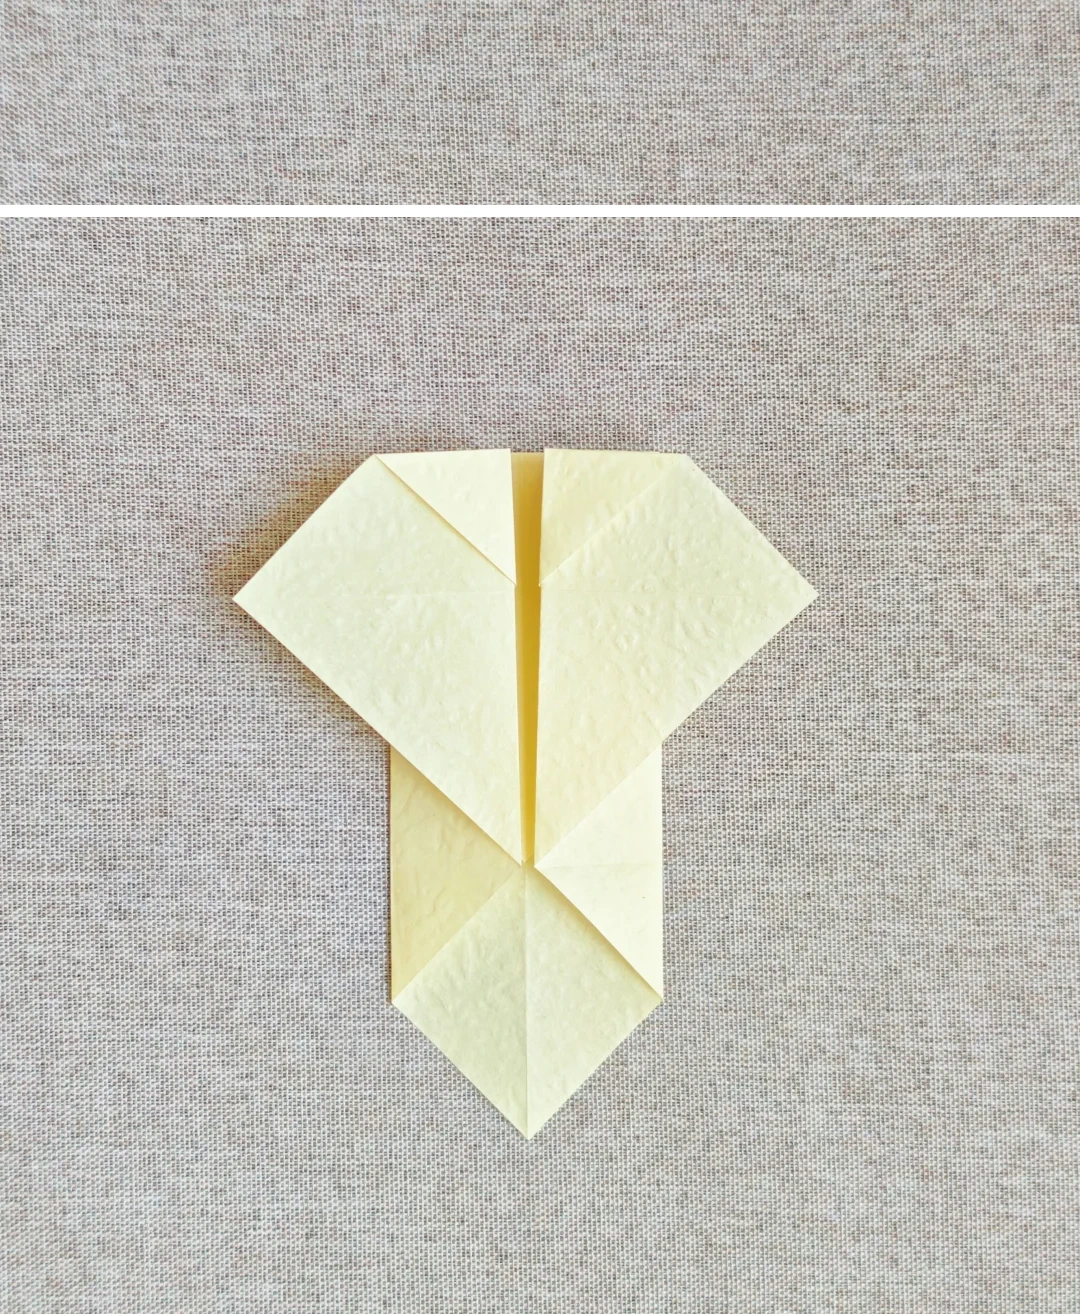 Open image at full size ↗
Make the same pocket fold on the opposite side.
Refine one side
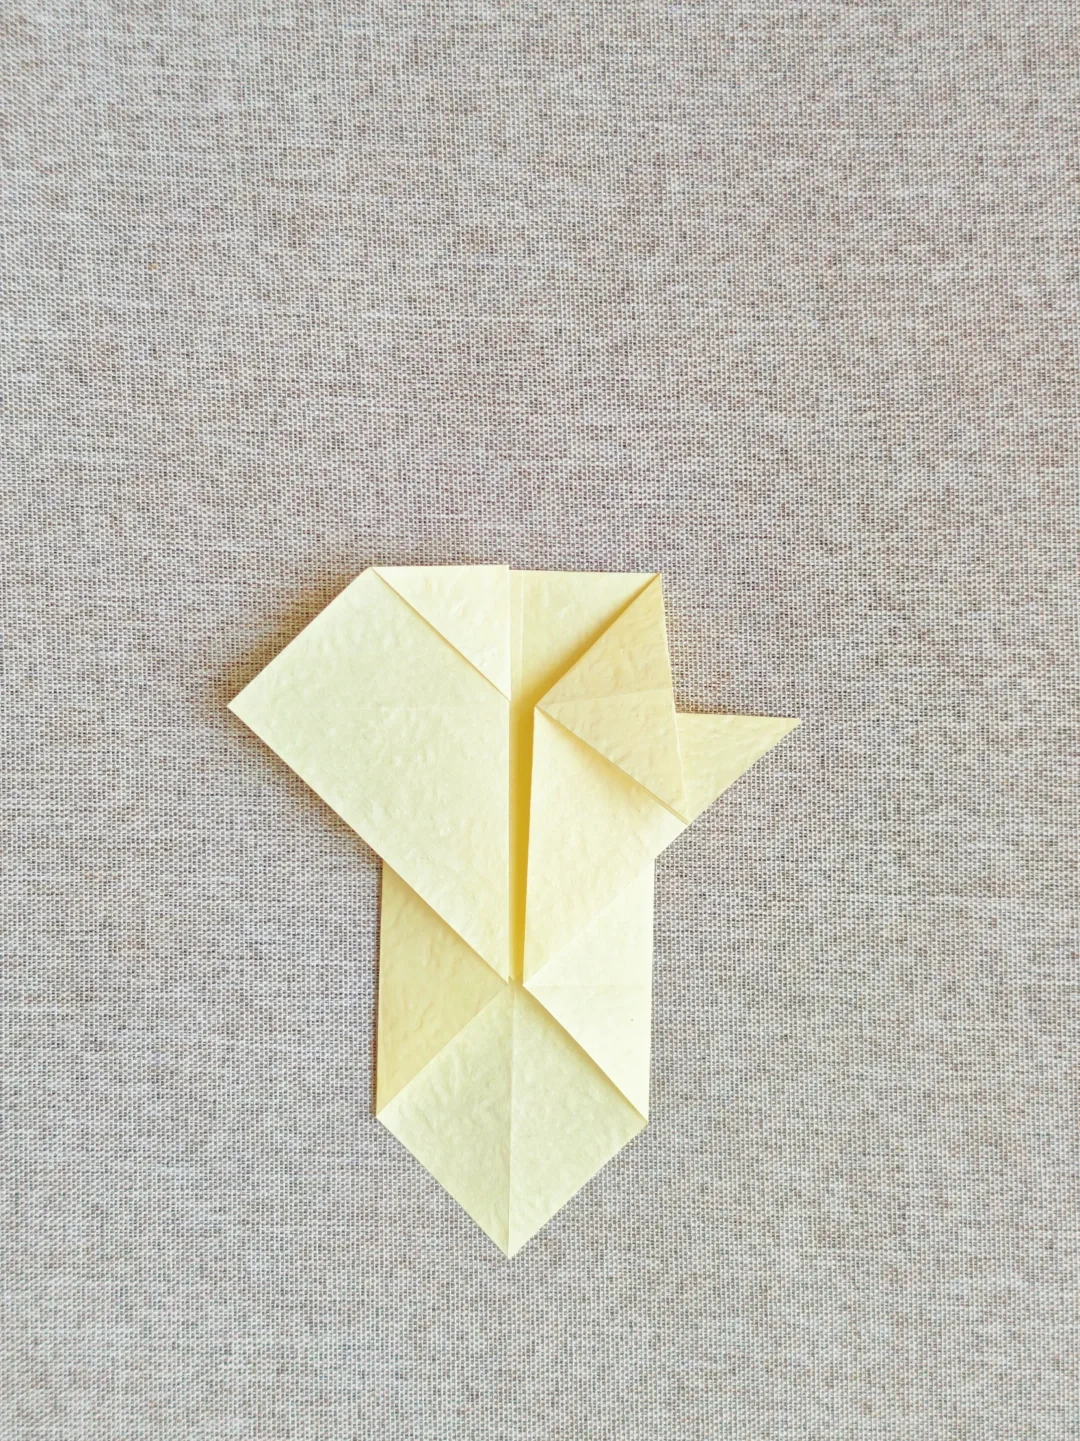 Open image at full size ↗
Fold the inner triangular flap outward on the right to form one arm.
Mirror the side fold
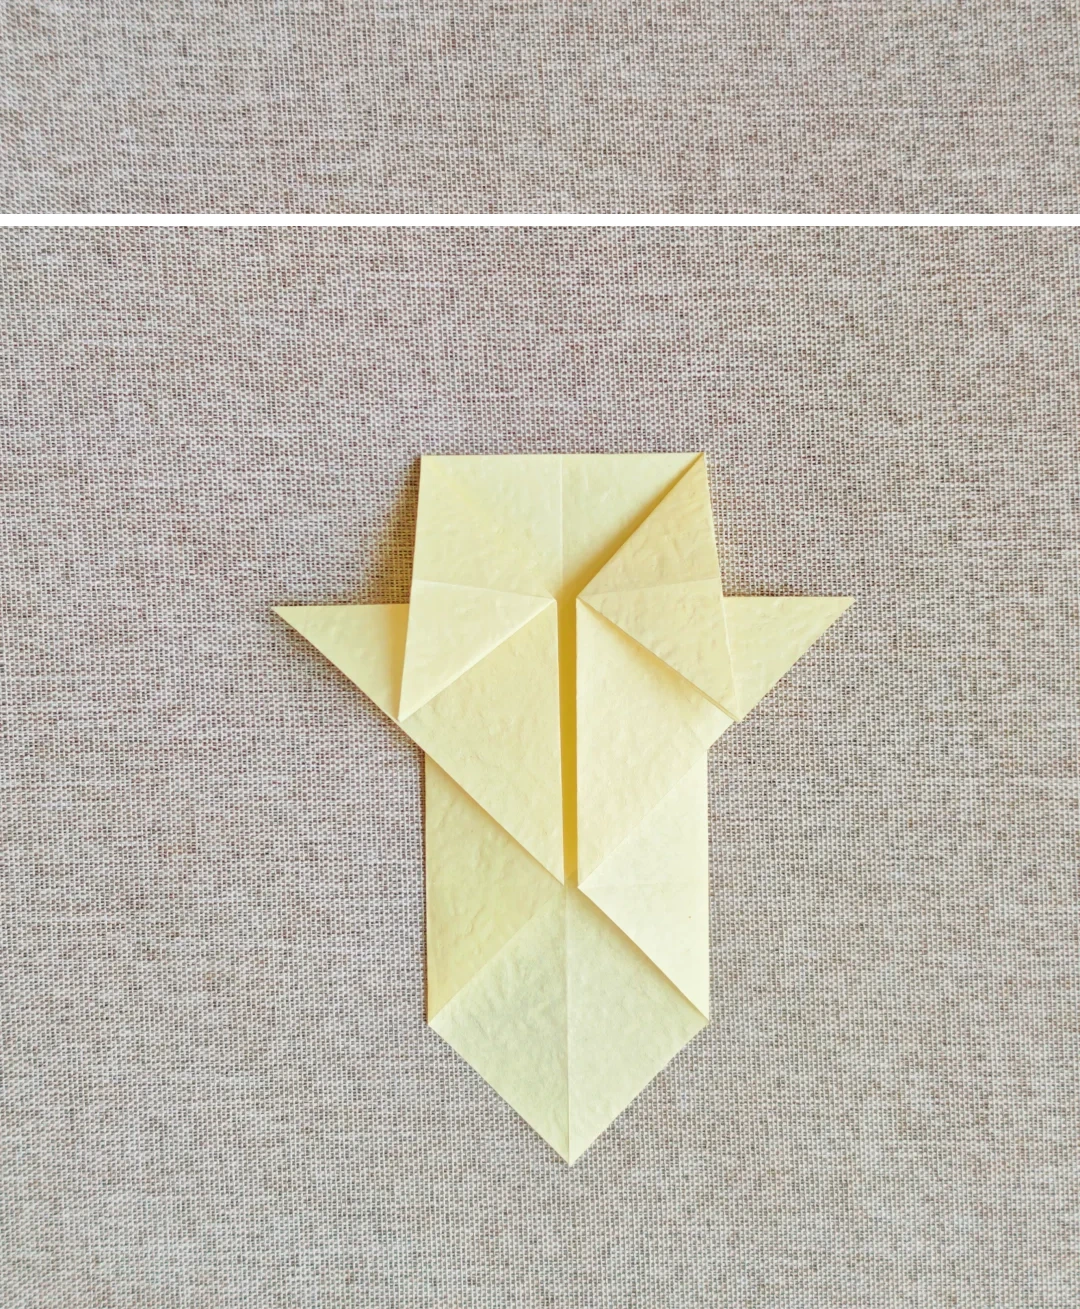 Open image at full size ↗
Repeat on the left to form the other arm.
Fold the head
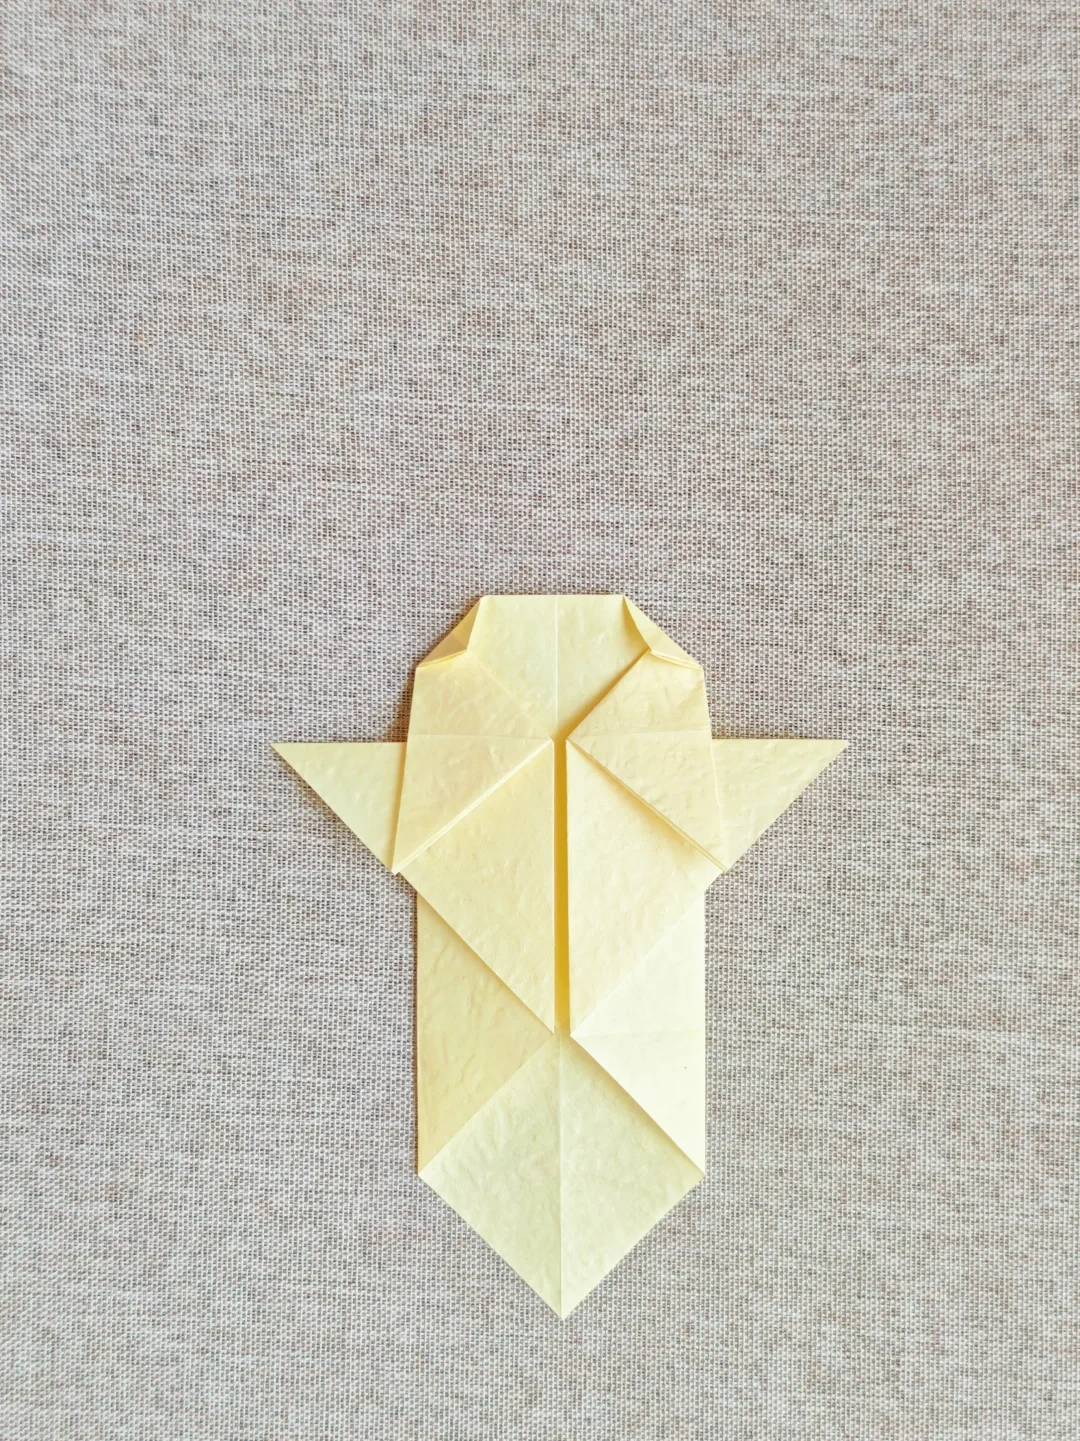 Open image at full size ↗
Fold the two upper corners inward to round the top of the head.
Narrow the body
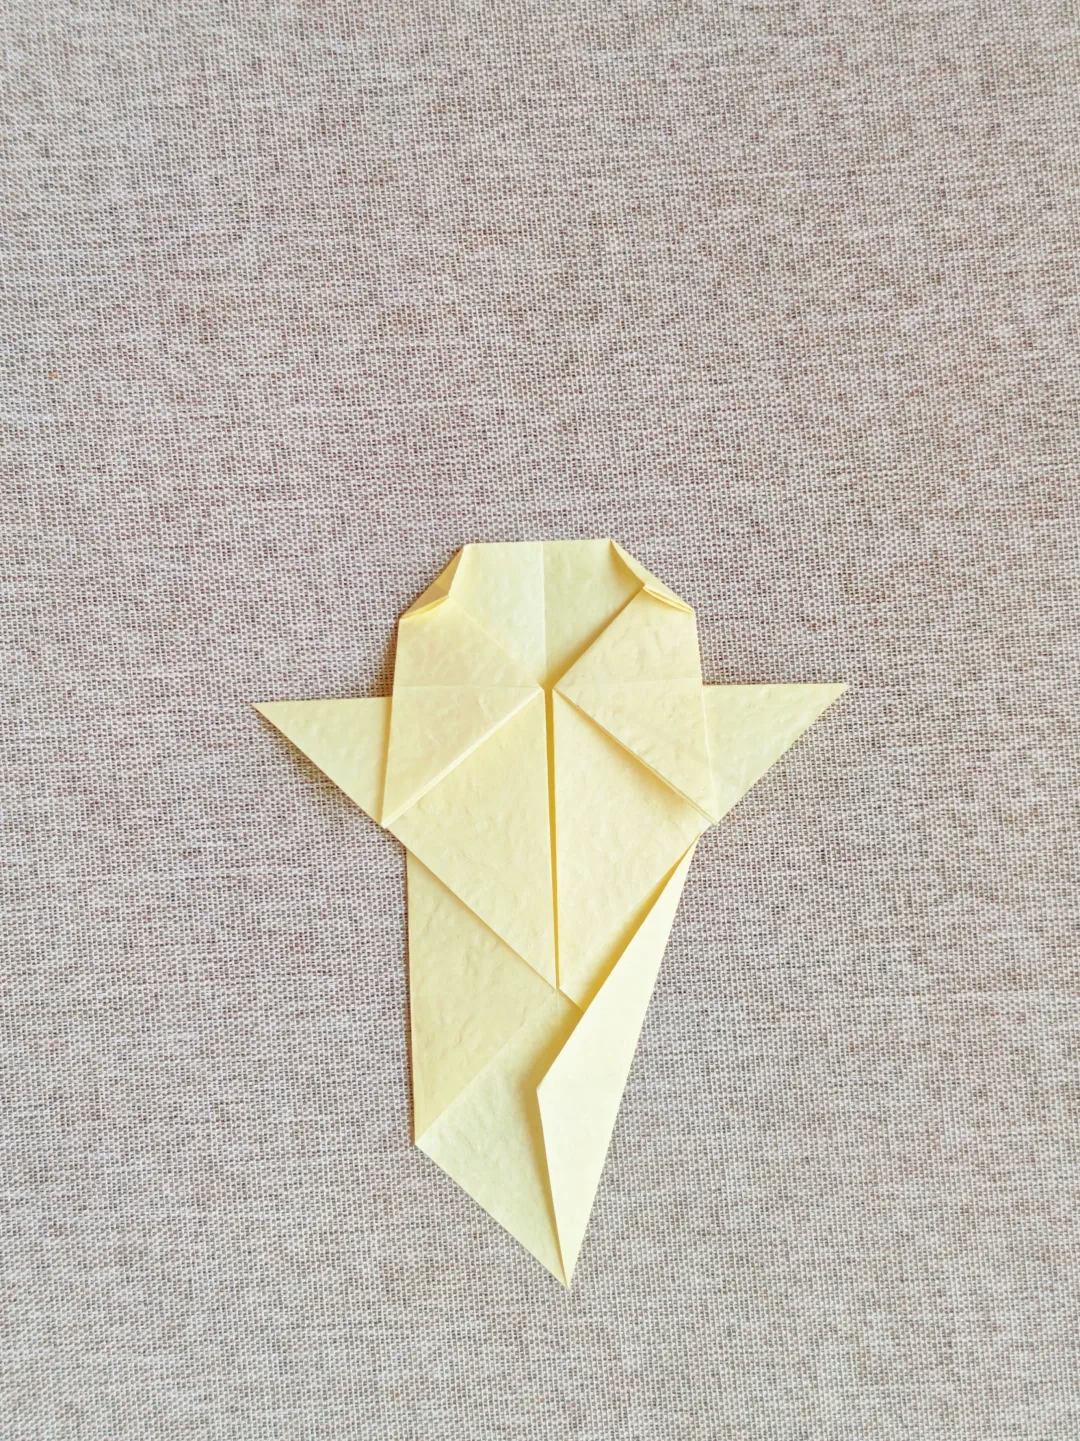 Open image at full size ↗
Fold one lower side edge toward the center, leaving a long point for the tail.
Tuck the corners
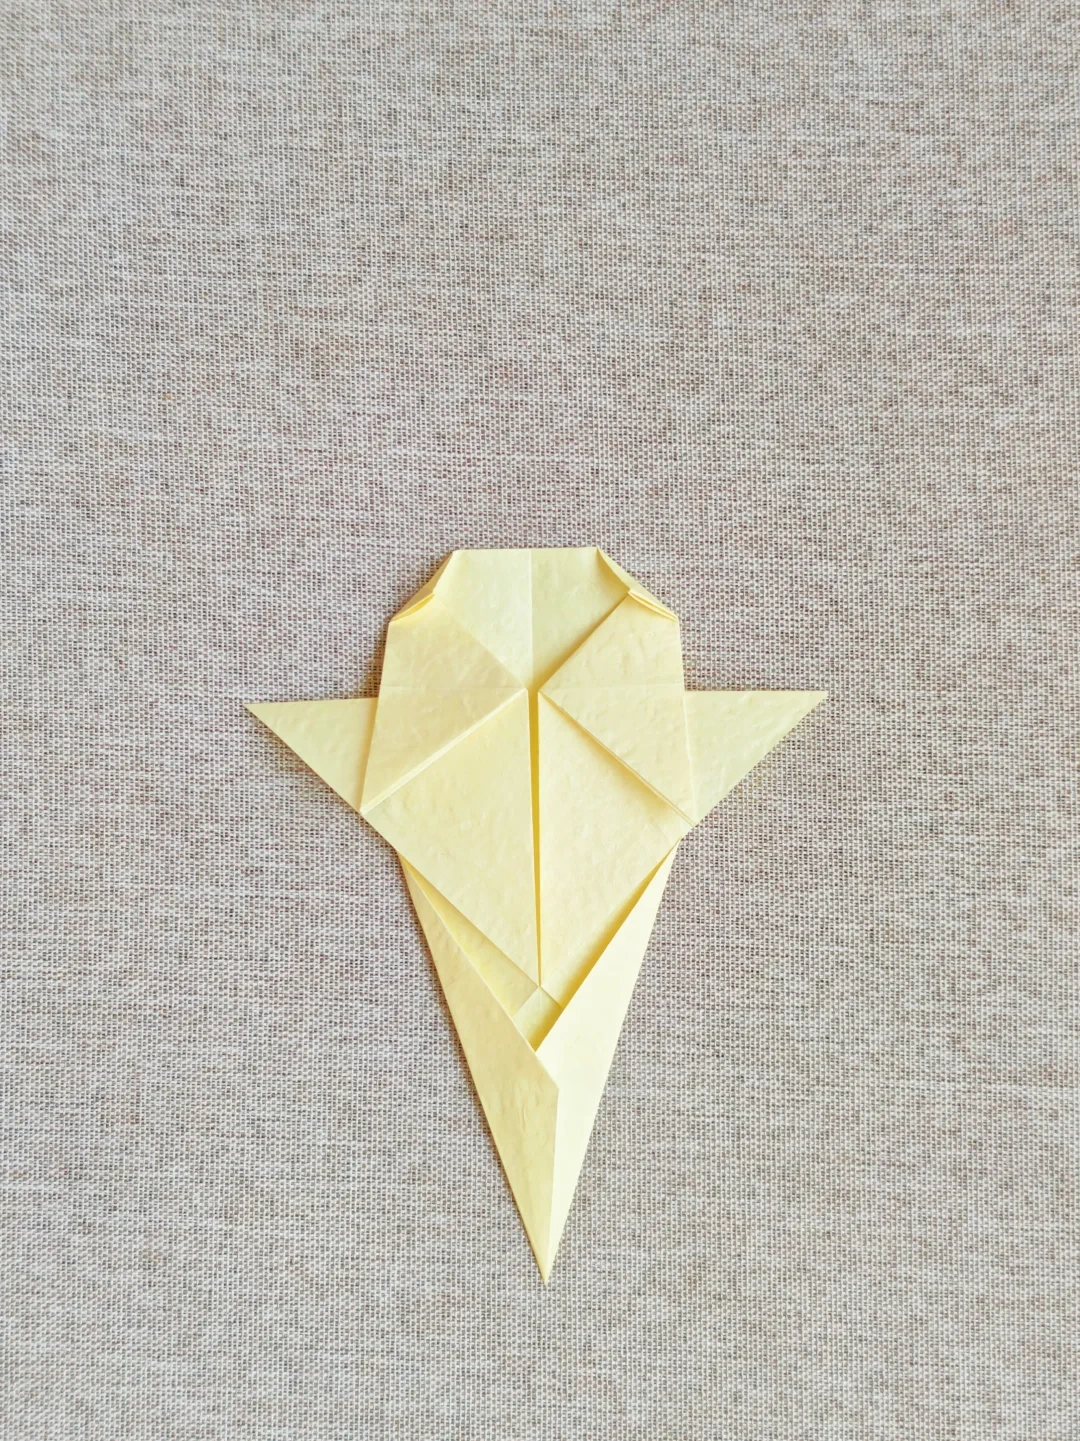 Open image at full size ↗
Fold the other lower side edge inward to make a narrow, symmetrical body.
Turn the ghost over
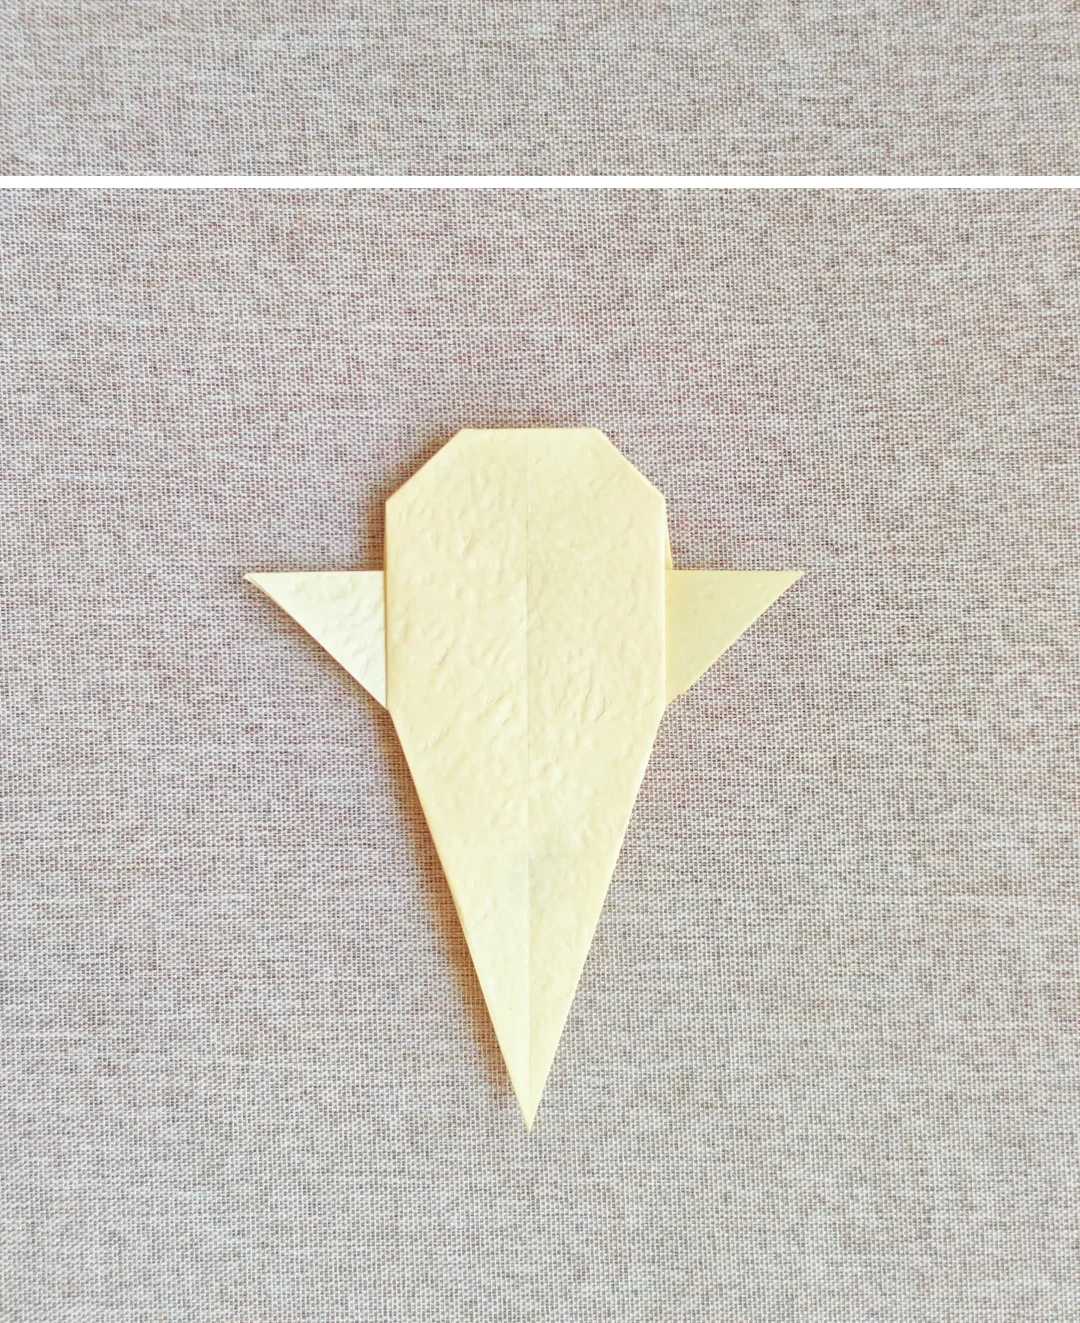 Open image at full size ↗
Turn the model to its front face.
Shape the arms
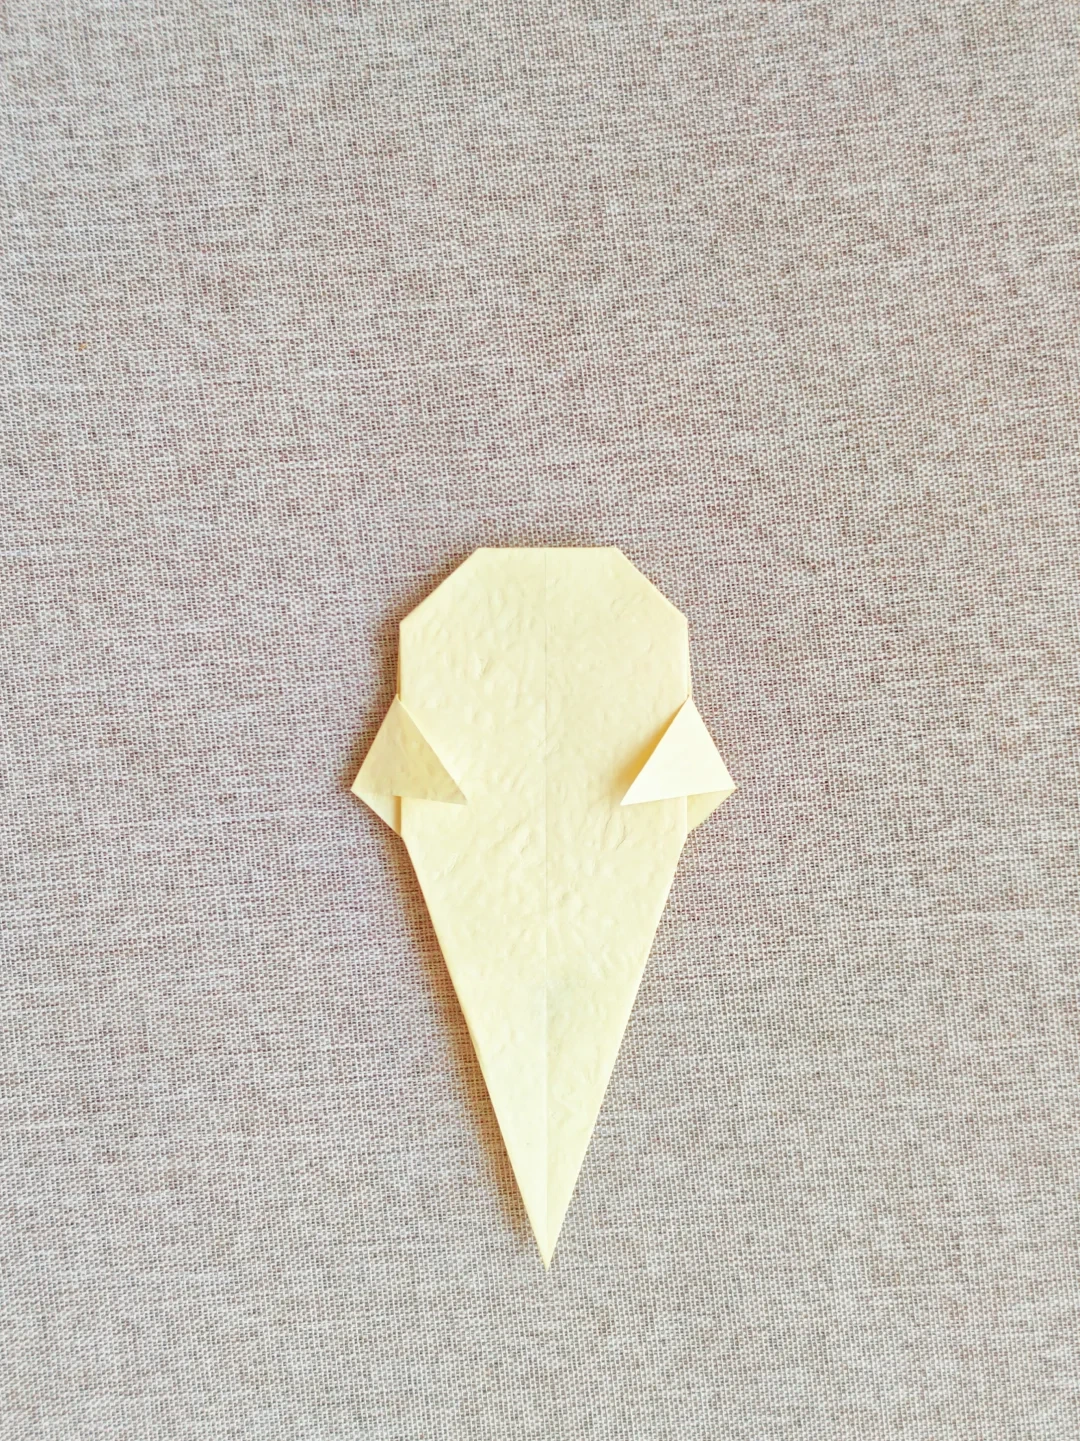 Open image at full size ↗
Fold the arms inward slightly at their bases and adjust their angles.
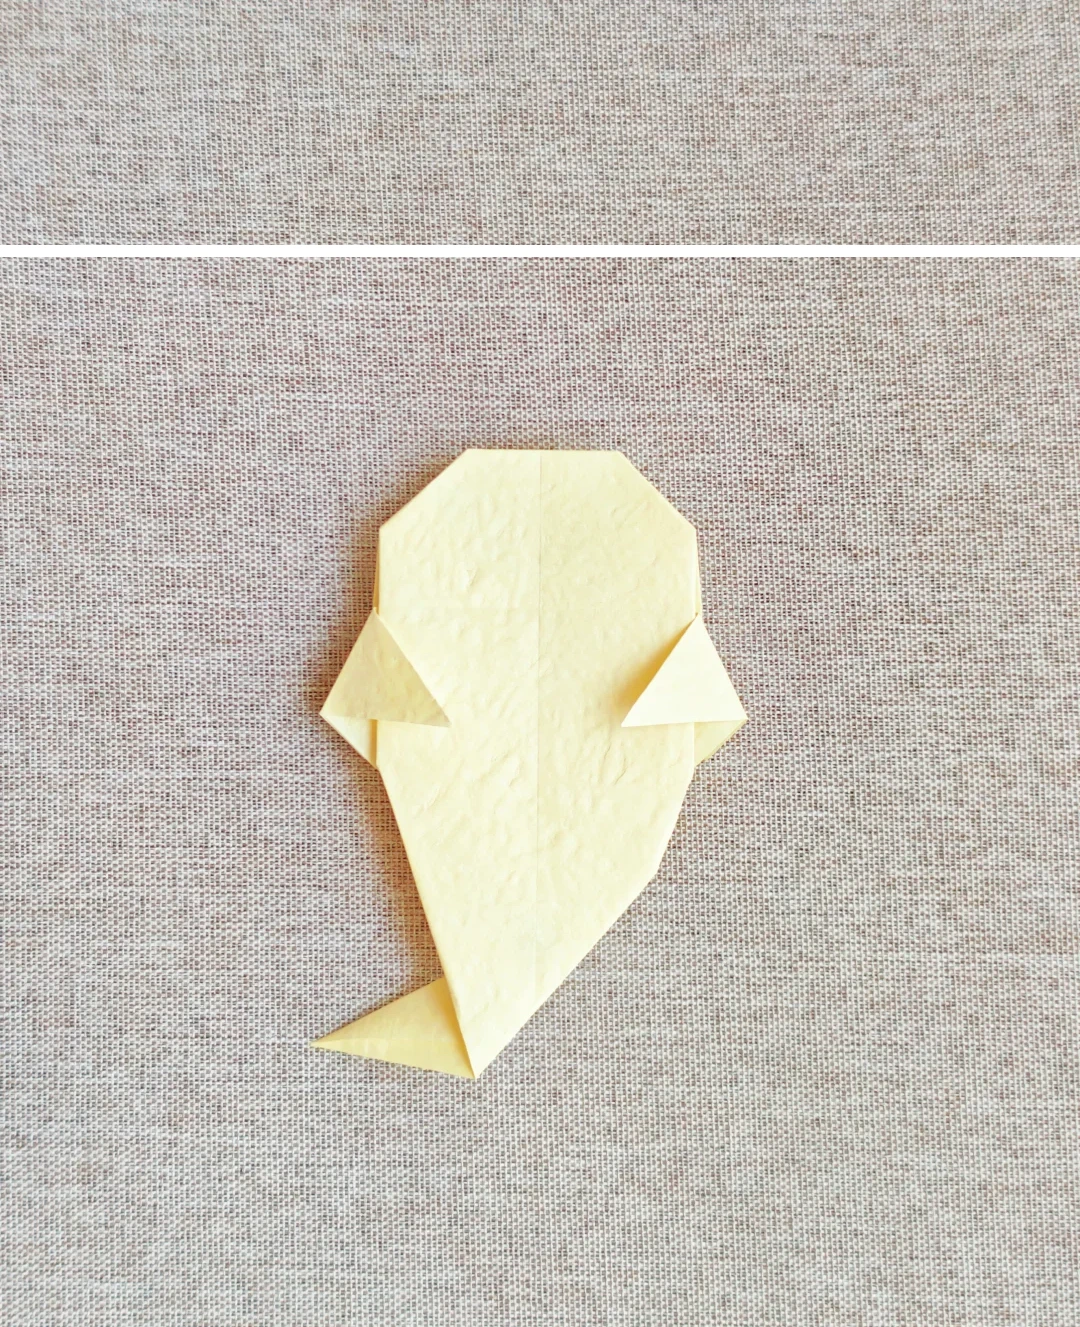
Bend the tail
 Open image at full size ↗
Fold the lower point to one side to make the ghost's curved tail.
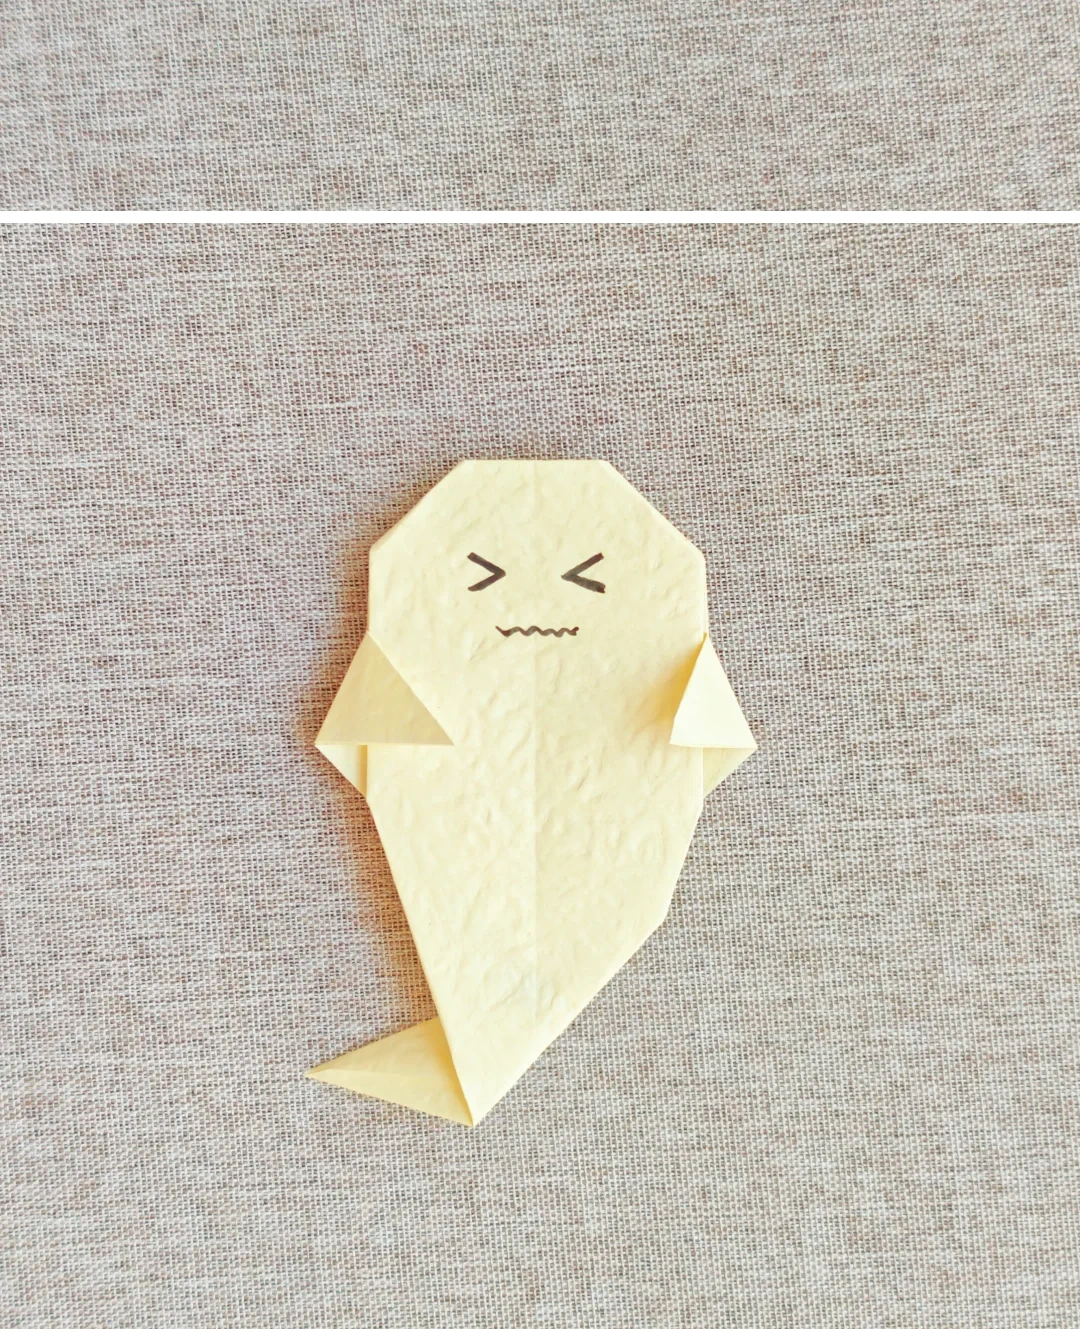
Draw a face
 Open image at full size ↗
Add eyes and a mouth with a pen, then gently flatten the finished model.
Follow the diagrams alongside the step-by-step English instructions.
Choose your next project →