
Decorations · Step-by-step guide
Layered Rosette Wand
Build a layered rosette on a paper circle and attach it to a wand. Have a paper bow ready before starting.
What you’ll need
- A paper circle with a 3 cm radius
- Colored paper rectangles and squares
- Paper for a rolled handle and two ribbons
- One premade paper bow
- Scissors
- Glue or double-sided tape
Paper craft · Folded tabs, cutting & glued layers
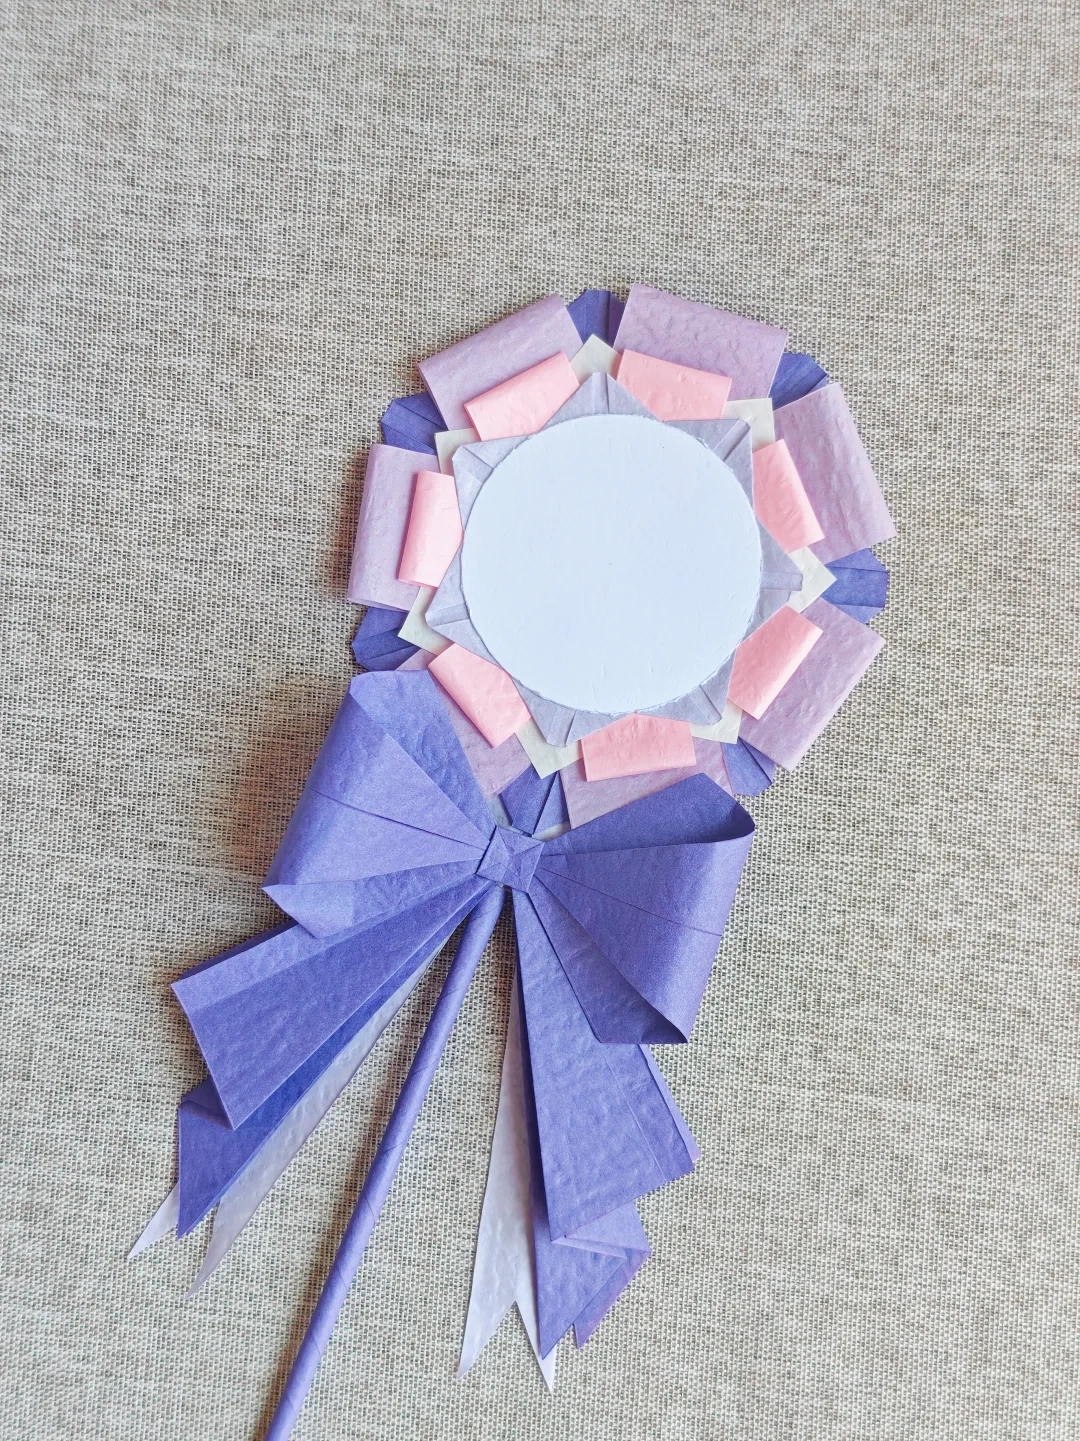
Make it, step by step.
11 steps · Original diagrams with English instructions
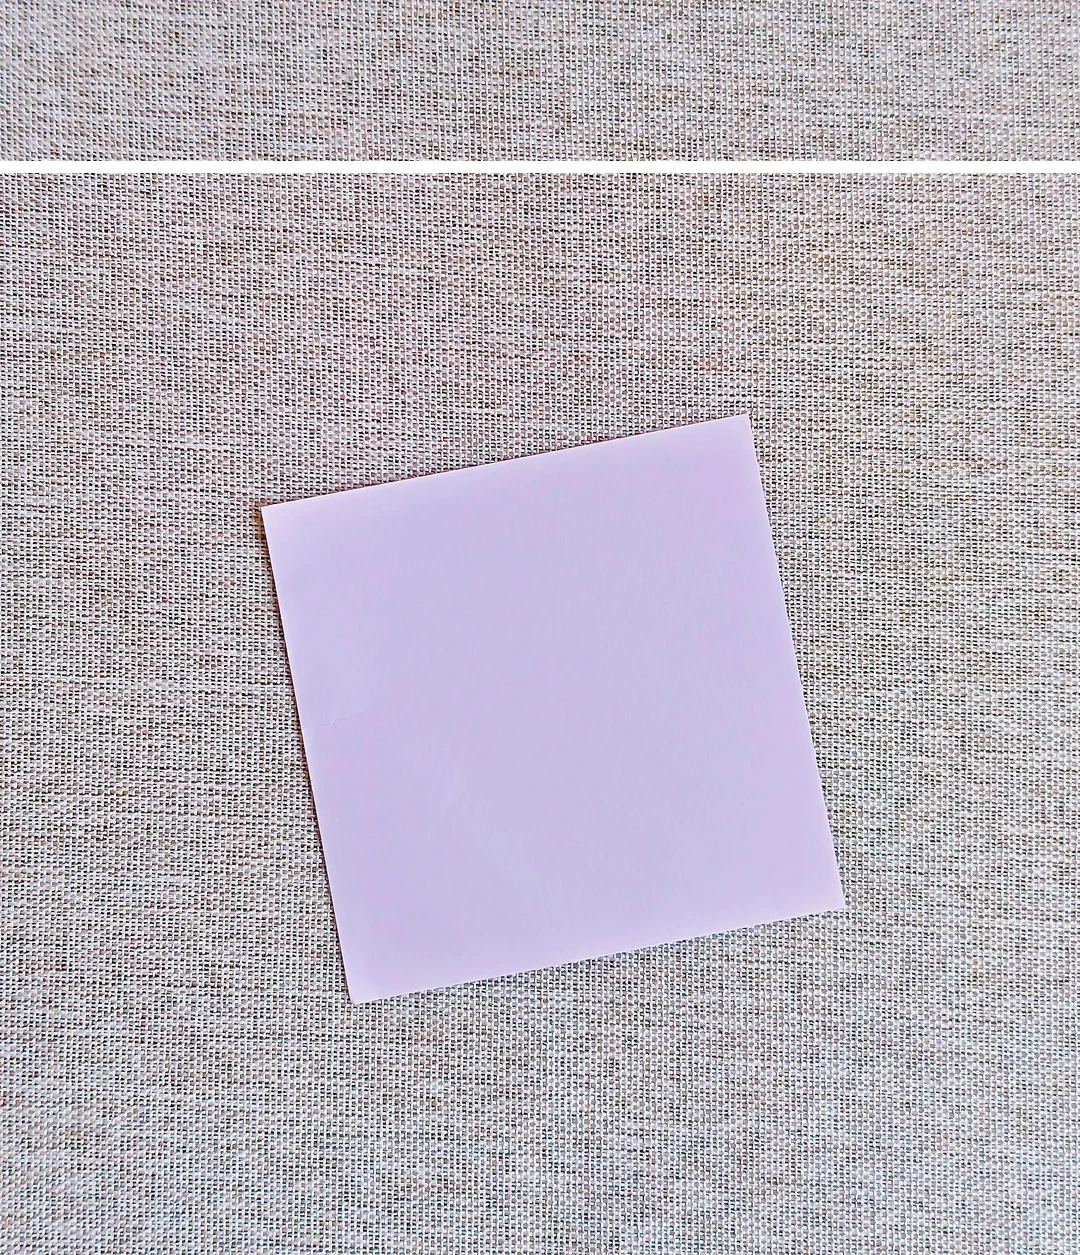
Choose the colors
 Open image at full size ↗
Prepare contrasting papers for the layered rosette, ribbons and handle.
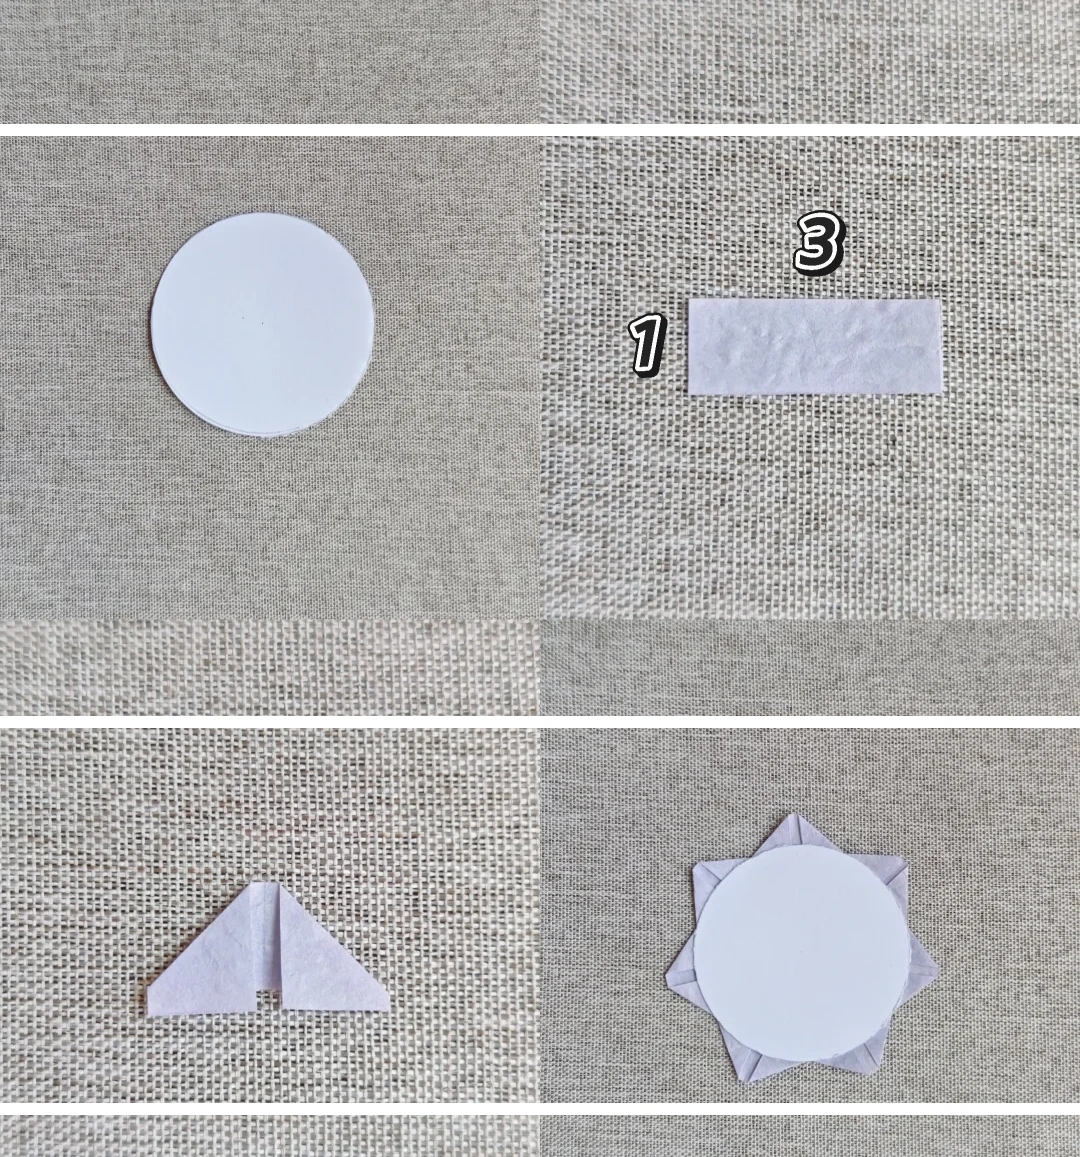
Make the first layer
 Open image at full size ↗
Cut a circle with a 3 cm radius. Fold seven 3 × 1 cm rectangles into pointed units and glue them evenly around the circle.
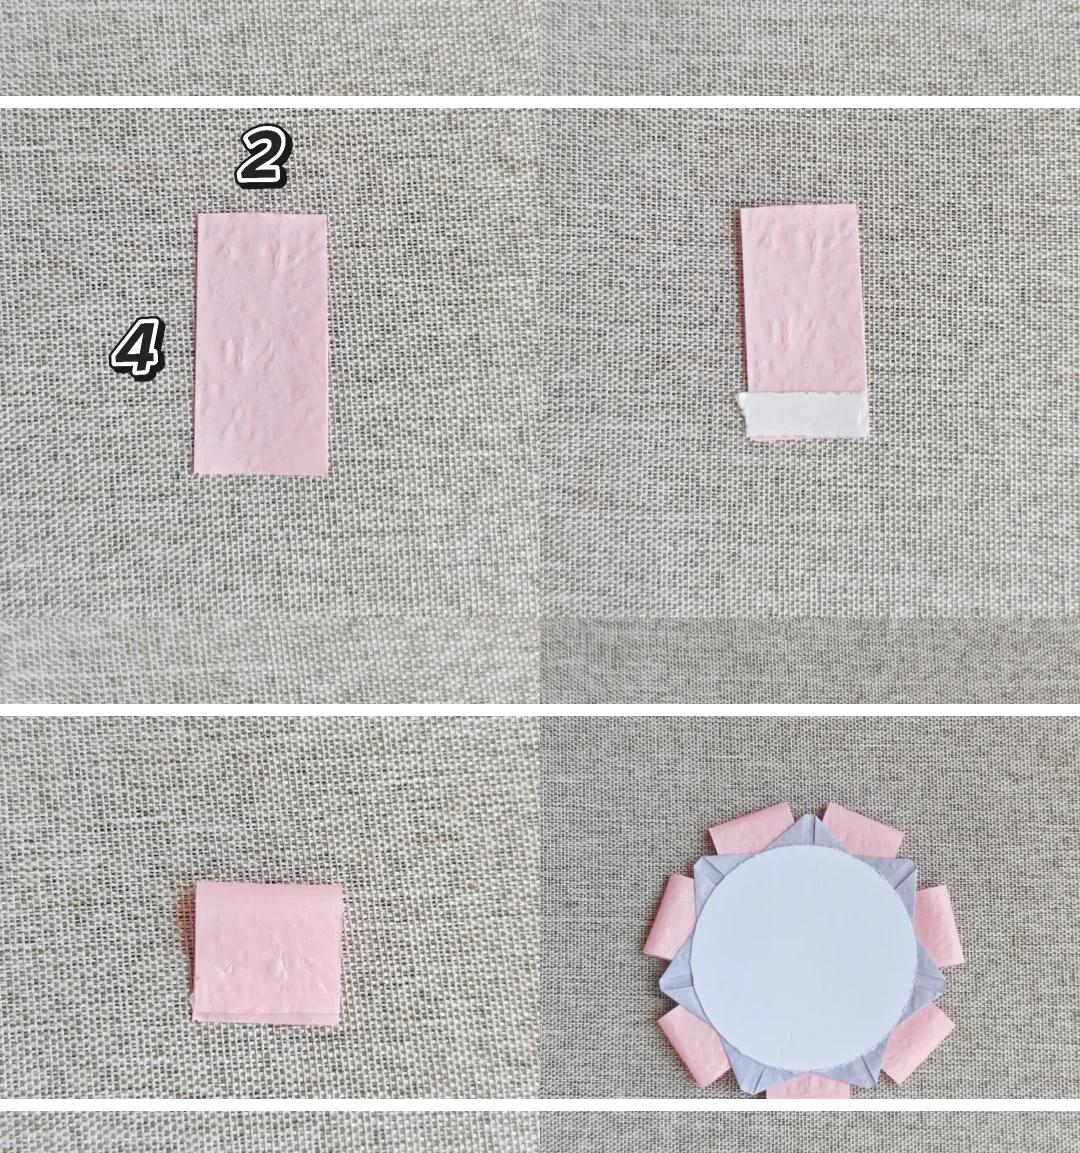
Add looped tabs
 Open image at full size ↗
Cut seven 2 × 4 cm rectangles, glue each into a loop and attach them around the circle.
Add triangular points
 Open image at full size ↗
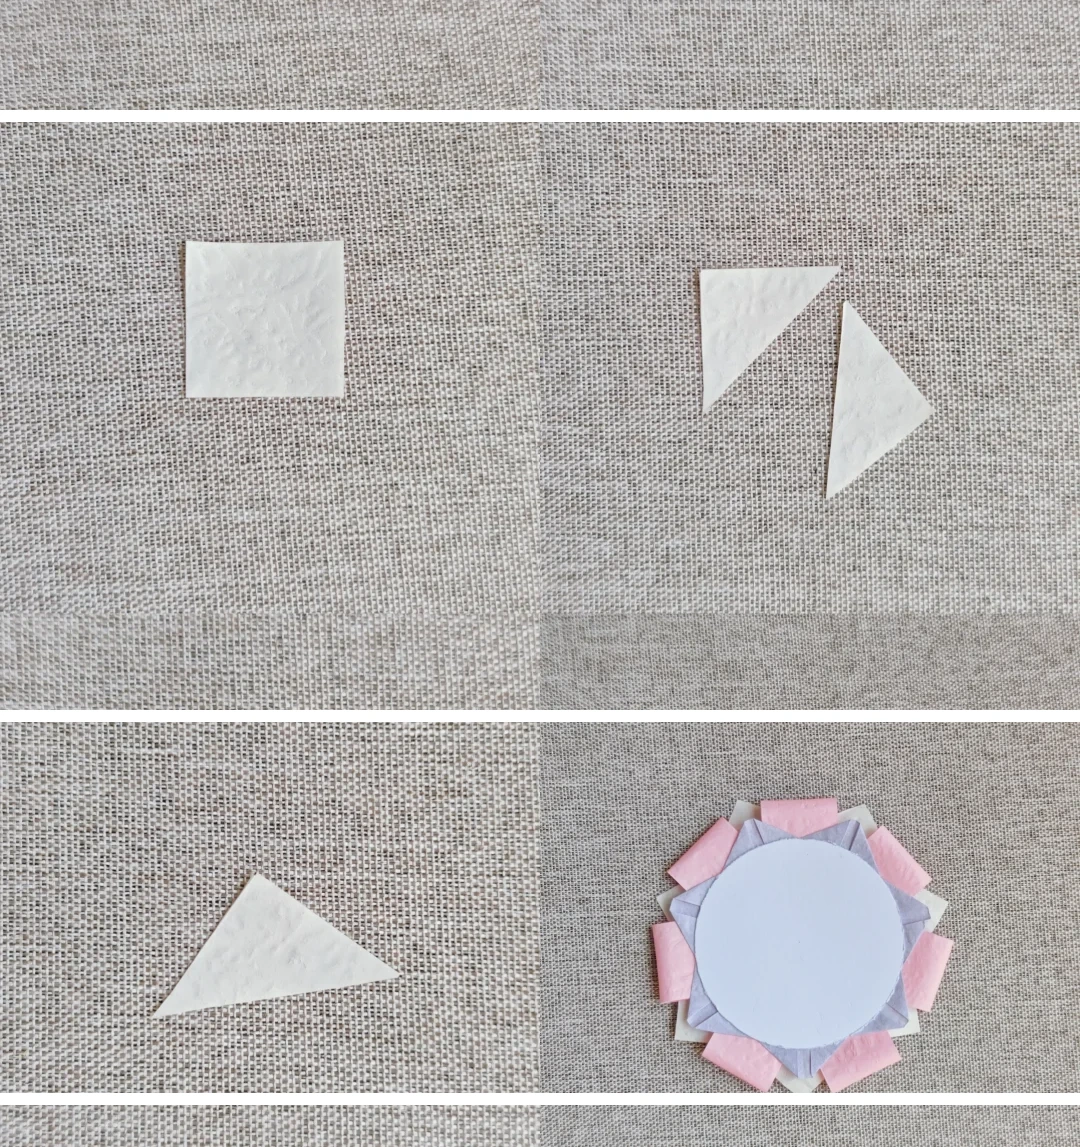
Cut 2.5 cm squares diagonally. Glue seven triangular pieces around the next layer.
Add larger loops
 Open image at full size ↗
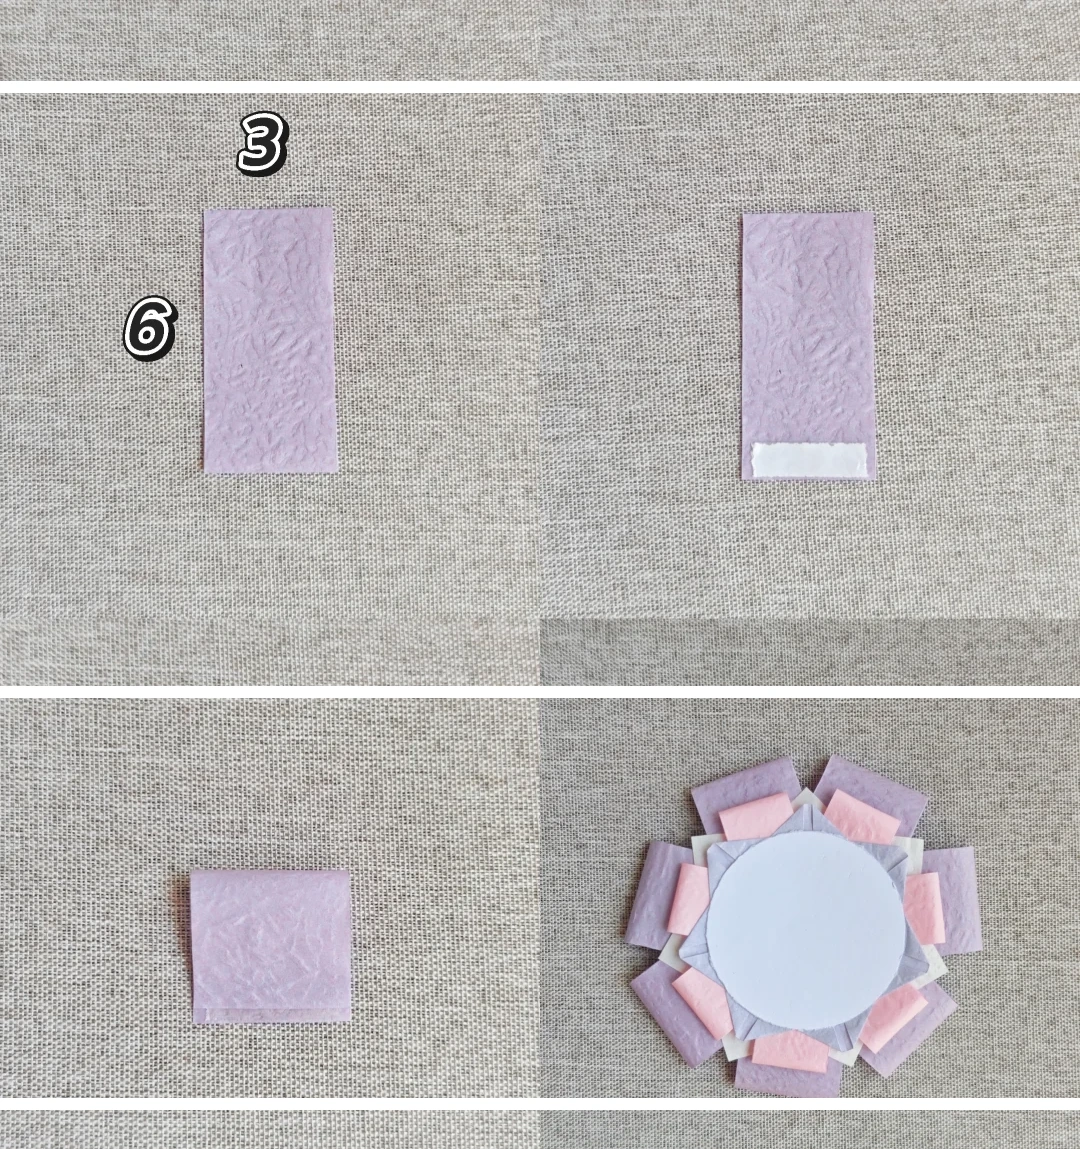
Fold seven 3 × 6 cm rectangles into loops and glue them around the outer edge.
Add the outer points
 Open image at full size ↗
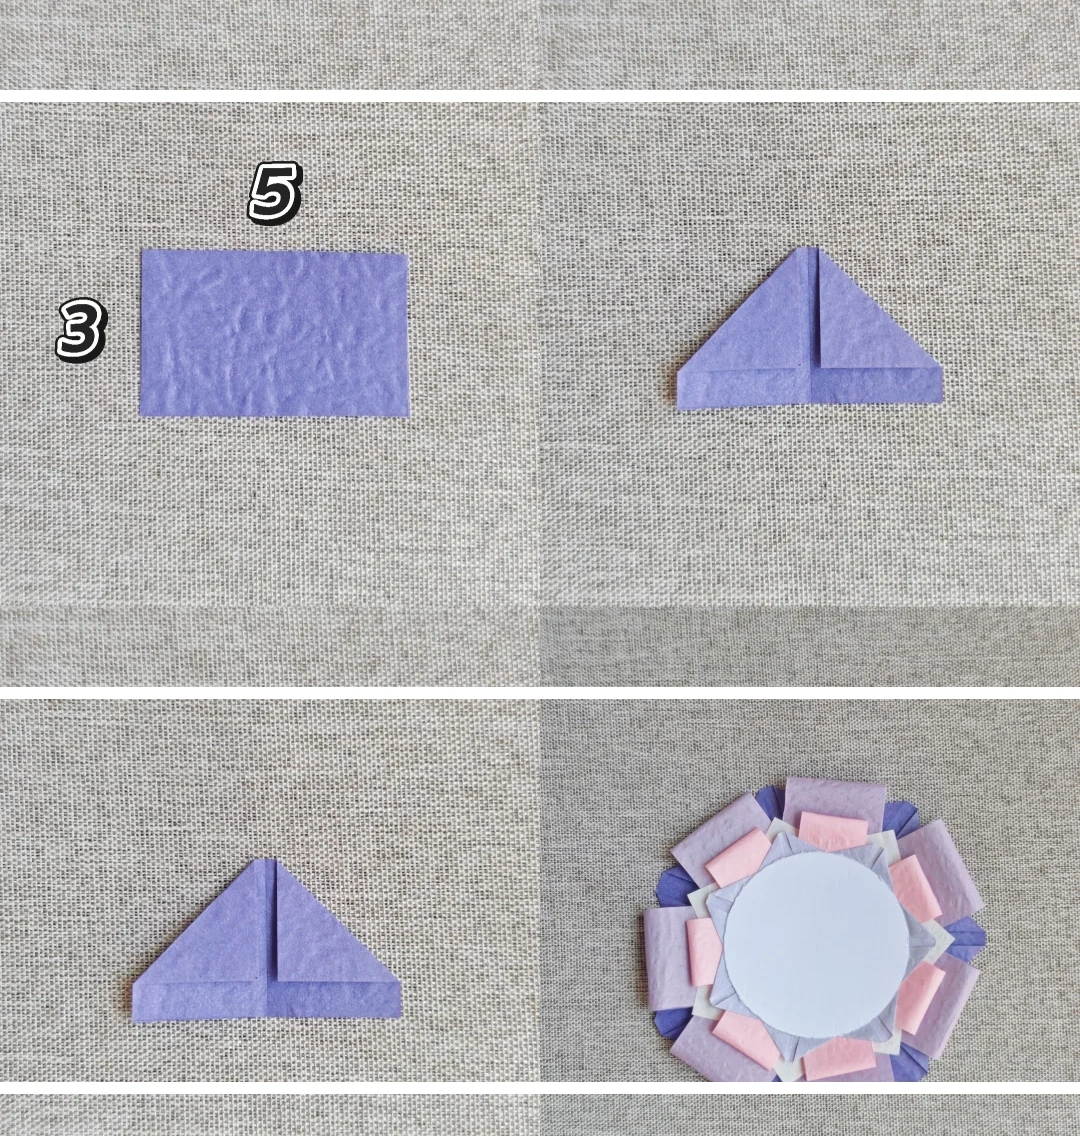
Fold seven 5 × 3 cm rectangles into the pointed shape shown and glue them around the final layer.
Make the handle
 Open image at full size ↗
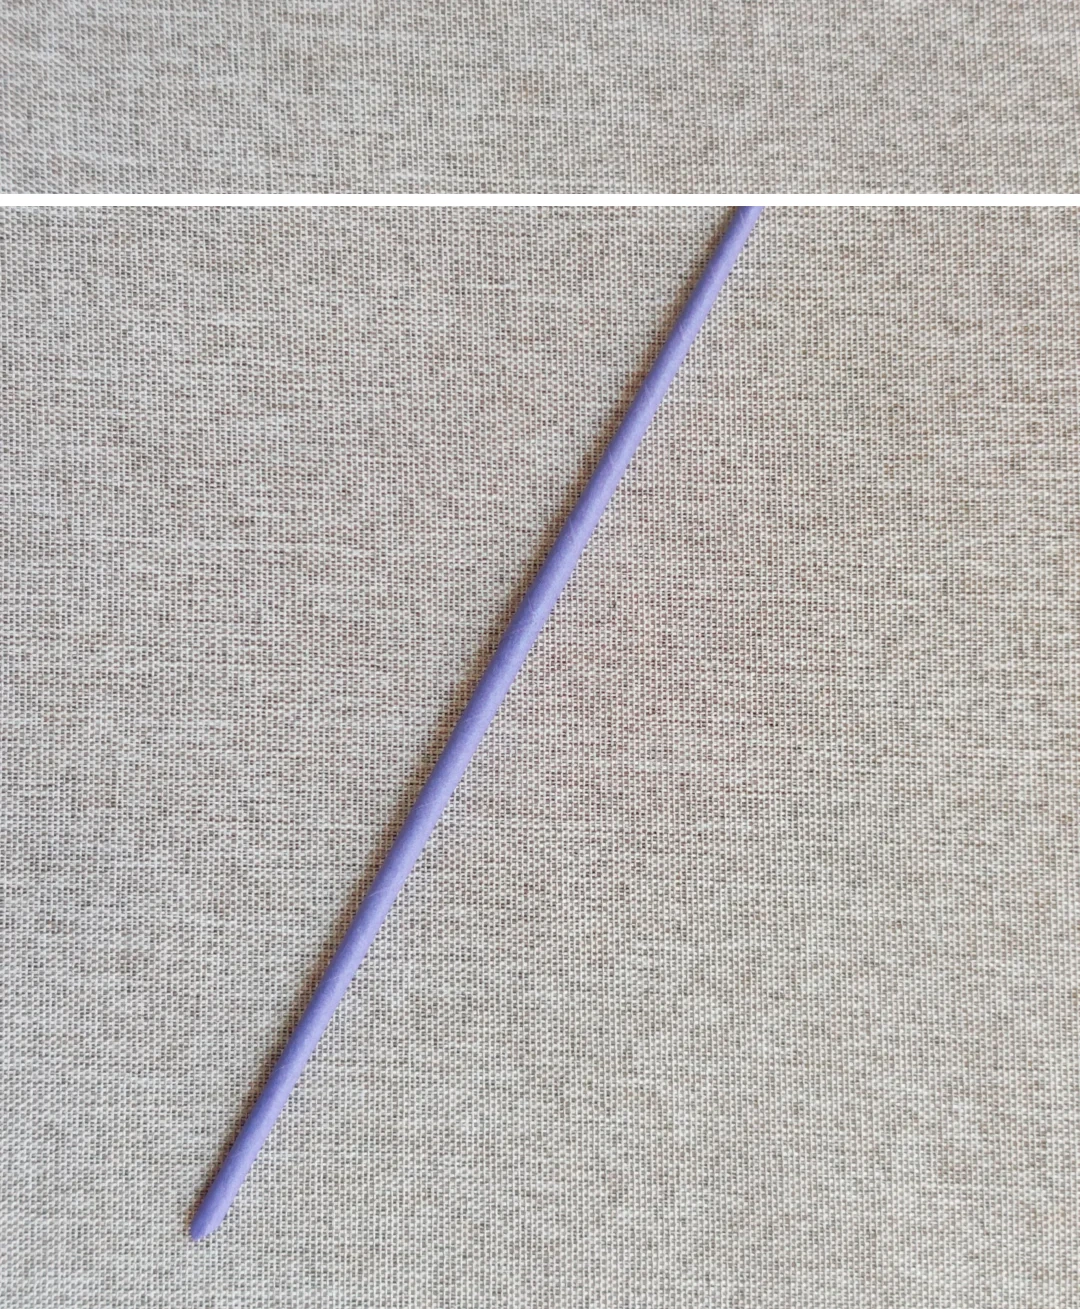
Roll a sheet tightly into a long rod and secure its end.
Cut the ribbons
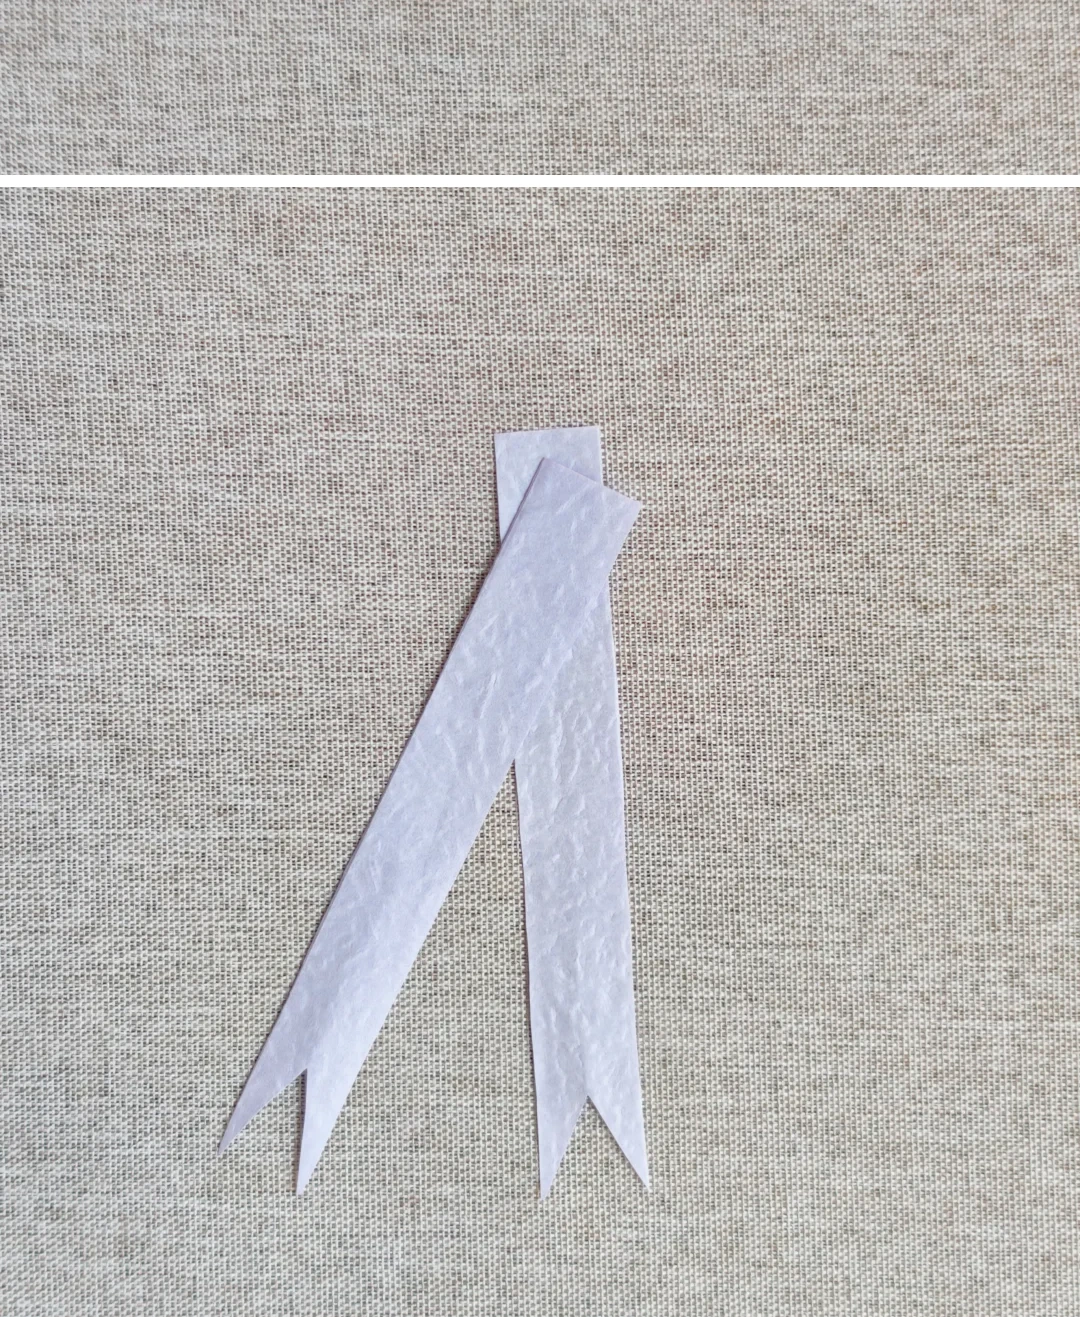 Open image at full size ↗
Cut two narrow strips and notch their lower ends.
Assemble the wand
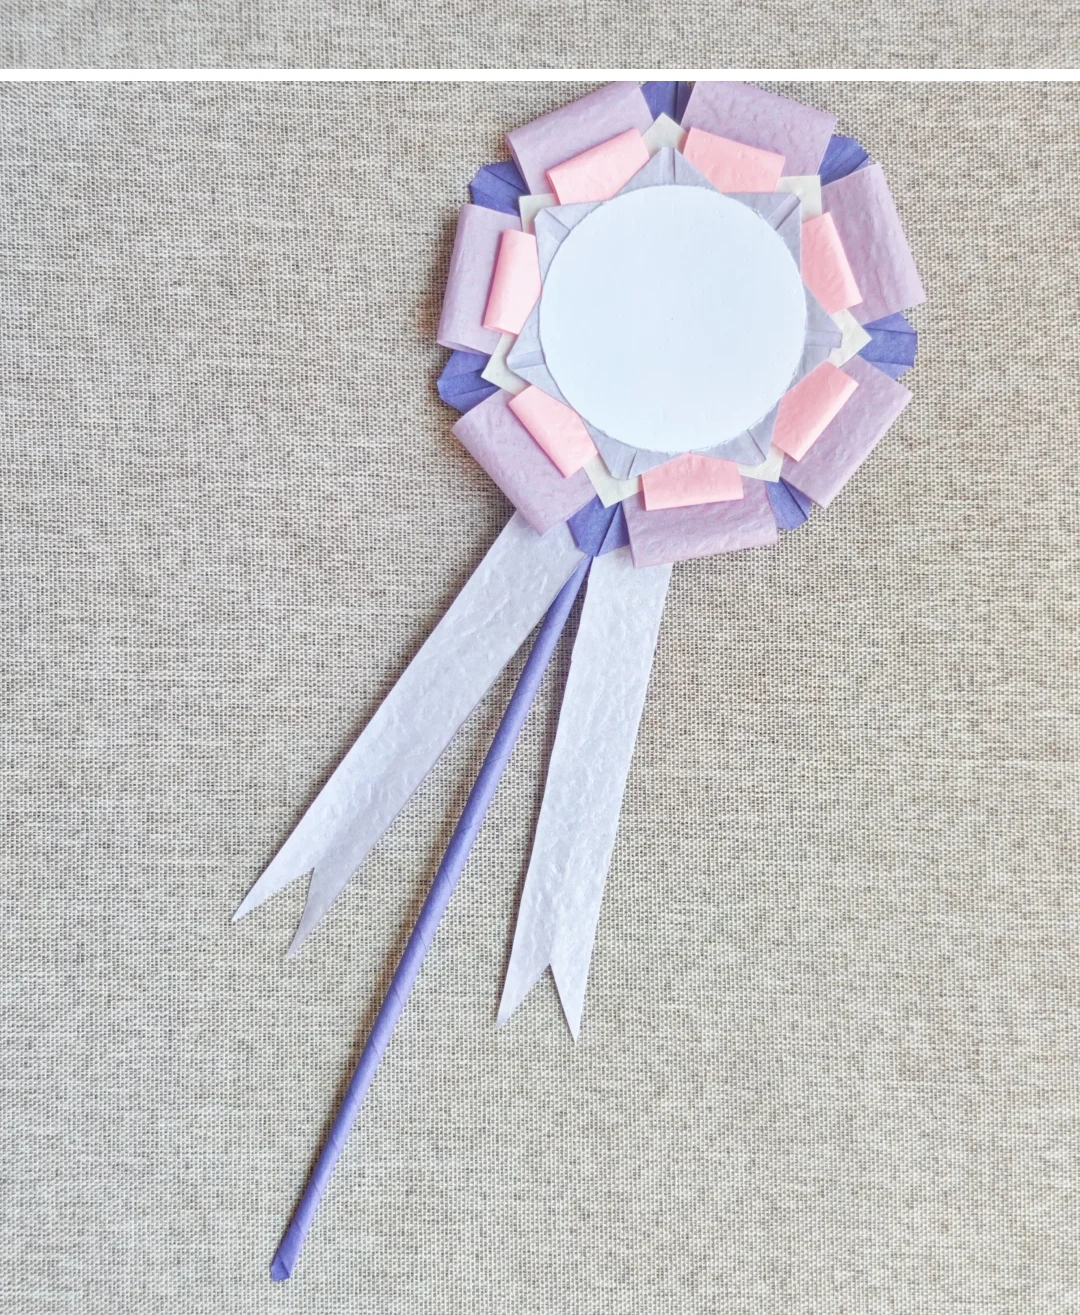 Open image at full size ↗
Glue the rosette to the handle and attach the two ribbons underneath.
Prepare the bow
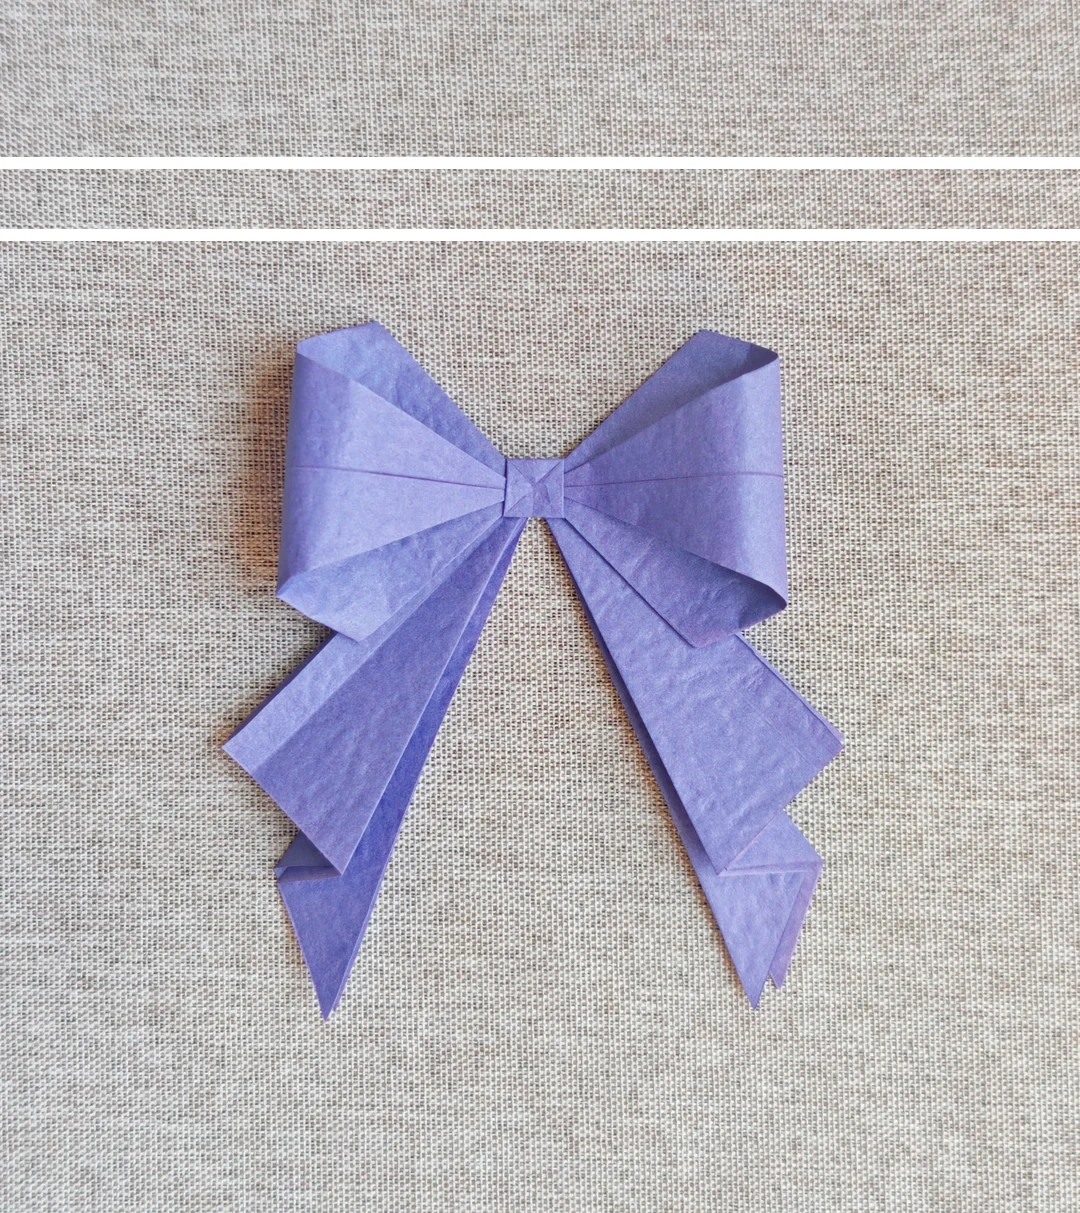 Open image at full size ↗
Use a premade paper bow. The photograph shows the size and shape needed for the decoration.
Attach the bow
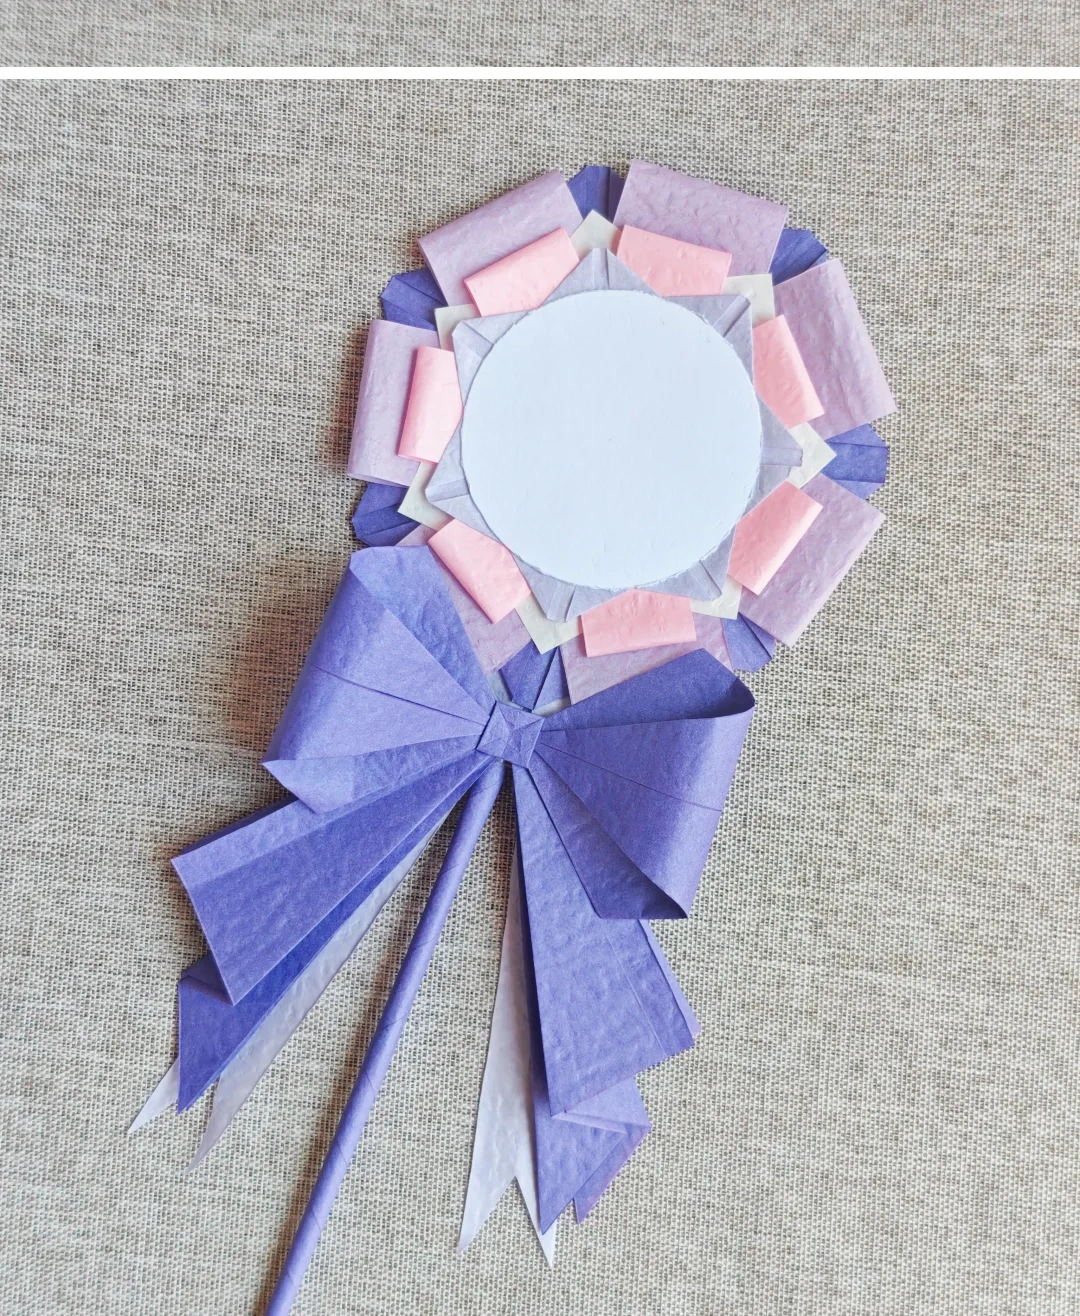 Open image at full size ↗
Glue the bow onto the handle below the rosette.
Follow the diagrams alongside the step-by-step English instructions.
Choose your next project →