
Flowers & nature · Step-by-step guide
Layered Purple Star Flower
Join five folded units, then curl and tuck their inner edges into a layered flower.
What you’ll need
- Five equal paper squares
- Glue
Modular paper folding · Five units & spiral tucks
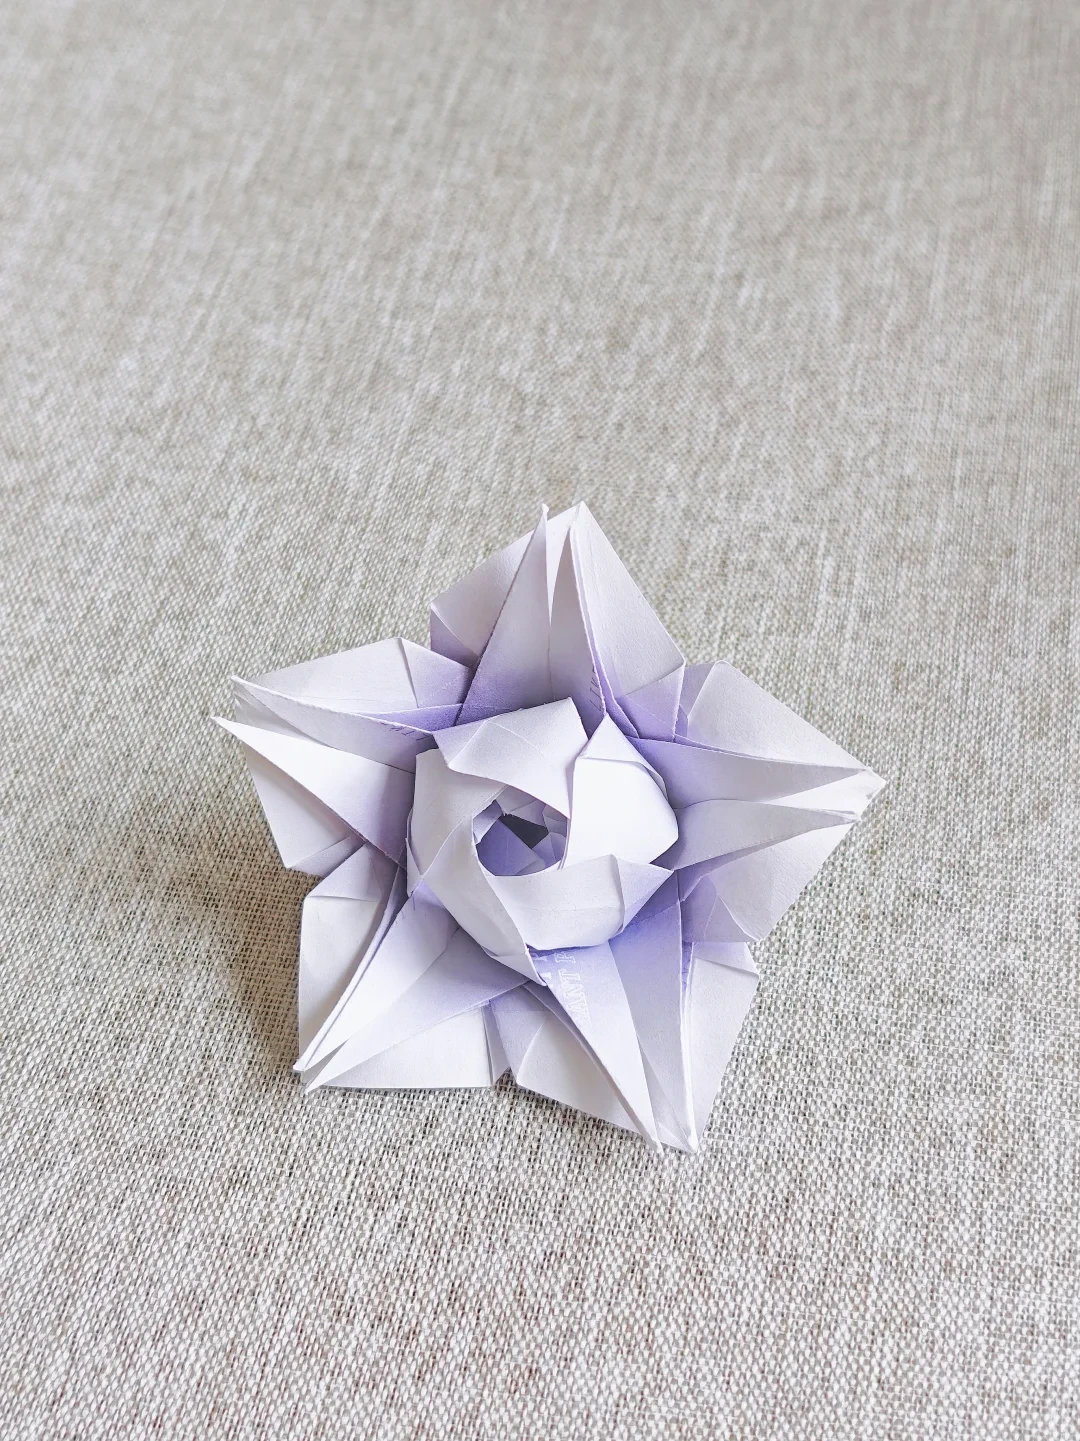
Make it, step by step.
17 steps · Original diagrams with English instructions
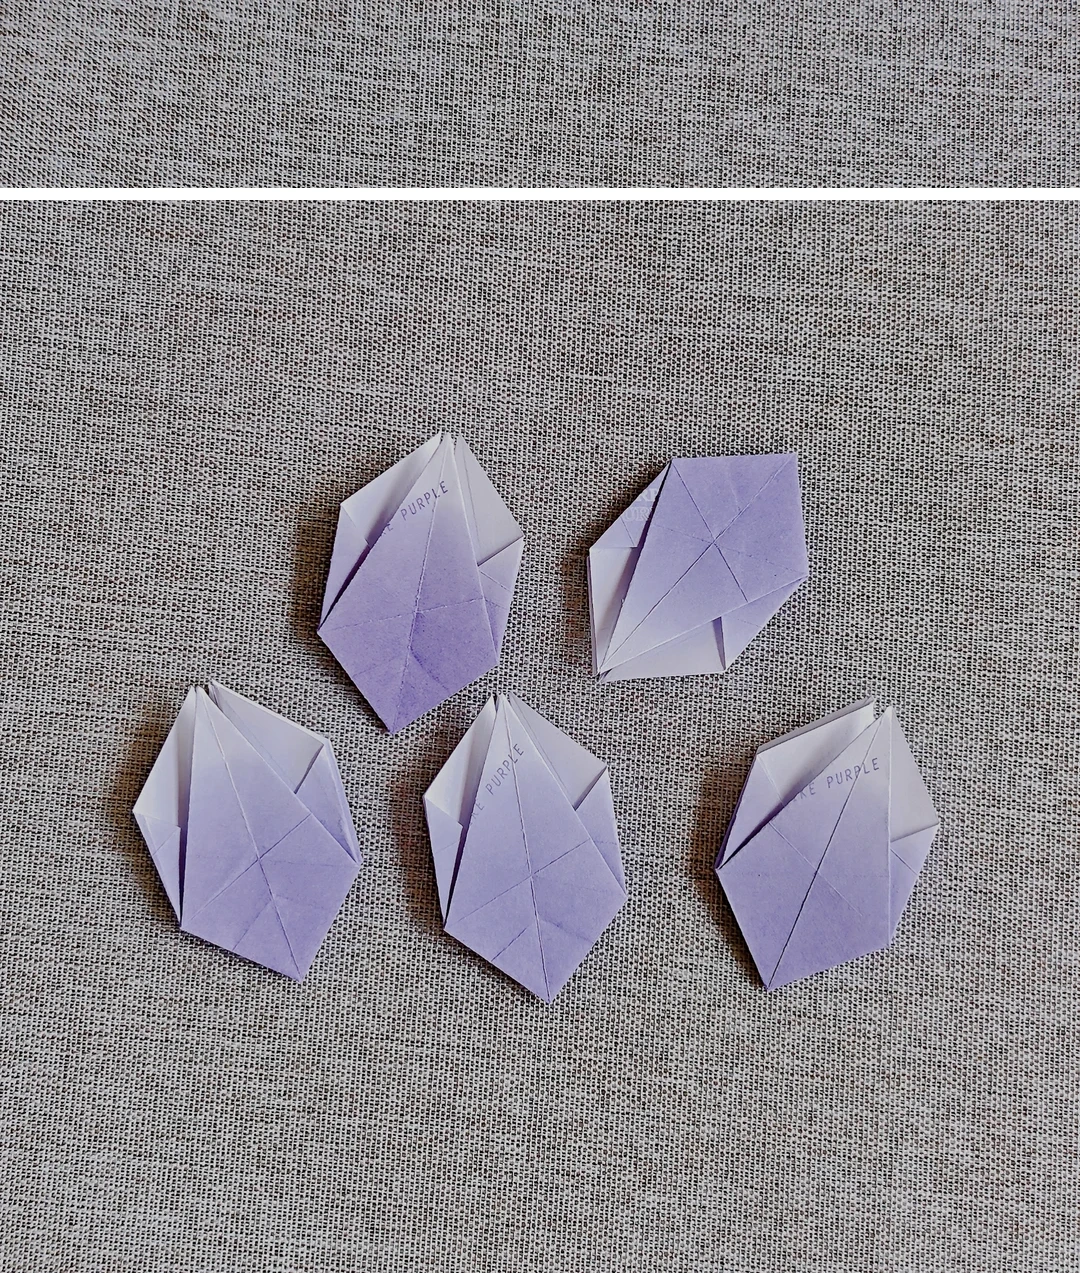
Prepare five squares
 Open image at full size ↗
Use five matching sheets for the five flower units.
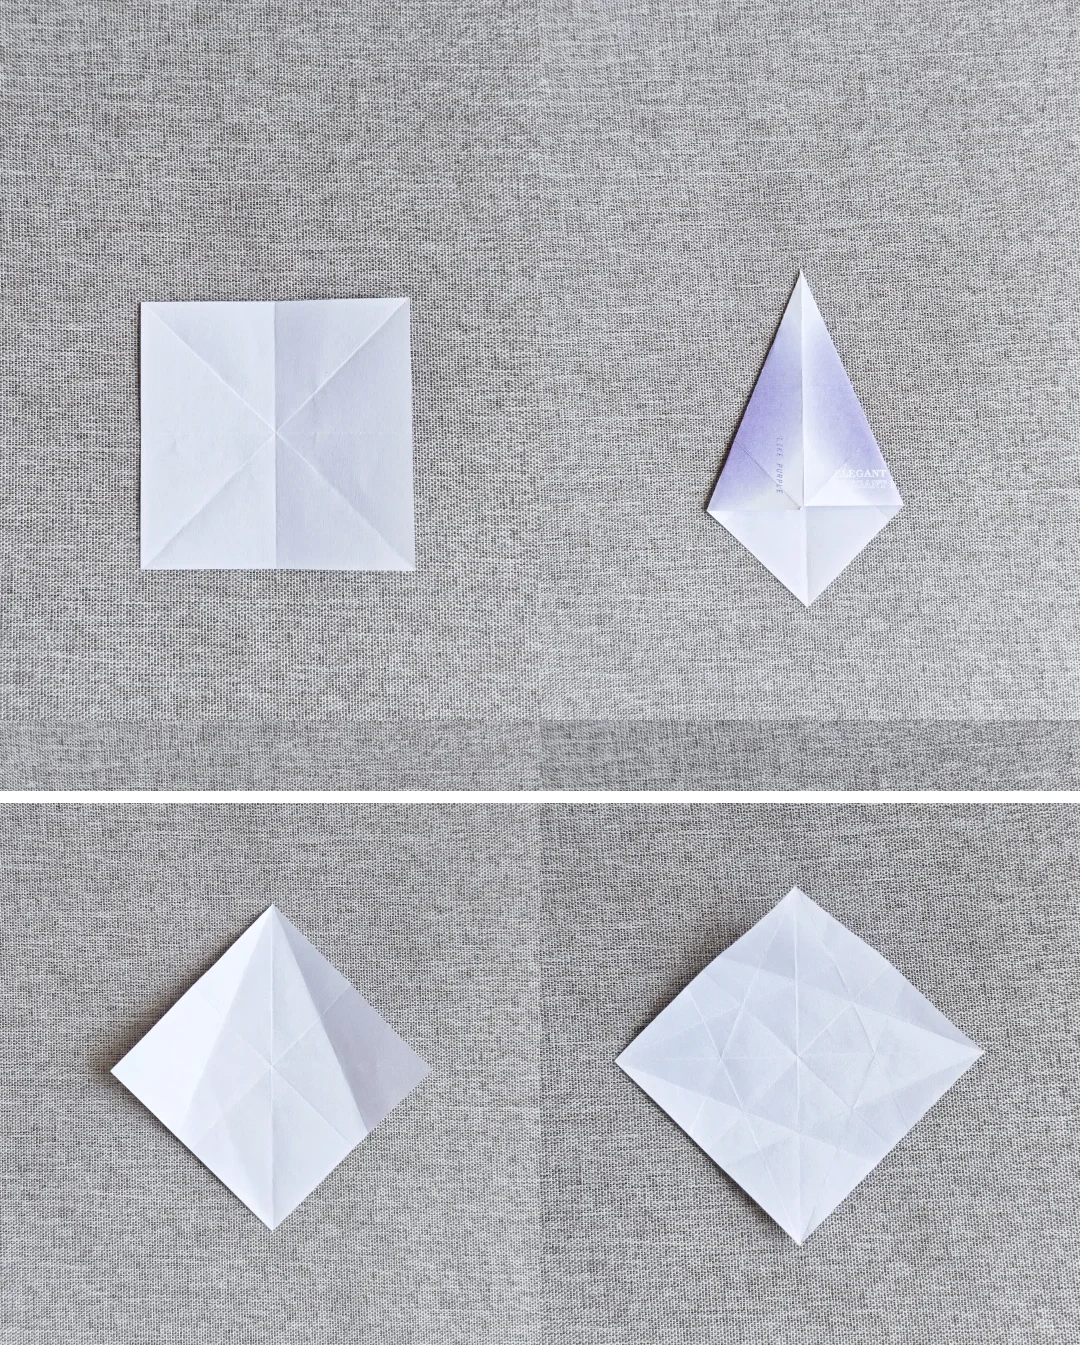
Make the reference creases
 Open image at full size ↗
Crease the square and fold a kite on each corner in turn, reopening between folds.
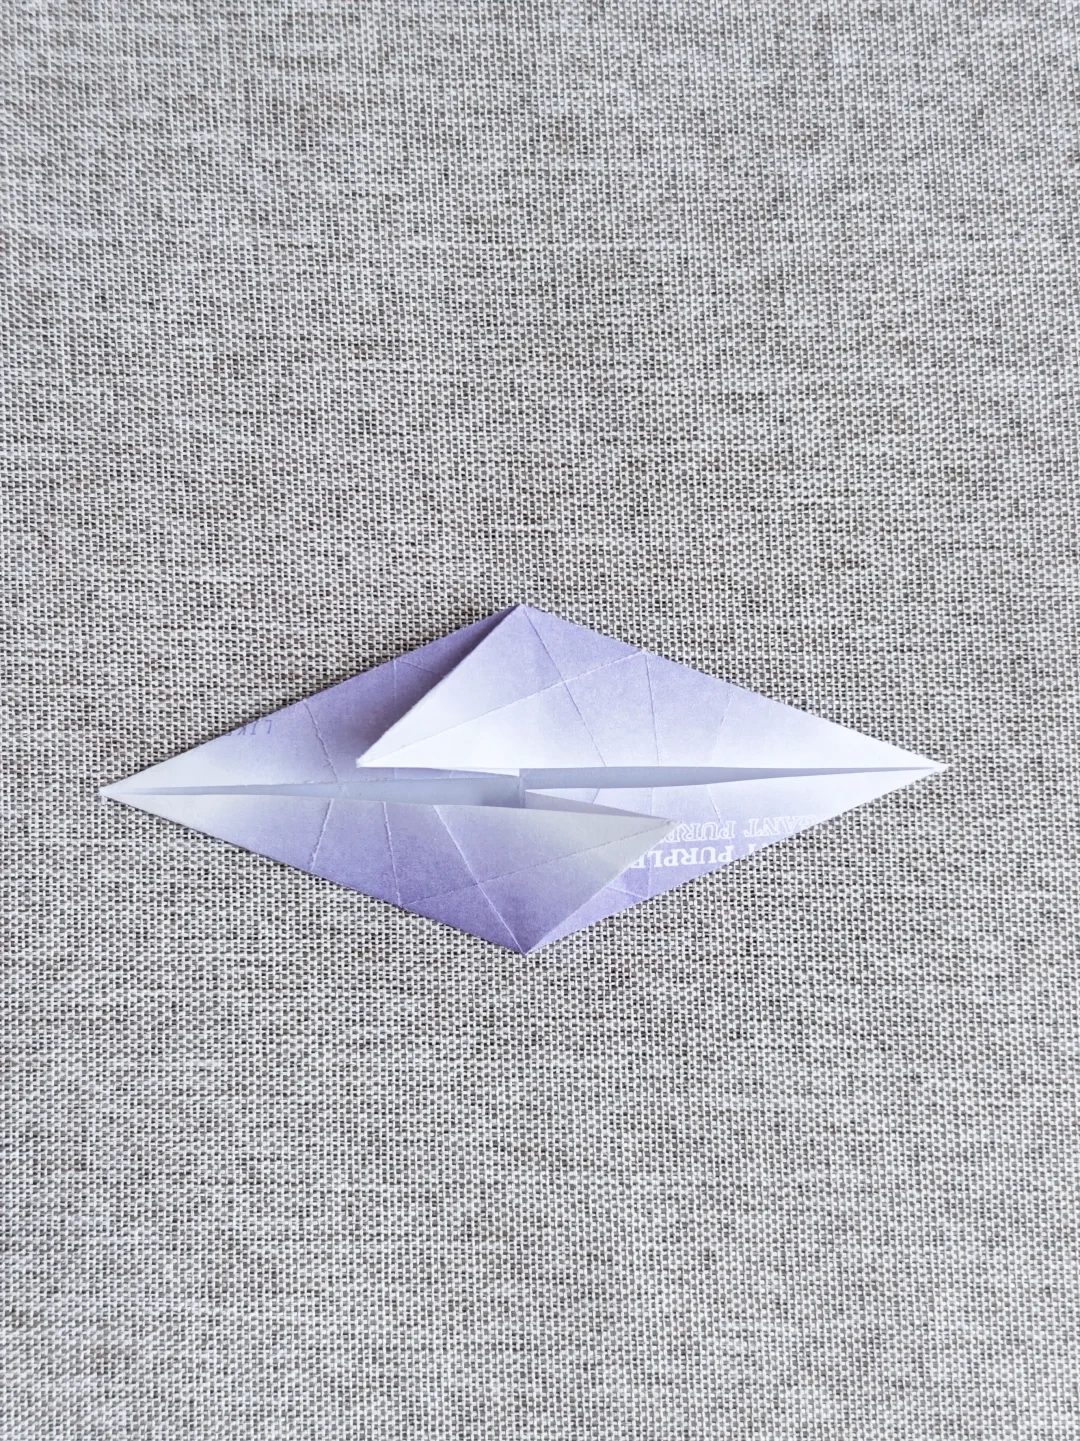
Collapse the diamond
 Open image at full size ↗
Bring the creases together into the wide diamond shown.
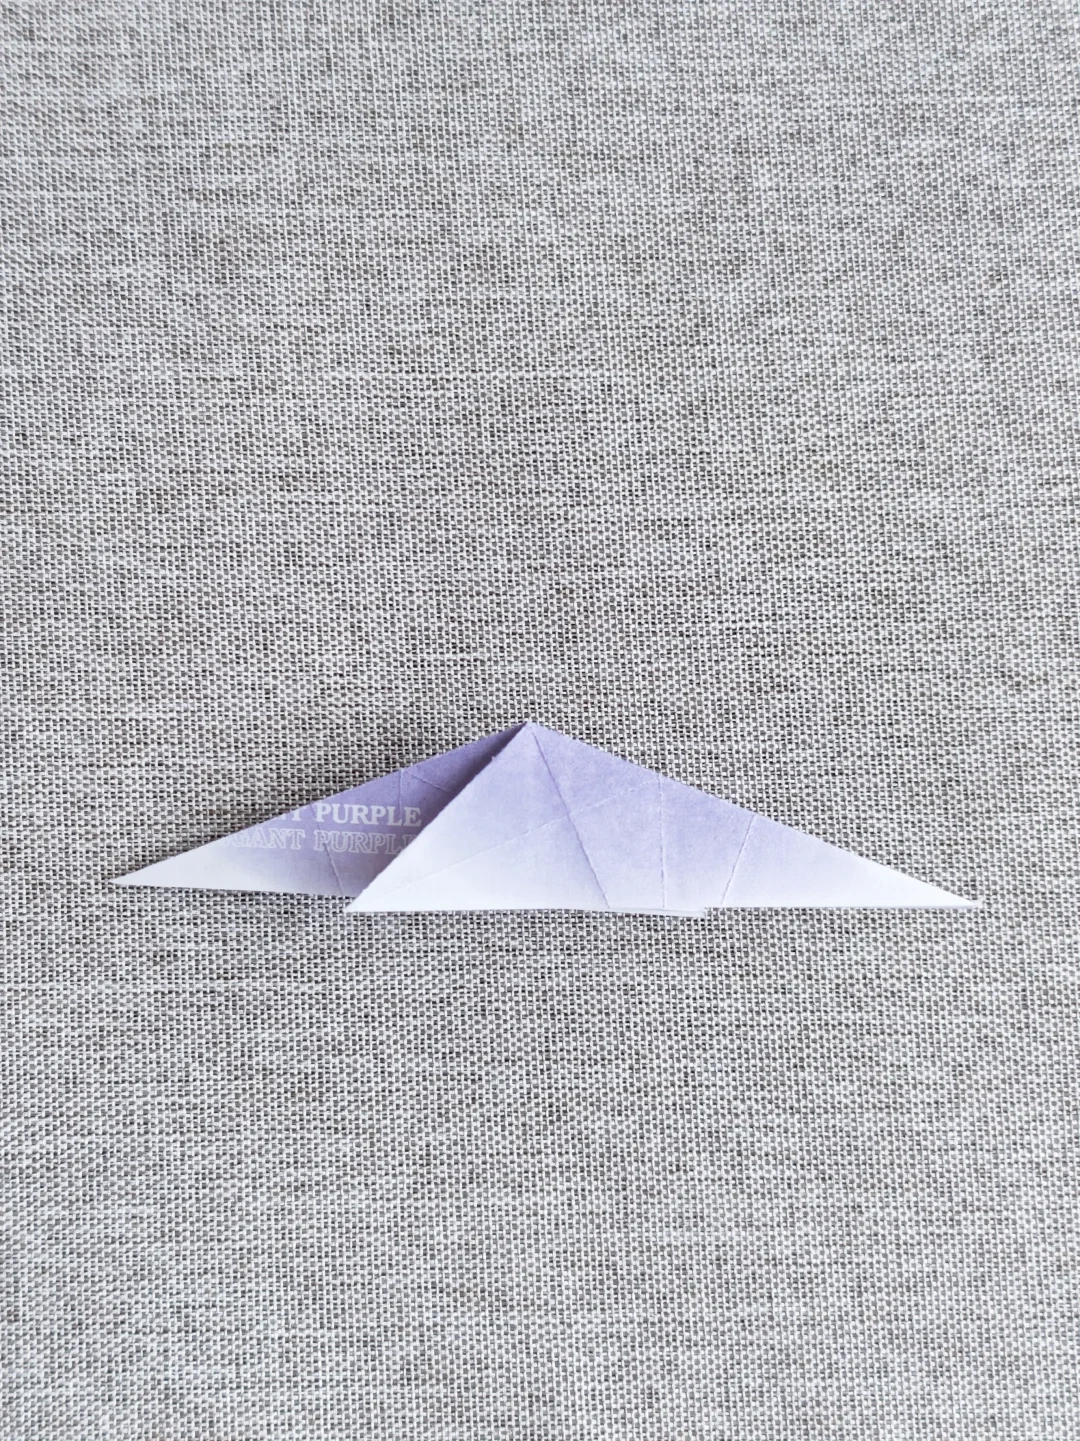
Fold the upper half down
 Open image at full size ↗
Flatten the upper section downward into a triangle.
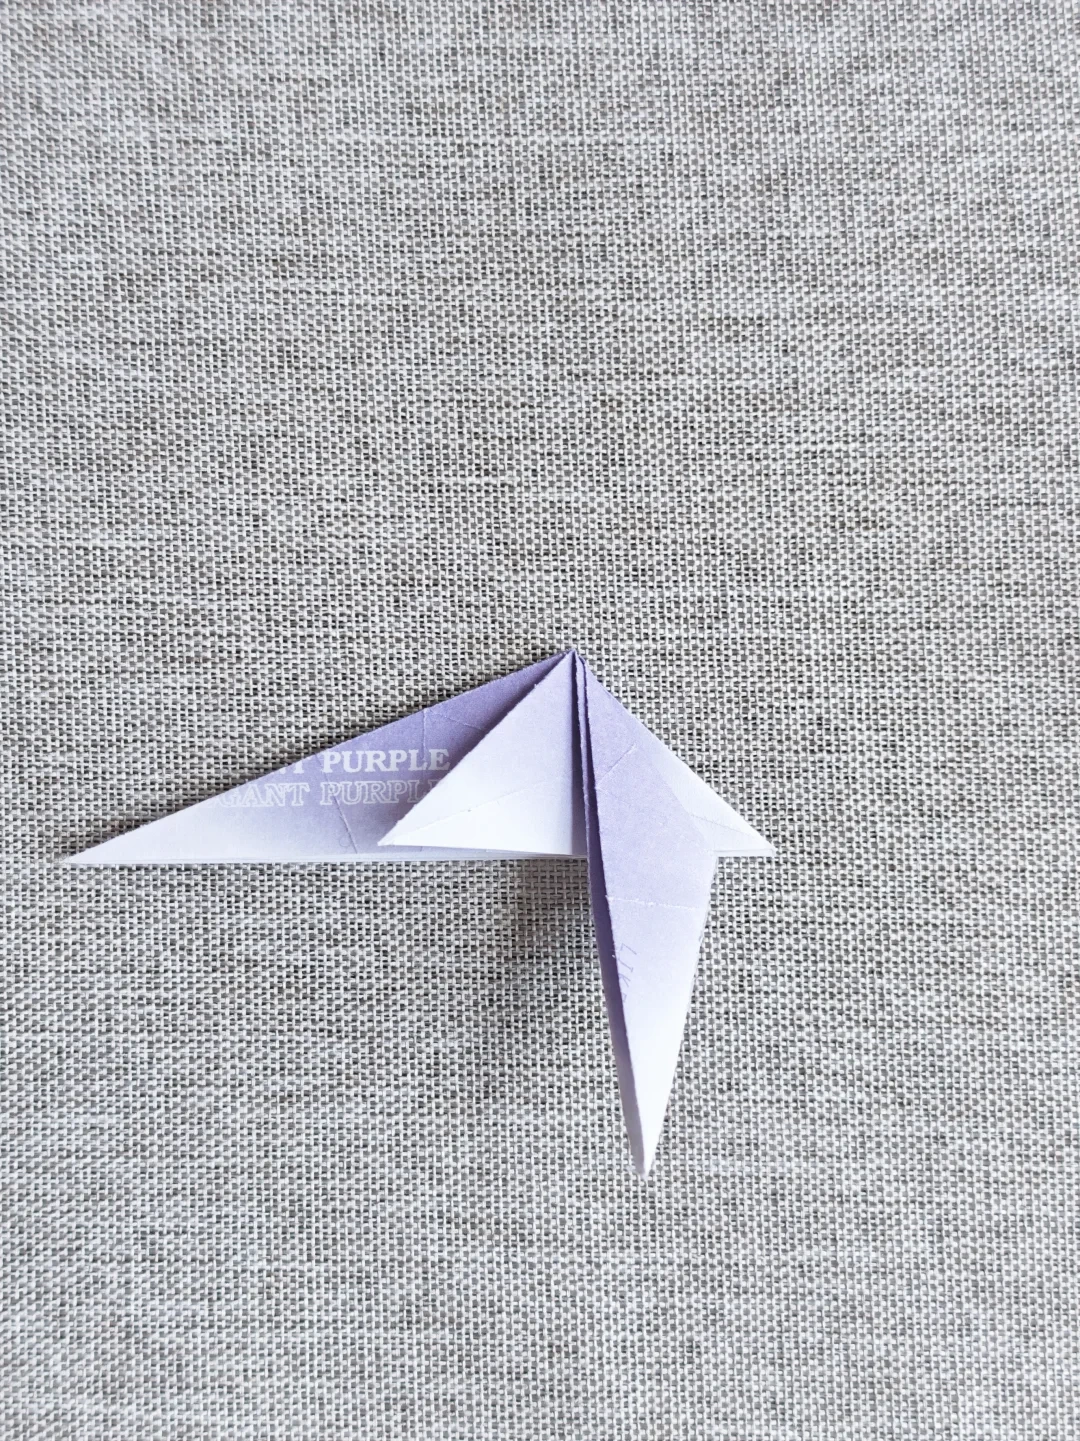
Fold one side downward
 Open image at full size ↗
Fold the right section down along the central crease.
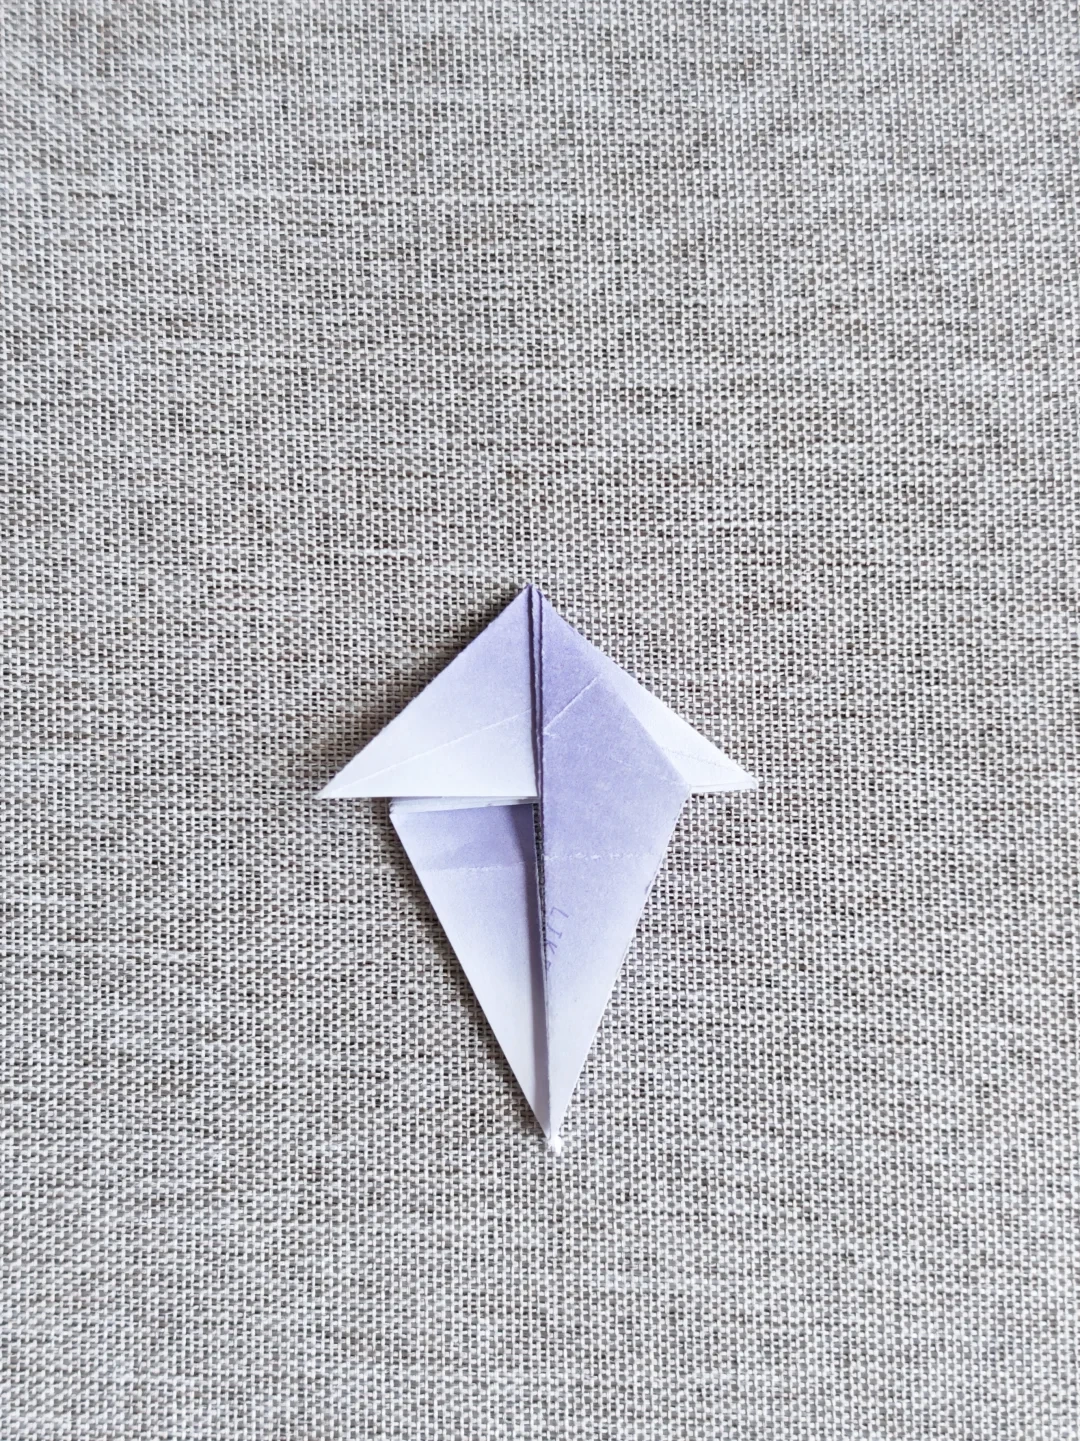
Fold the other side
 Open image at full size ↗
Repeat on the left to form a narrow diamond.
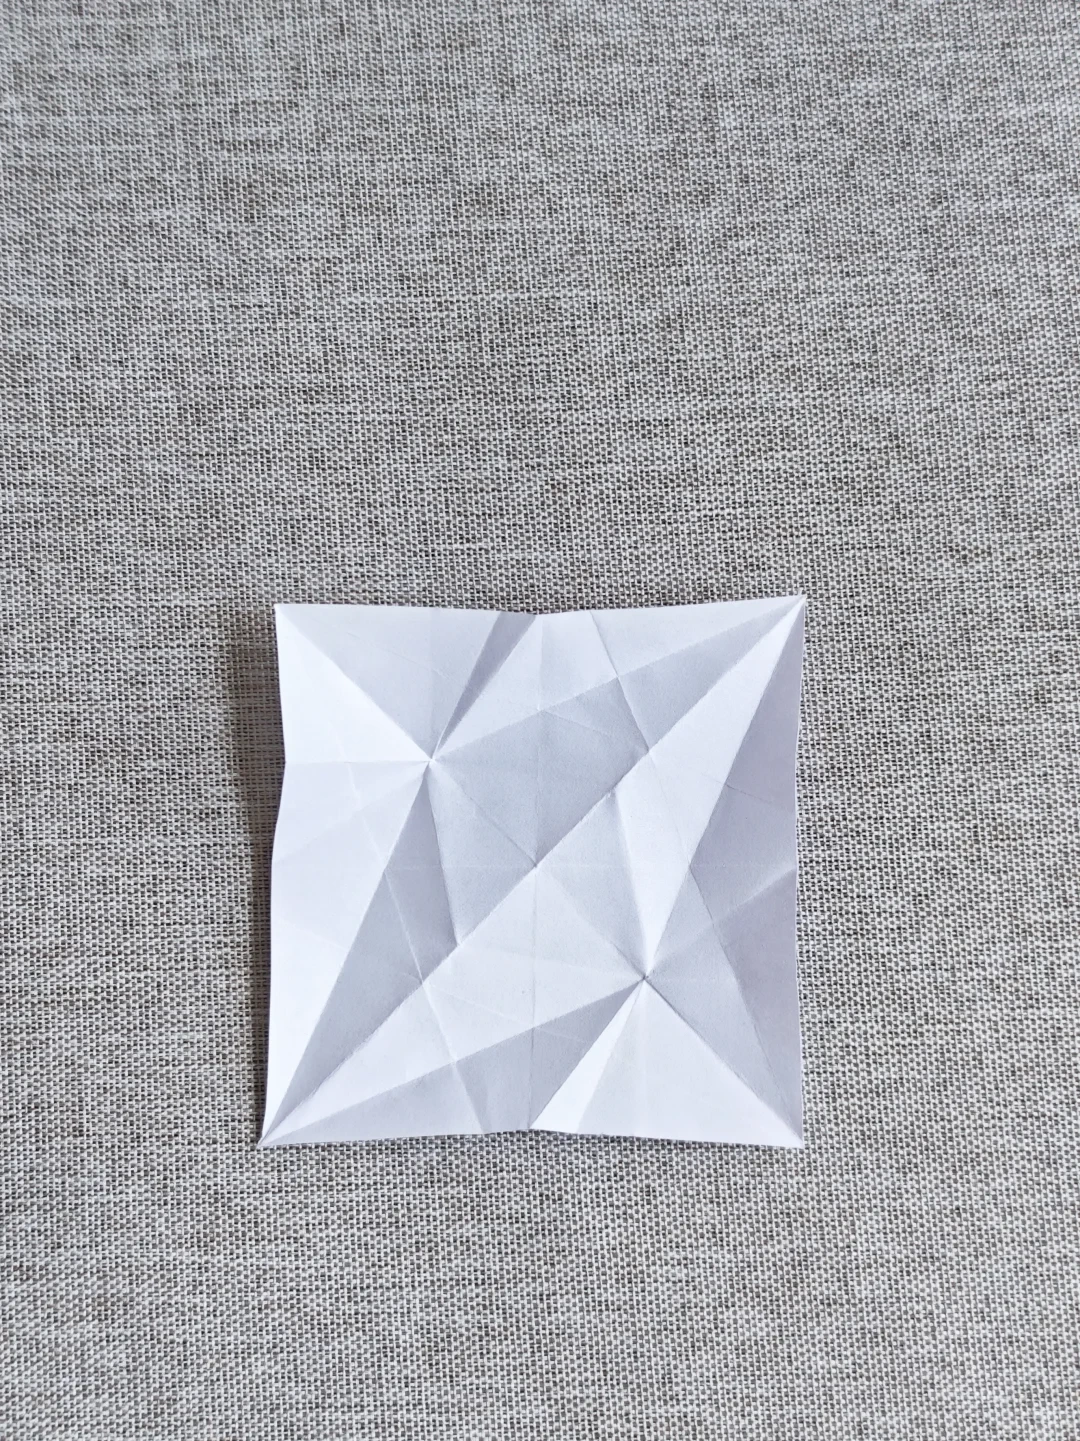
Open the paper
 Open image at full size ↗
Unfold to reveal the complete crease pattern.
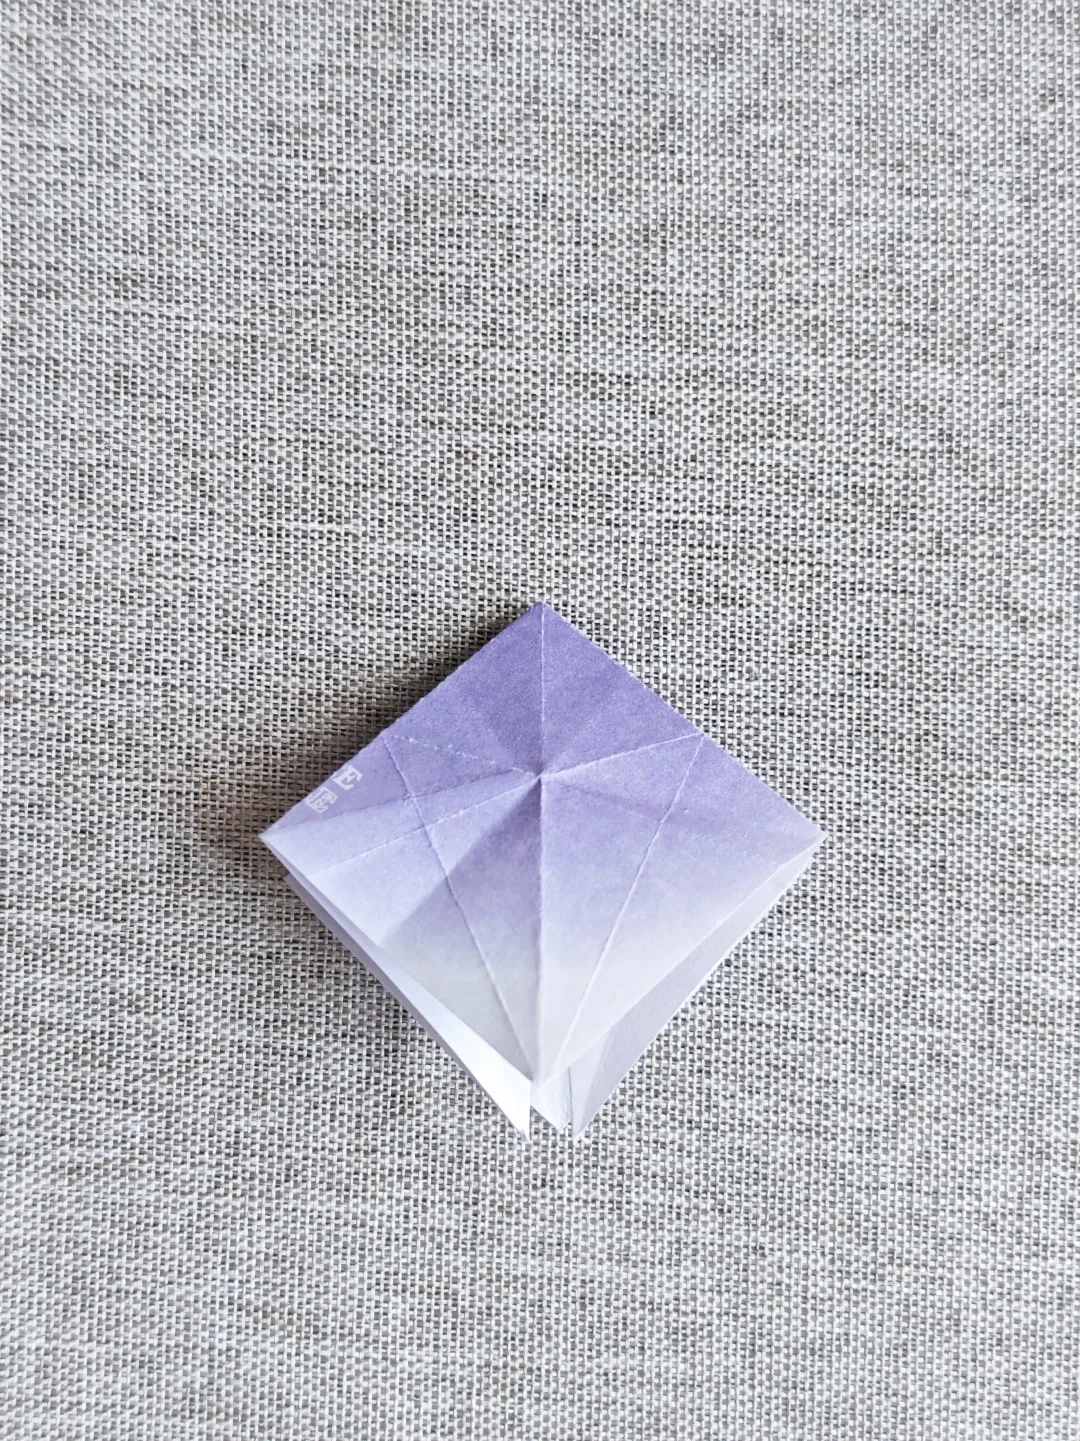
Refold the base
 Open image at full size ↗
Bring the lower creases together to start the layered unit.
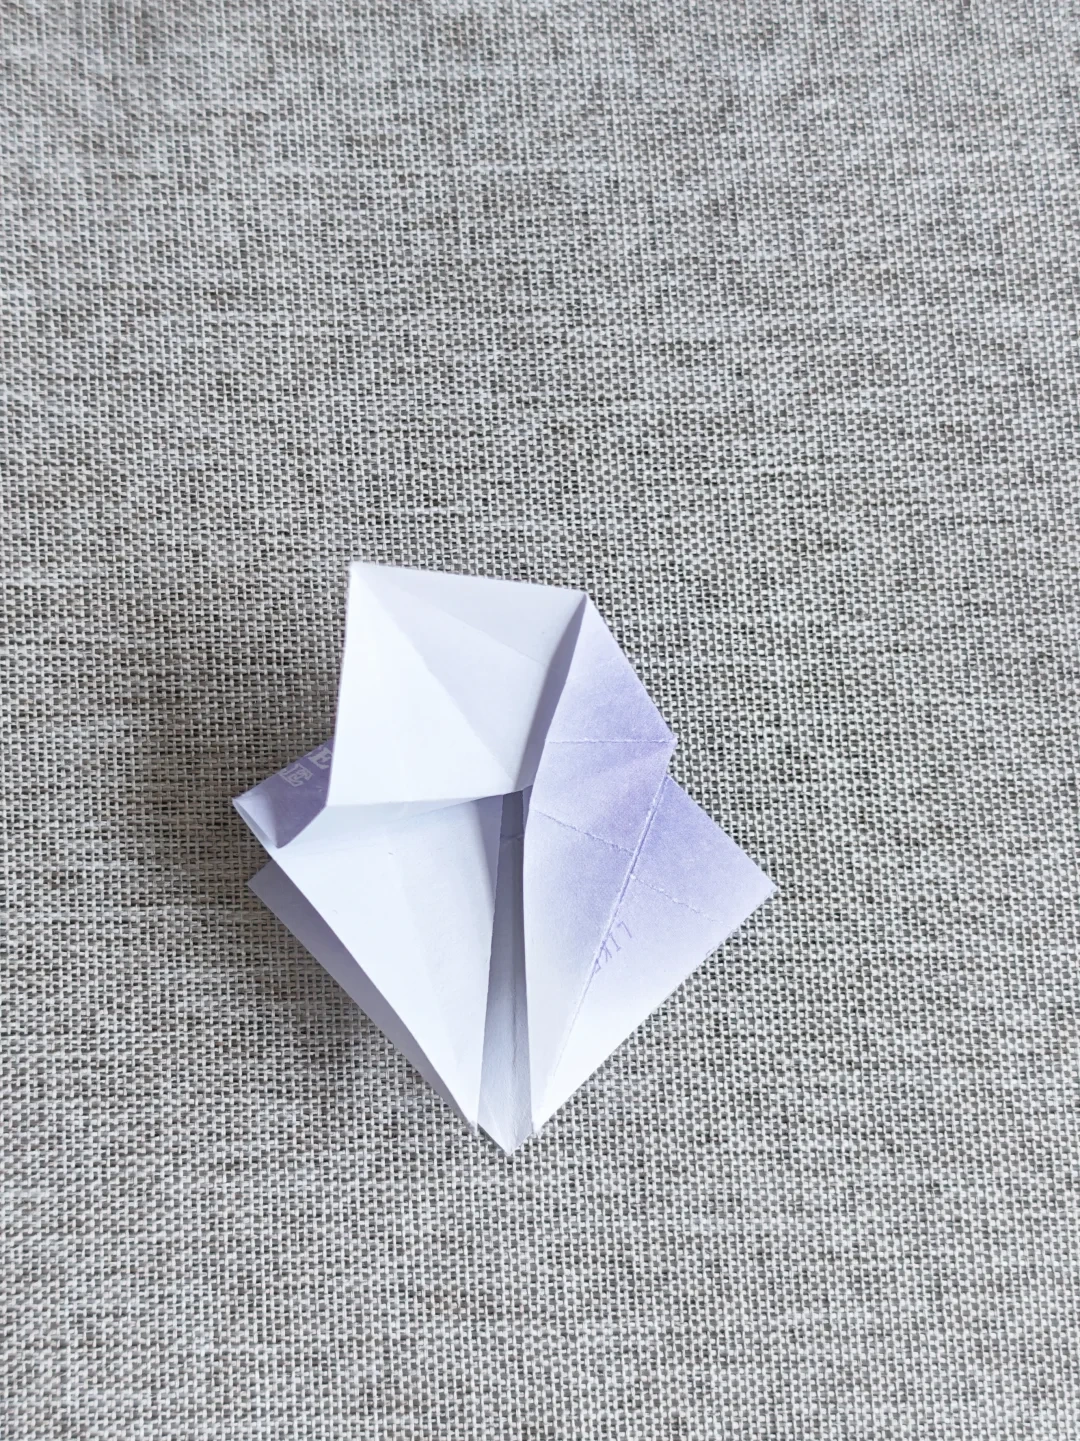
Open the upper pocket
 Open image at full size ↗
Lift the upper layer and open the pocket along its creases.
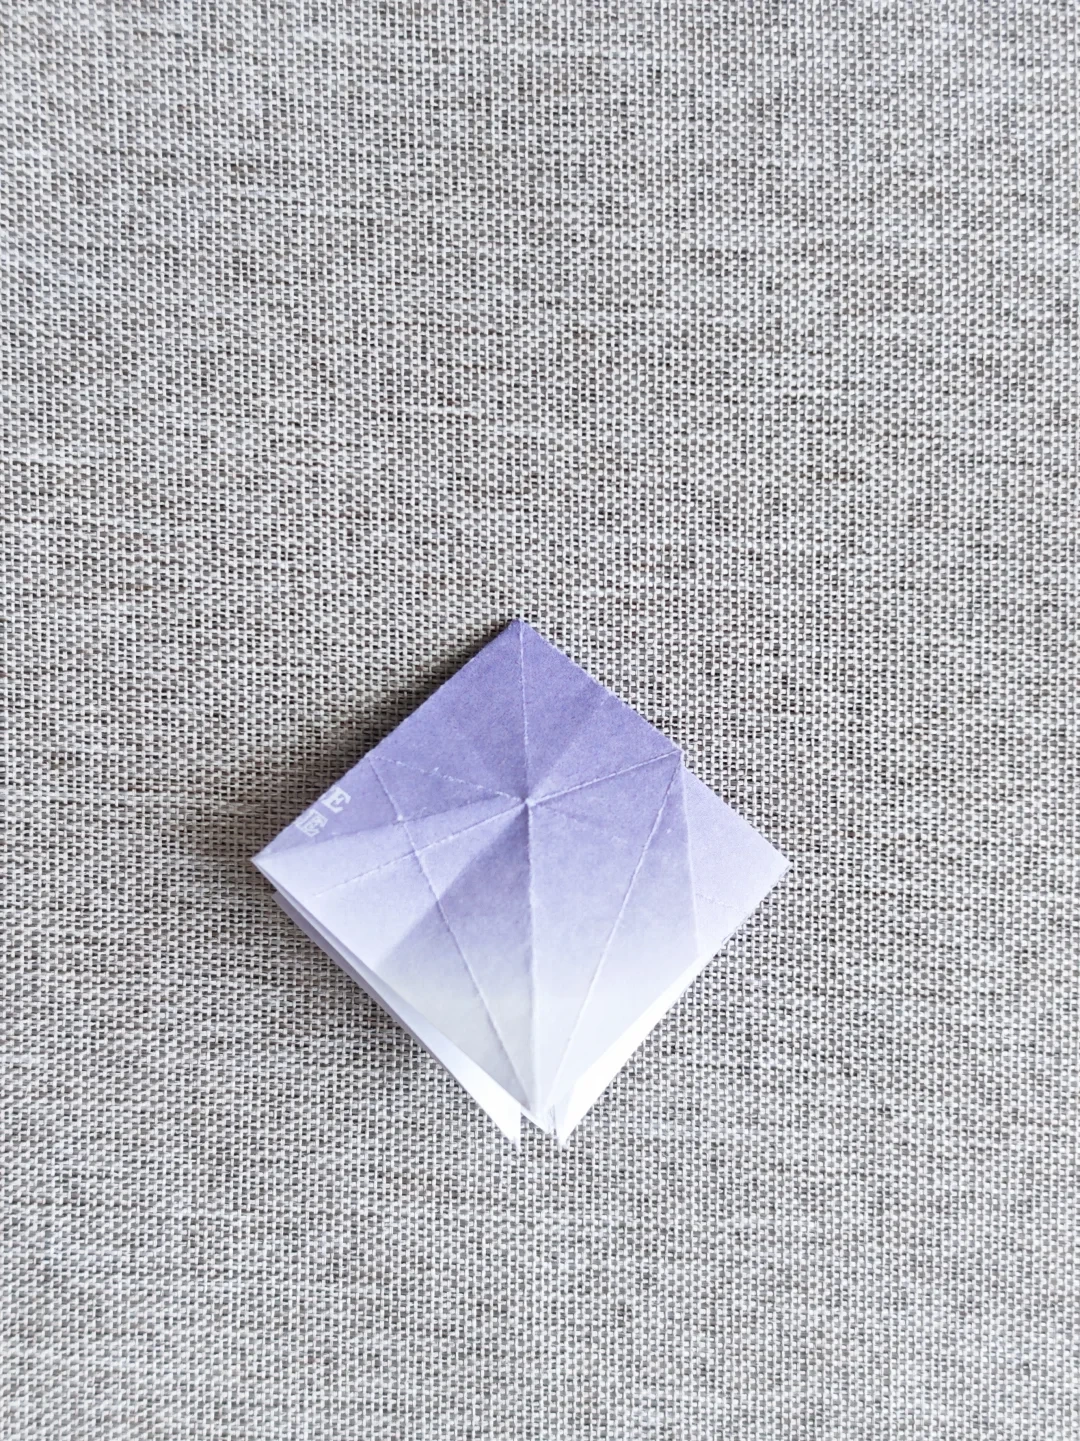
Flatten the pocket
 Open image at full size ↗
Press the pocket flat into the diamond arrangement shown.
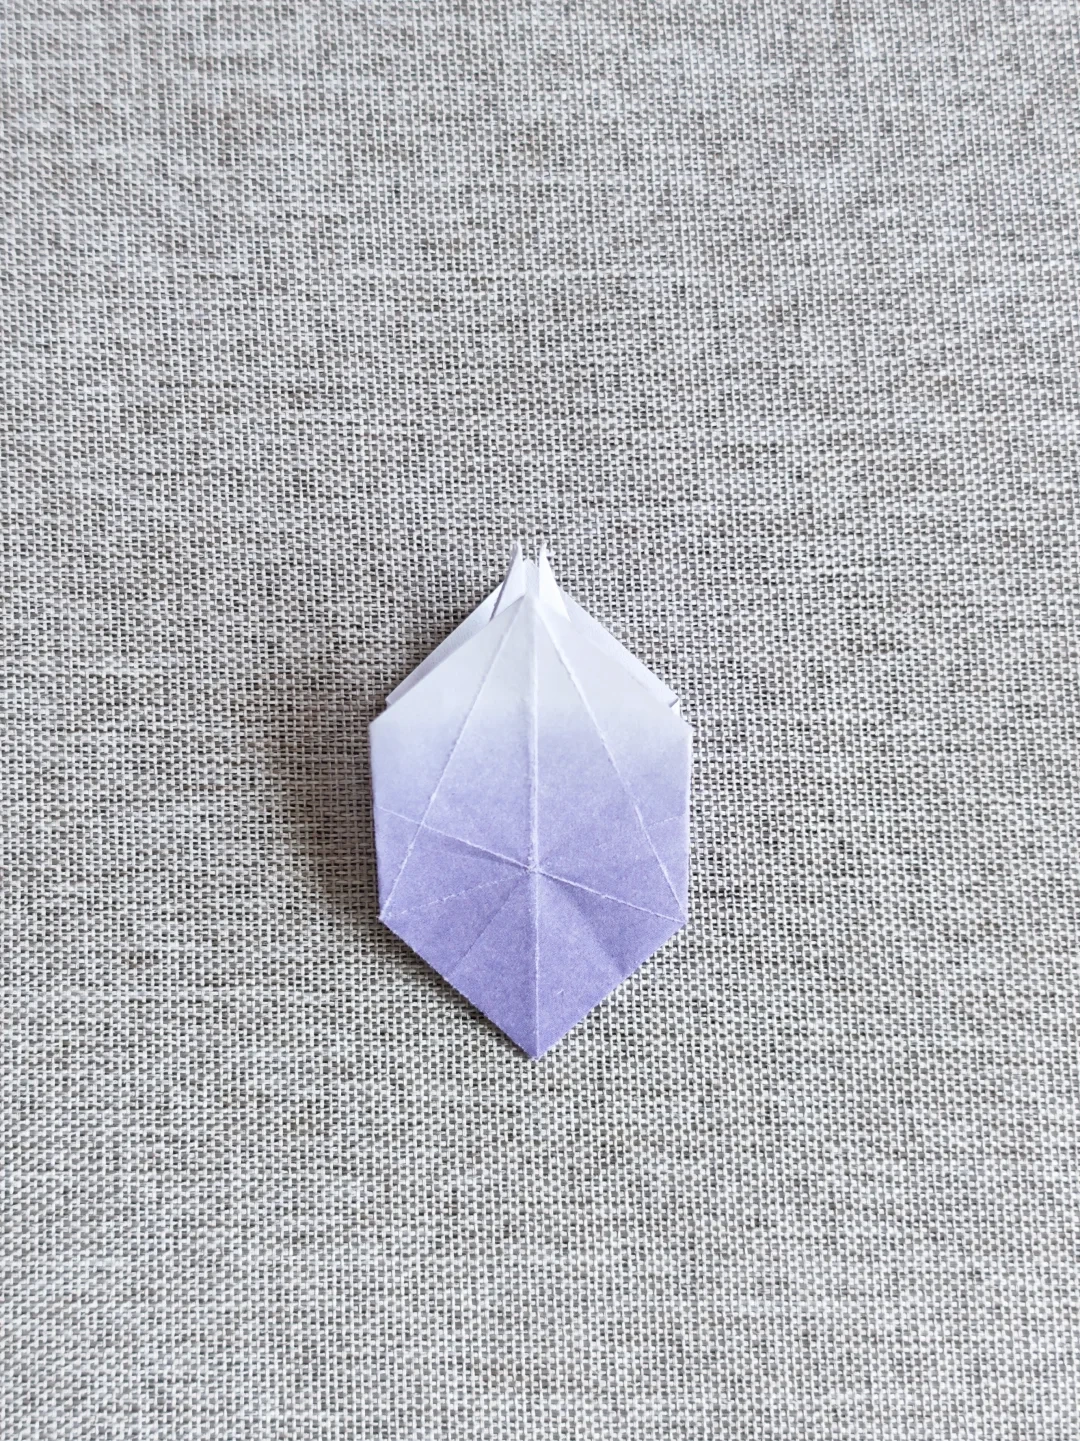
Fold the side edges
 Open image at full size ↗
Bring the edges inward to form the broad pointed unit.
Expose the side faces
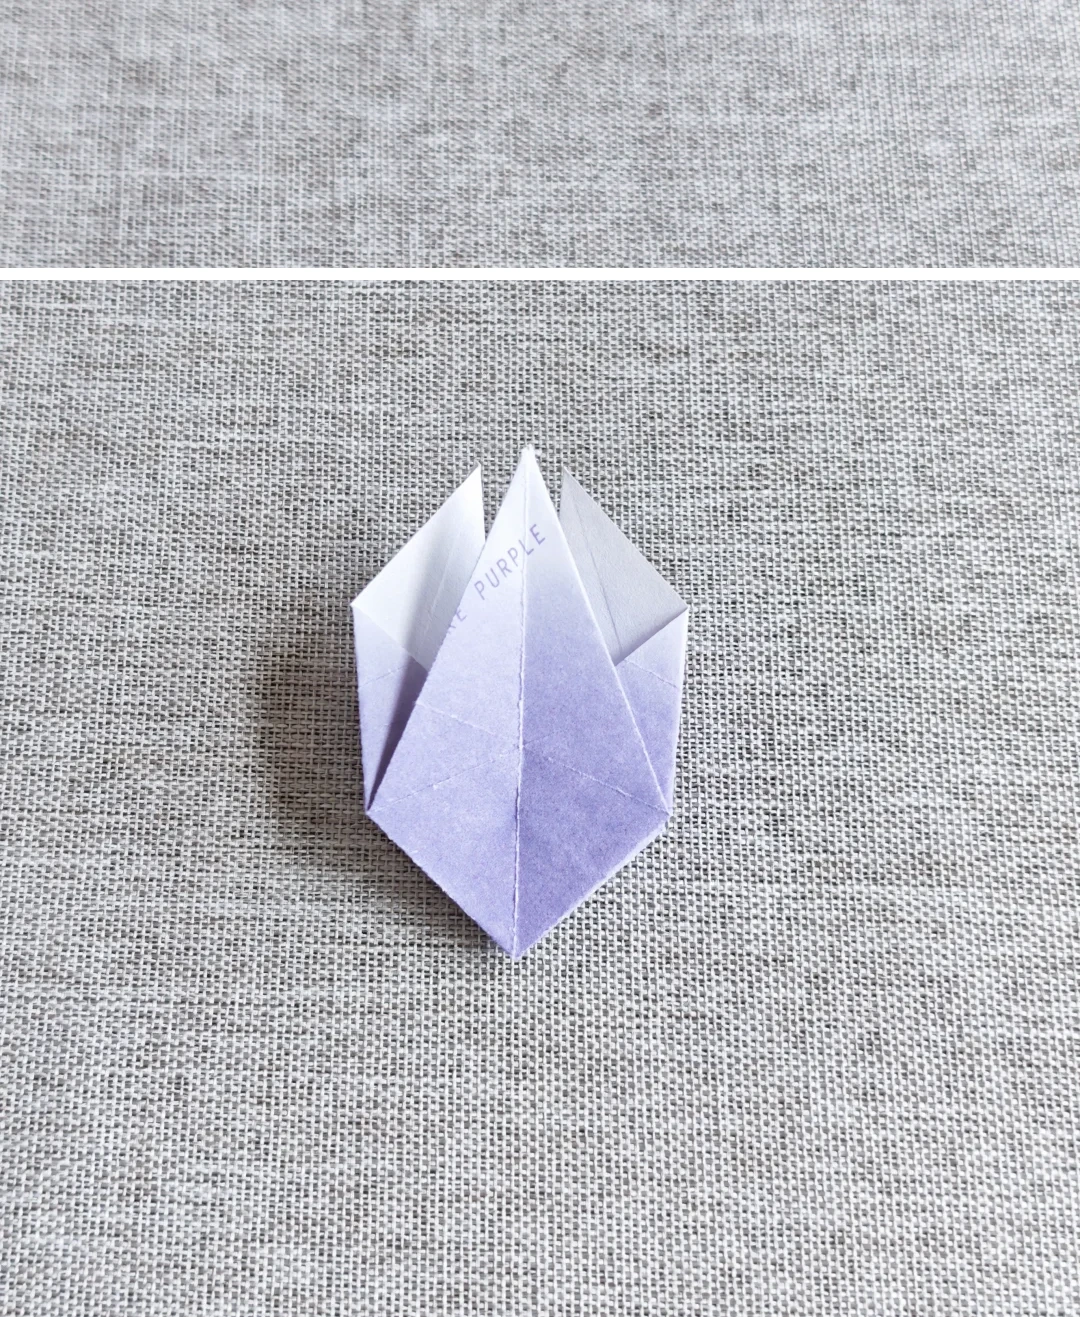 Open image at full size ↗
Fold the front and back faces together so the side faces are exposed.
Make five units
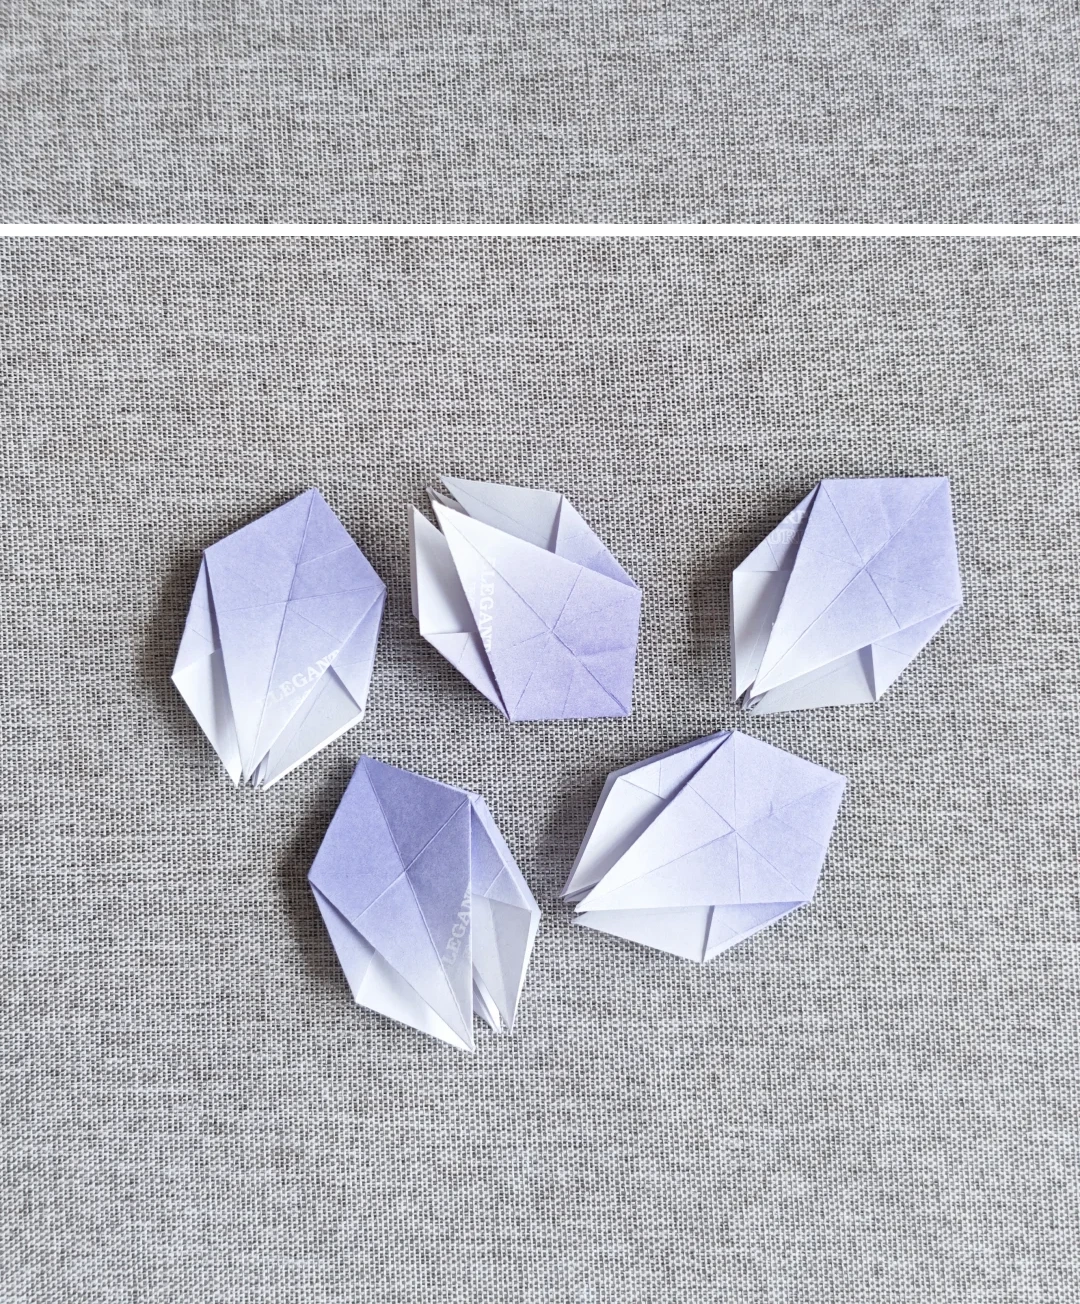 Open image at full size ↗
Repeat the folds with the remaining squares.
Link the units
 Open image at full size ↗
Overlap and glue neighboring units, following the arrows around the circle.
Close the ring
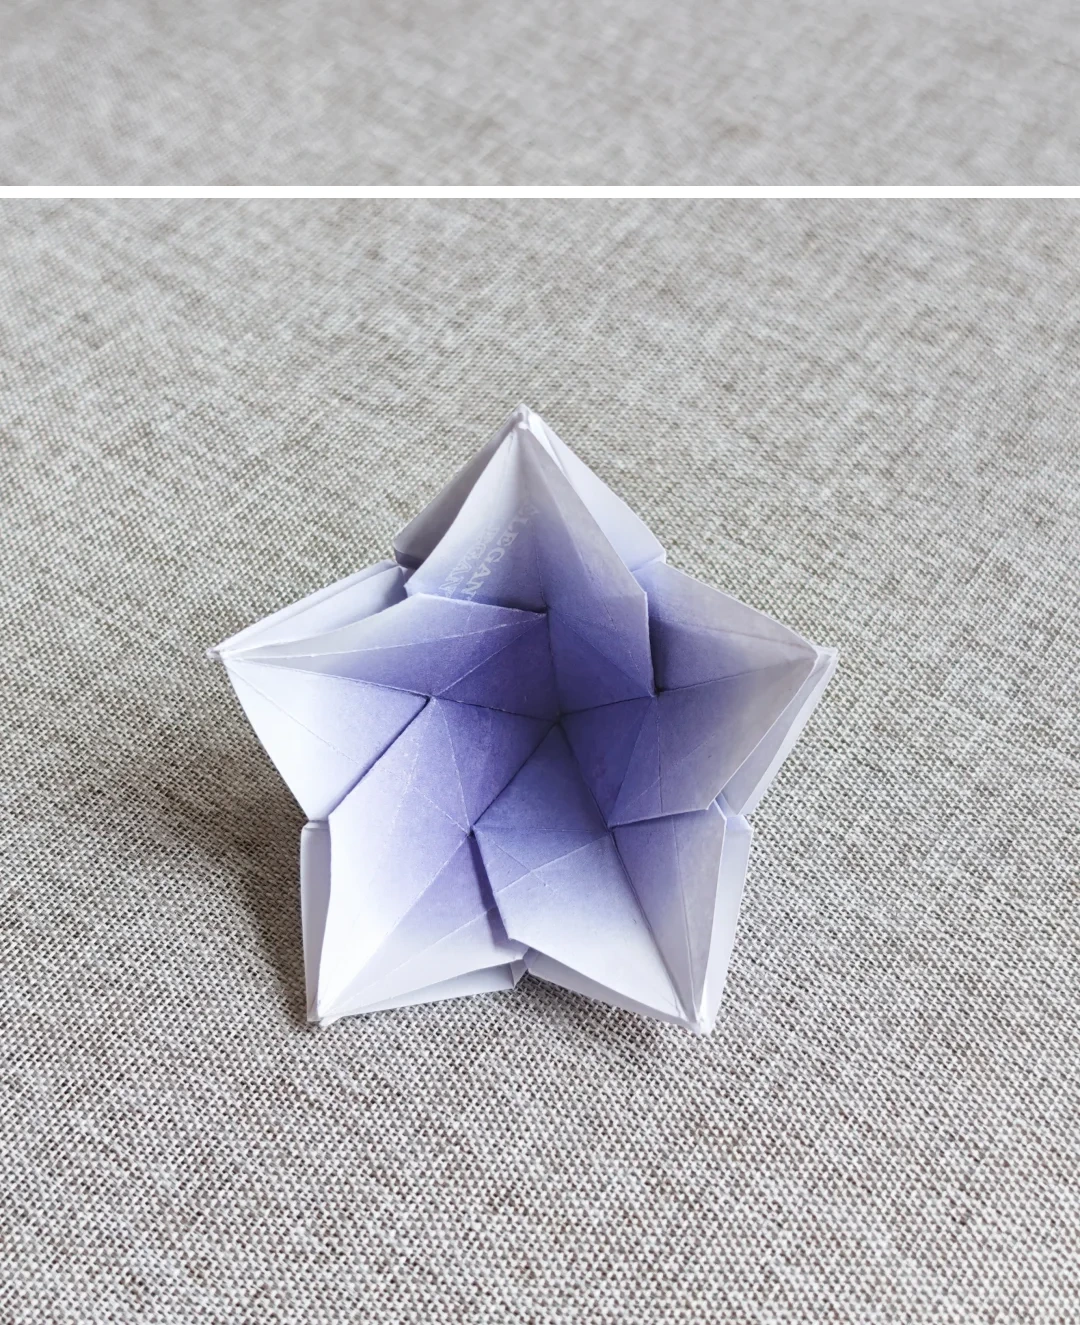 Open image at full size ↗
Join the fifth unit back to the first and open the center.
Curve the inner edges
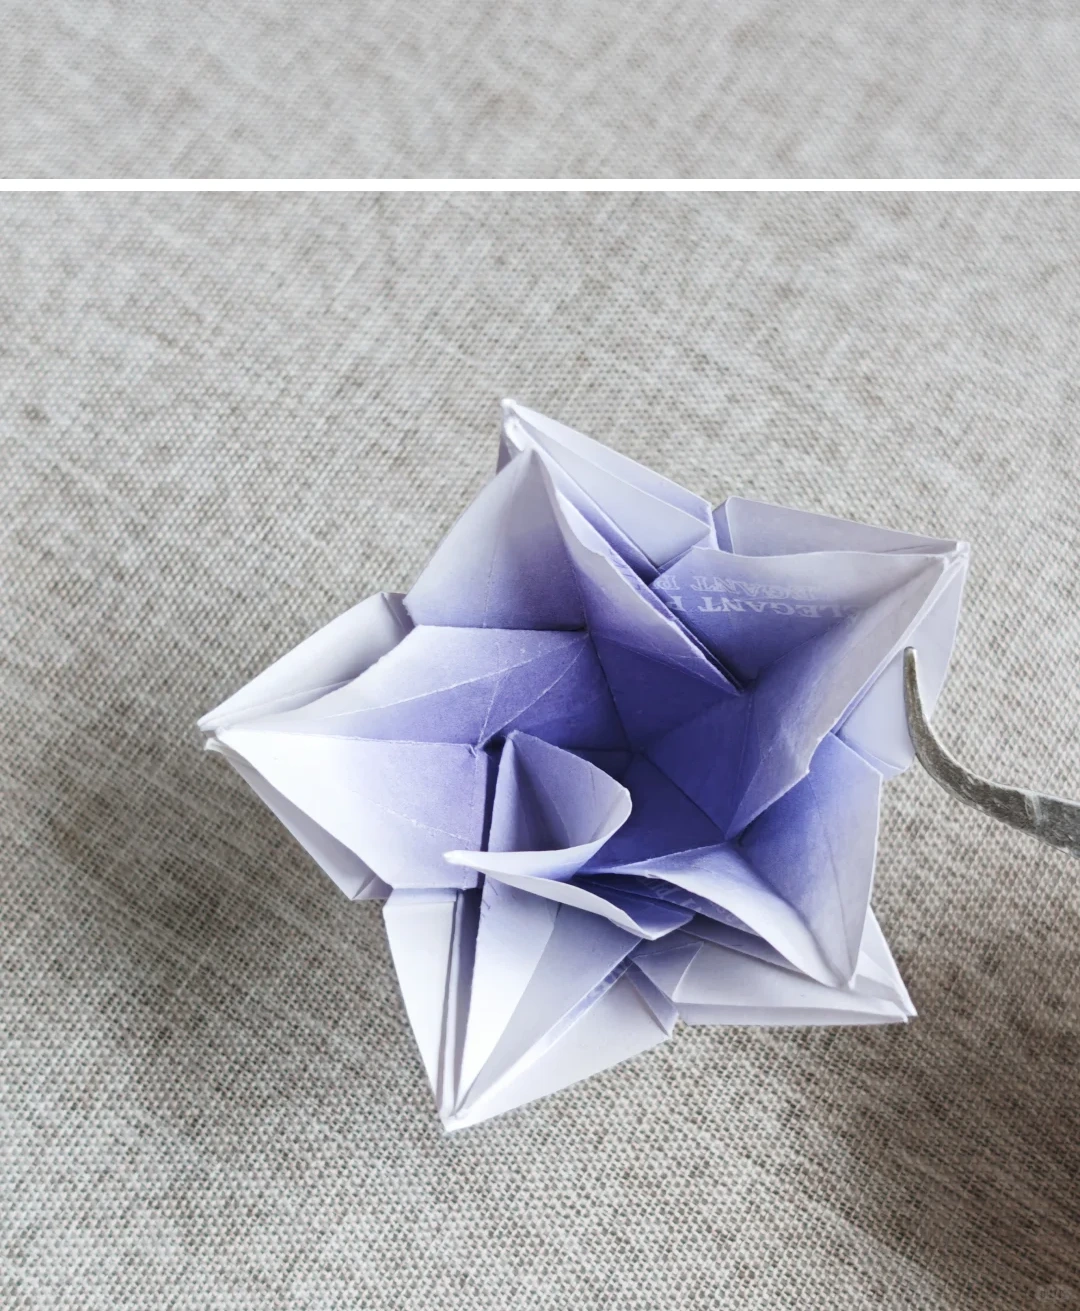 Open image at full size ↗
Fold each of the five inner edges around the center in the same direction.
Tuck the spiral
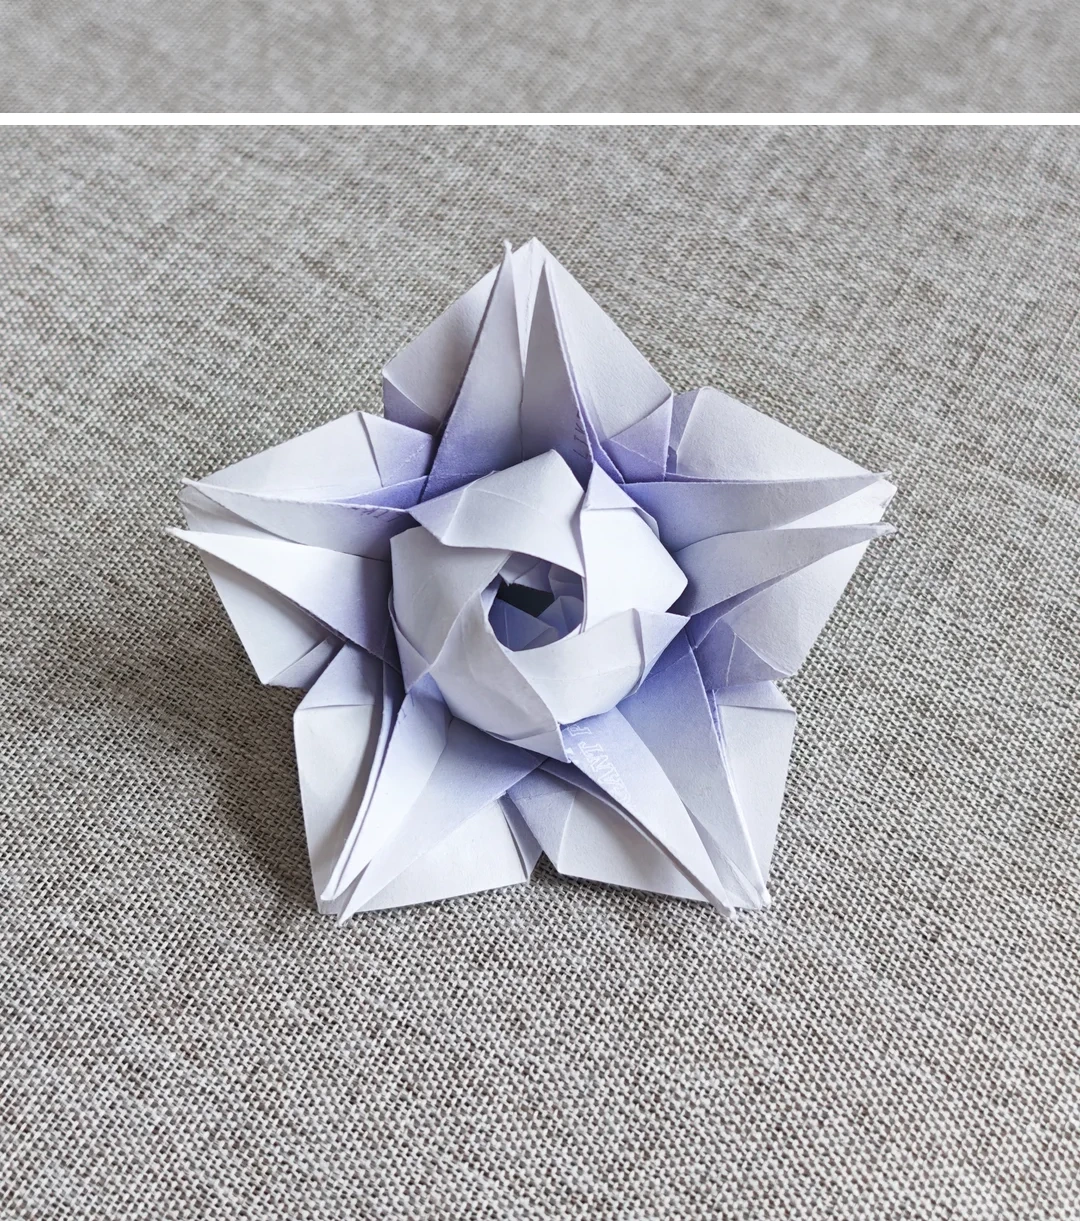 Open image at full size ↗
Insert each edge into the gap of the preceding one. Use a little glue to hold the final tuck if needed.
Follow the diagrams alongside the step-by-step English instructions.
Choose your next project →