
Decorations · Step-by-step guide
Heart in a Paper Square
Fold a contrasting heart into the face of a paper square.
What you’ll need
- One 15 × 15 cm paper square, colored on one side
Origami · Folding and shaping
Make it, step by step.
11 steps · Original diagrams with English instructions
Read each picture from left to right, then top to bottom.
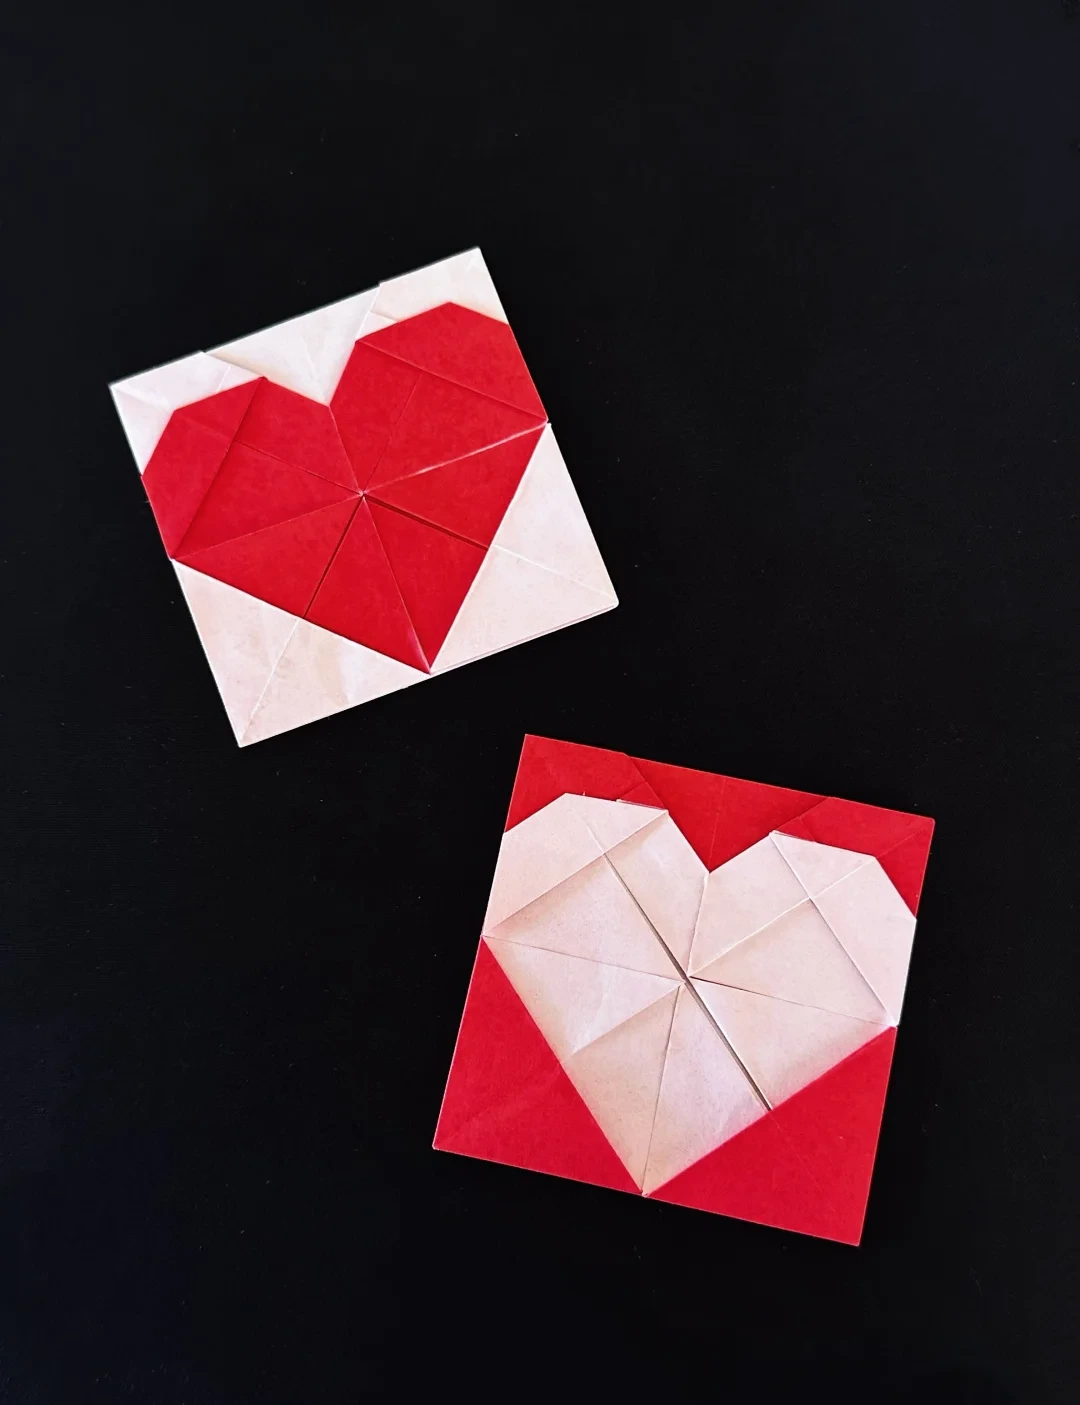
Reverse the colors
 Open image at full size ↗
Changing which side of the paper faces outward reverses the heart and background colors.
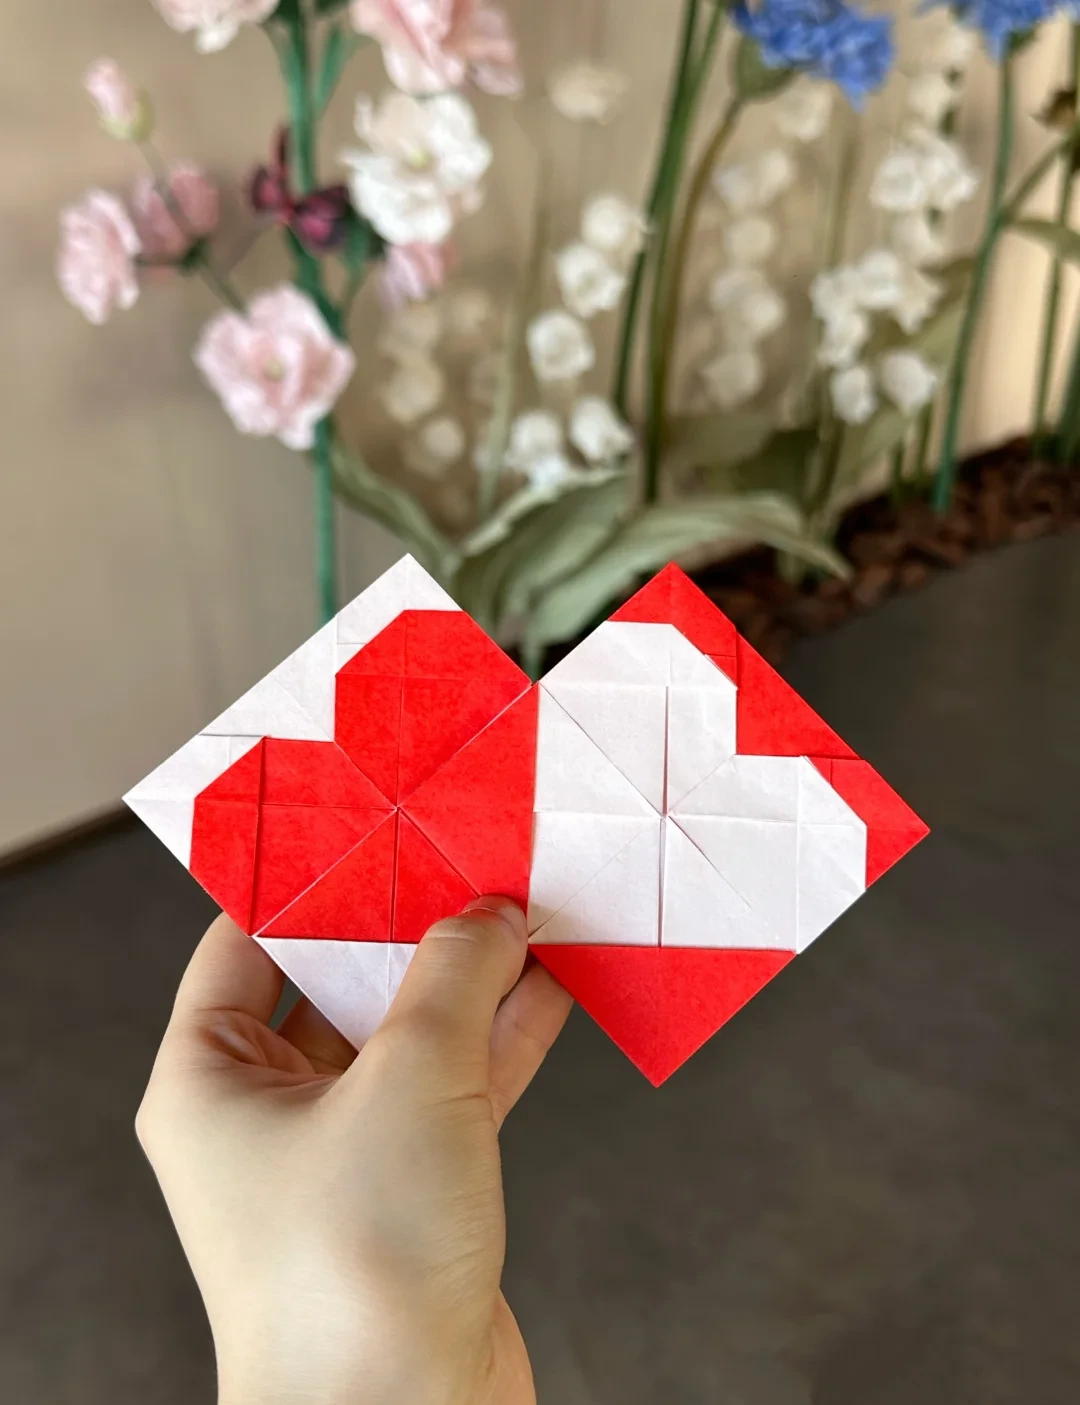
Display a pair
 Open image at full size ↗
The paired display places two separate folded squares side by side.
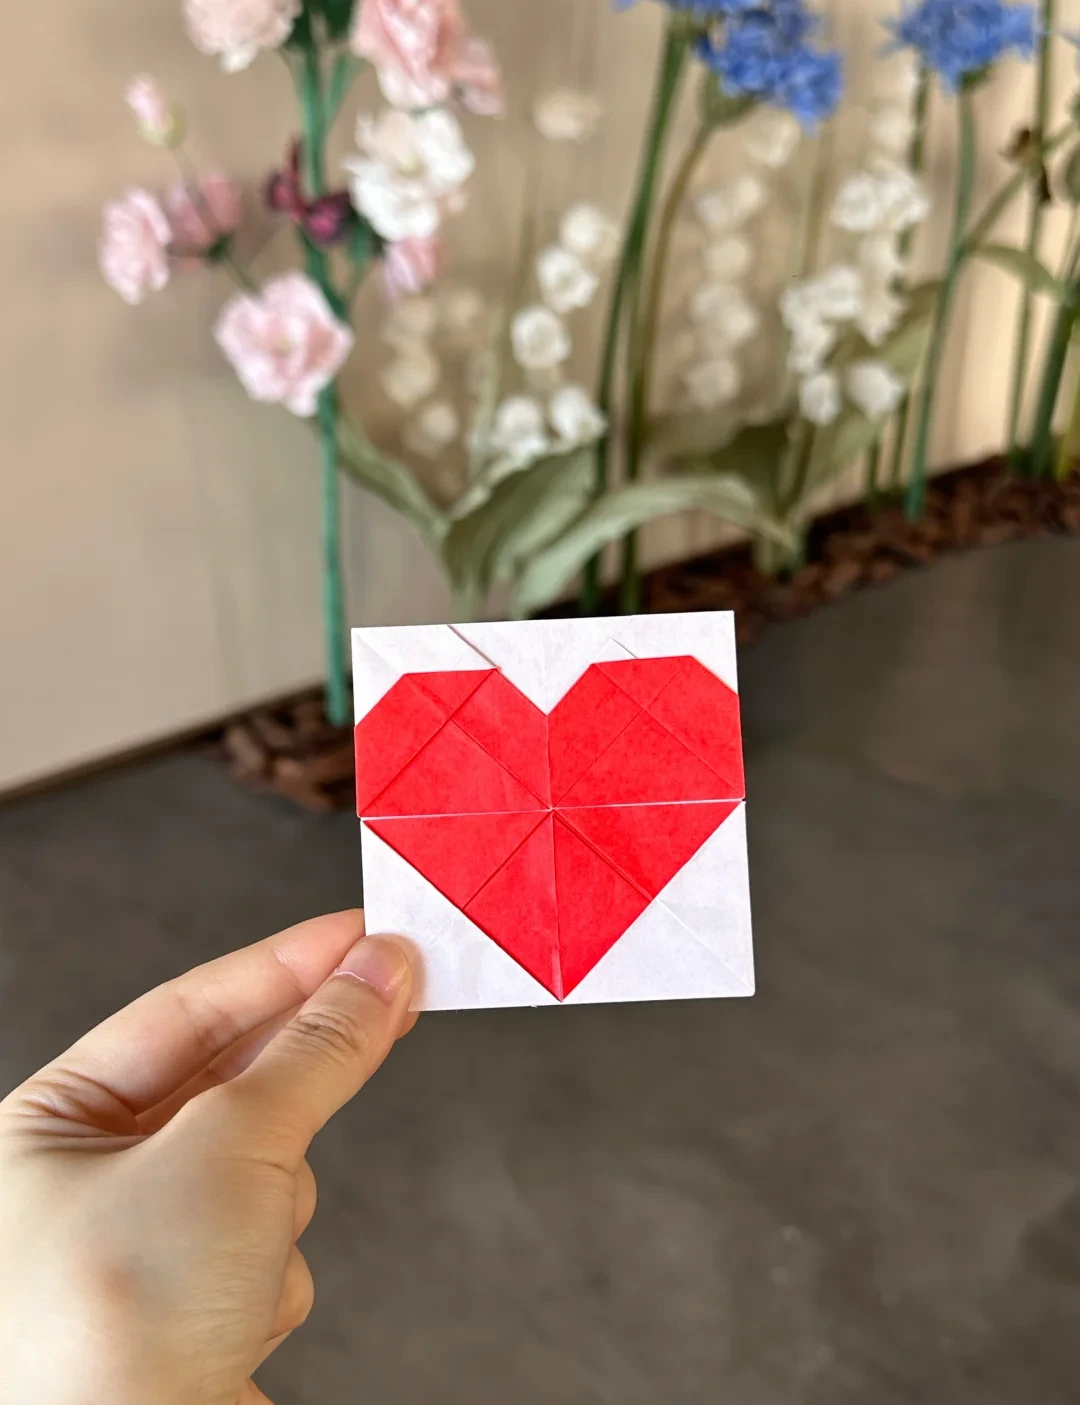
Finished model
 Open image at full size ↗
Use this finished example to compare the shape and proportions of your model.
Crease a grid
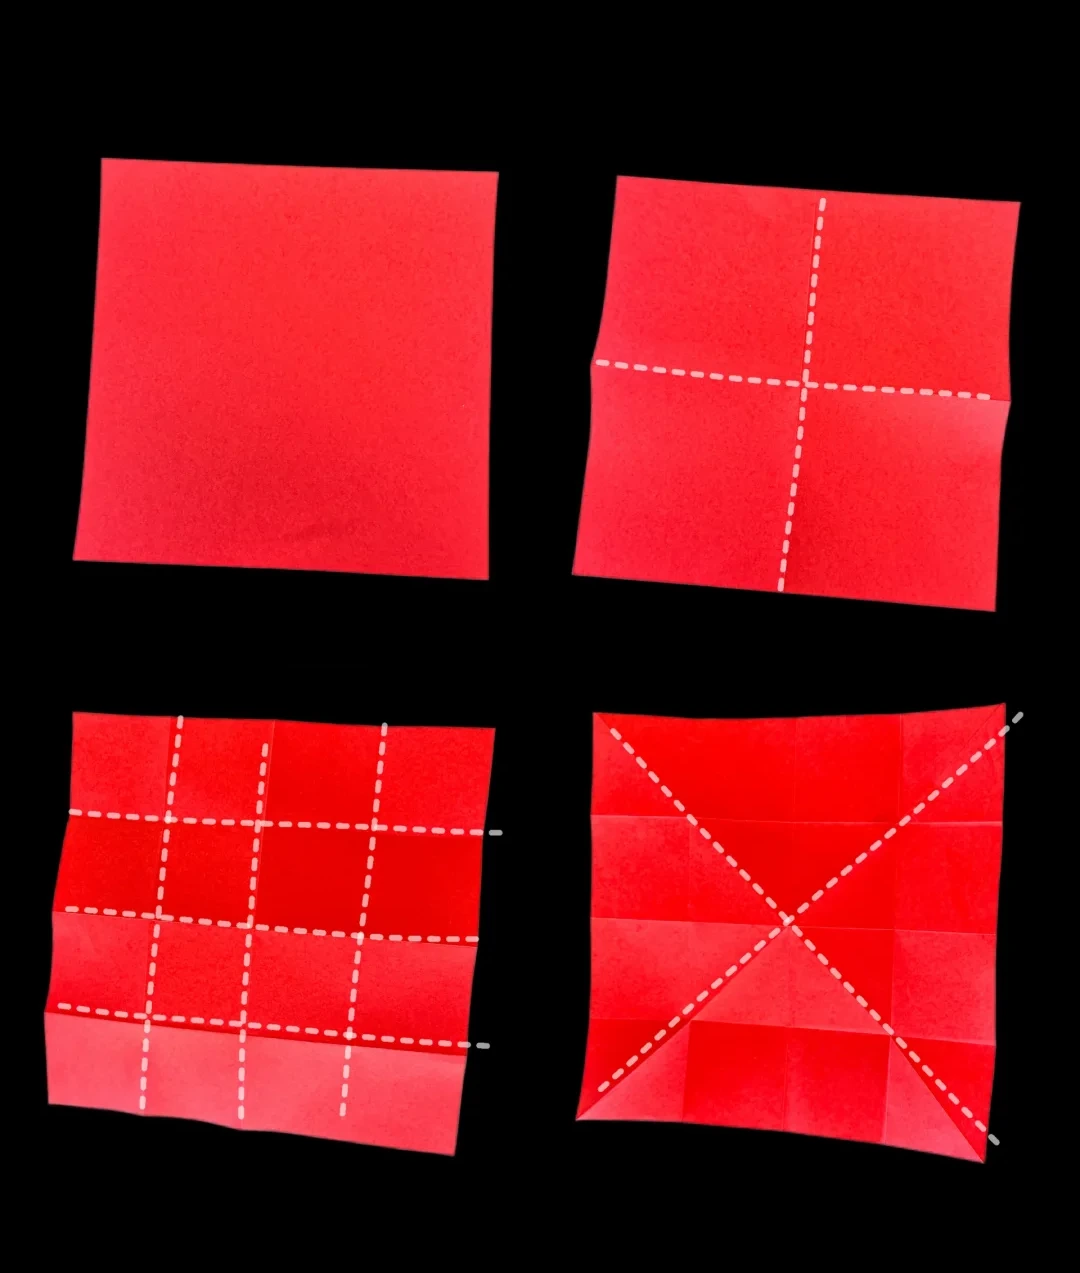 Open image at full size ↗
Fold the square in half horizontally and vertically, opening each time.
Divide both directions into four equal sections, then crease both diagonals and unfold.
Fold toward the middle
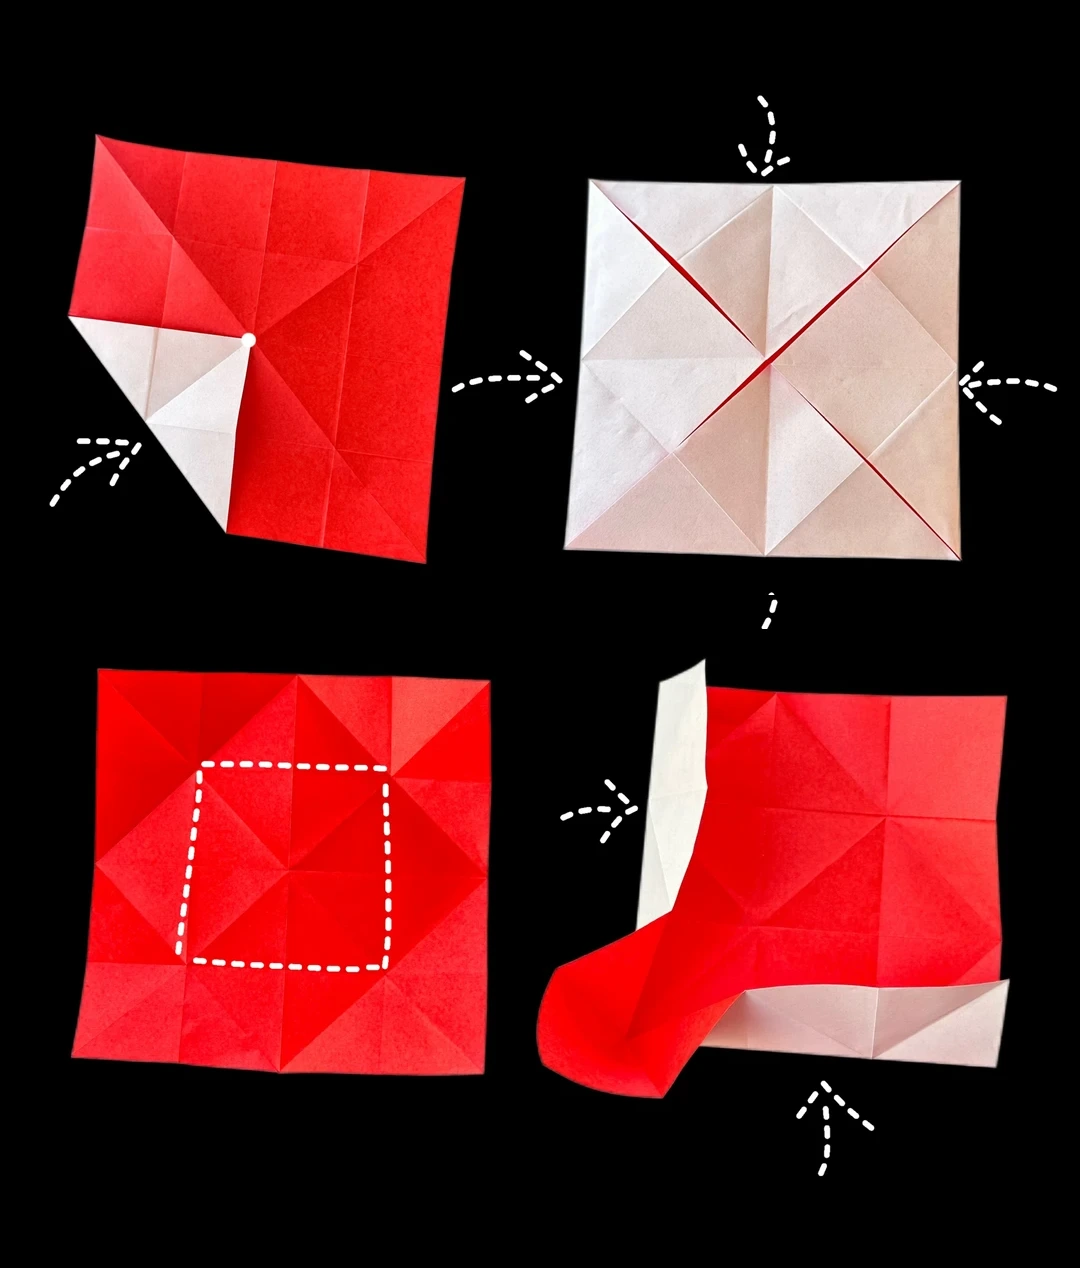 Open image at full size ↗
Bring all four corners to the center and unfold to mark the smaller square shown.
Push the sides inward along the existing creases, gathering the extra paper into the corners.
Flatten four small squares
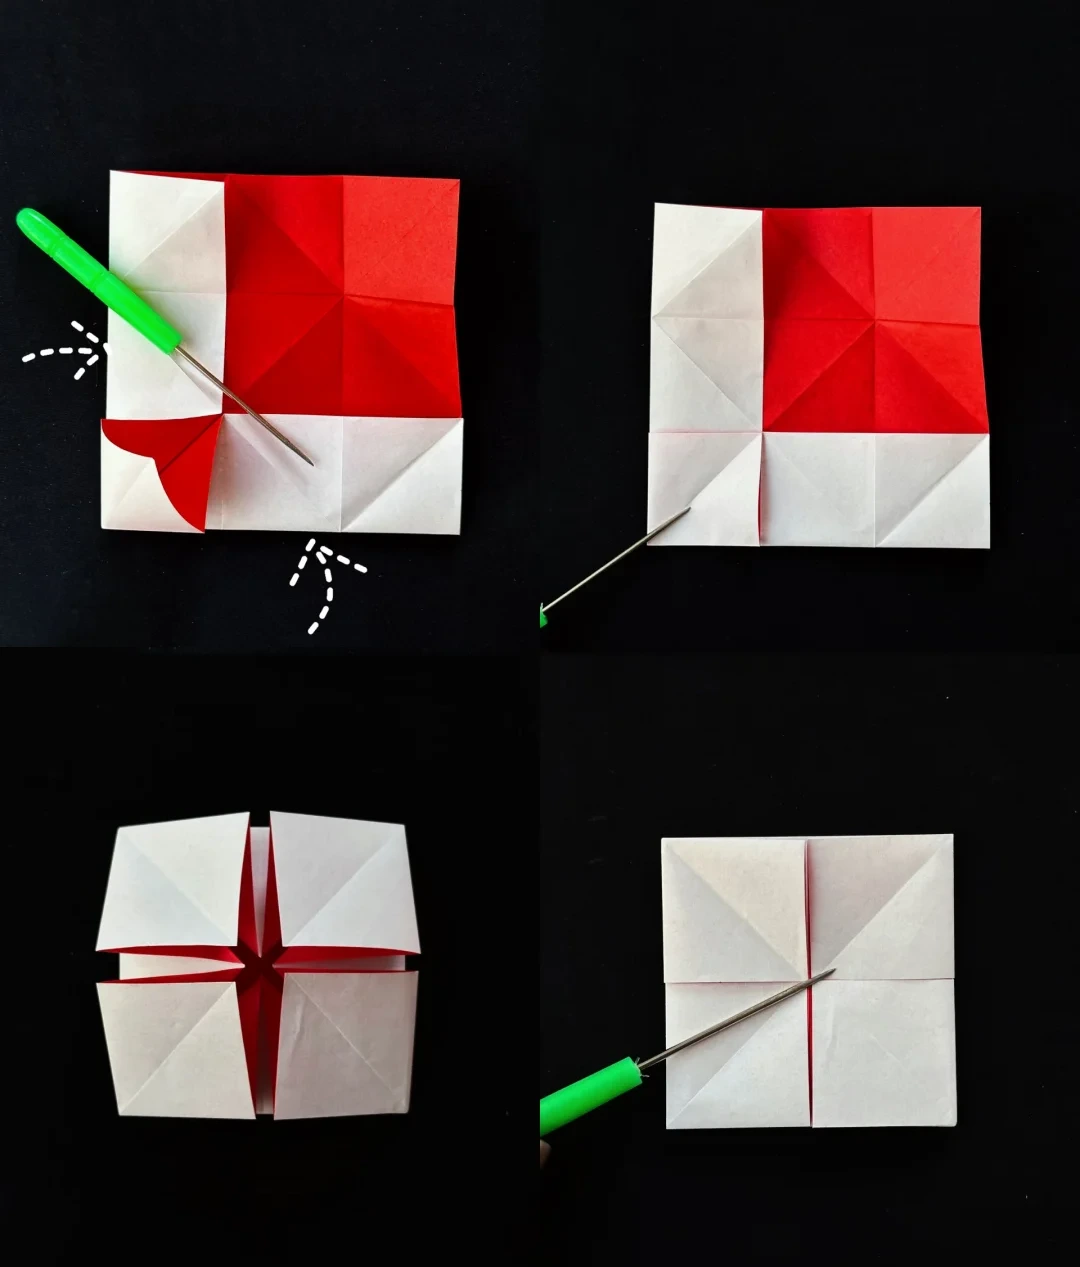 Open image at full size ↗
Open and squash the first corner pocket into a small square. Repeat at the other three corners.
Flatten the four sections so their inner corners meet neatly at the middle.
Prepare the heart folds
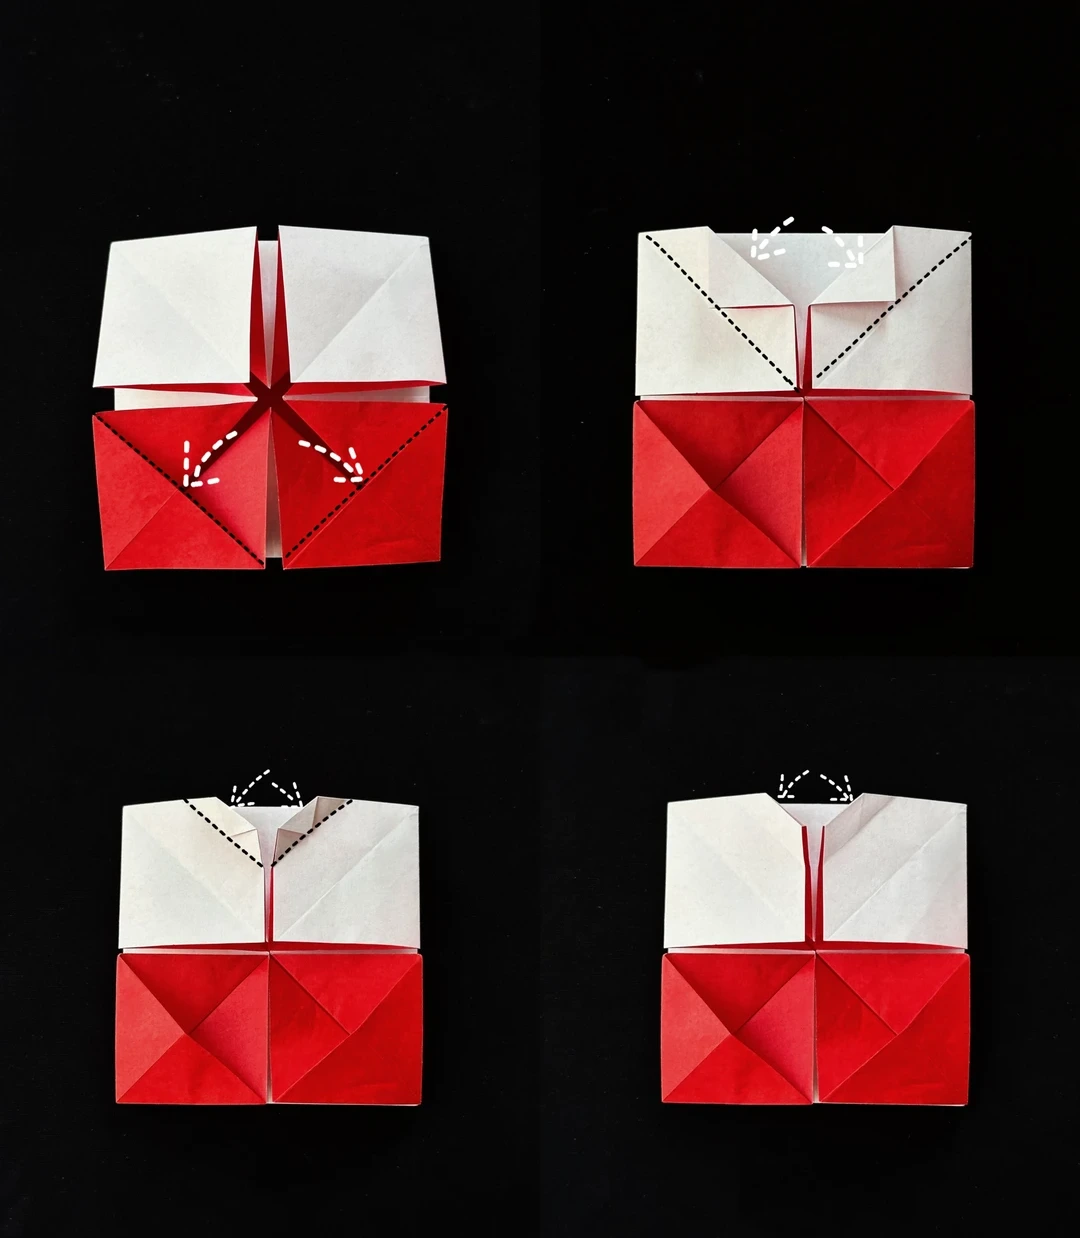 Open image at full size ↗
Fold the indicated layers of the two upper squares diagonally downward. Fold the top section to the dotted guide.
Fold again to the new creases and tuck the little triangular flaps inside.
Shape the heart lobes
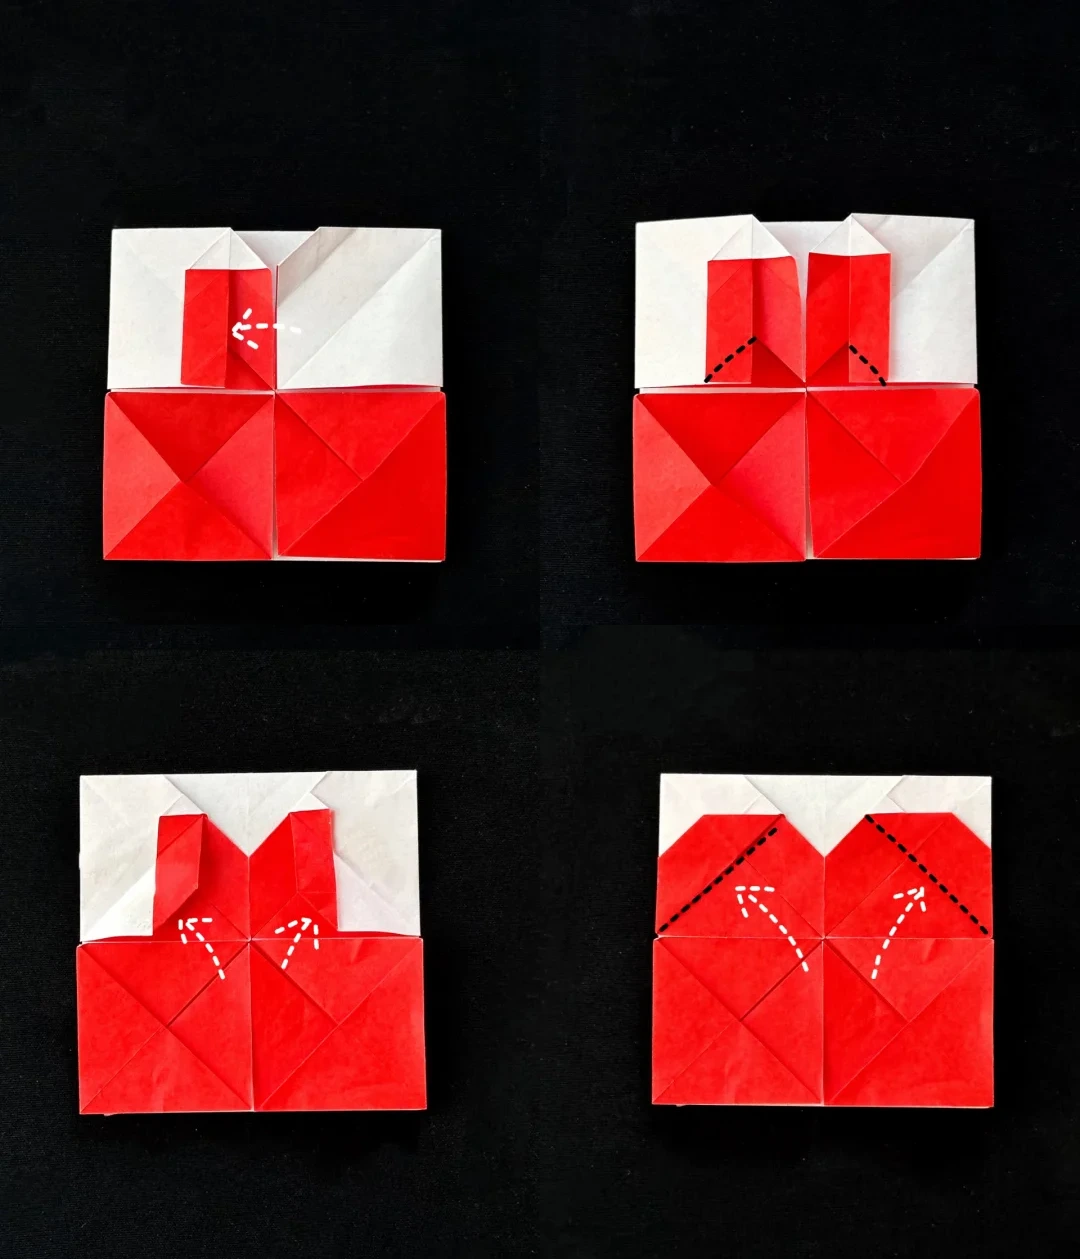 Open image at full size ↗
Open the left and right inner flaps in turn, following the arrows.
Fold the small triangles along their dotted guides, then spread the colored layers outward to form the two upper lobes.
Hide the extra flaps
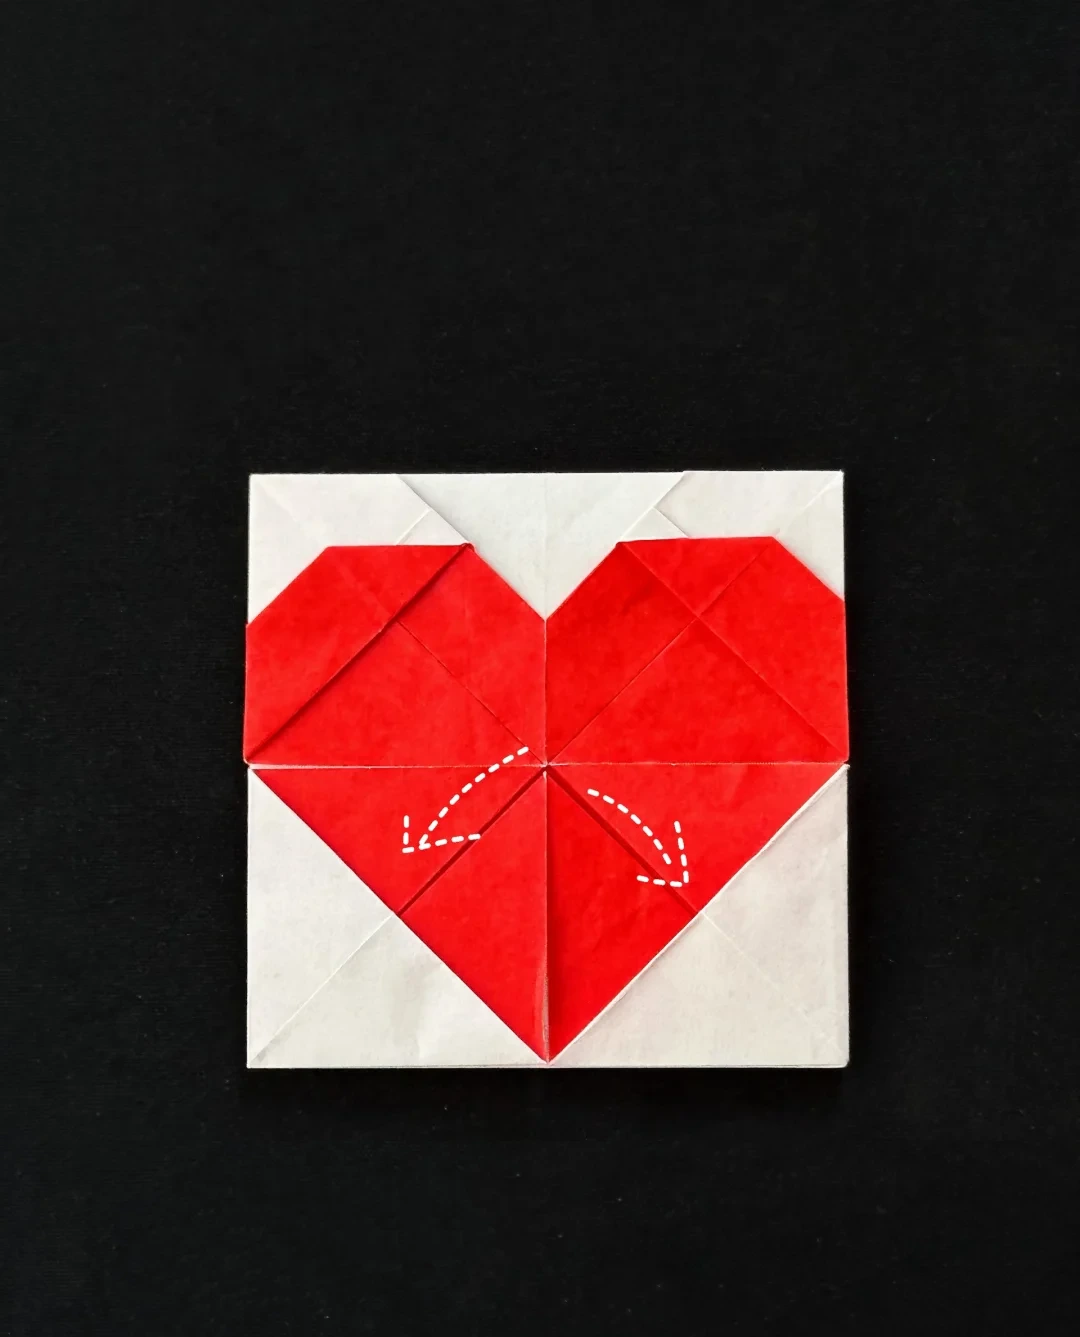 Open image at full size ↗
Fold the two small central flaps behind along their creases and flatten the heart against its square background.
Finished model
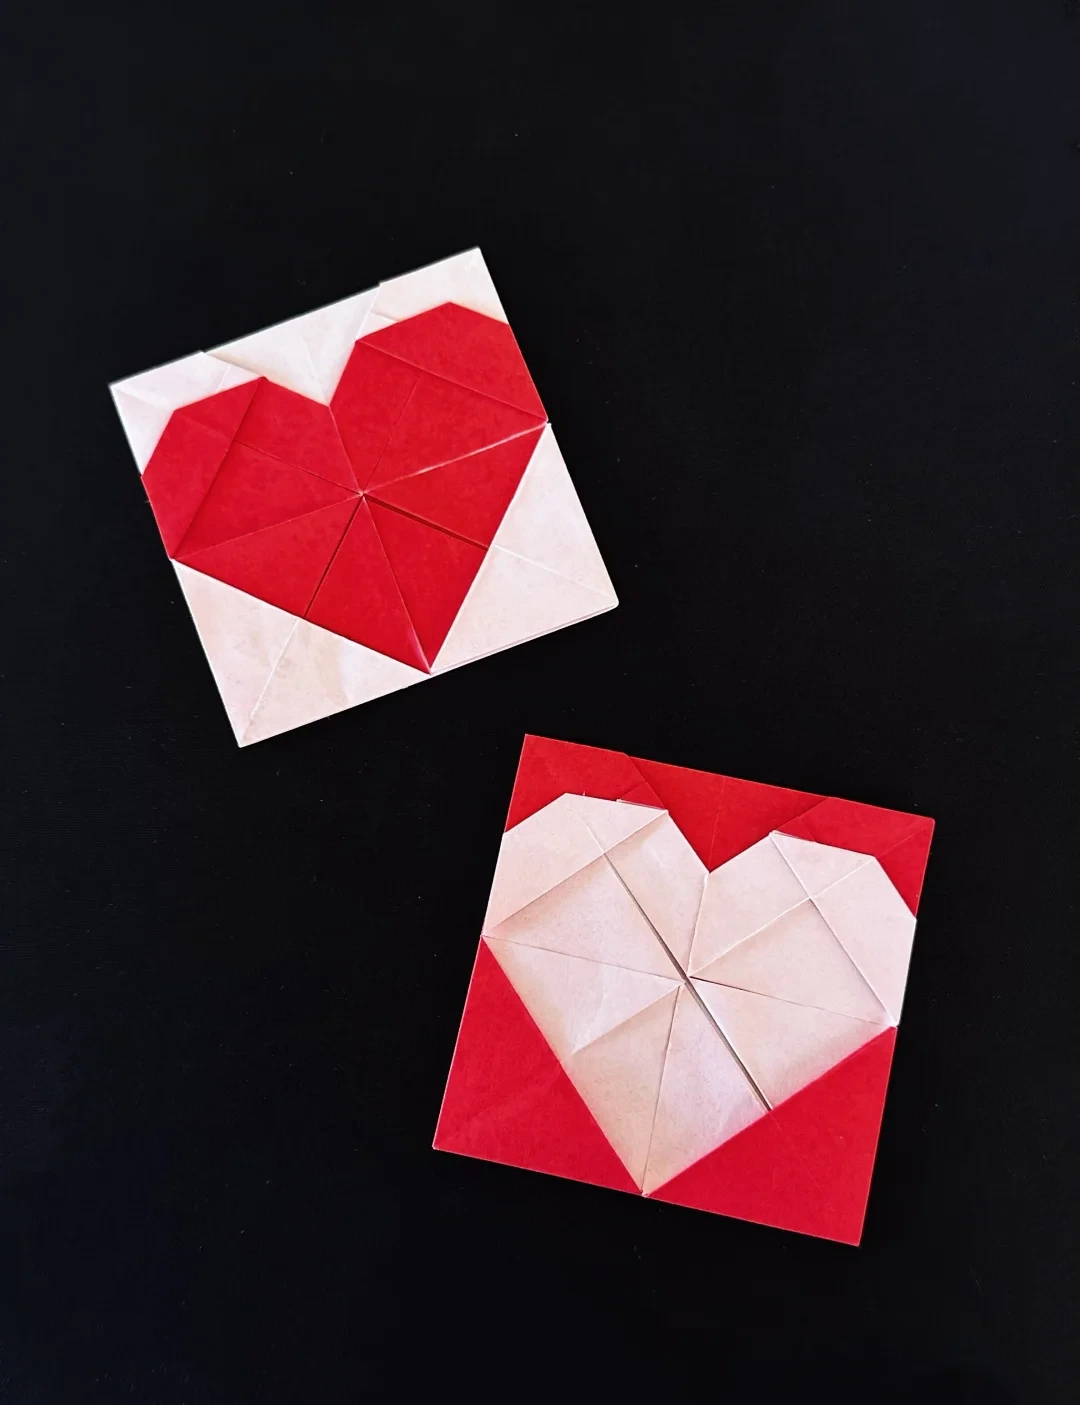 Open image at full size ↗
Use this finished example to compare the shape and proportions of your model.
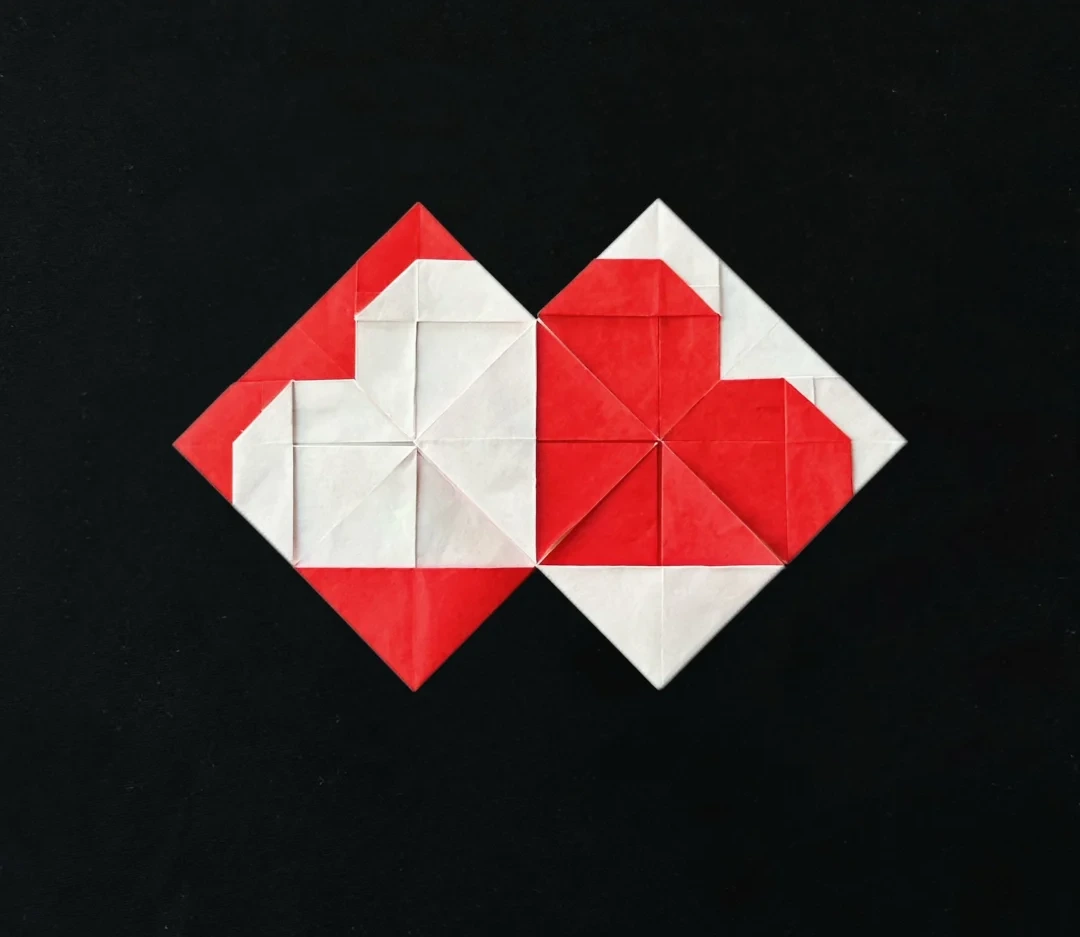
Two squares together
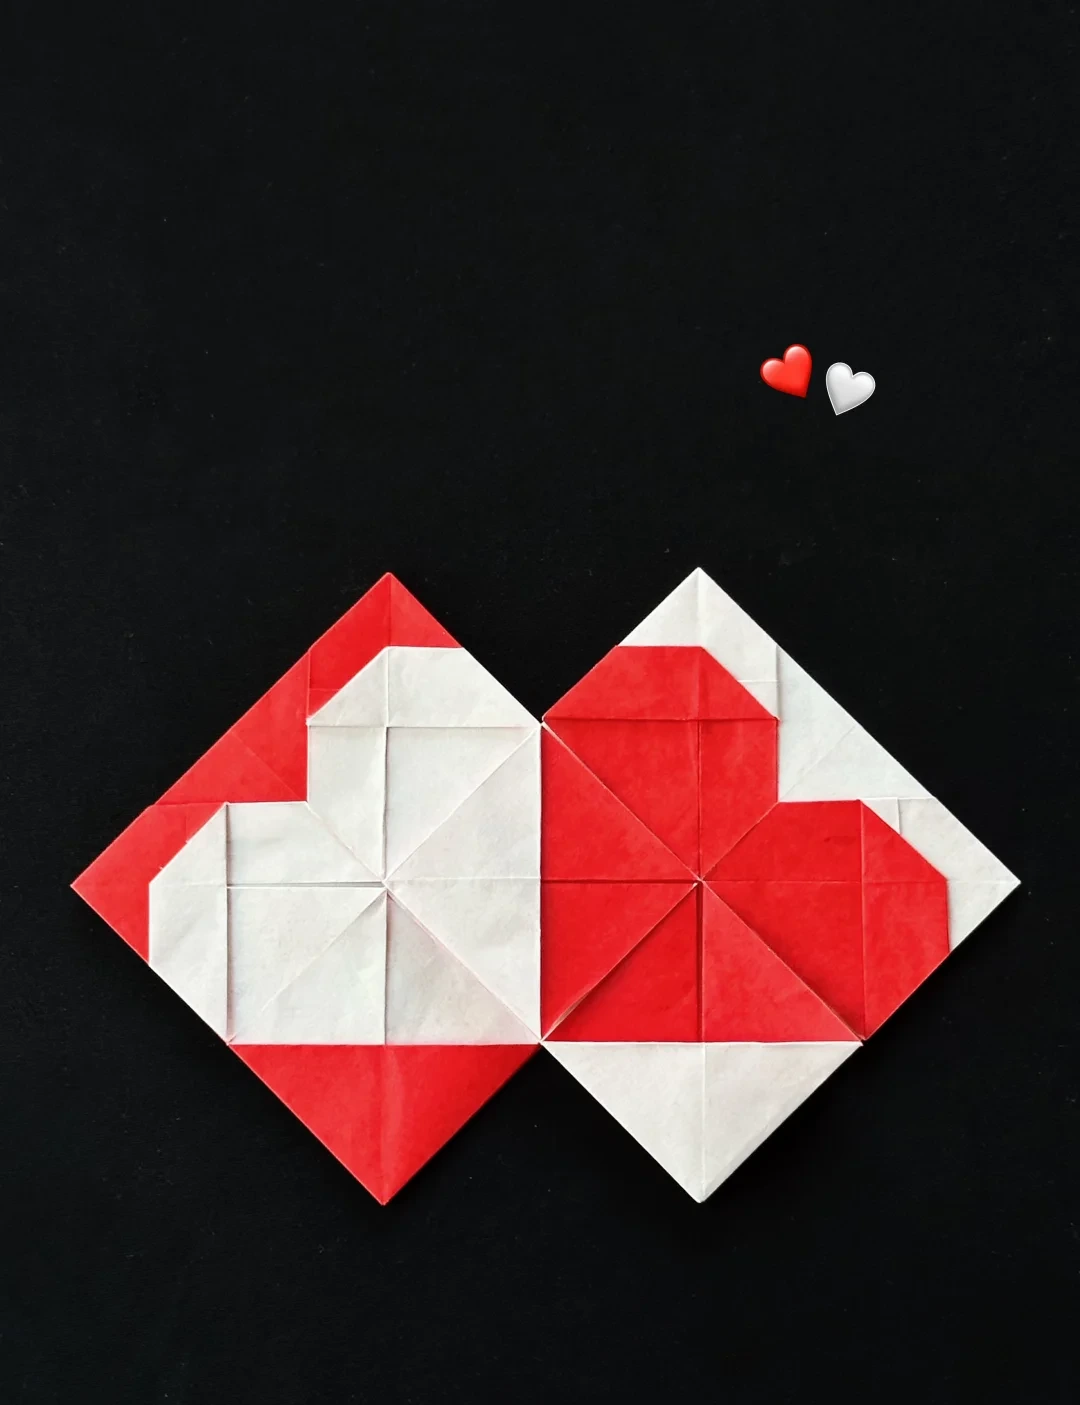 Open image at full size ↗
Make a second square with the colors reversed for a matching pair.
Follow the diagrams alongside the step-by-step English instructions.
Choose your next project →