
Decorations · Step-by-step guide
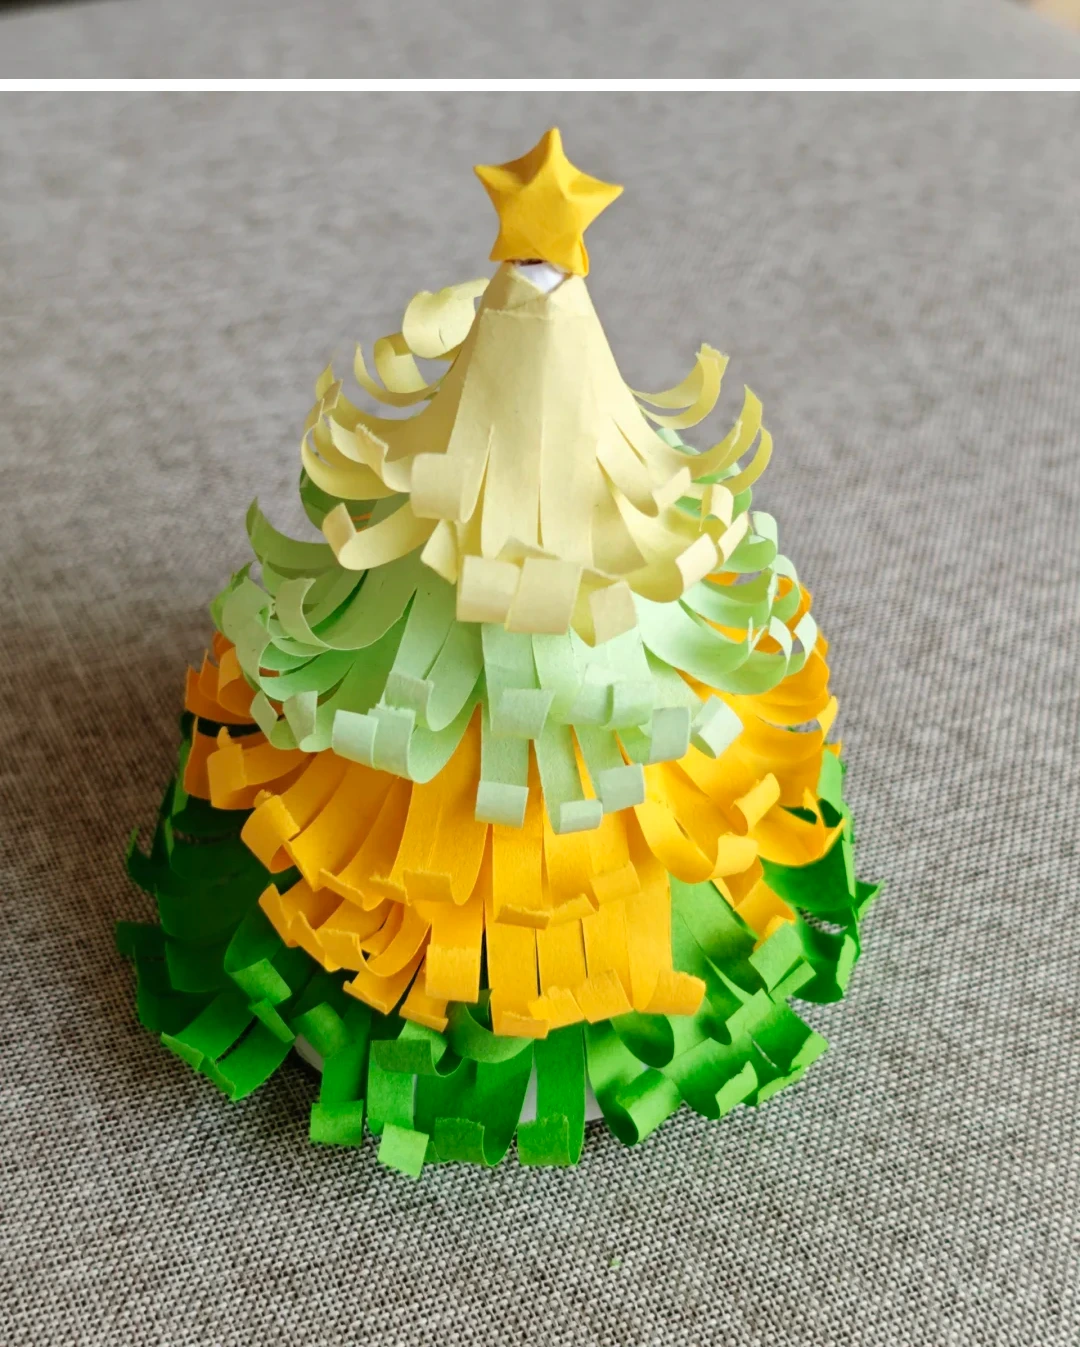
Fringed Paper Christmas Tree
Wrap a cardstock cone in four layers of curled paper fringe and finish it with a small star.
What you’ll need
- Cardstock for a cone
- Four colored 21 × 7 cm paper rectangles
- One premade paper star
- Scissors
- Glue or double-sided tape
Paper craft · Cone construction & layered fringe
Make it, step by step.
11 steps · Original diagrams with English instructions
Make the cone
 Open image at full size ↗
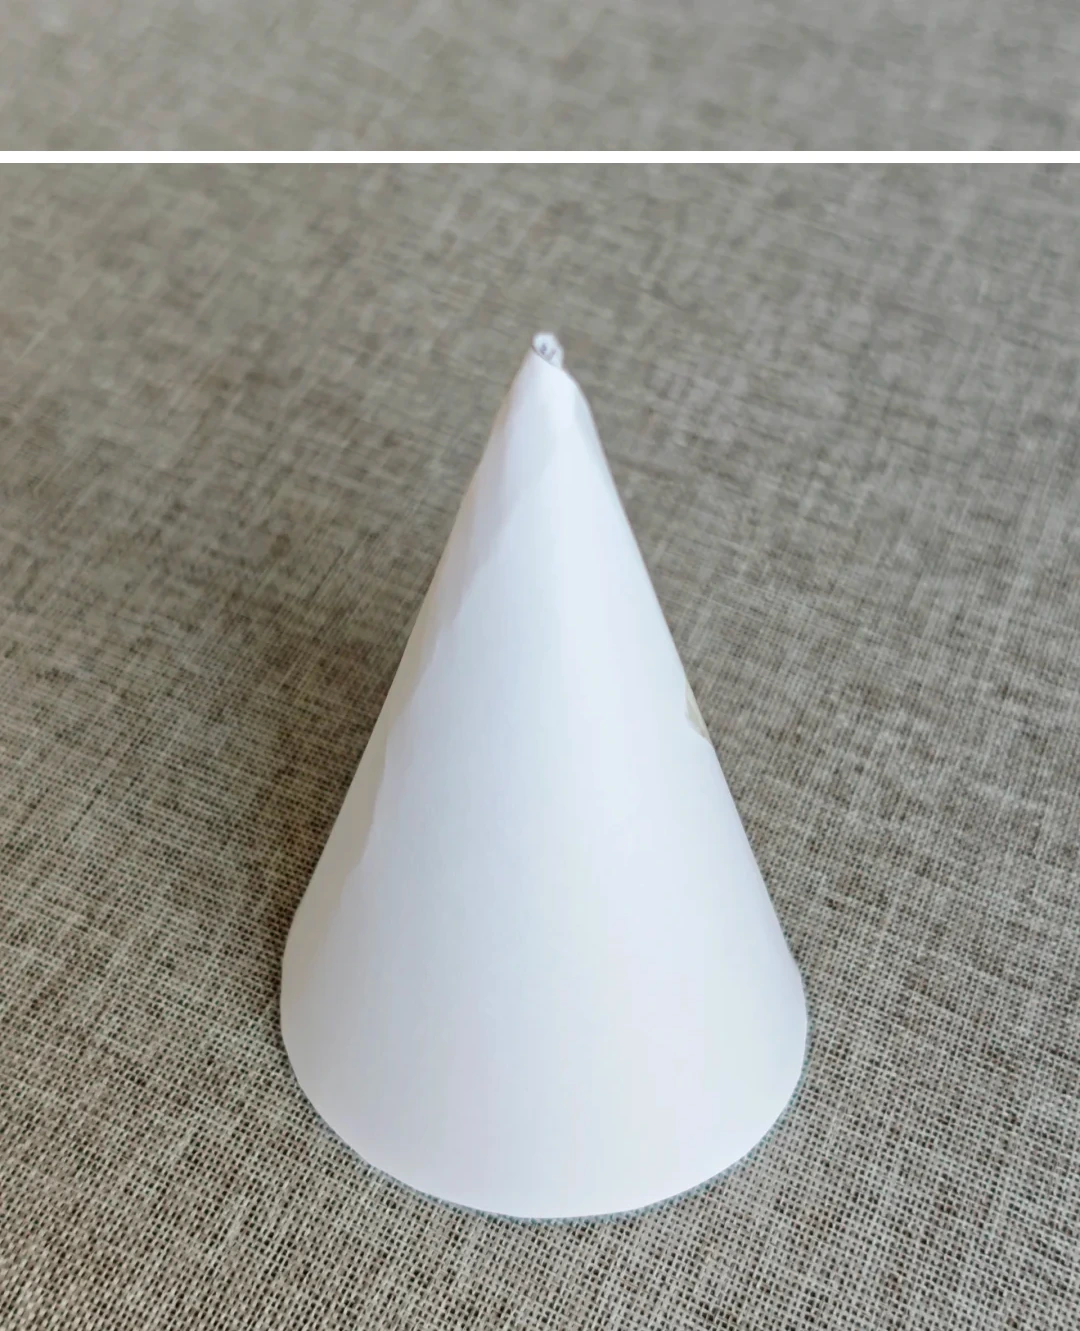
Cut a piece of cardstock and roll it into a cone. Glue the overlapping edge.
Choose the colors
 Open image at full size ↗
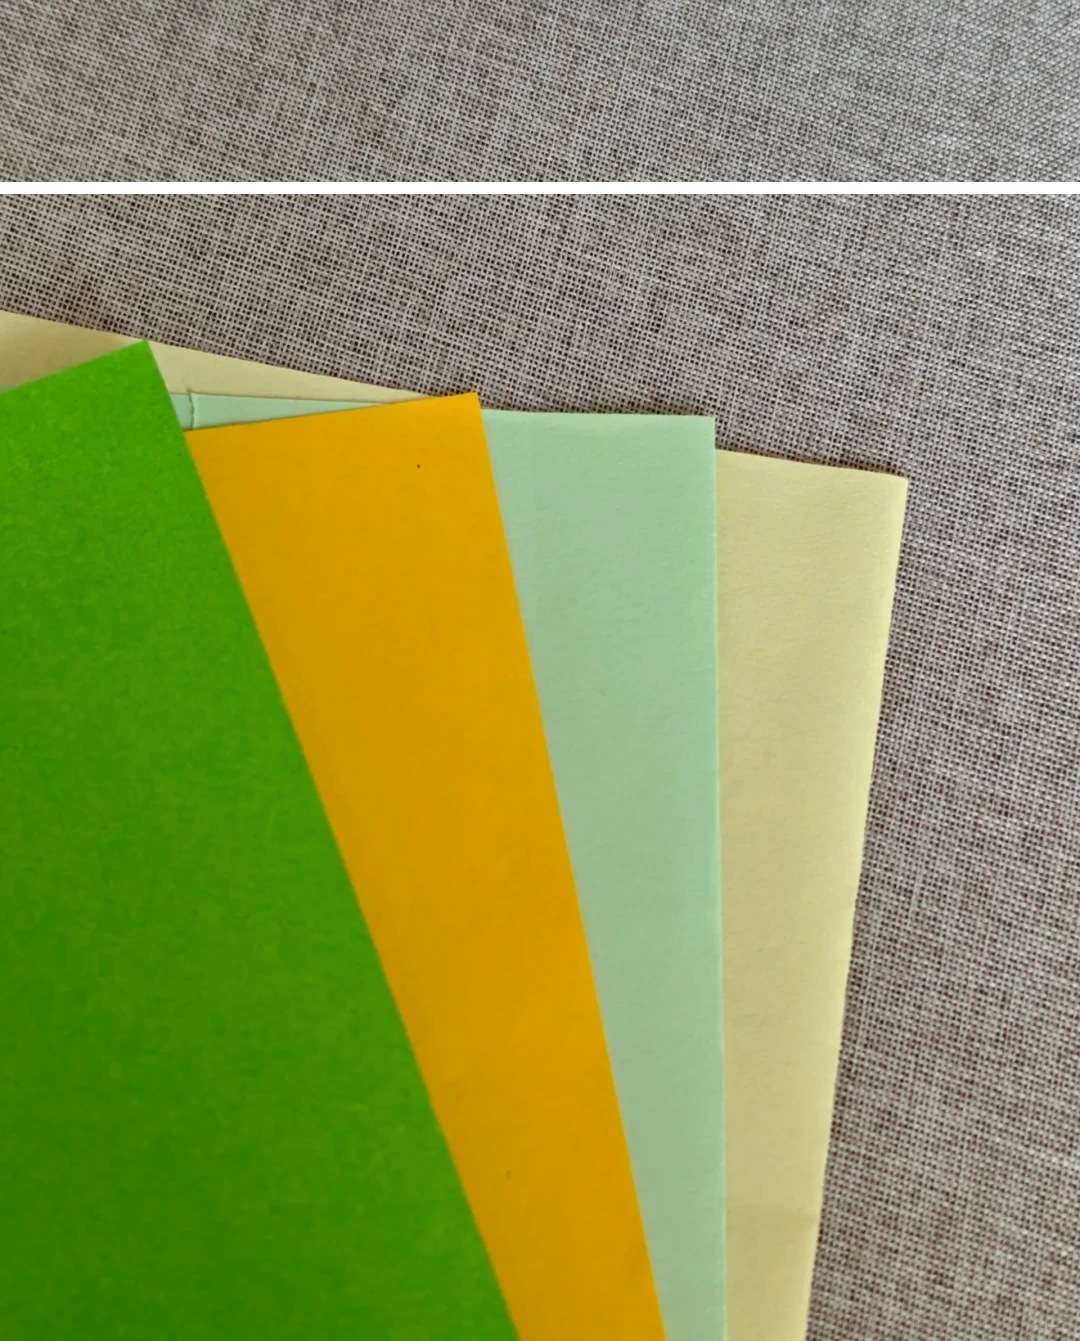
Prepare four paper colors for the tree's layers.
Cut the first strip
 Open image at full size ↗
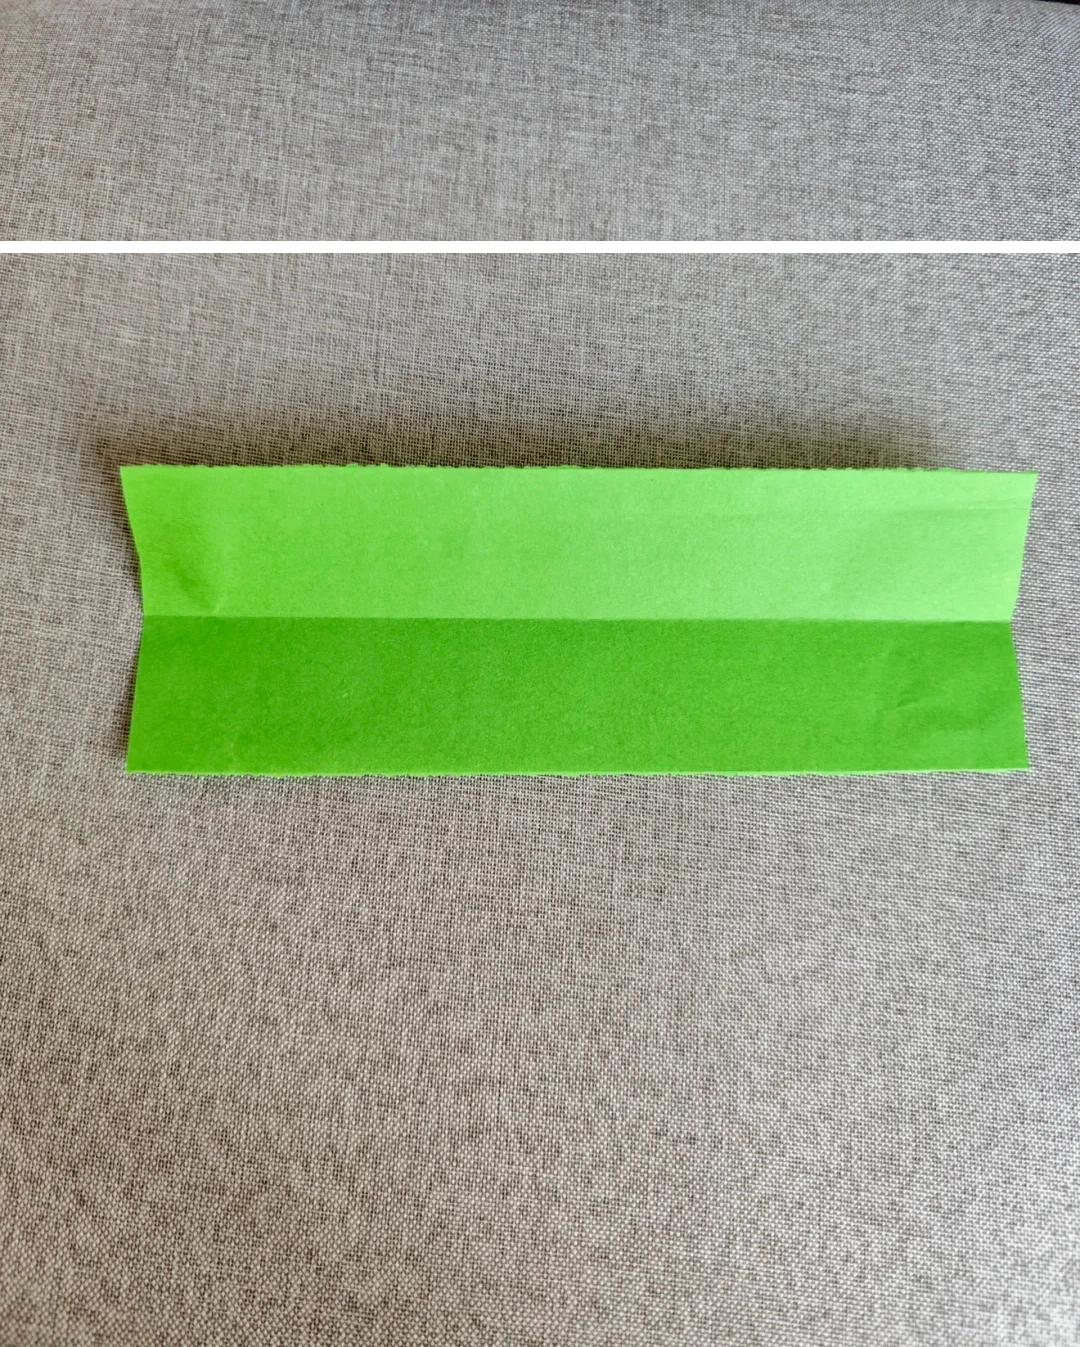
Cut a 21 × 7 cm rectangle from the first color.
Fold lengthwise
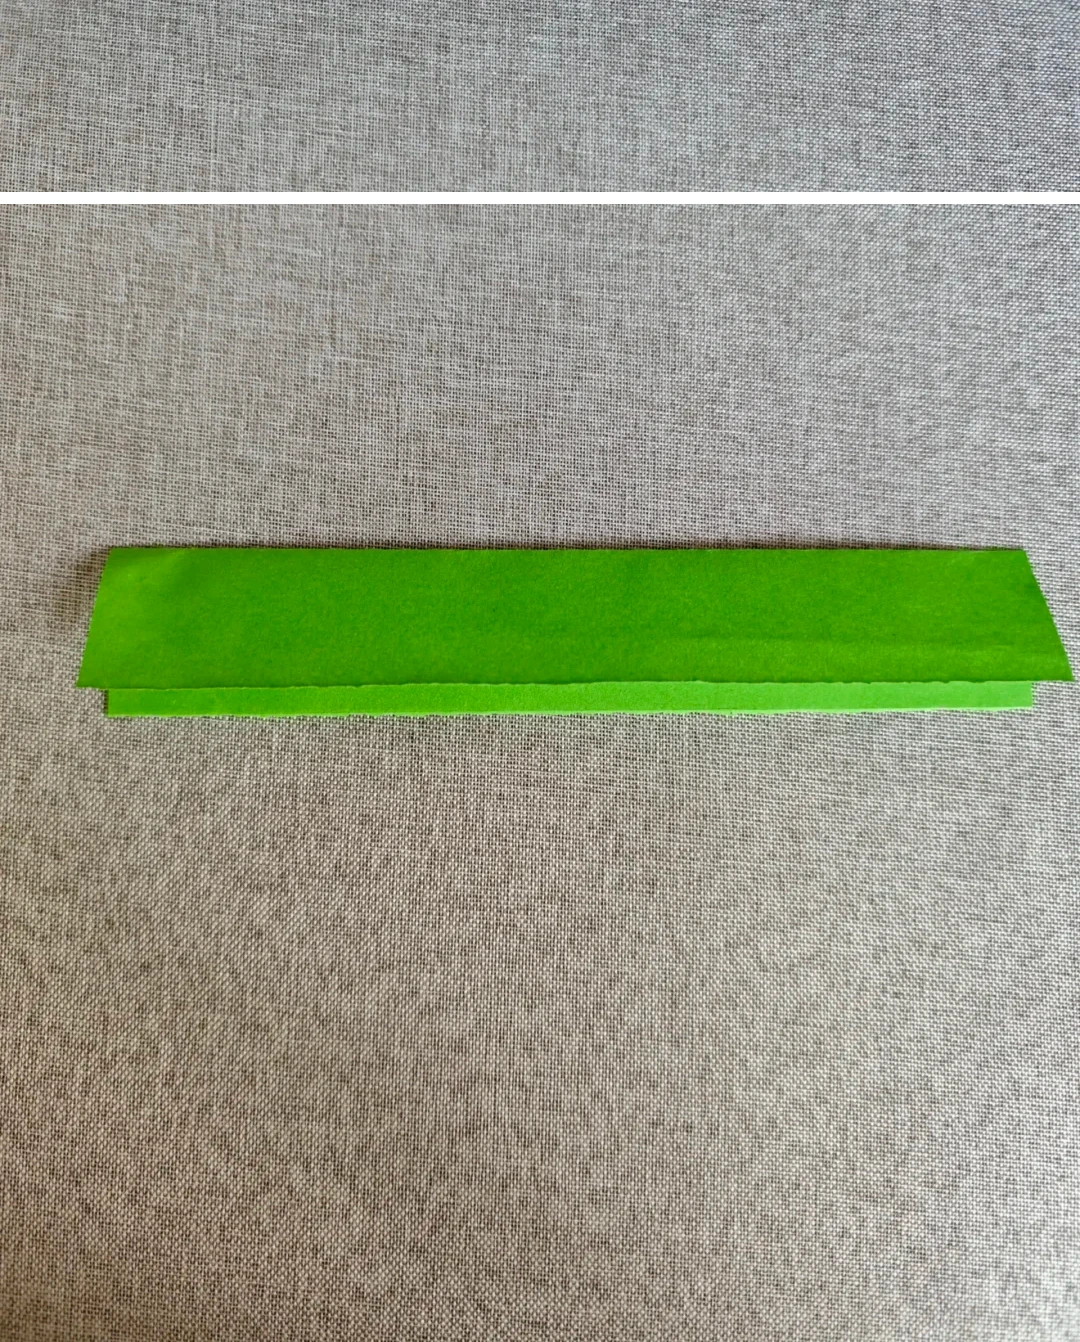 Open image at full size ↗
Fold the rectangle in half along its long edge.
Cut the fringe
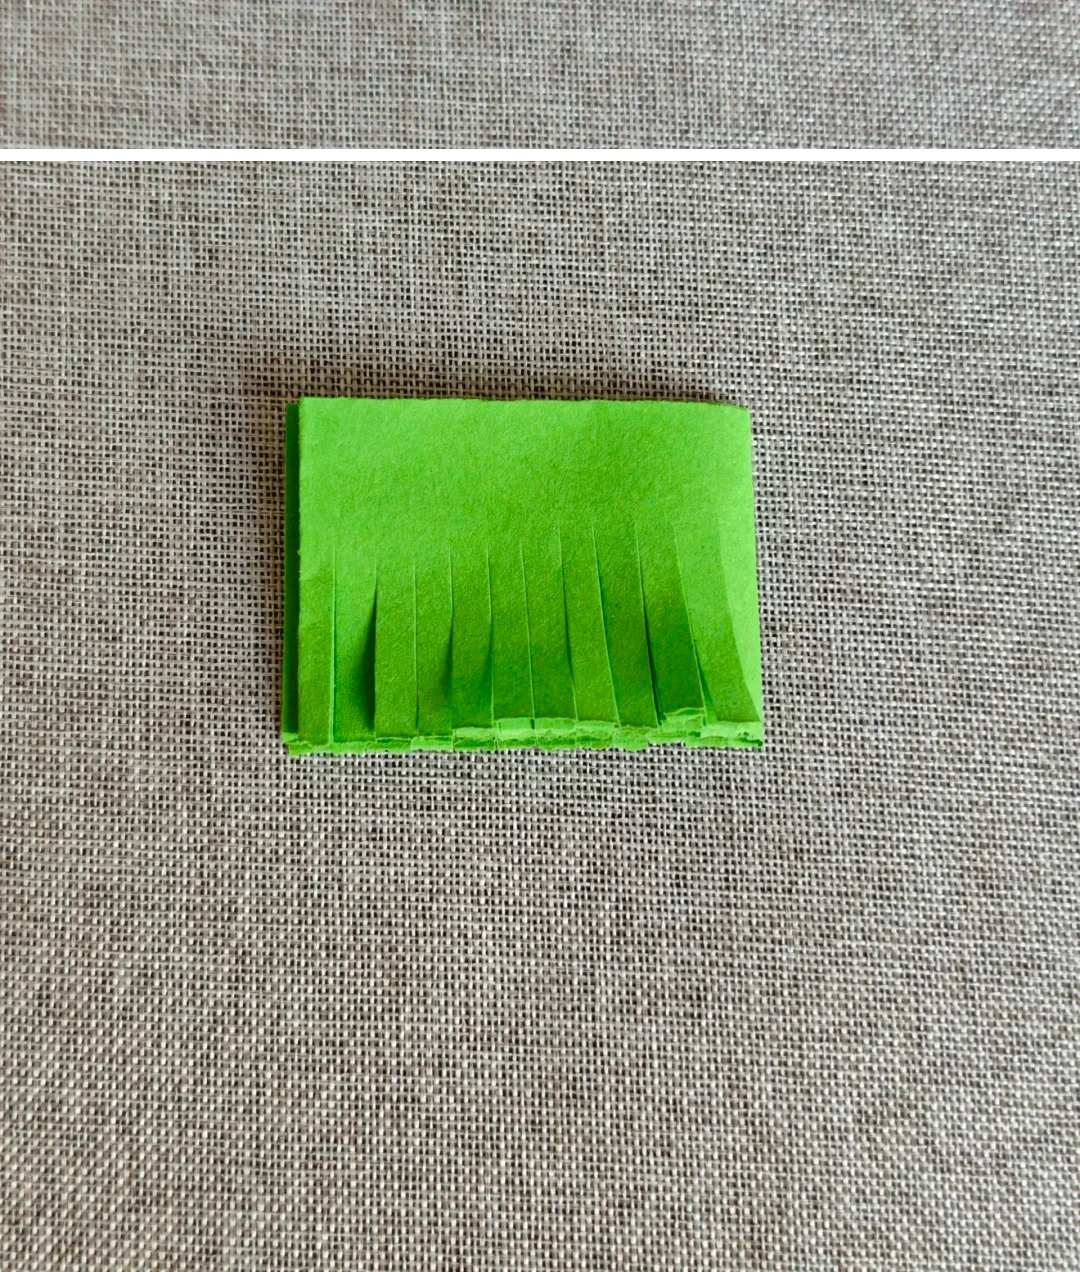 Open image at full size ↗
Fold sideways twice and cut the lower section into narrow strips, keeping the upper band intact.
Open and curl
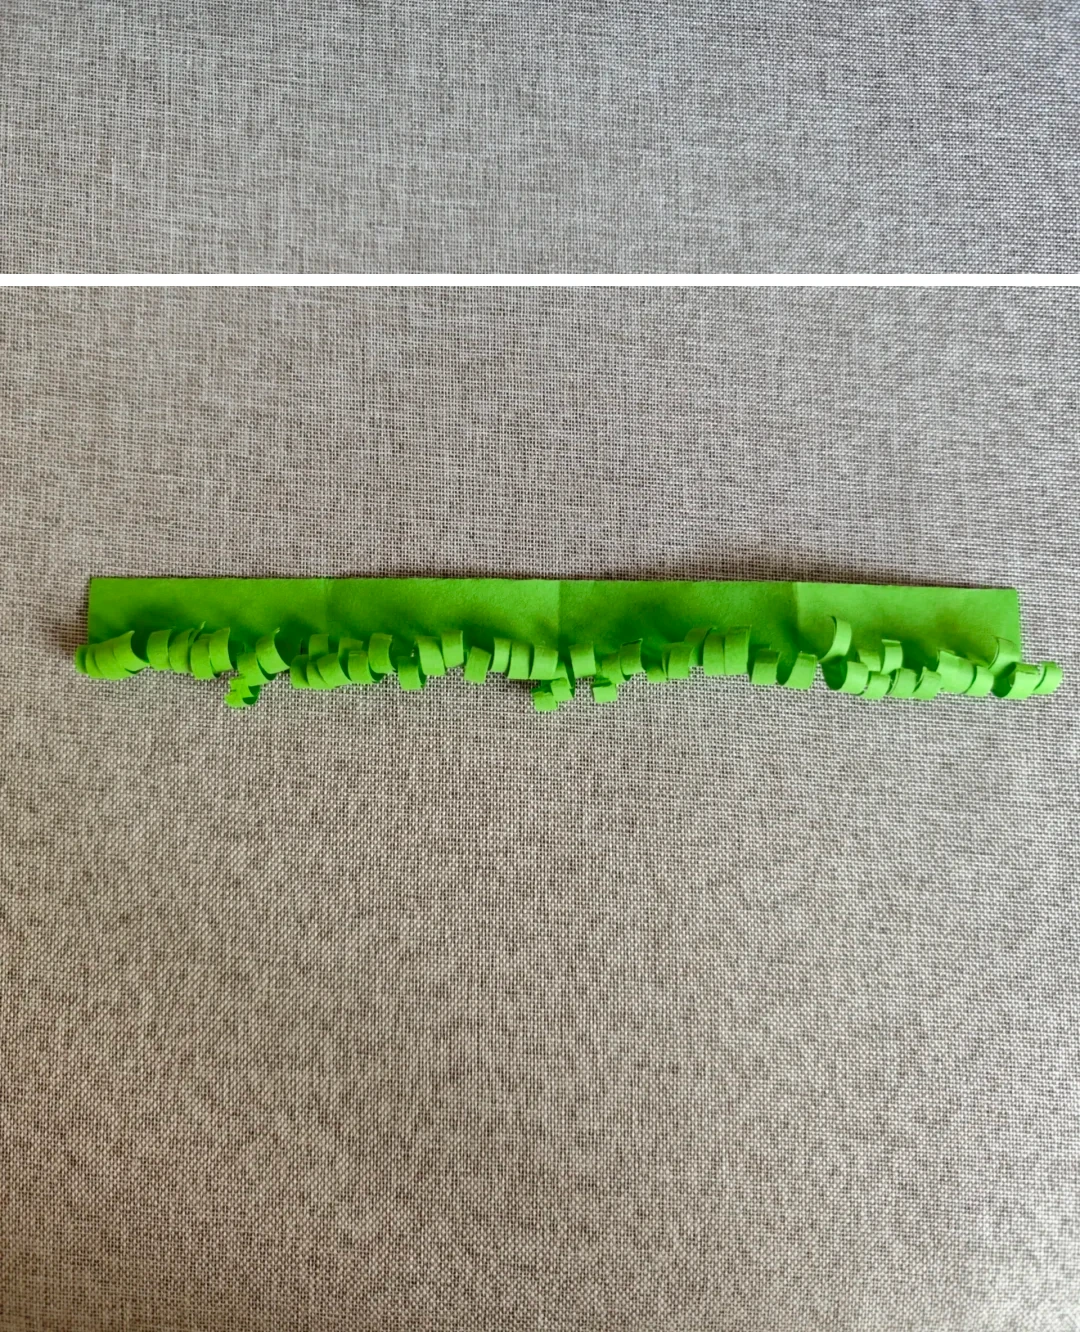 Open image at full size ↗
Open the side folds and curl the fringe gently upward.
Add depth
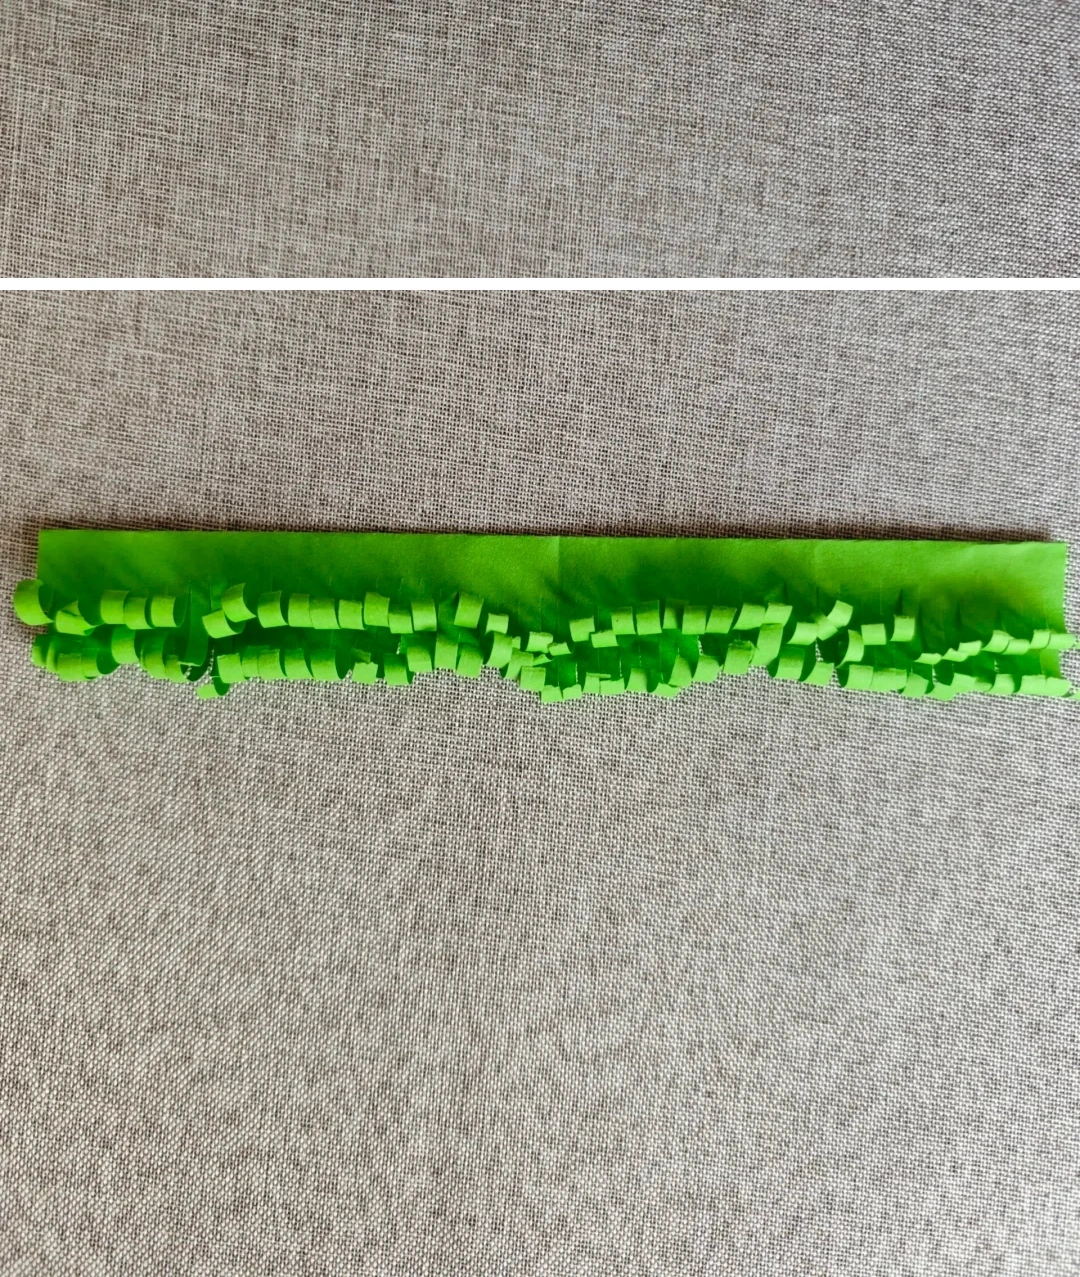 Open image at full size ↗
Fold the fringe upward a little so the curled ends sit at different heights.
Tape the back
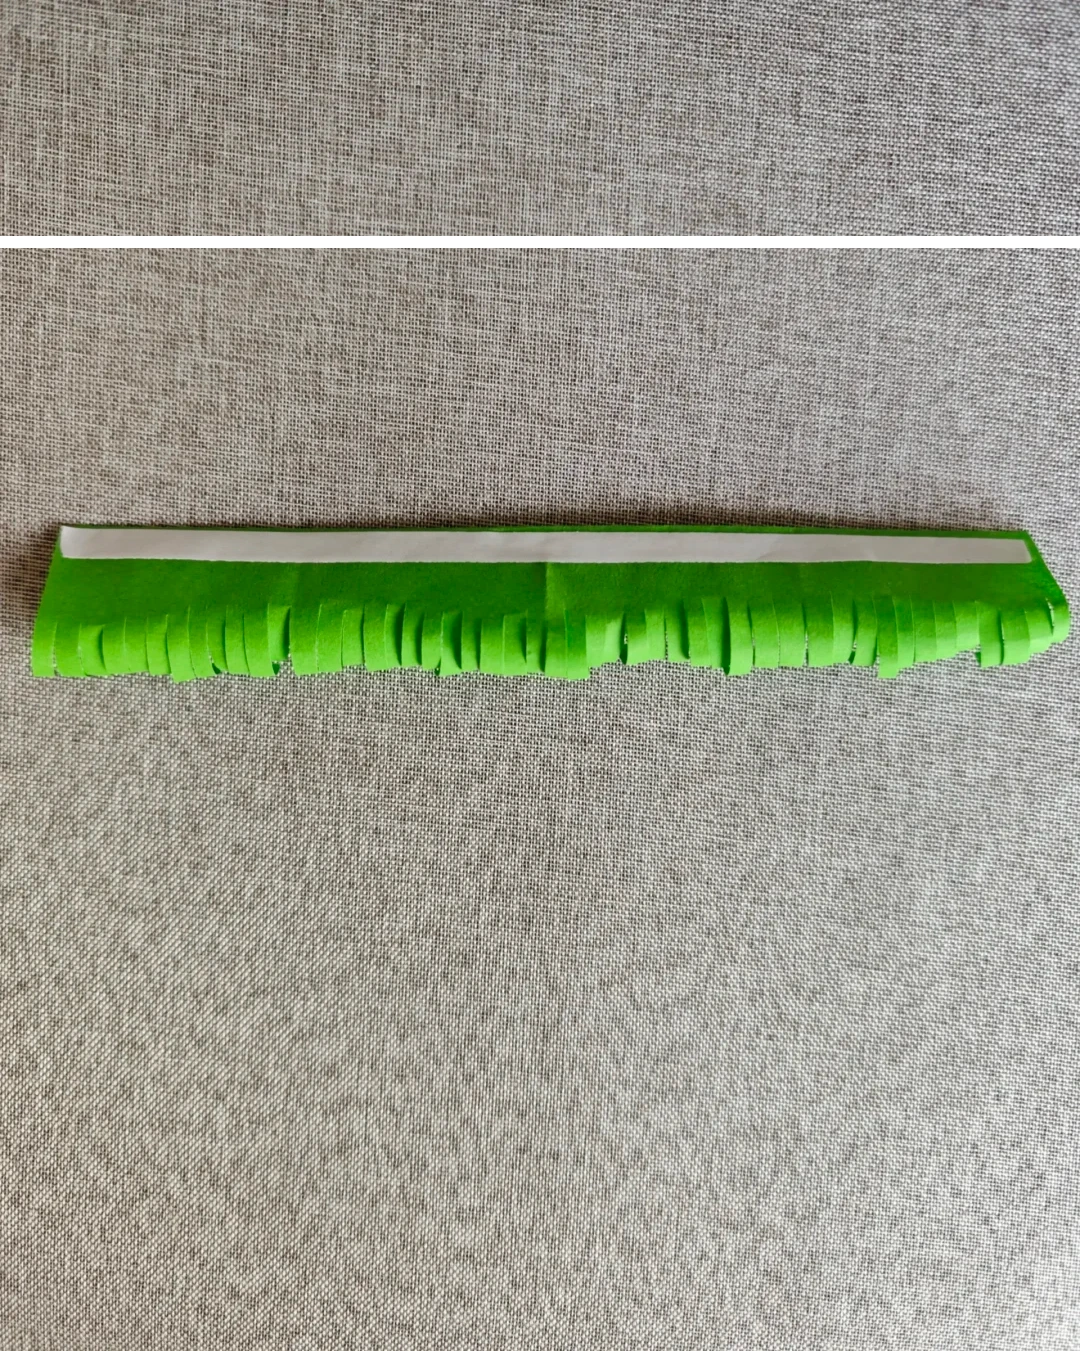 Open image at full size ↗
Place double-sided tape along the upper edge on the reverse.
Attach the bottom layer
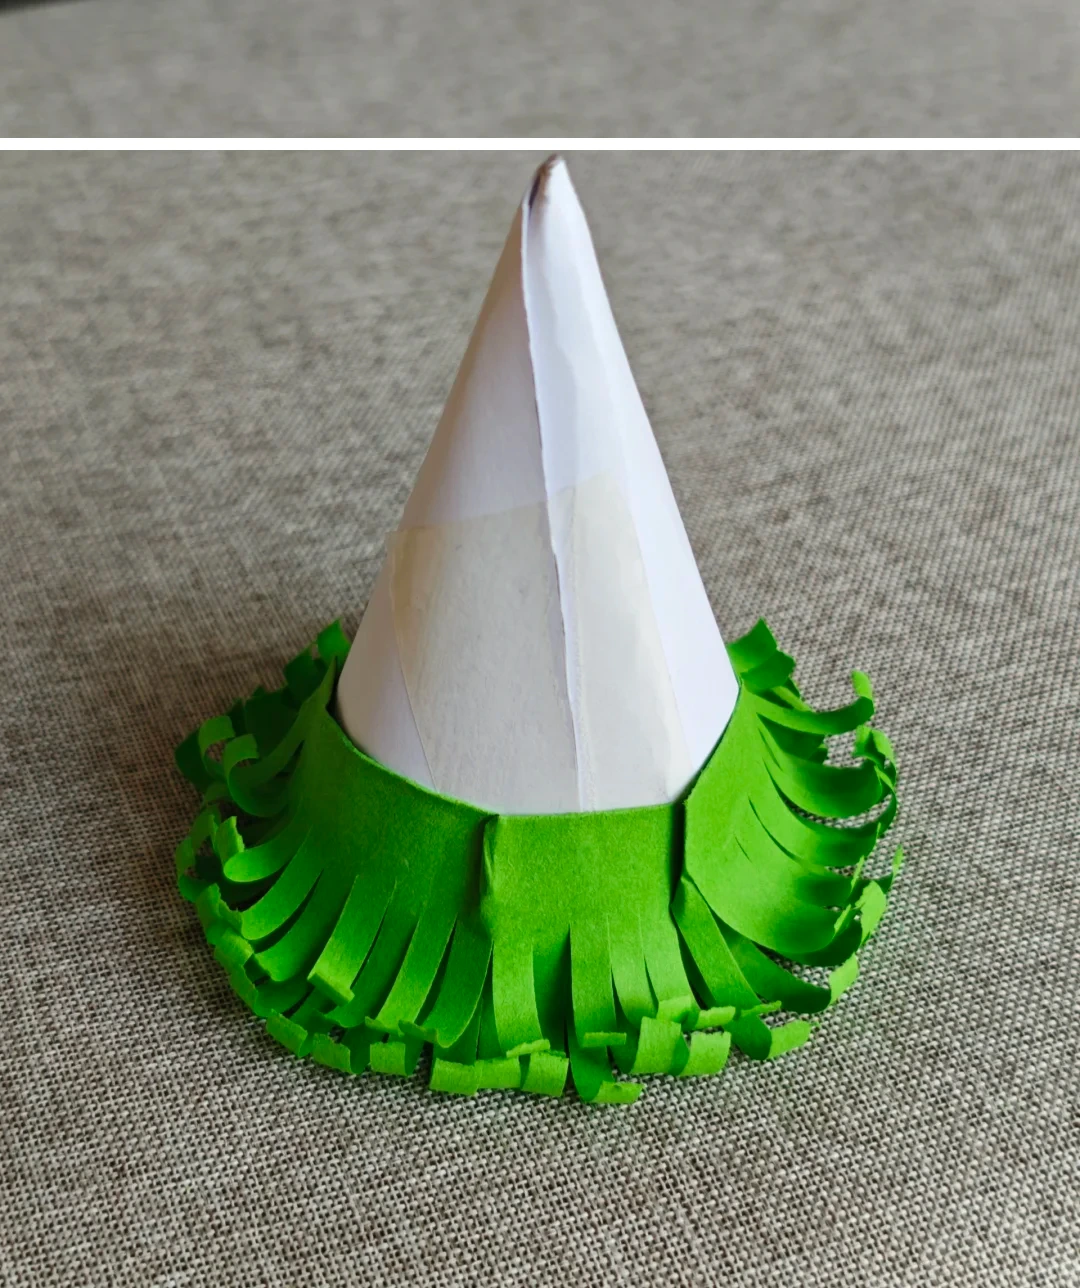 Open image at full size ↗
Wrap the strip around the cone as level as possible and trim the excess length.
Add three more layers
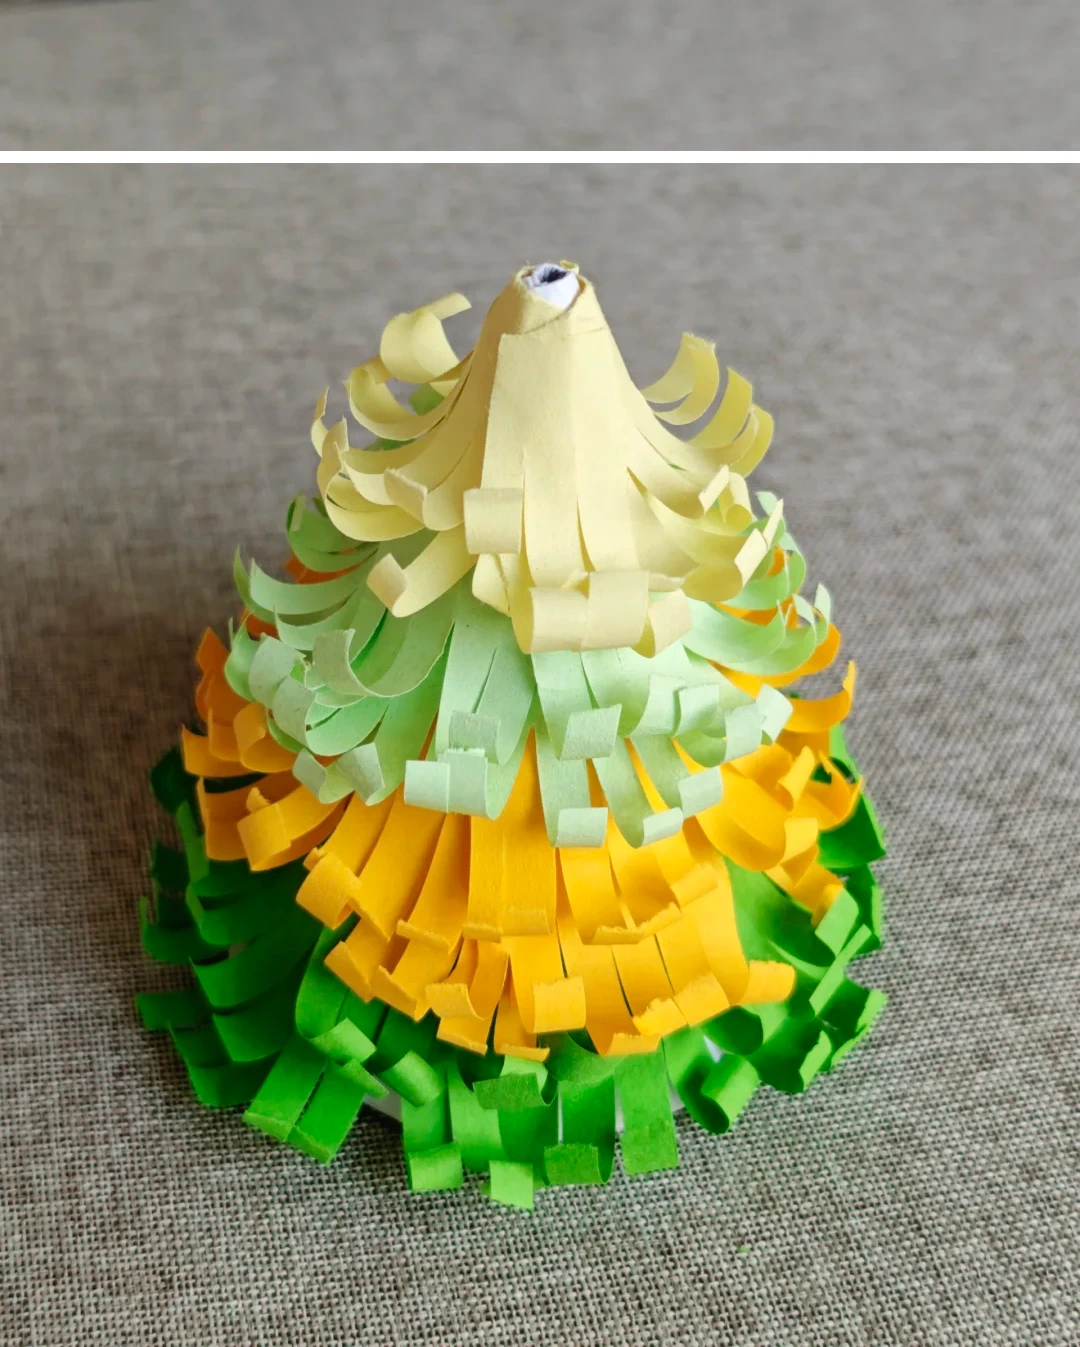 Open image at full size ↗
Repeat with the other colors, working upward and overlapping each lower attachment band.
Add the star
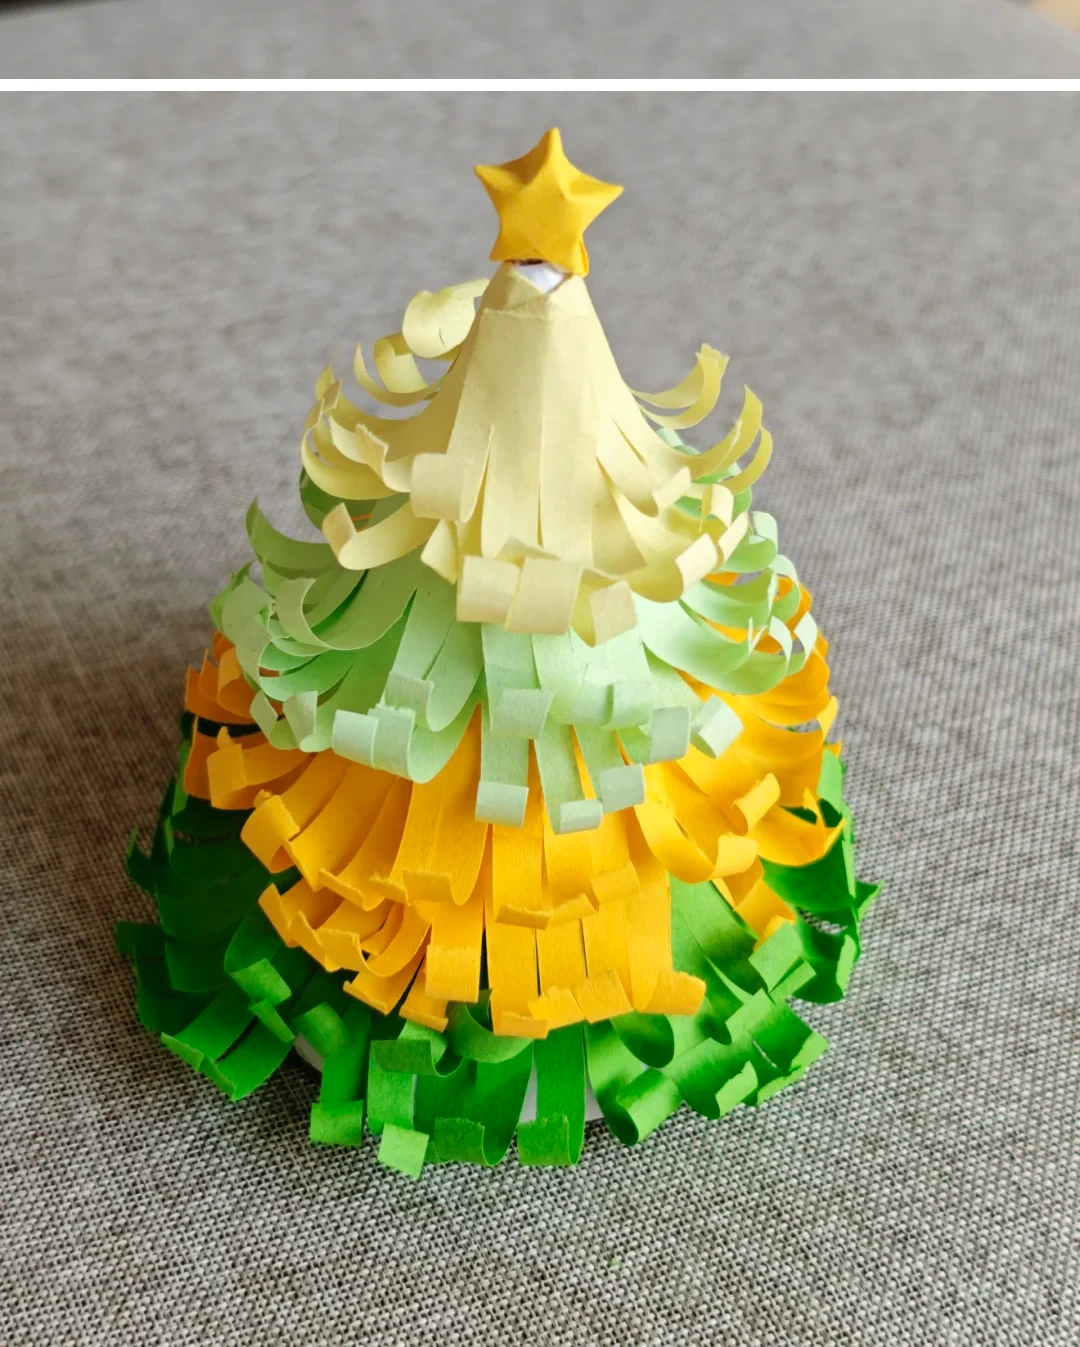 Open image at full size ↗
Glue a premade paper star to the top of the tree.
Follow the diagrams alongside the step-by-step English instructions.
Choose your next project →