
Flowers & nature · Step-by-step guide
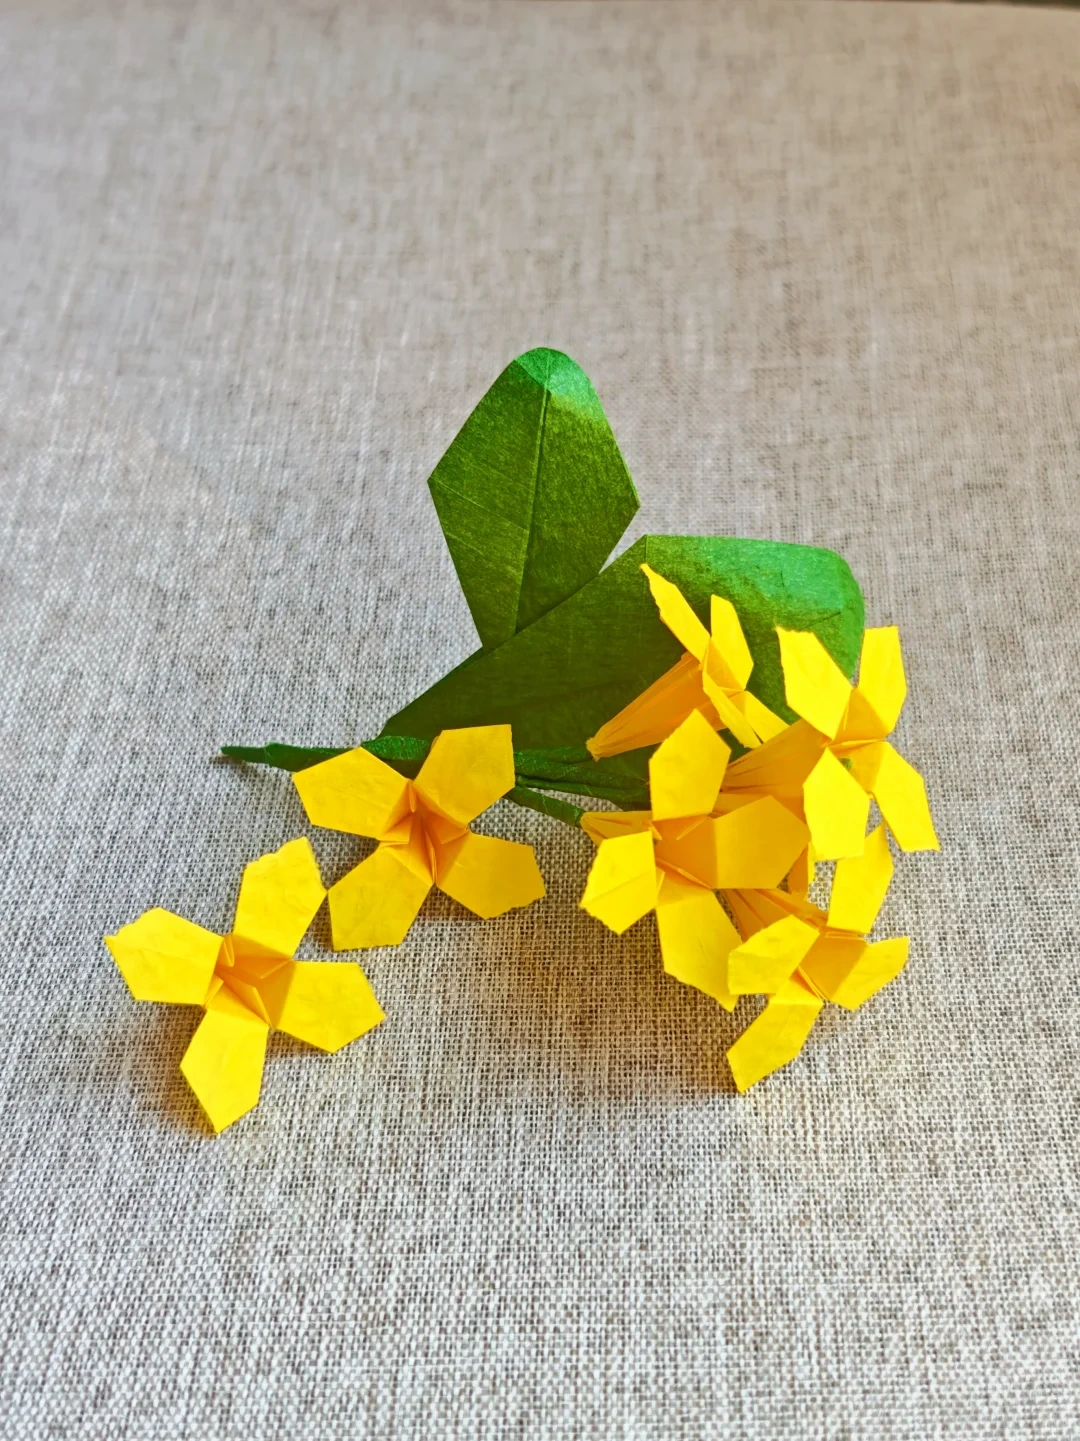
Four-Petal Osmanthus Blossom
Fold a compact four-petal blossom by opening the layers of a narrow, creased base.
What you’ll need
- One square of paper
Origami · Creasing, collapse folds & shaping
Make it, step by step.
14 steps · Original diagrams with English instructions
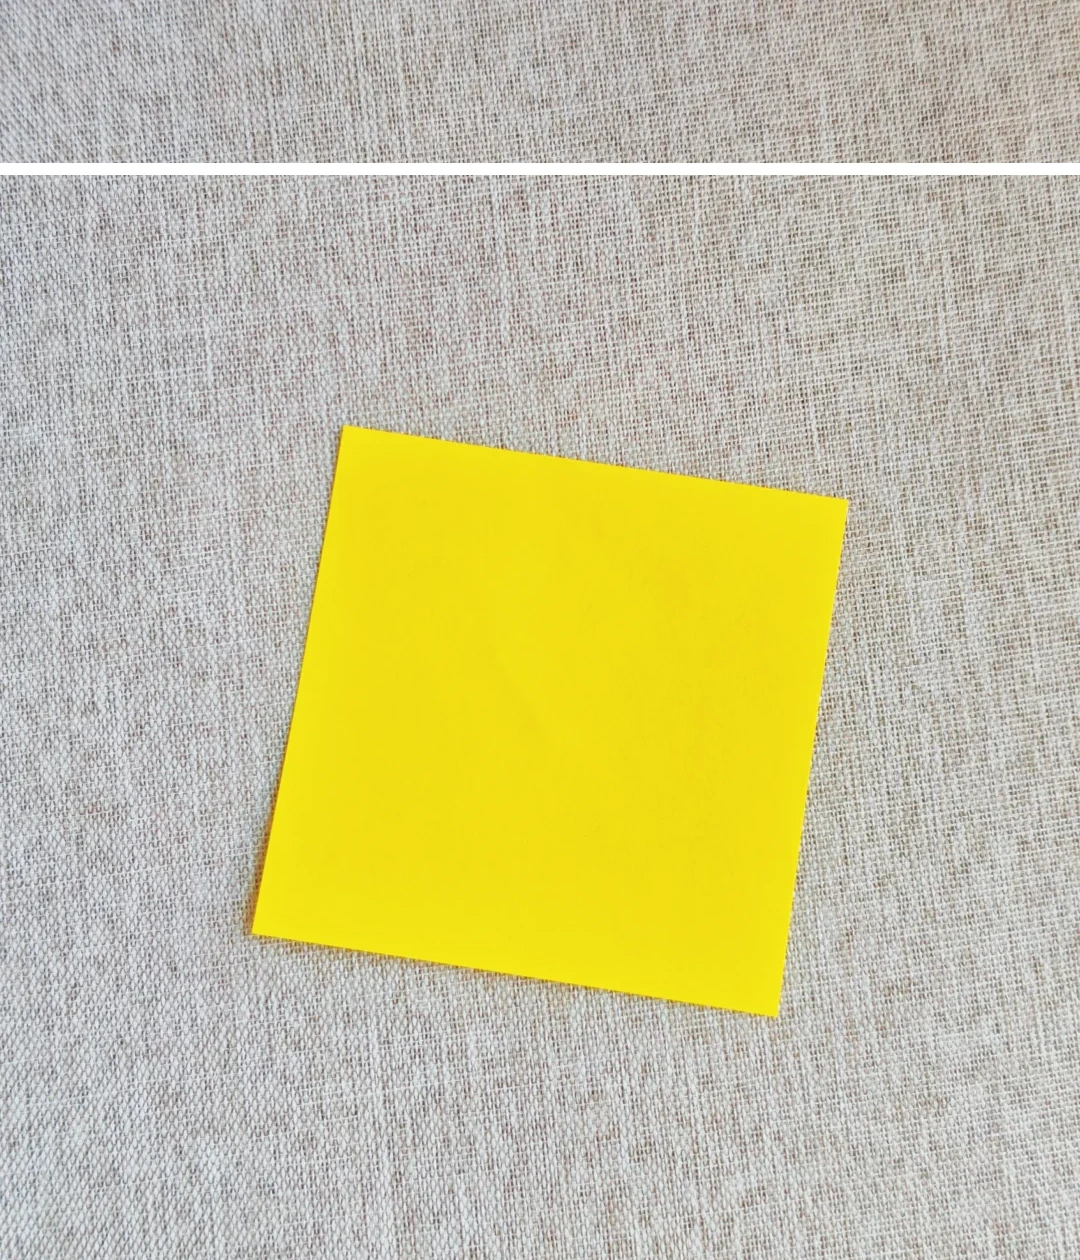
Prepare the paper
 Open image at full size ↗
Use one thin square for each blossom.
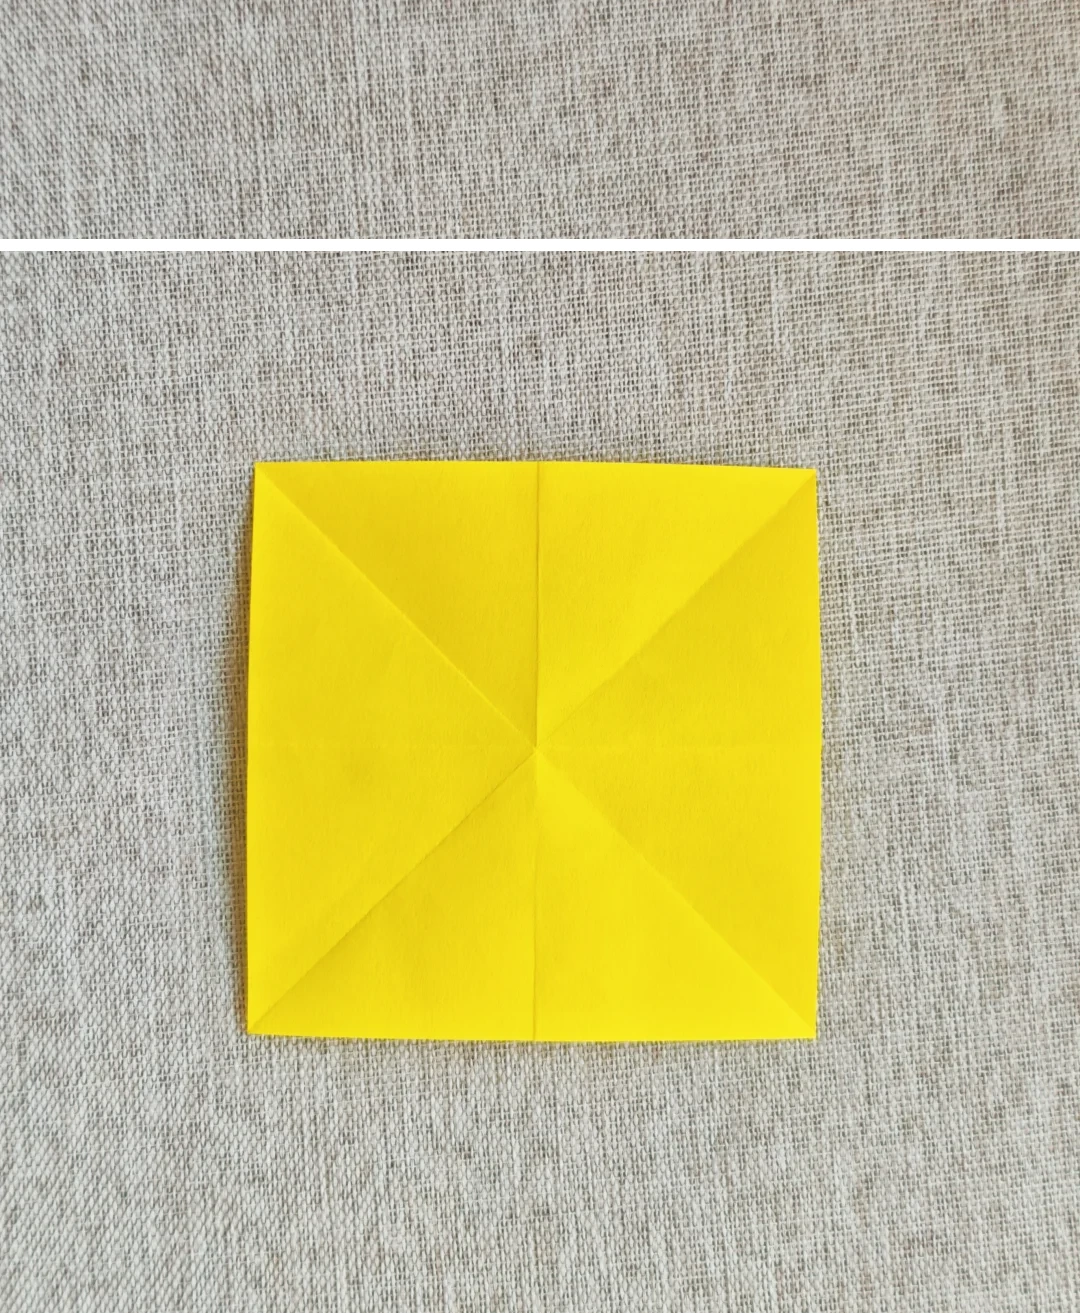
Crease the square
 Open image at full size ↗
Fold and unfold both midlines and both diagonals.
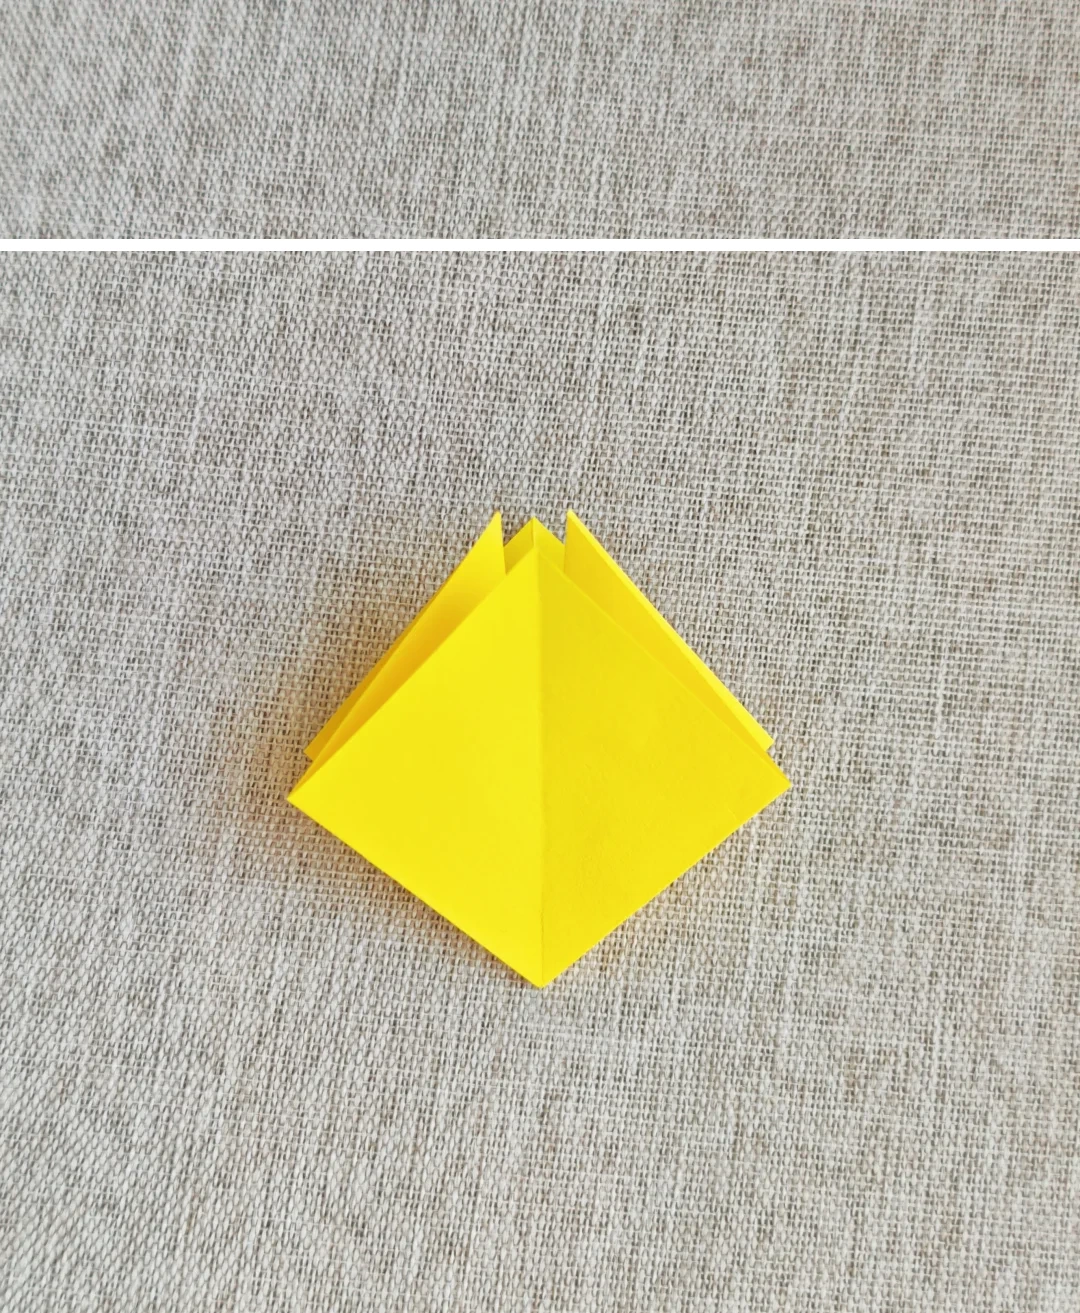
Collapse the base
 Open image at full size ↗
Bring the creases together into the layered base shown.
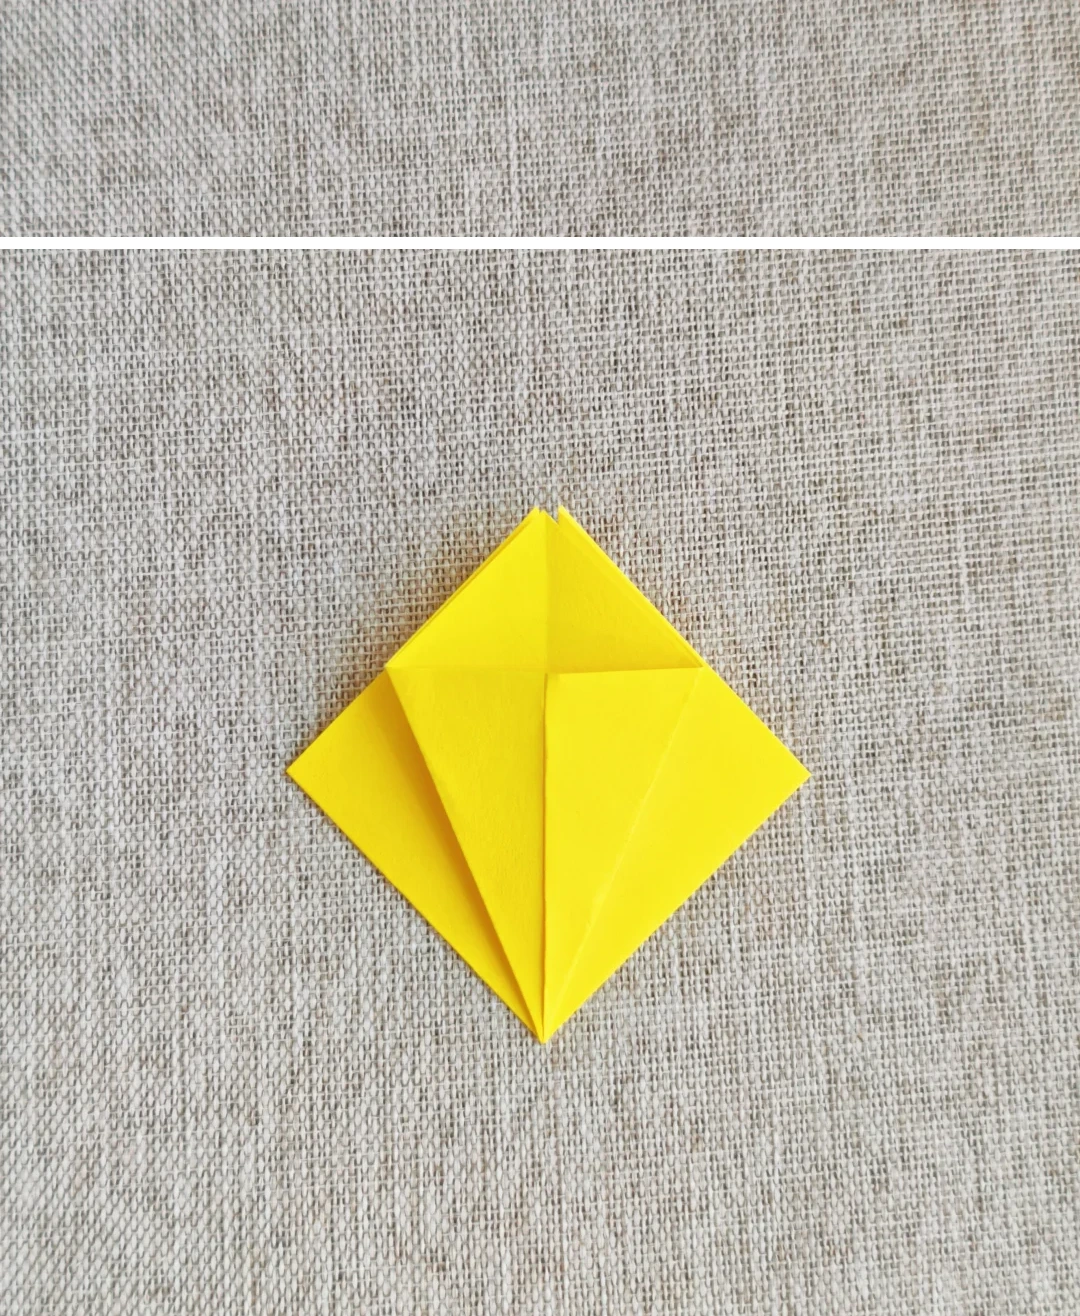
Fold to the middle
 Open image at full size ↗
Bring both side edges to the center crease.
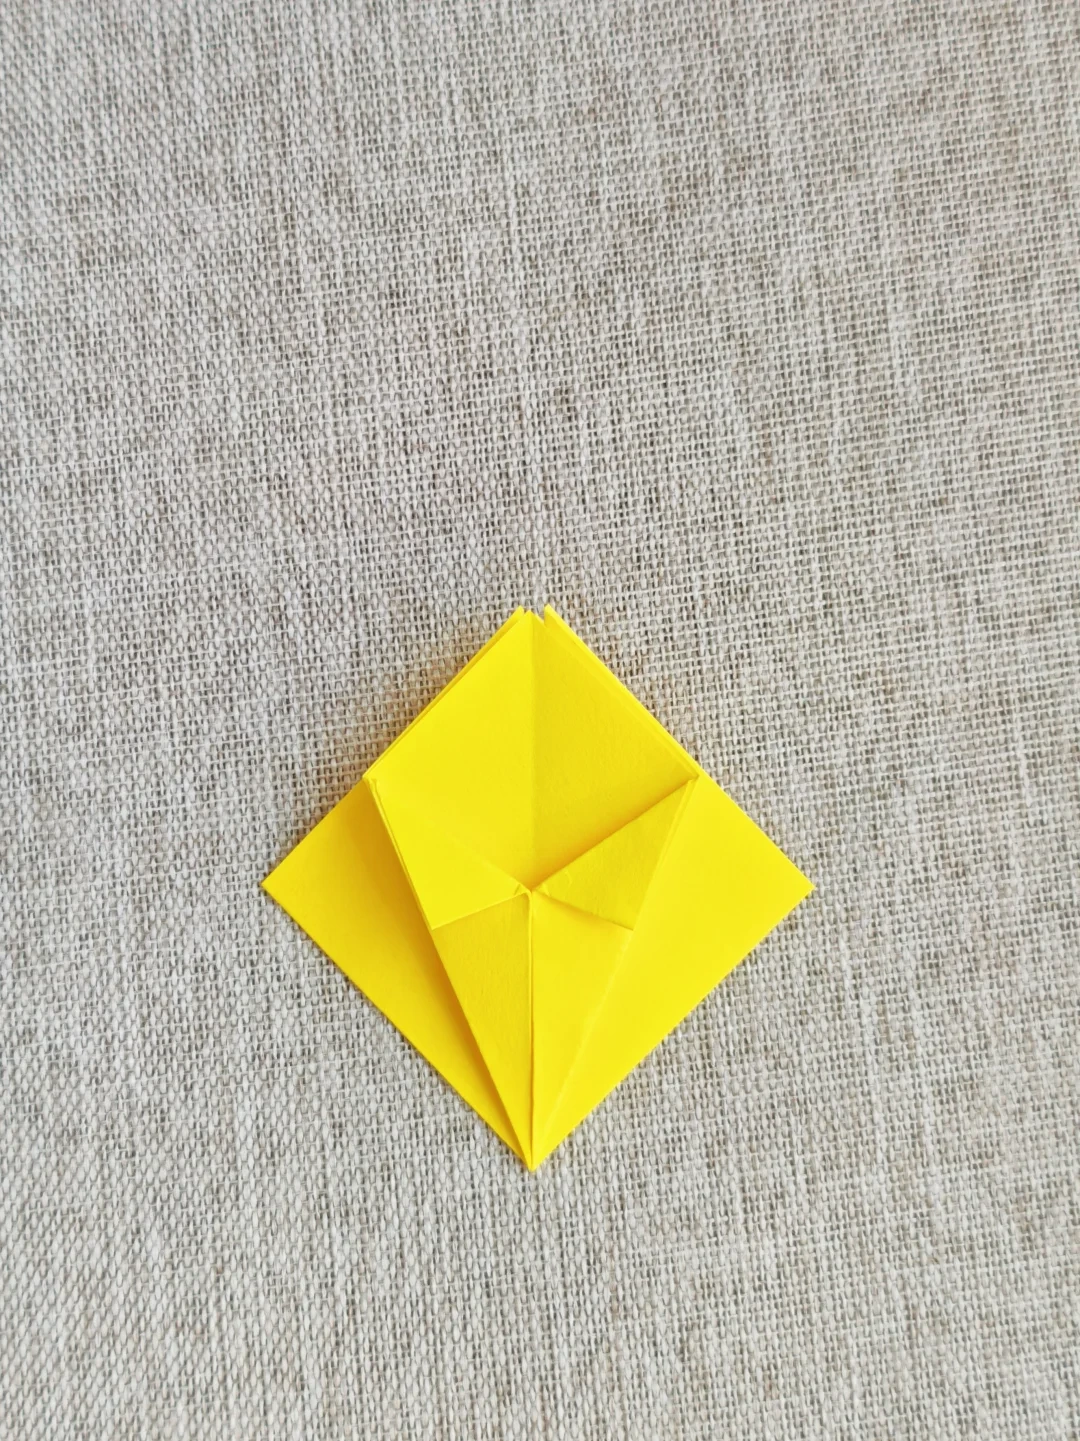
Open and flatten
 Open image at full size ↗
Fold the upper triangular flap down over the two folded edges.
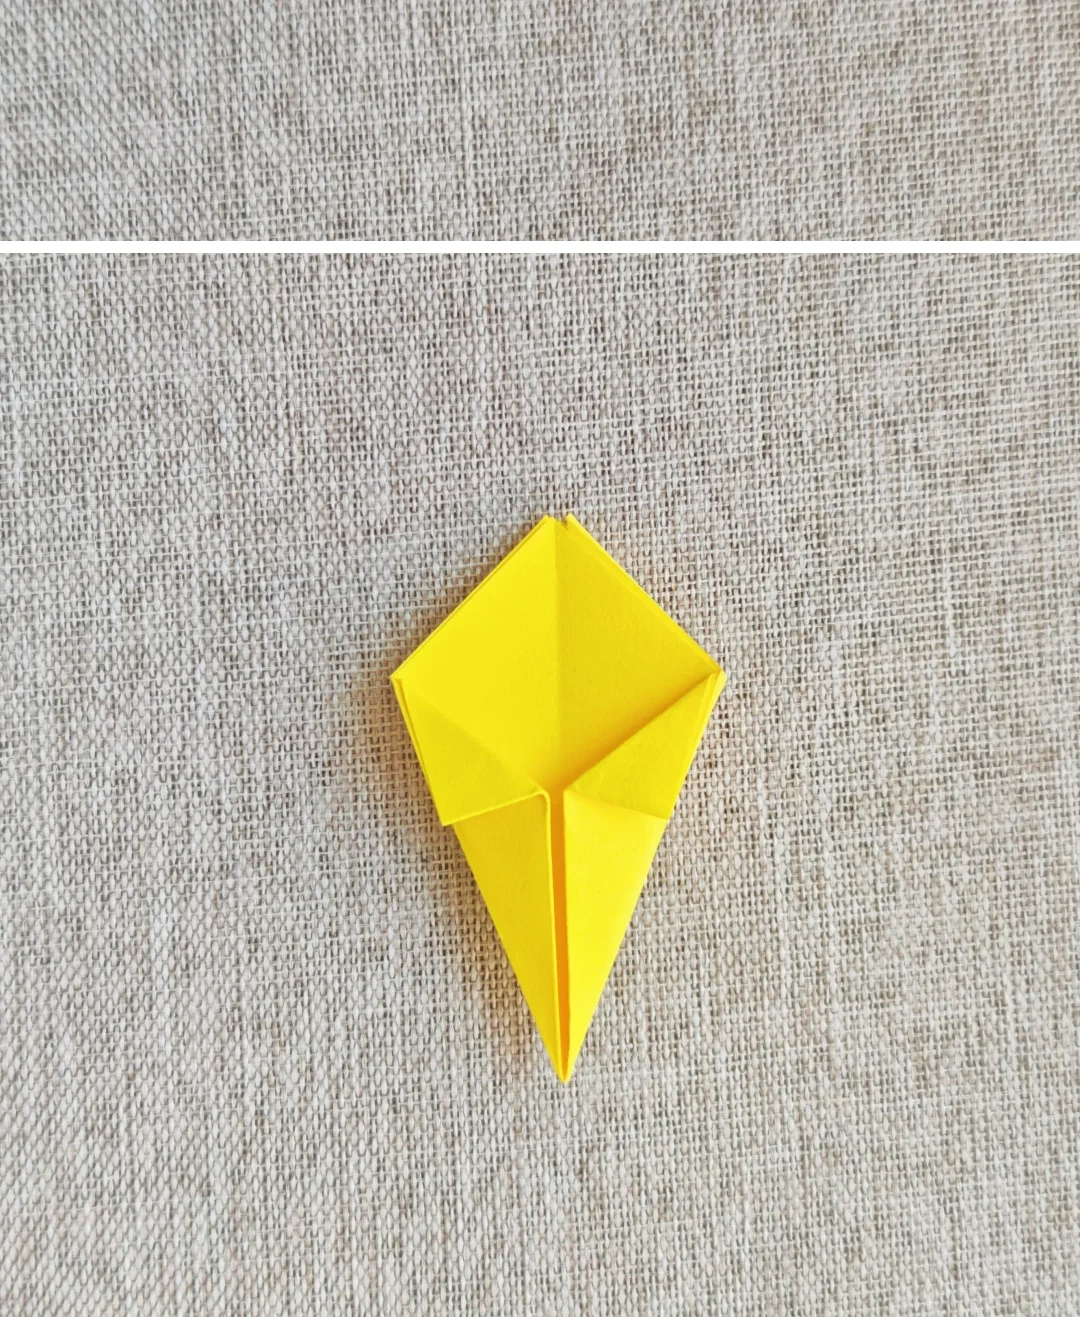
Repeat on the back
 Open image at full size ↗
Make the same folds on the reverse side.
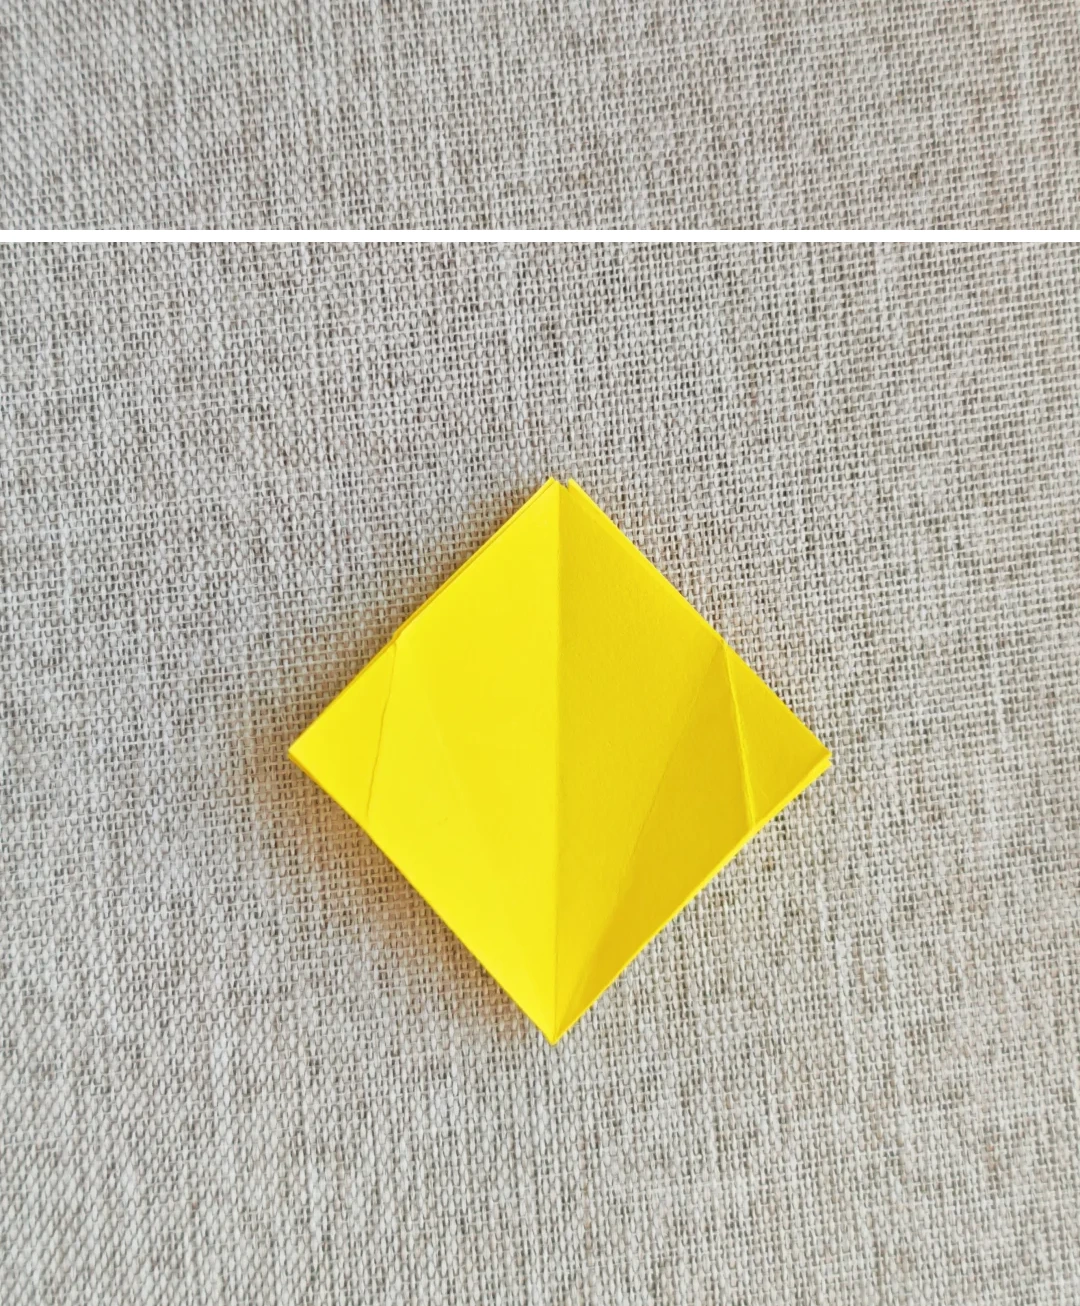
Open the layers
 Open image at full size ↗
Turn the folded layers like pages to expose a plain diamond-shaped face.
Flatten one pocket
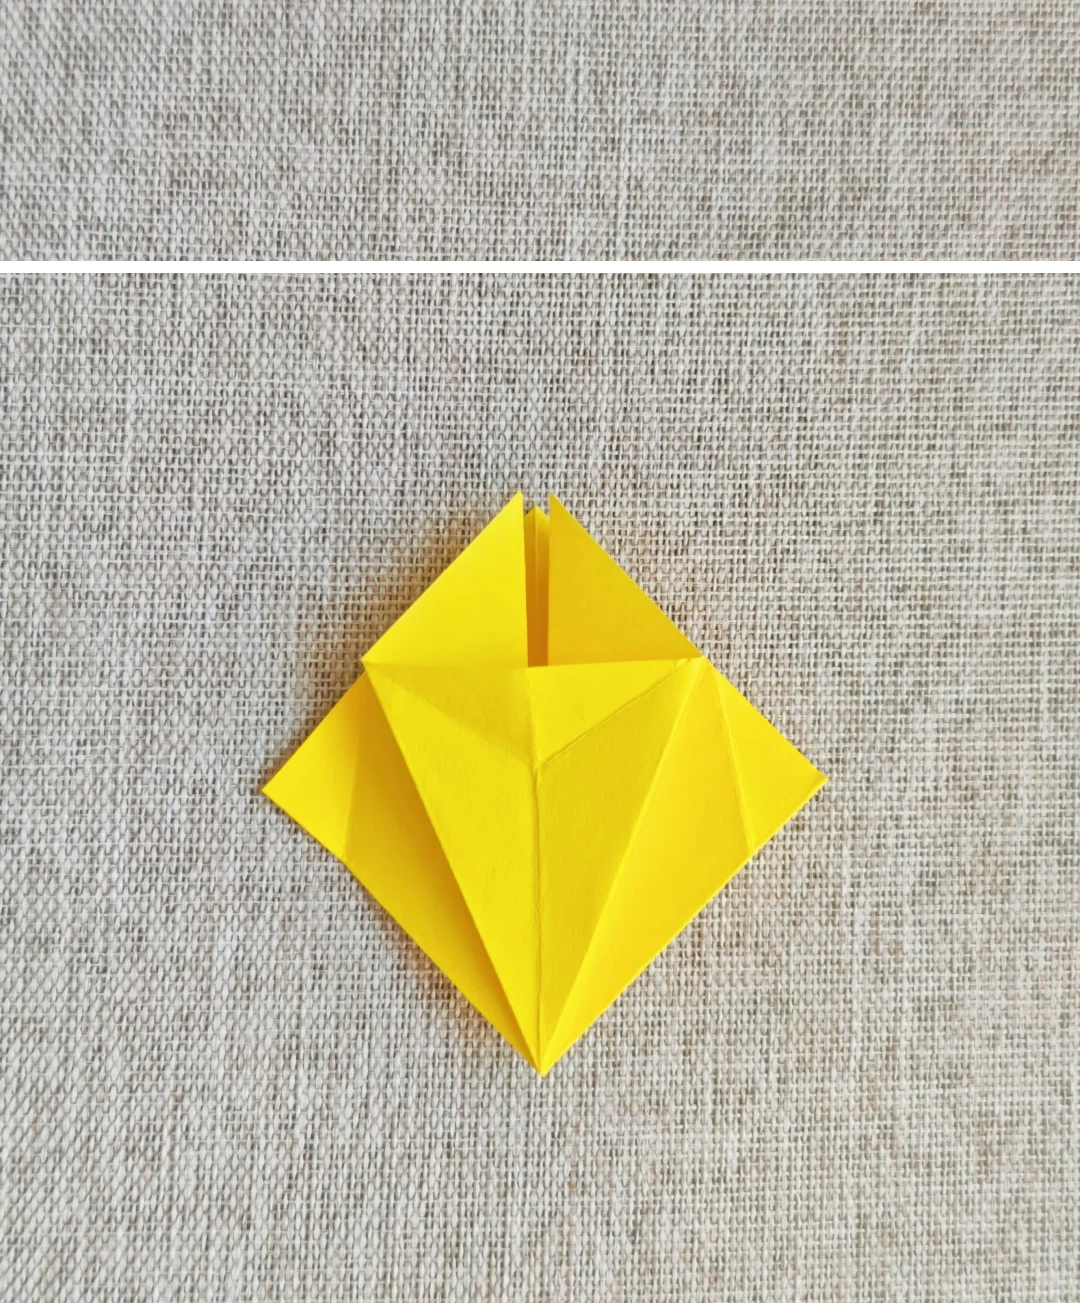 Open image at full size ↗
Open one side along its creases and press it flat.
Fold the pocket in half
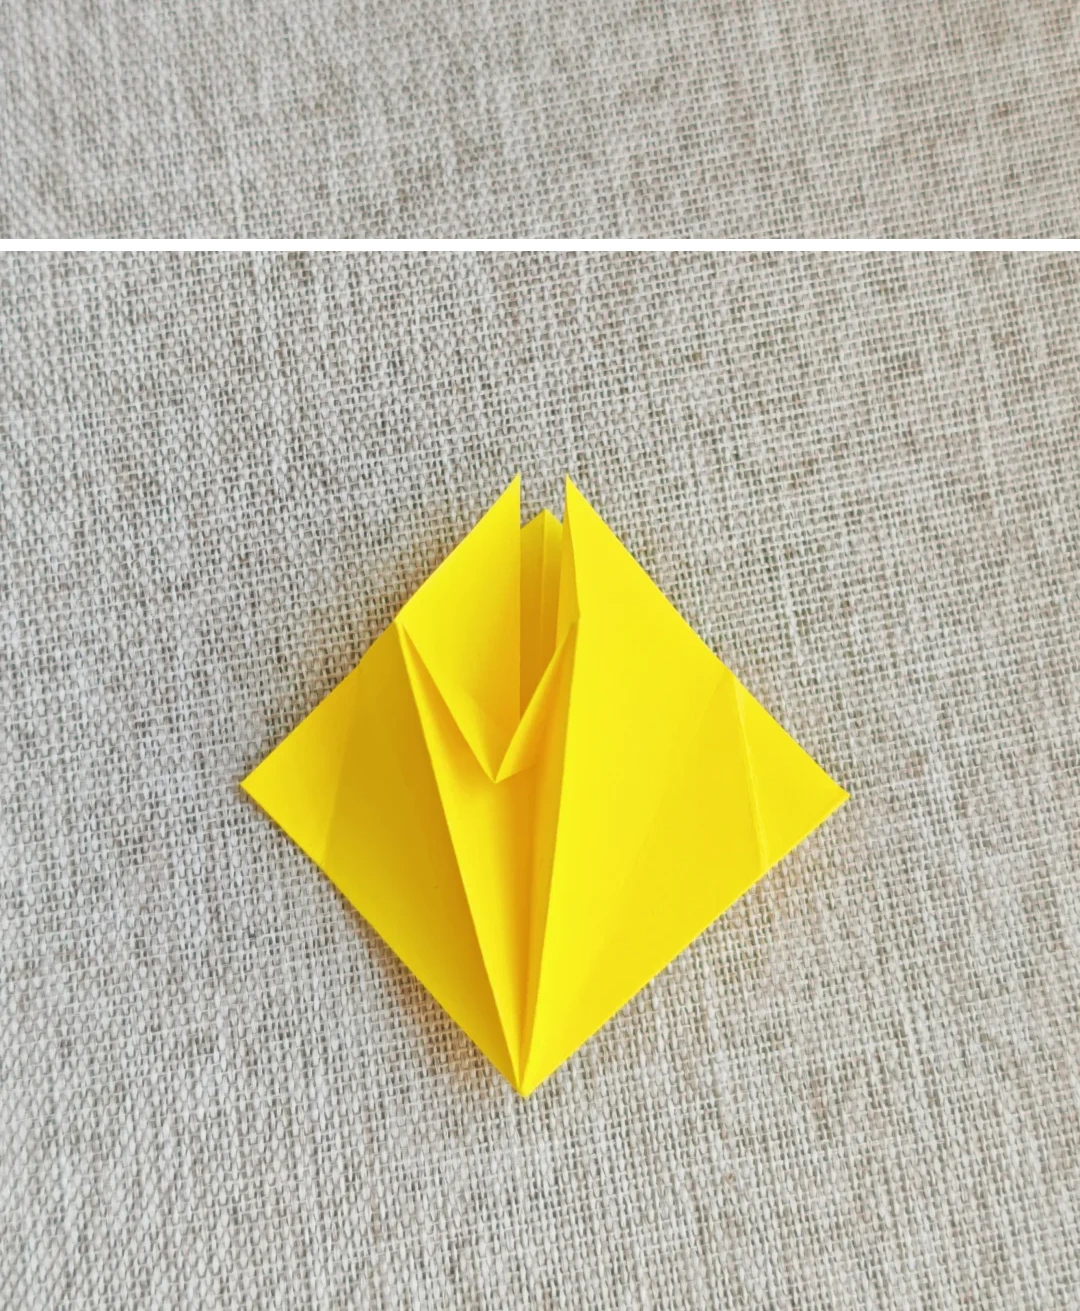 Open image at full size ↗
Fold the flattened section over along its center.
Repeat around the base
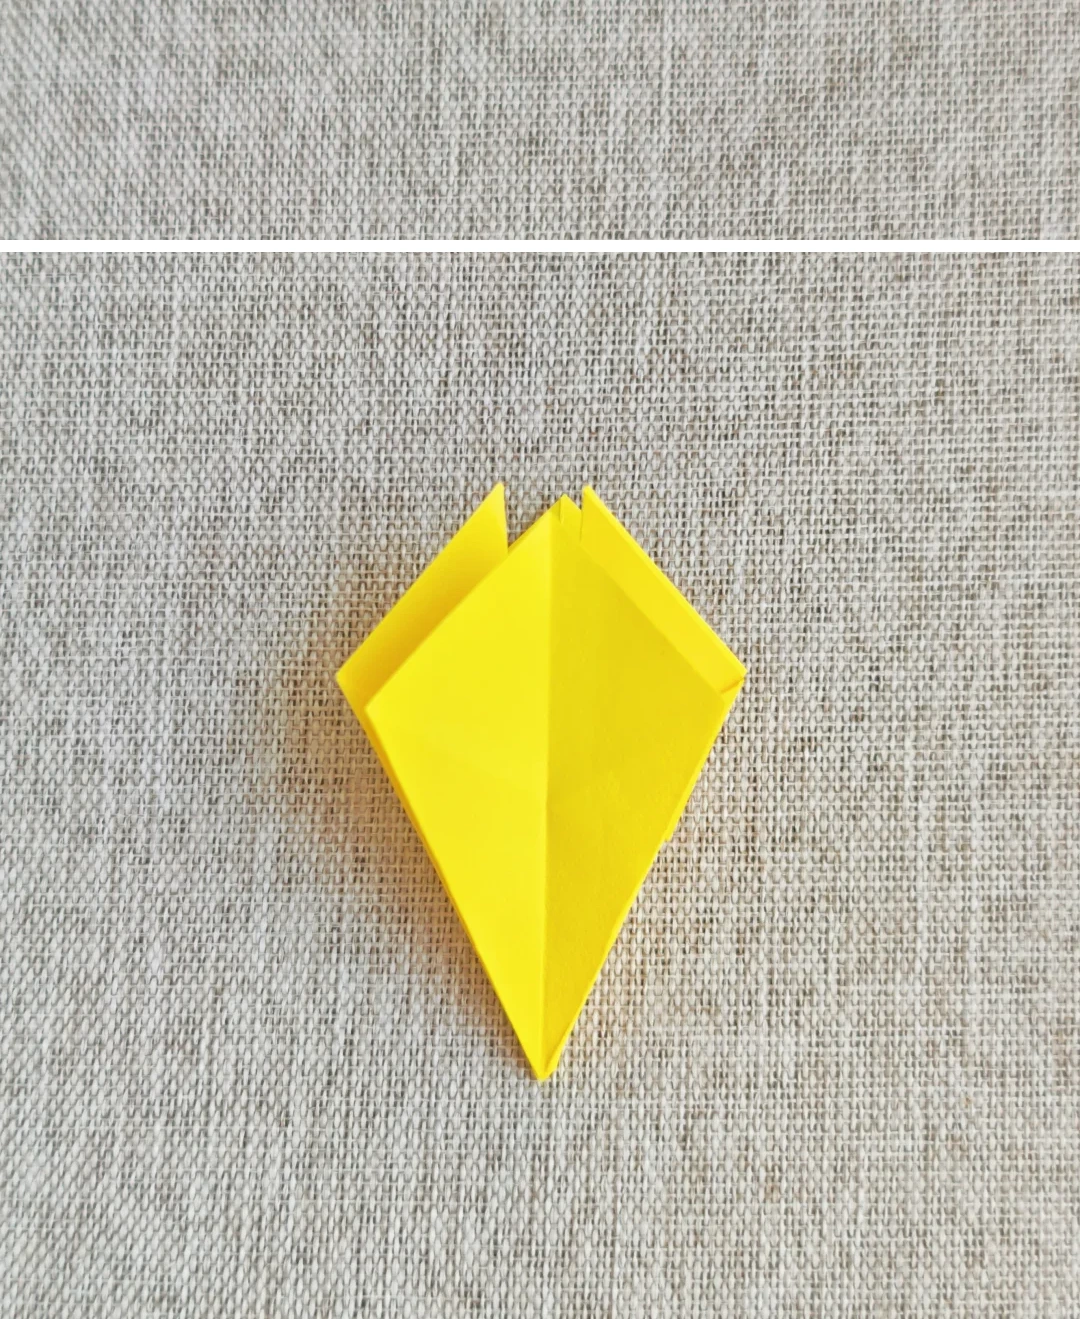 Open image at full size ↗
Repeat the pocket fold on the remaining sides.
Narrow the flaps
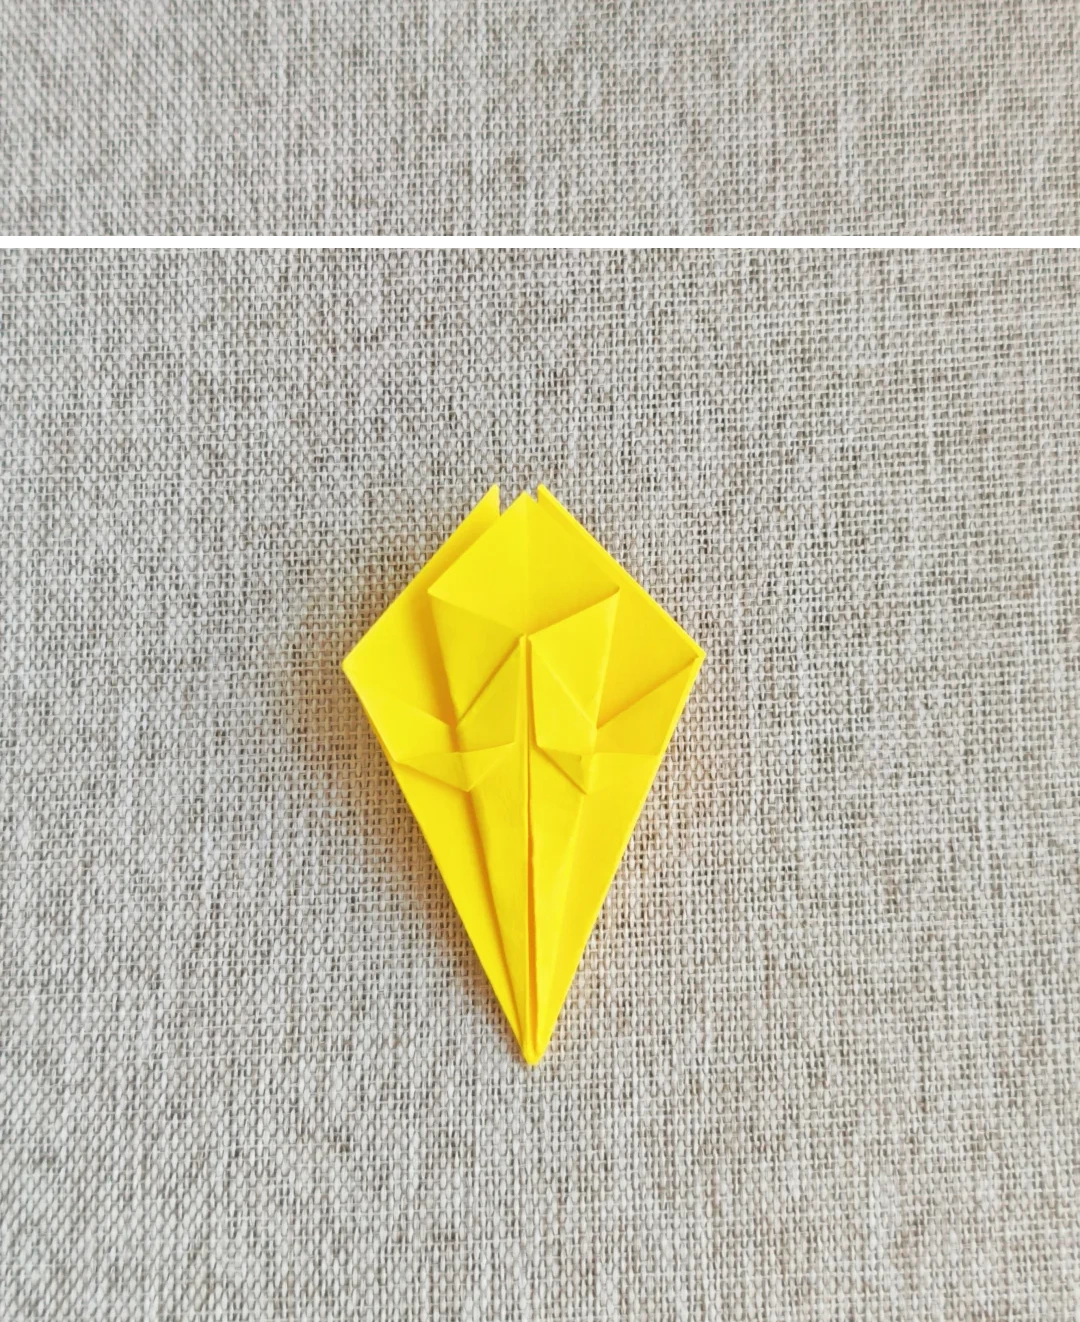 Open image at full size ↗
Fold both side edges toward the middle.
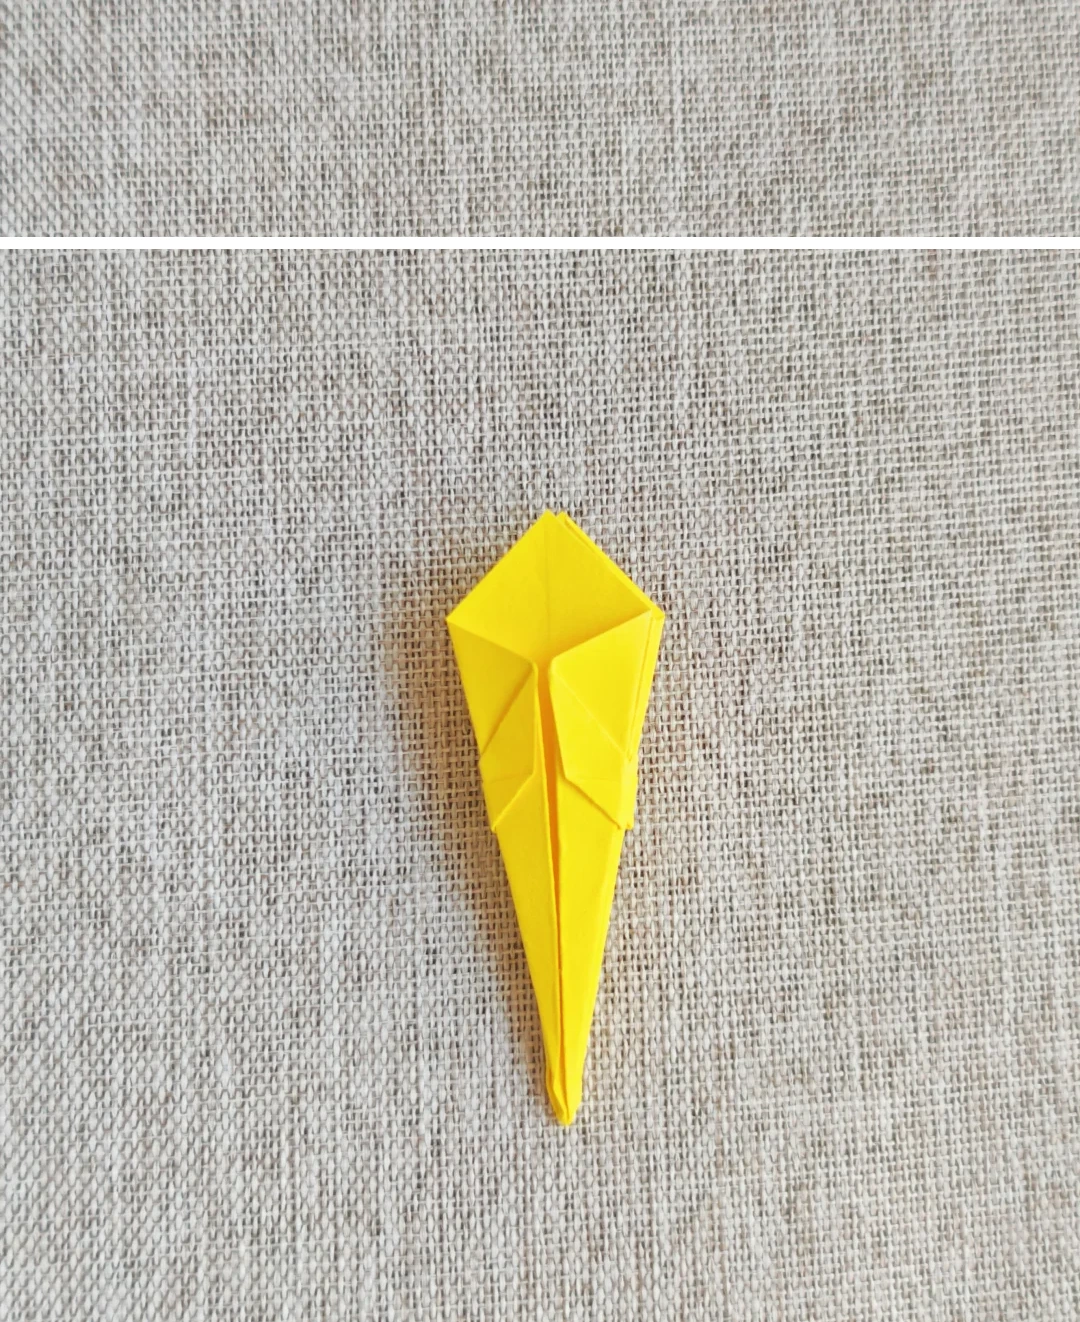
Repeat the narrow folds
 Open image at full size ↗
Repeat on every face of the model.
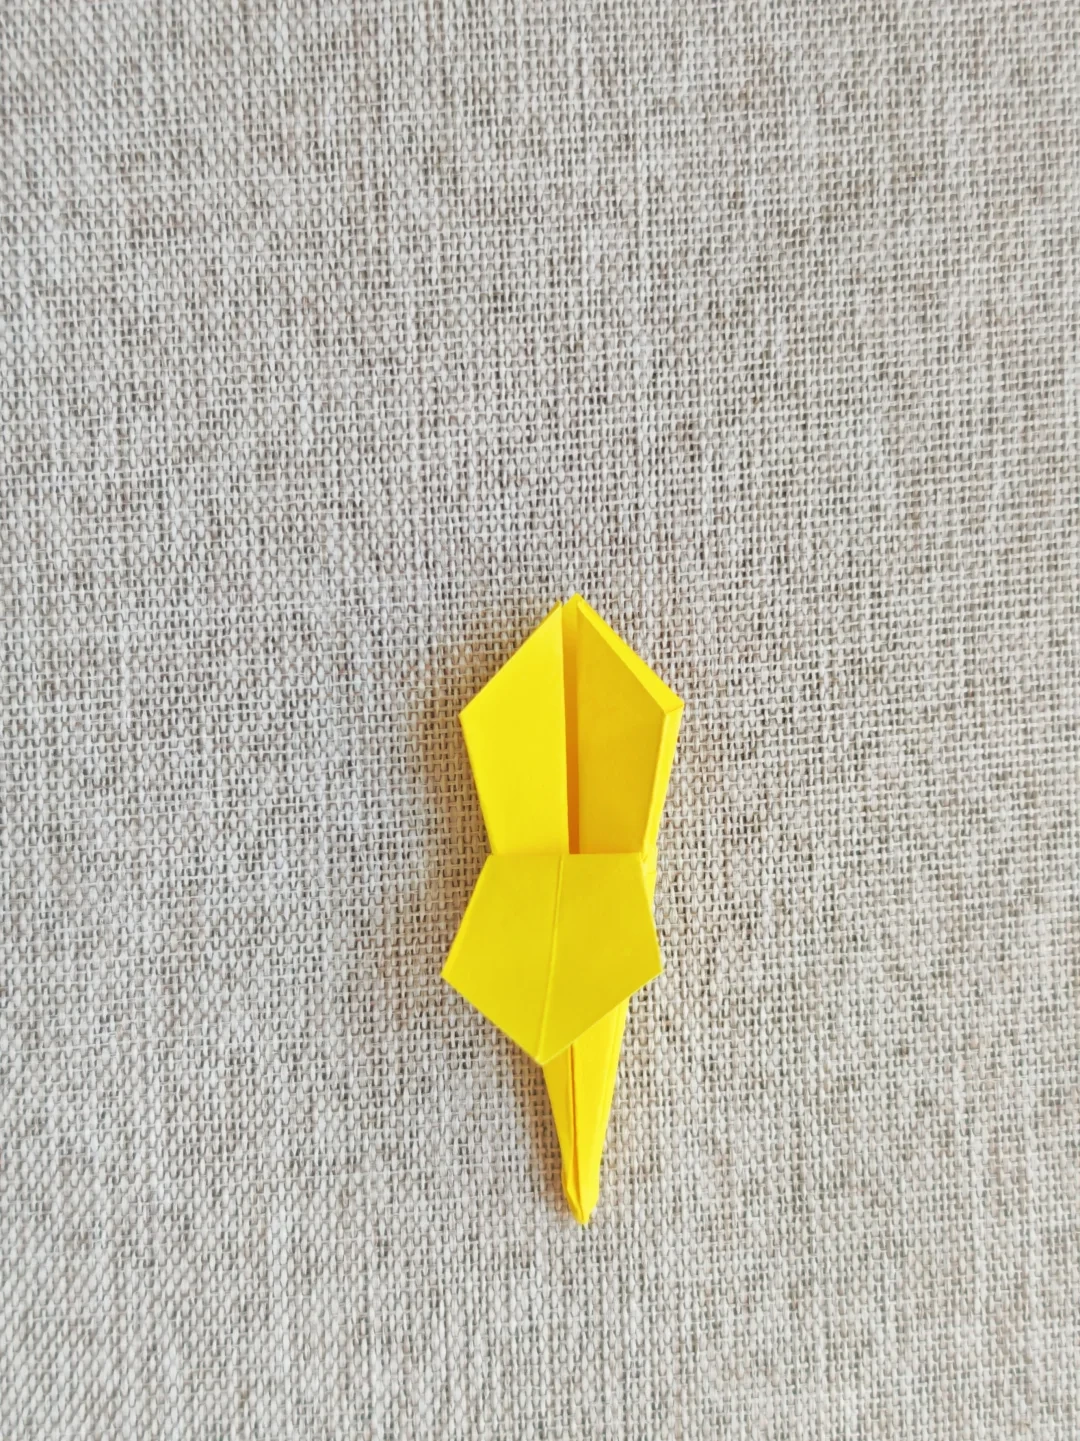
Open the blossom
 Open image at full size ↗
Gently spread the layers at the opening, supporting the base.
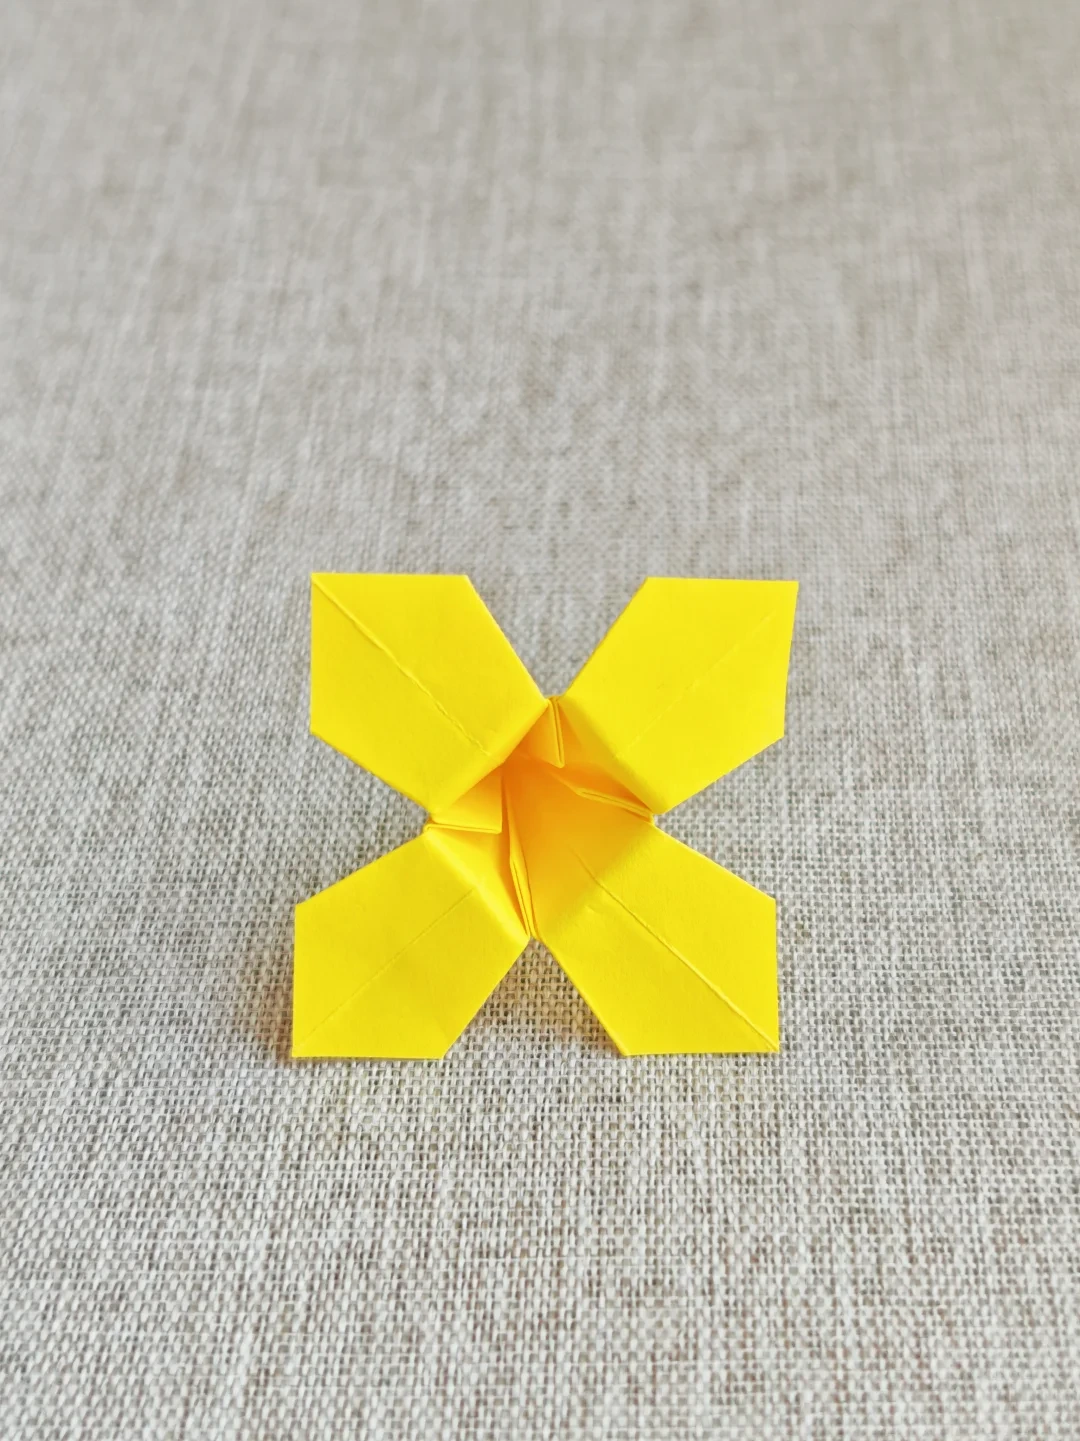
Shape four petals
 Open image at full size ↗
Open and curve the four petals outward to finish the blossom.
Follow the diagrams alongside the step-by-step English instructions.
Choose your next project →