
Decorations · Step-by-step guide
Folded Square Gift Envelope
Make a square envelope with tucked side flaps and a folding top closure. The decorative bow is a separate model.
What you’ll need
- One paper square
- Scissors
- Craft glue, optional
Paper craft · Envelope folds, trimming & assembly
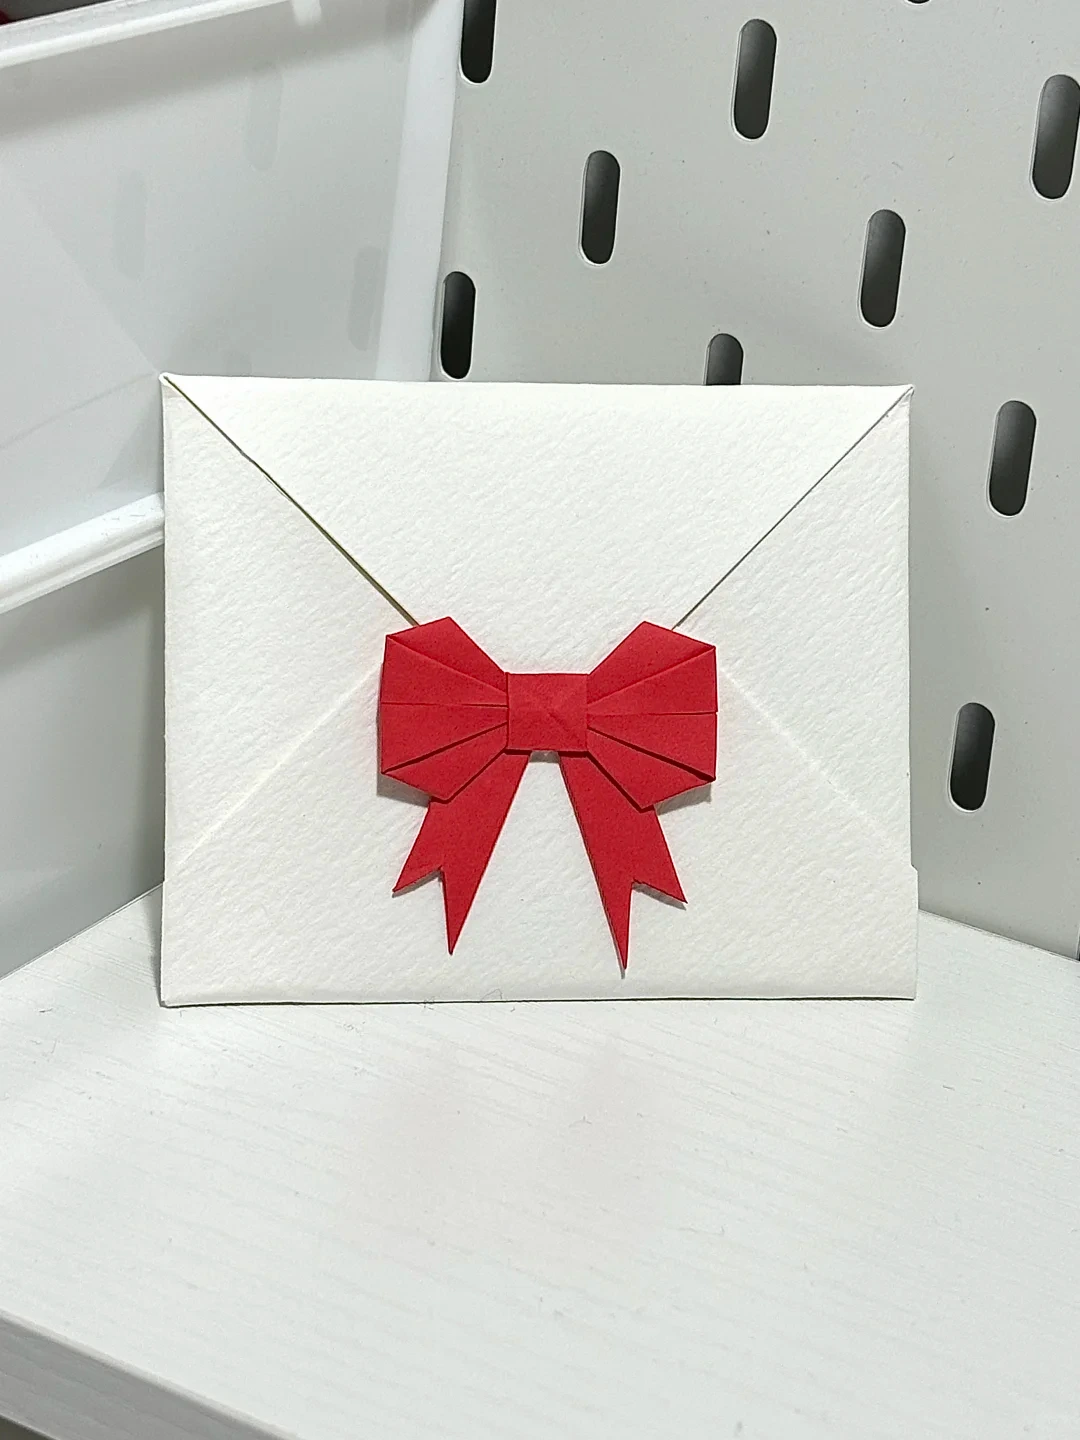
Make it, step by step.
8 steps · Original diagrams with English instructions
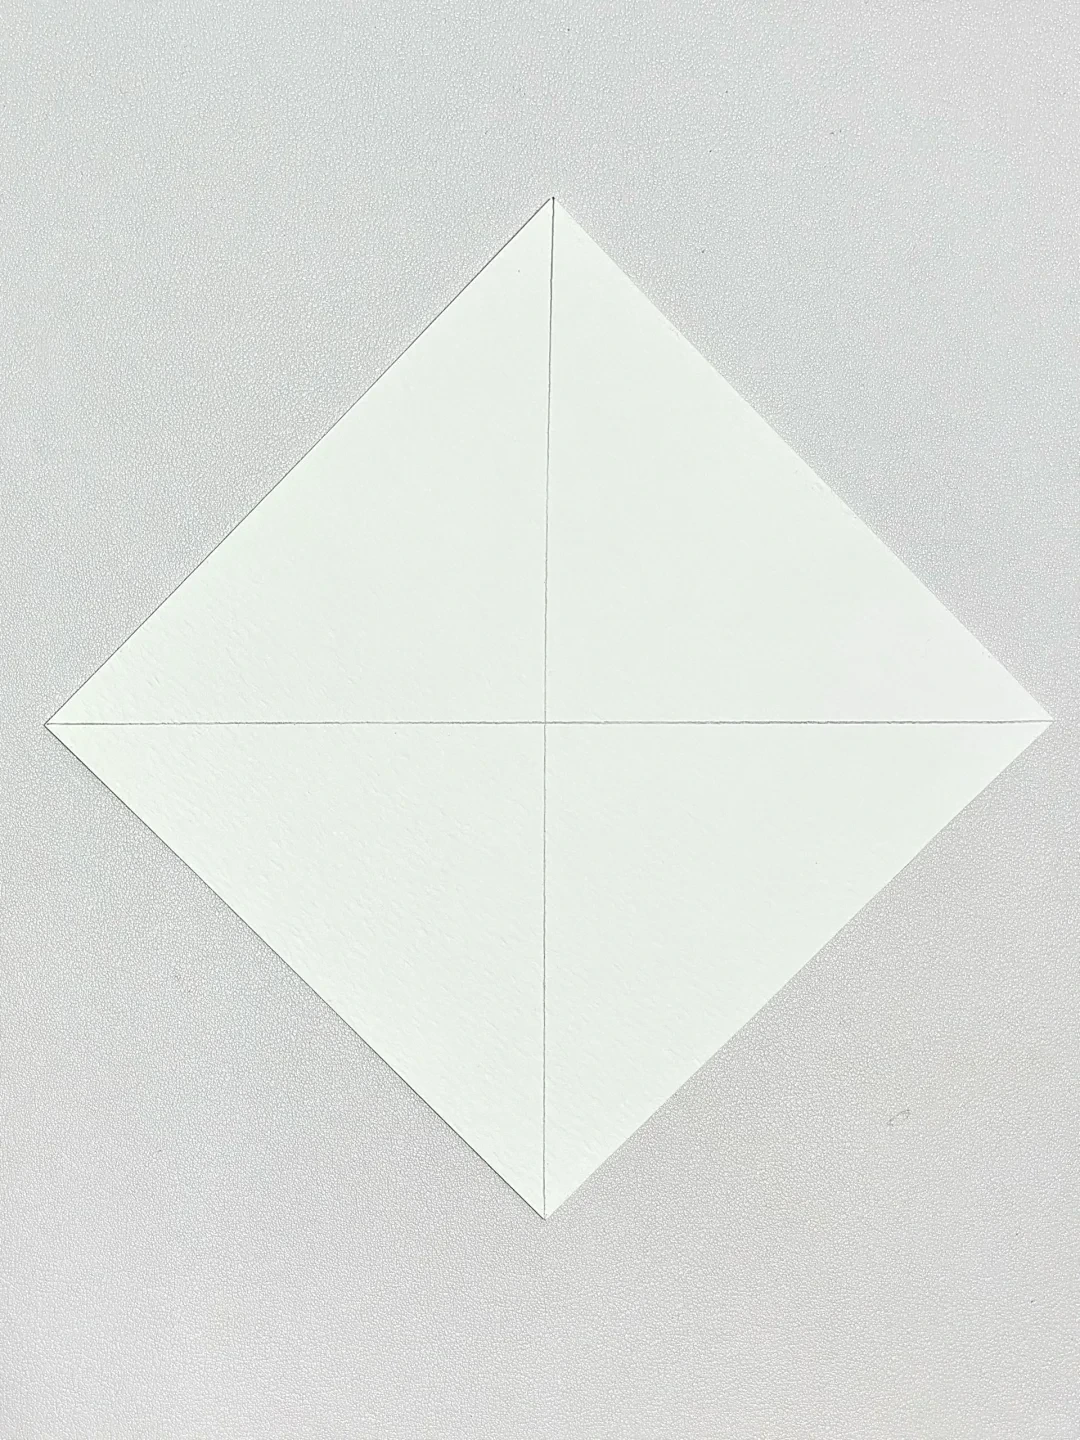
Mark the center
 Open image at full size ↗
Place the square like a diamond. Fold along both diagonals and open it to locate the center.
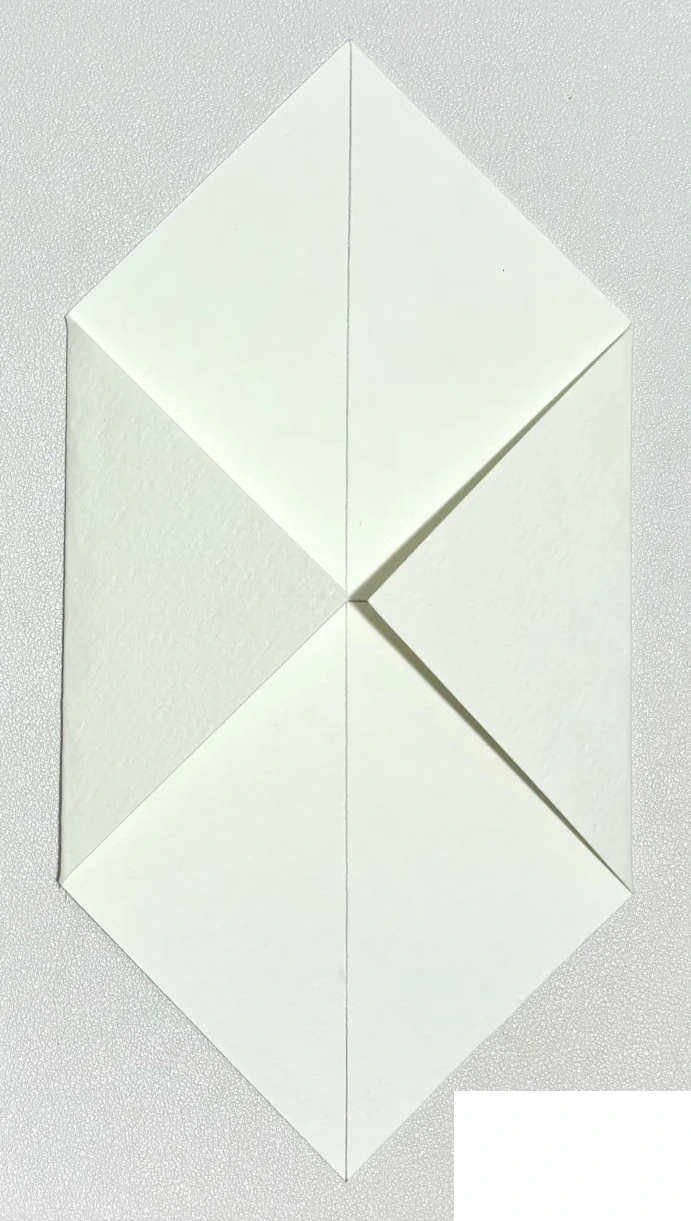
Fold the side points
 Open image at full size ↗
Bring the left and right points to the center so their tips meet.
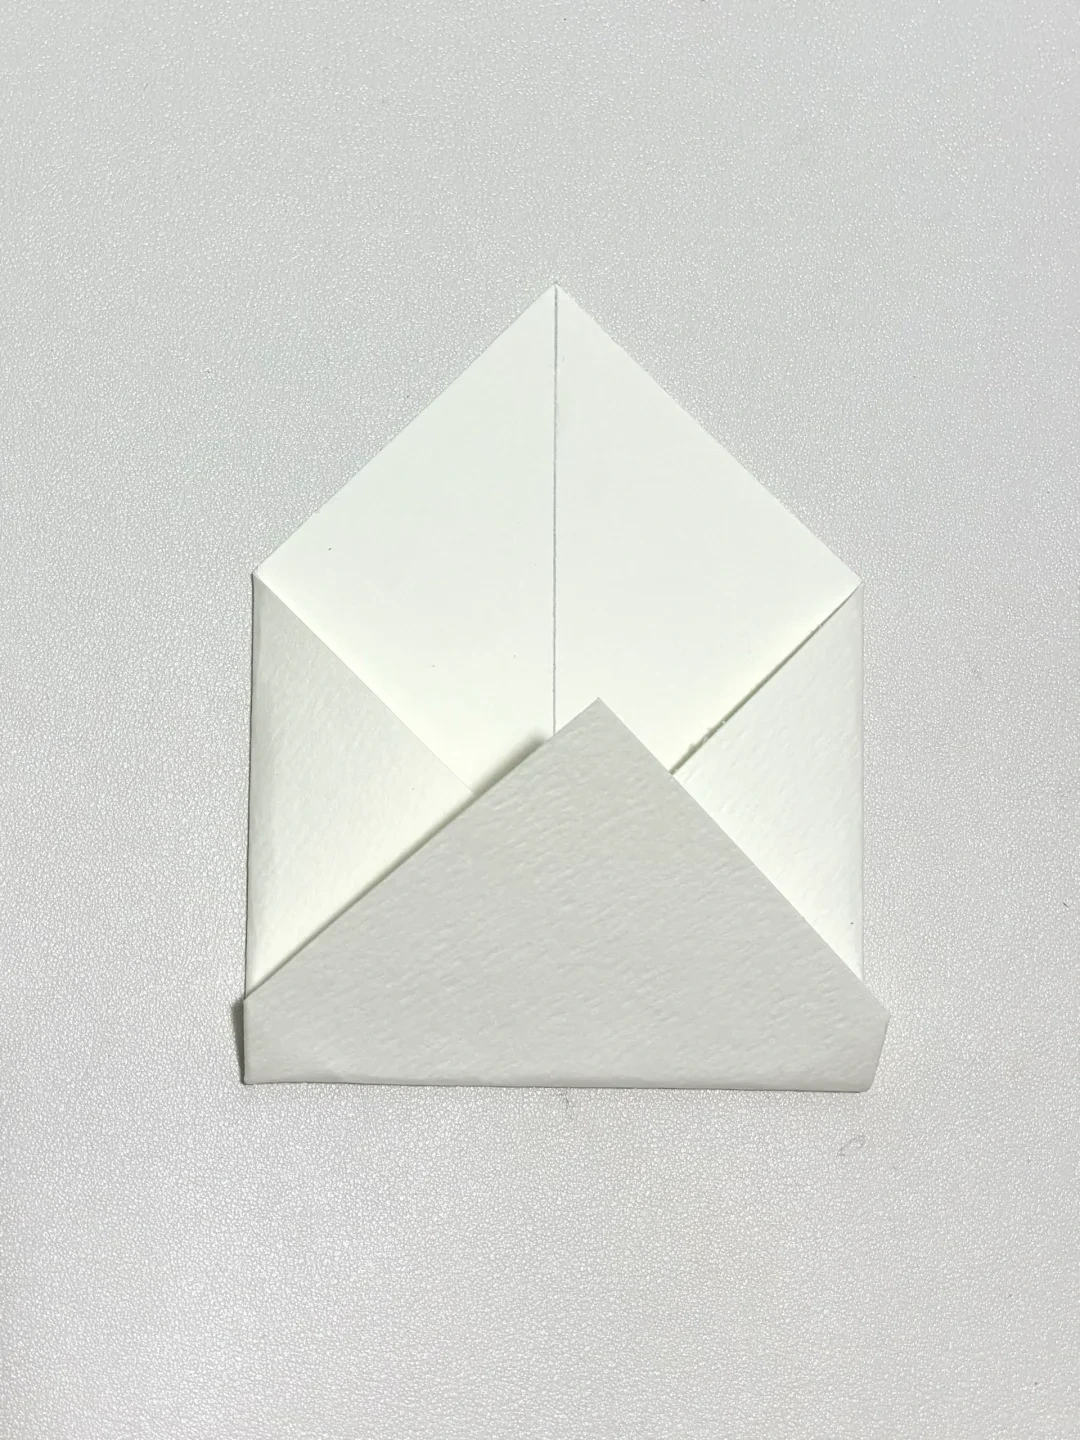
Fold the bottom flap
 Open image at full size ↗
Fold the lower point upward to make the bottom edge of the envelope.
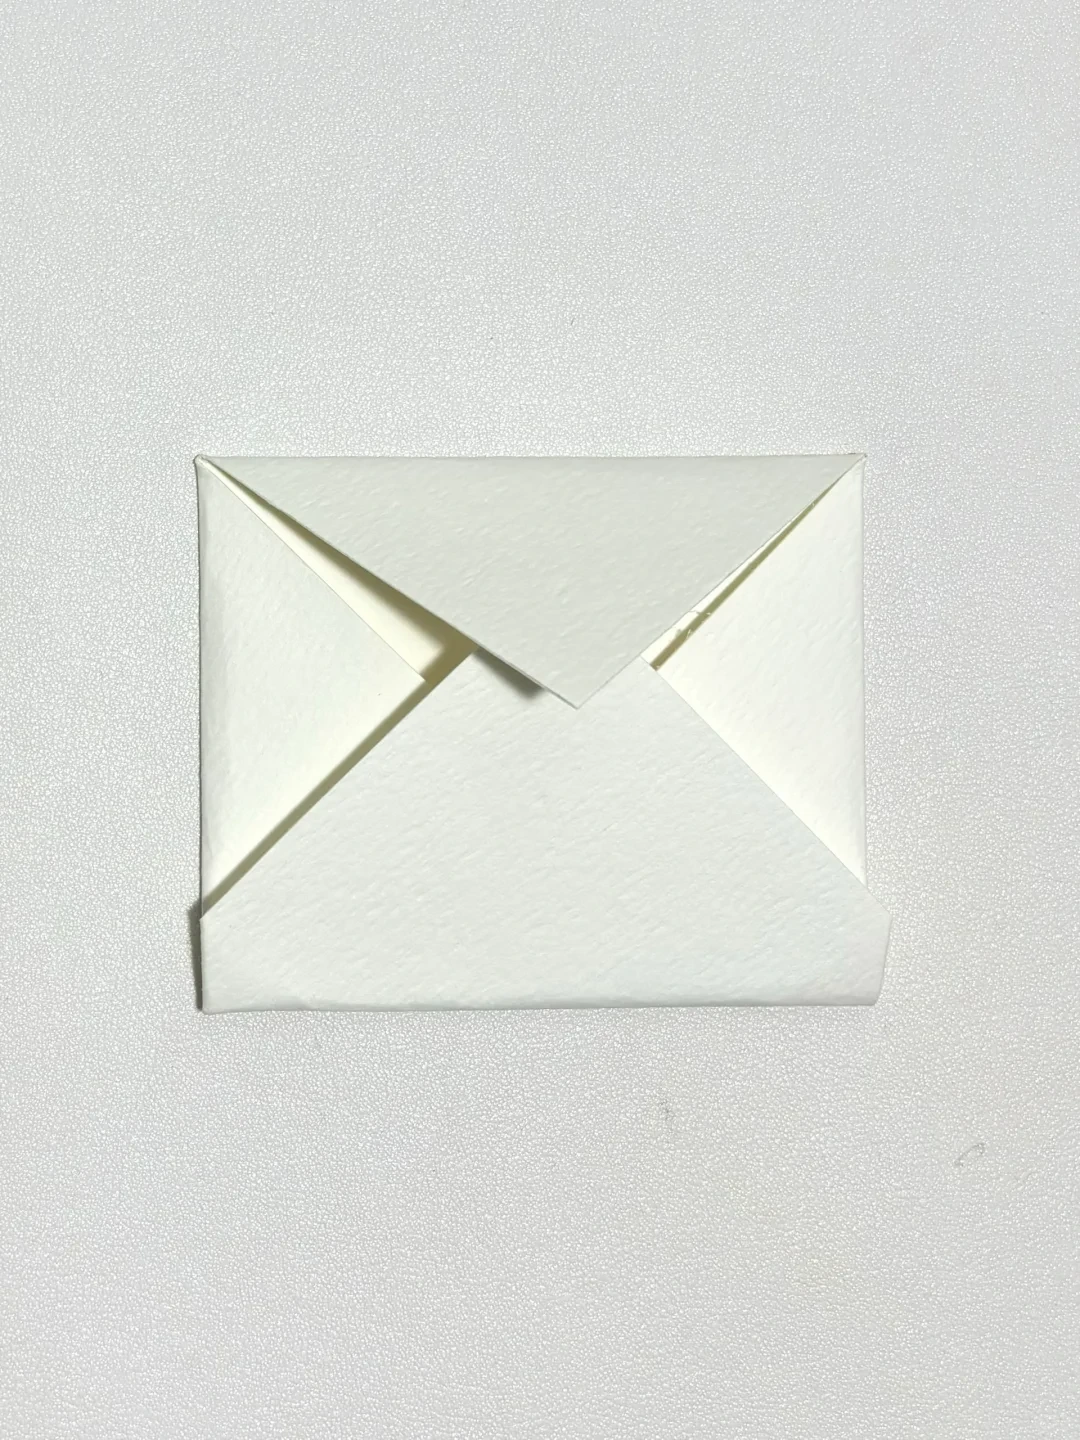
Mark the closure
 Open image at full size ↗
Fold the upper point down to check the envelope shape, then open it again.
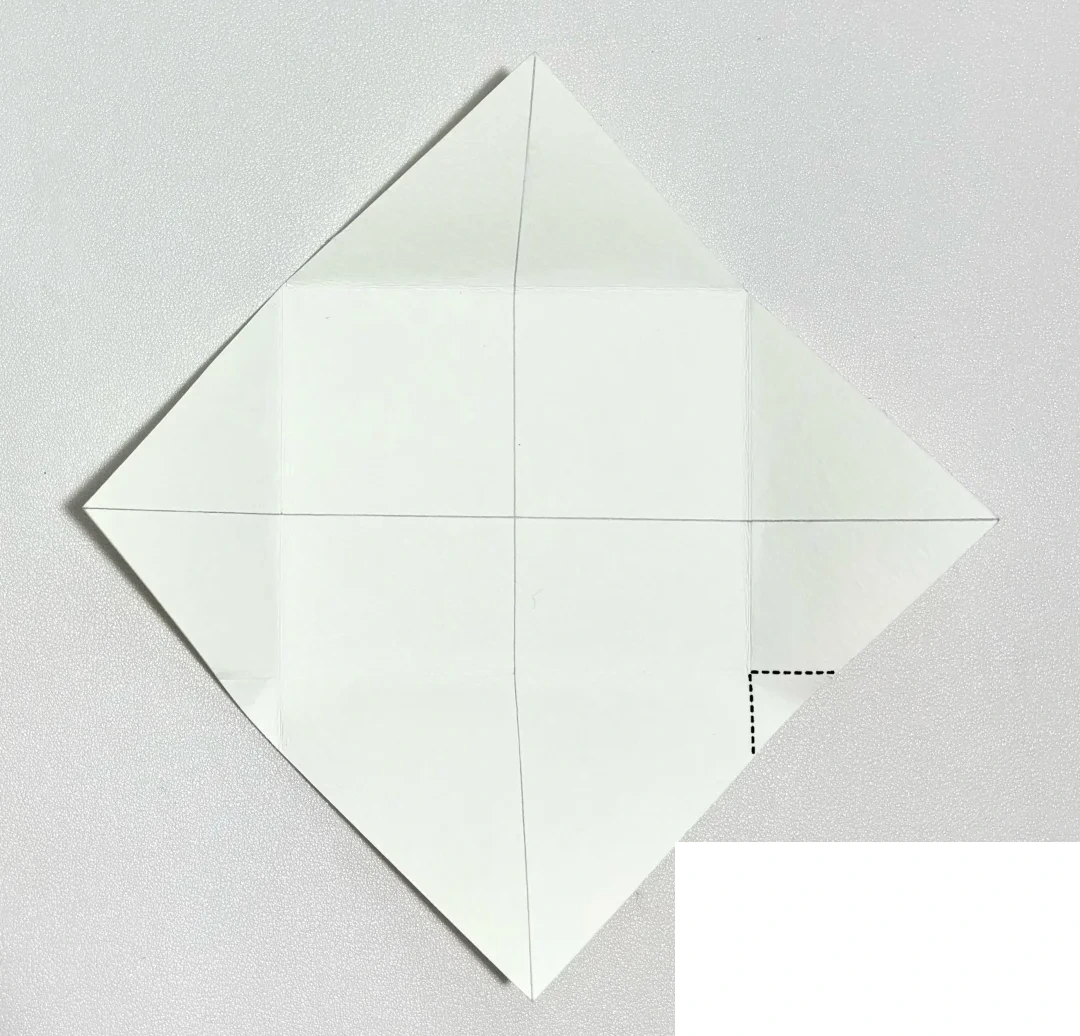
Trim the inner corners
 Open image at full size ↗
Open the sheet. Cut away the small triangular sections indicated by the dotted guide at the two side intersections.
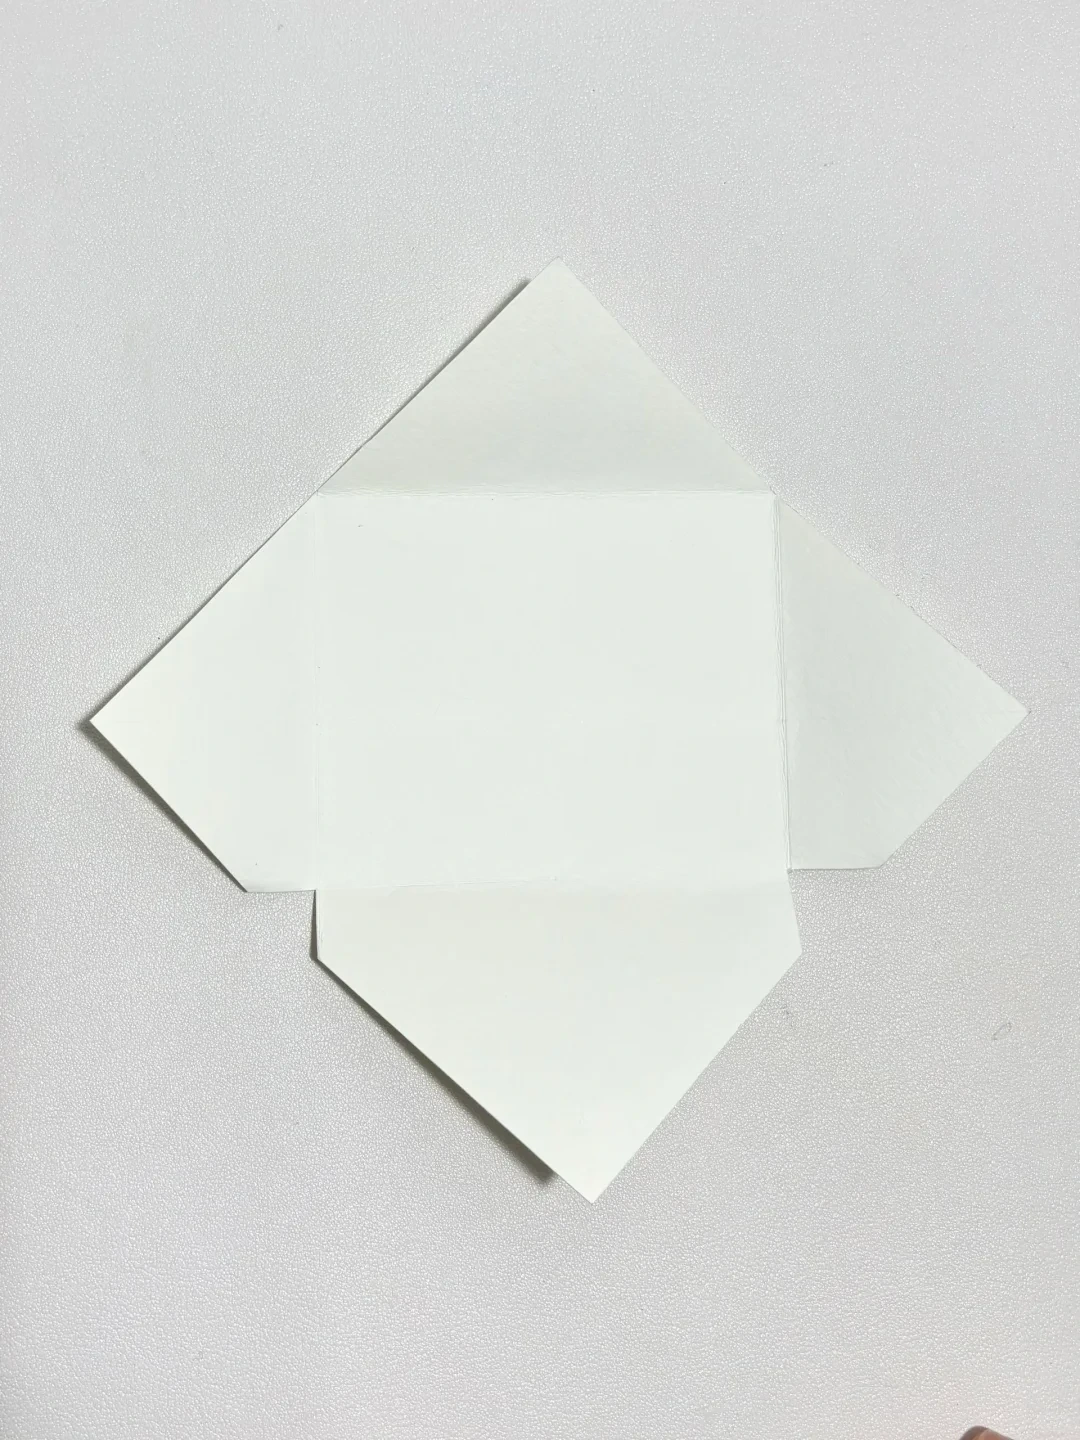
Check the notches
 Open image at full size ↗
Open the trimmed sheet flat and confirm that the two side notches are even.
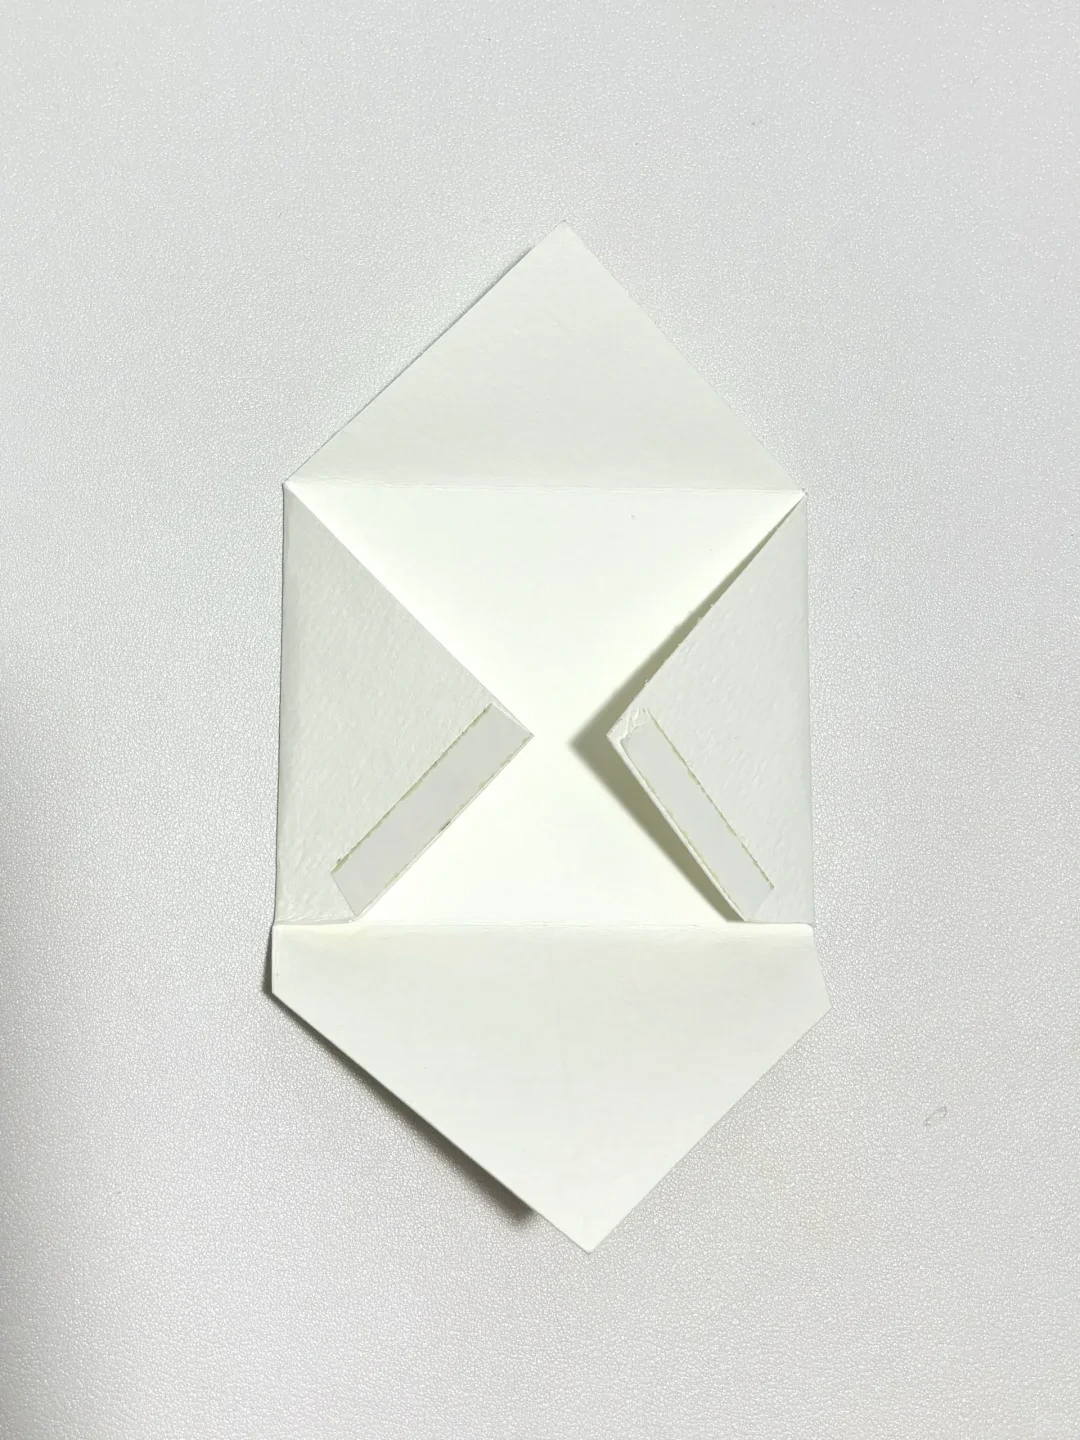
Refold the sides
 Open image at full size ↗
Bring the left and right flaps toward the middle along the earlier creases.
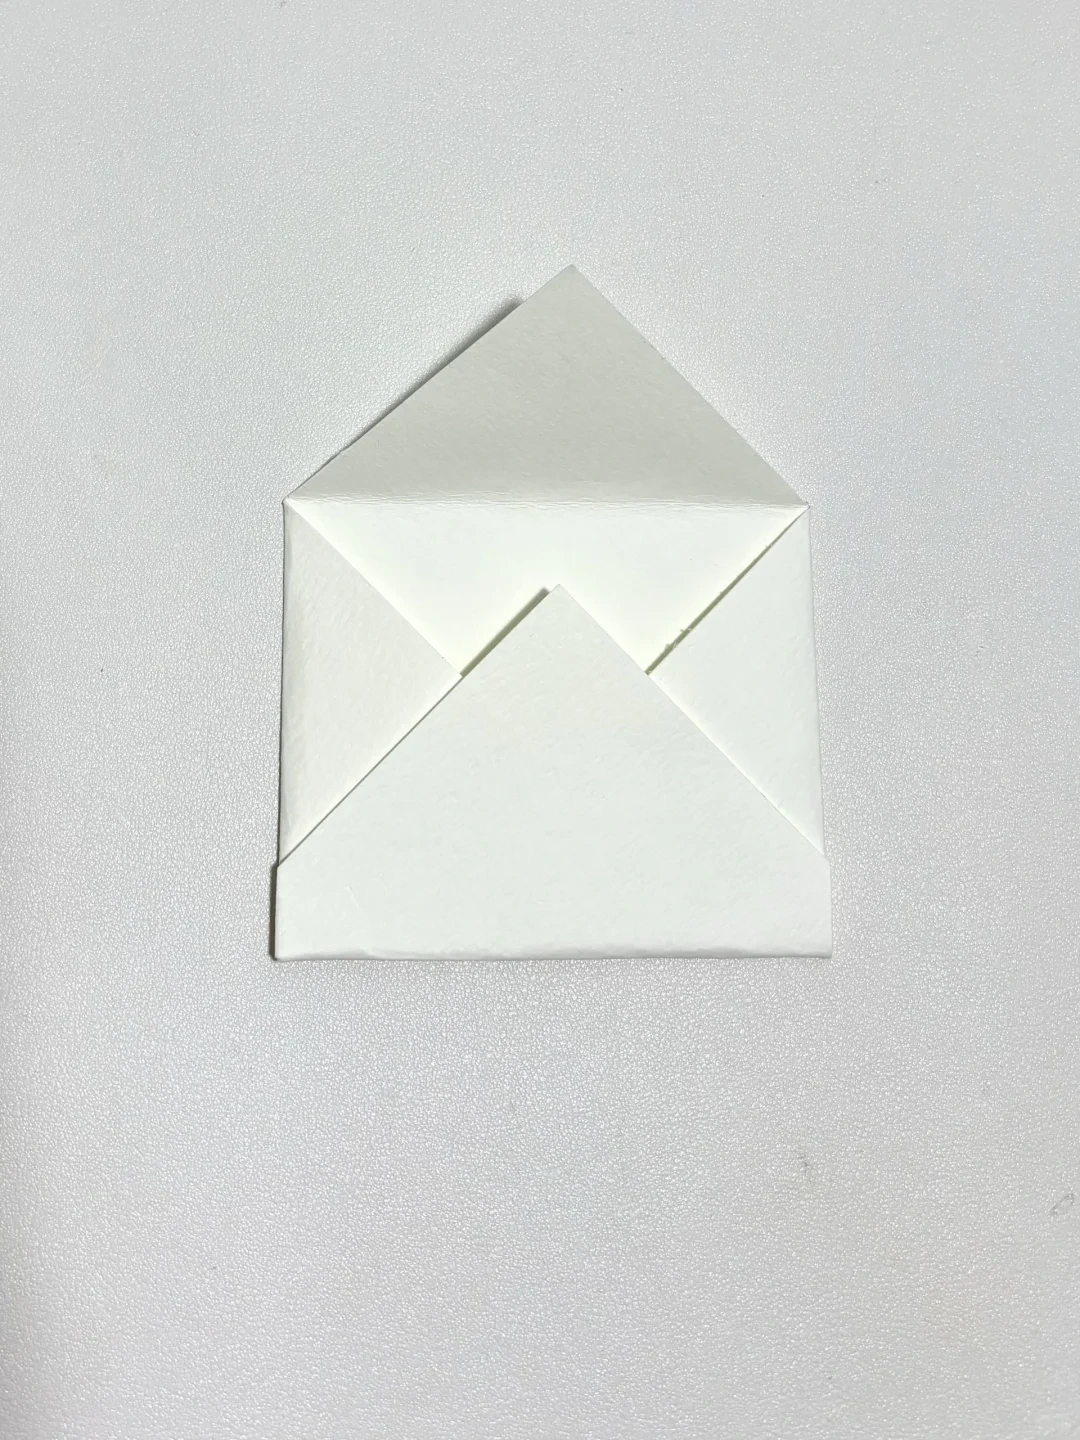
Close the lower pocket
 Open image at full size ↗
Fold the bottom flap upward over the side flaps. Secure the overlap with a small amount of glue if needed. Insert a note and fold the top flap down.
Follow the diagrams alongside the step-by-step English instructions.
Choose your next project →