
Flowers & nature · Step-by-step guide
Five-Unit Cherry Blossom
Join five small folded petals into a cherry blossom with a pale star at its center.
What you’ll need
- Five 4 × 4 cm paper squares, colored on one side
- Tweezers, optional
- A small amount of craft glue, optional to secure the joins
Paper craft · Folding and assembly
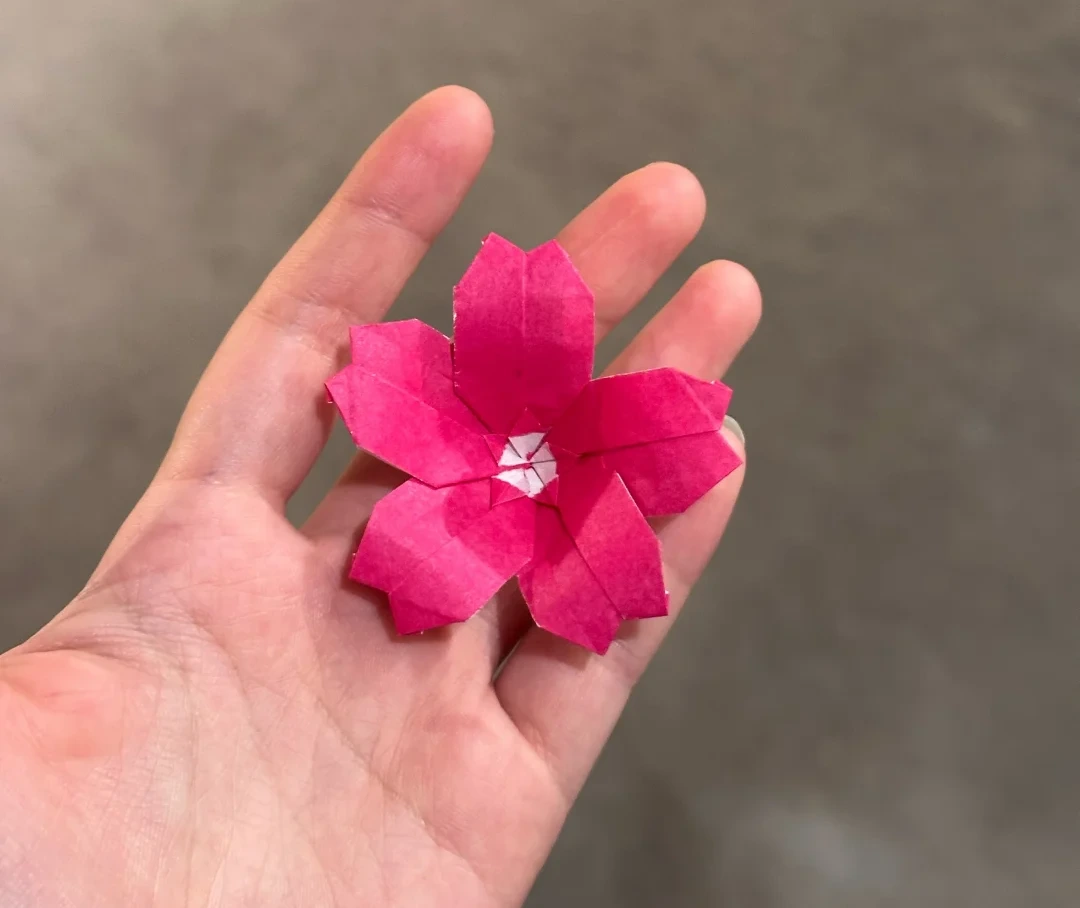
Make it, step by step.
13 steps · Original diagrams with English instructions
Read each picture from left to right, then top to bottom.
Finished model
 Open image at full size ↗
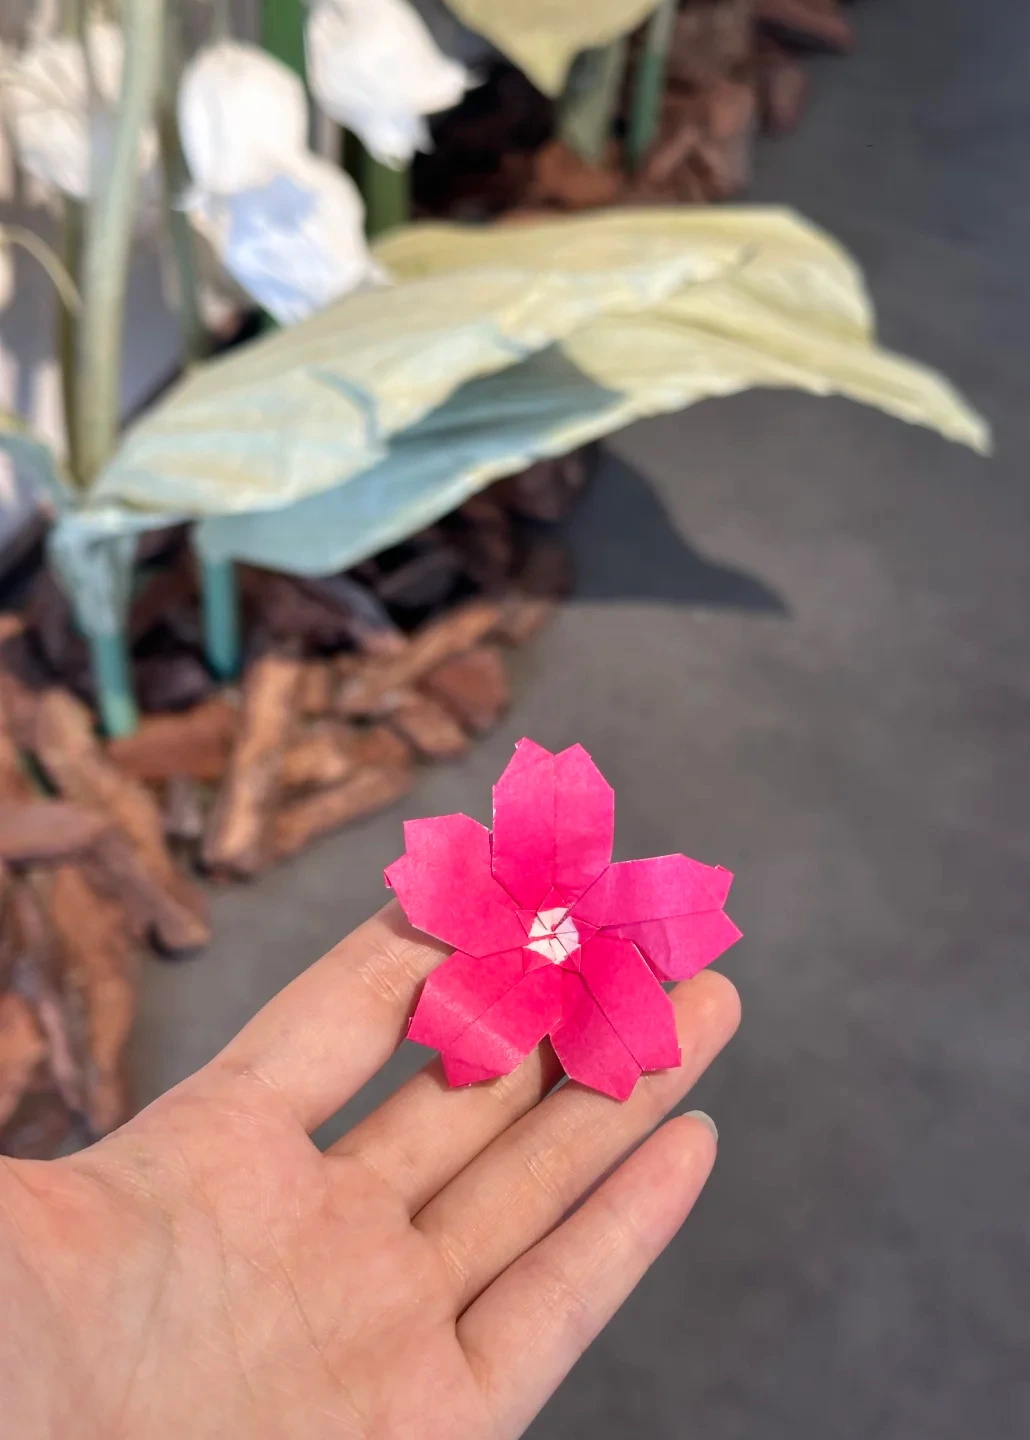
Use this finished example to compare the shape and proportions of your model.
Finished model
 Open image at full size ↗
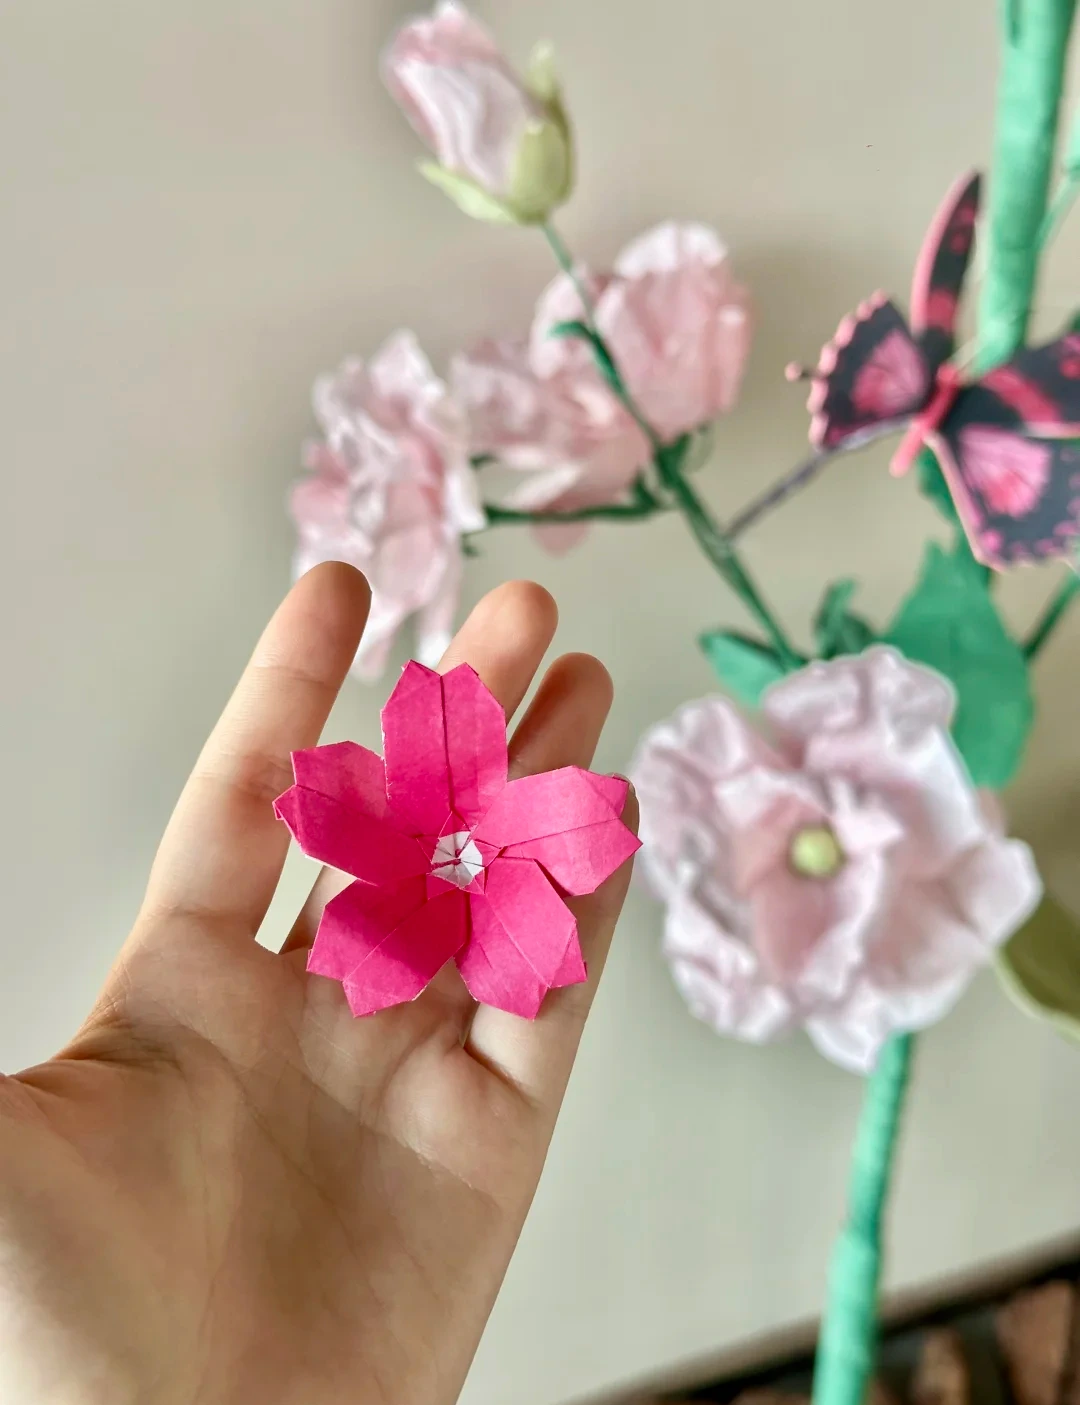
Use this finished example to compare the shape and proportions of your model.
Fold the first petal strip
 Open image at full size ↗
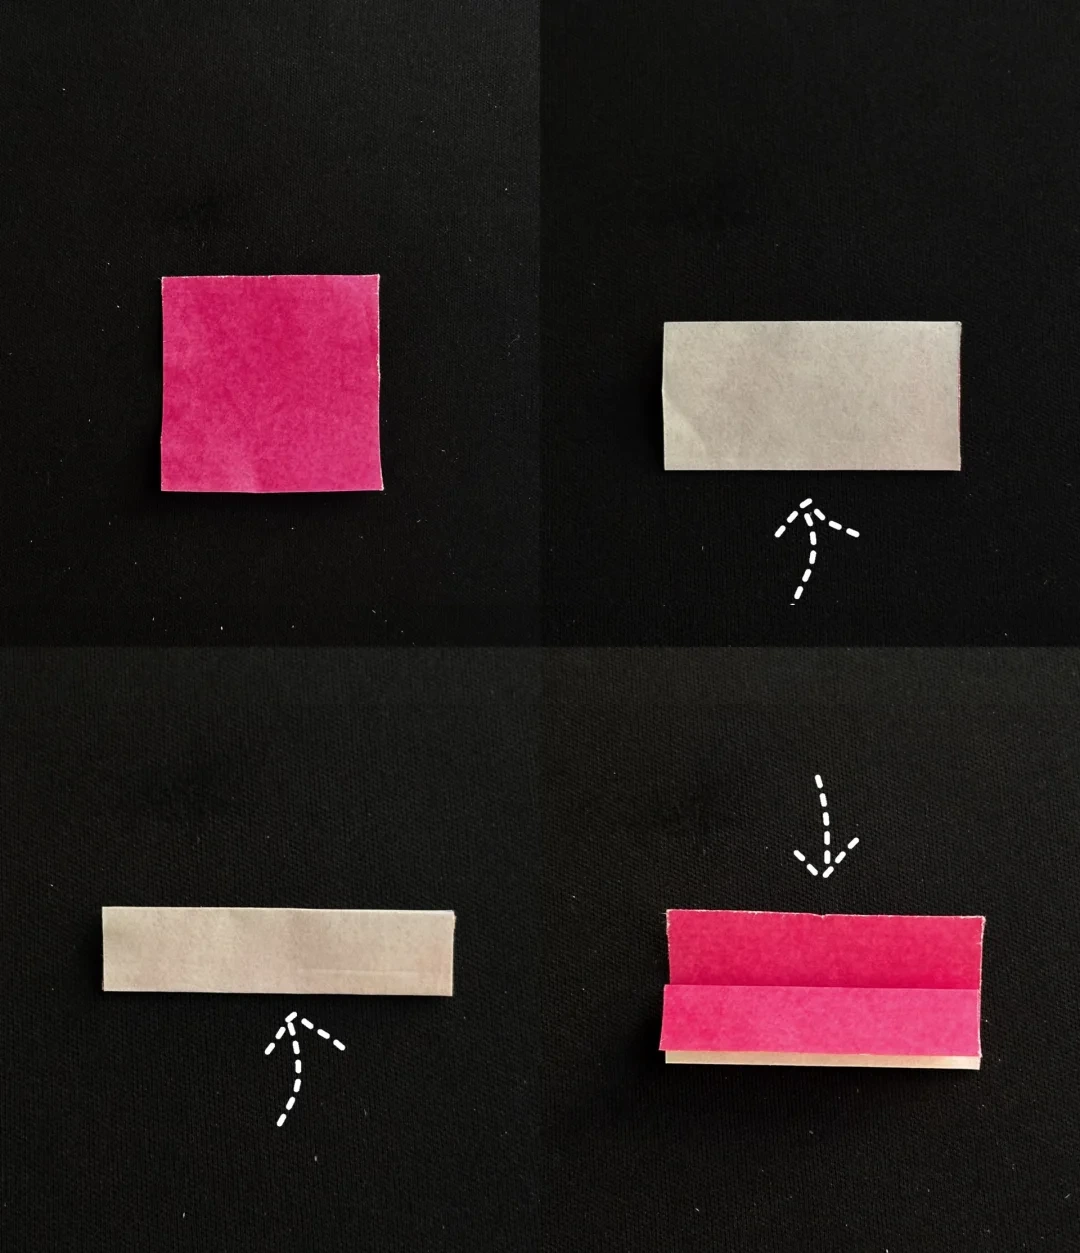
Fold one square in half, then in half again to make a narrow strip.
Open the last fold and fold the indicated upper layer downward along the guide.
Shape the petal tip
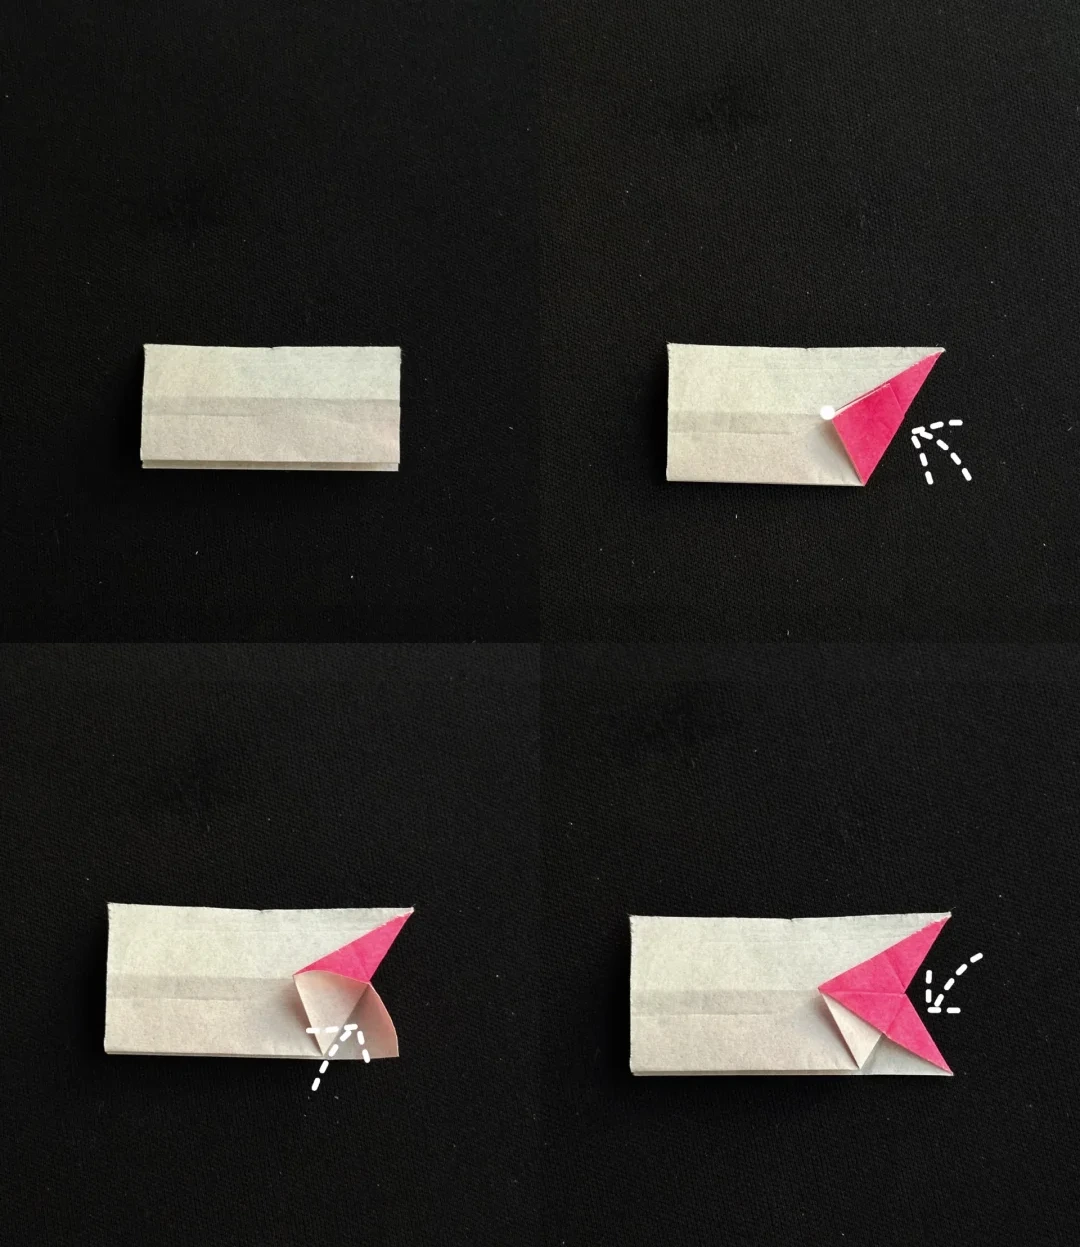 Open image at full size ↗
Turn the strip over. Fold the right end to the middle crease.
Open the lower part of that end and squash its pocket flat.
Mark the notched tip
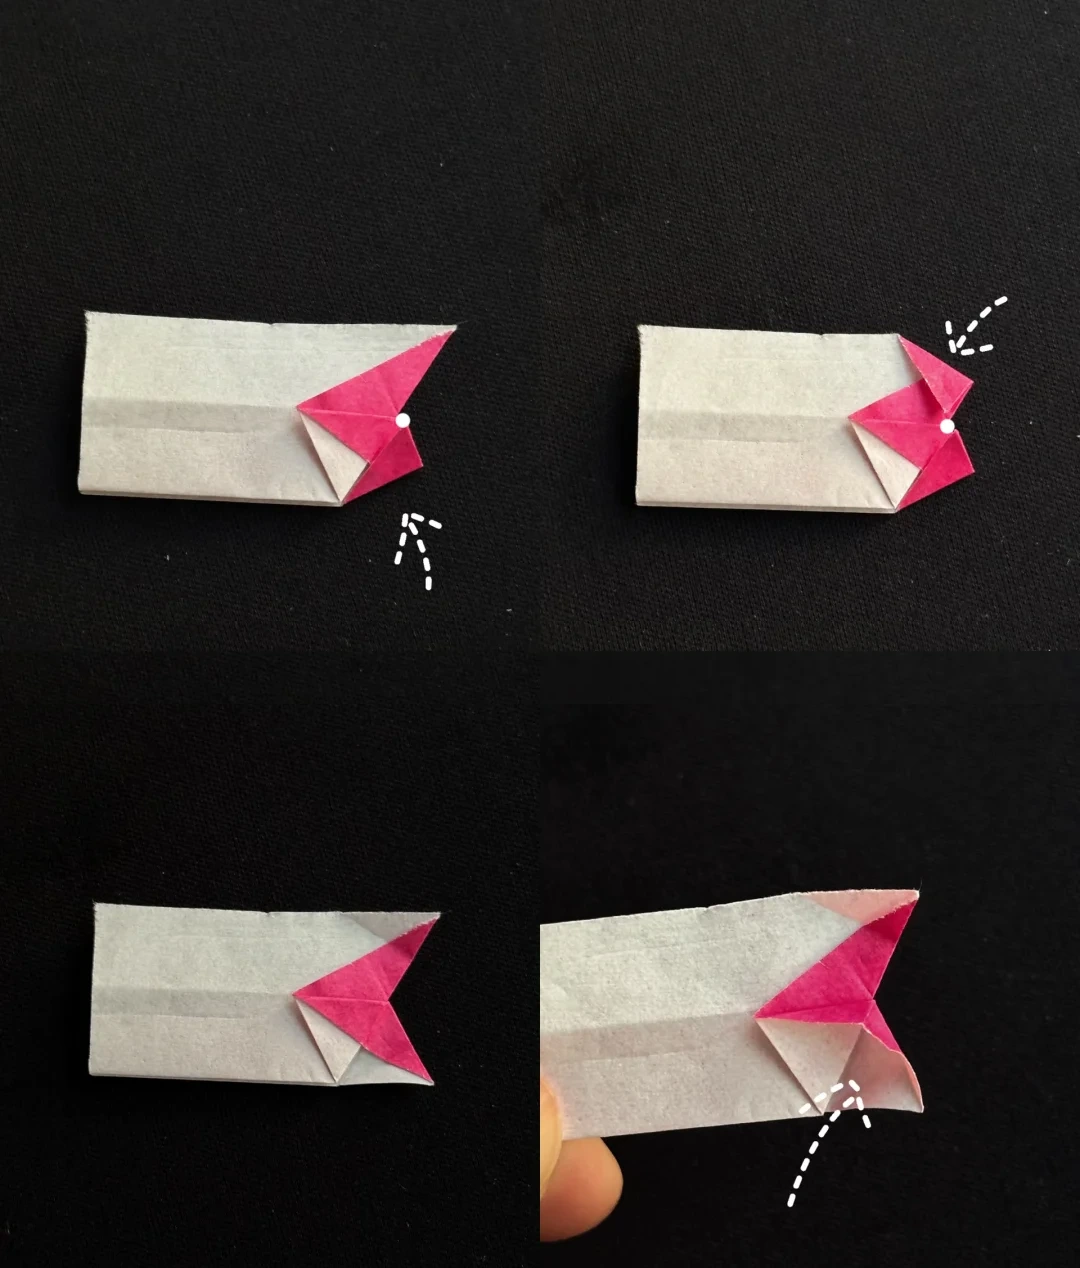 Open image at full size ↗
Bring the small corner to the marked point and crease it. Repeat on the other side.
Open both small folds to prepare for the inward tucks.
Tuck the tip folds inside
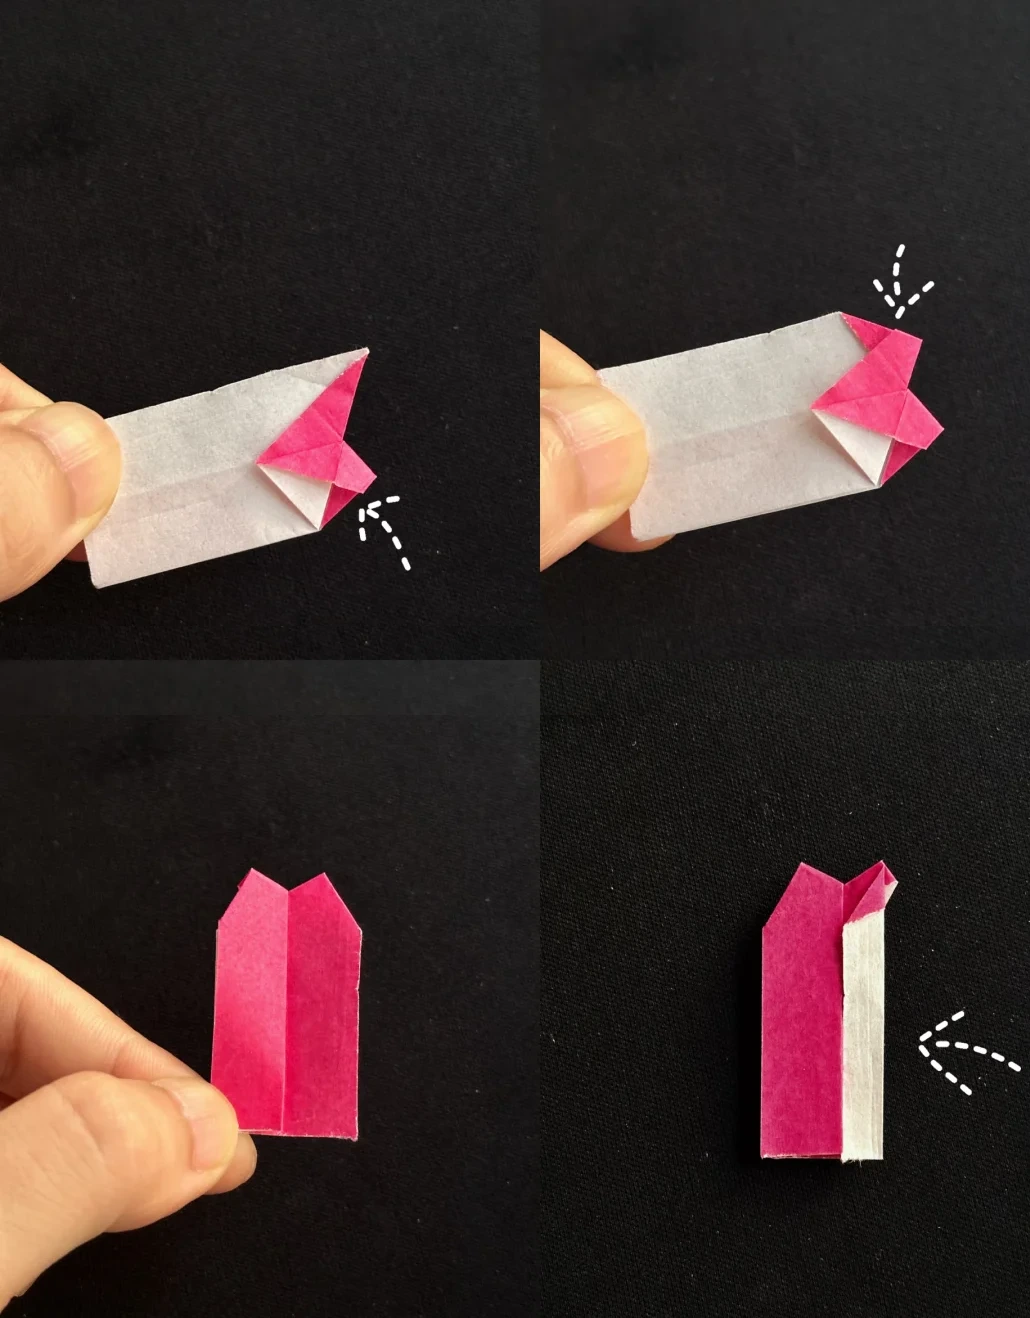 Open image at full size ↗
Fold the small sections inward along their creases on both sides, creating the notched petal tip.
Turn the piece over and fold it in half lengthwise.
Prepare the joining flaps
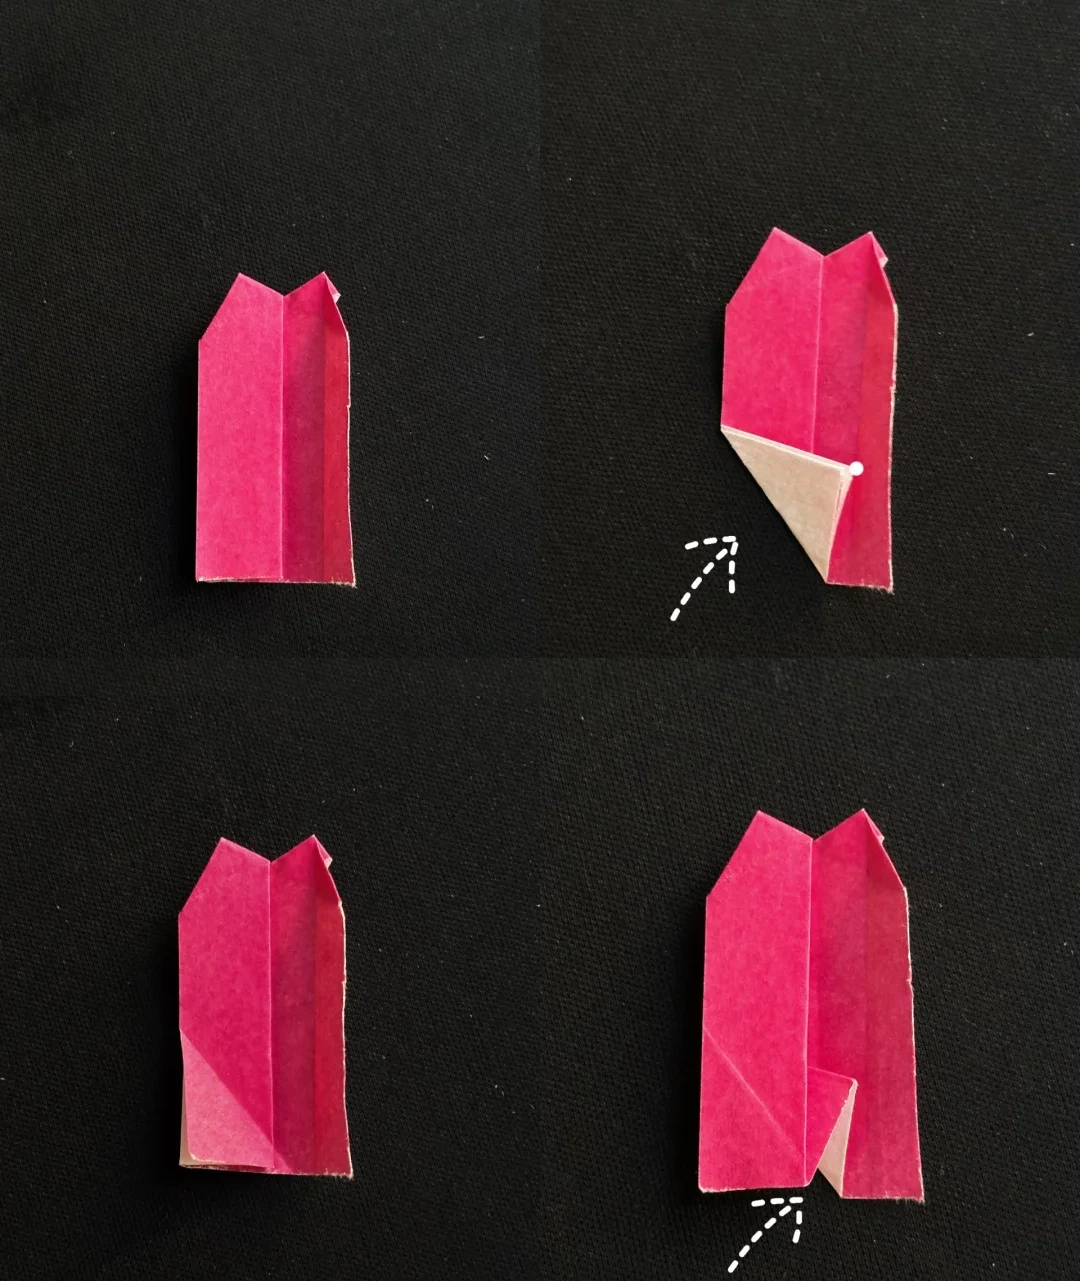 Open image at full size ↗
Open the piece back to its previous shape. Fold the lower flap to the right so it meets the indicated crease, then unfold.
Refold the small lower section to the right along the new crease.
Connect five petals
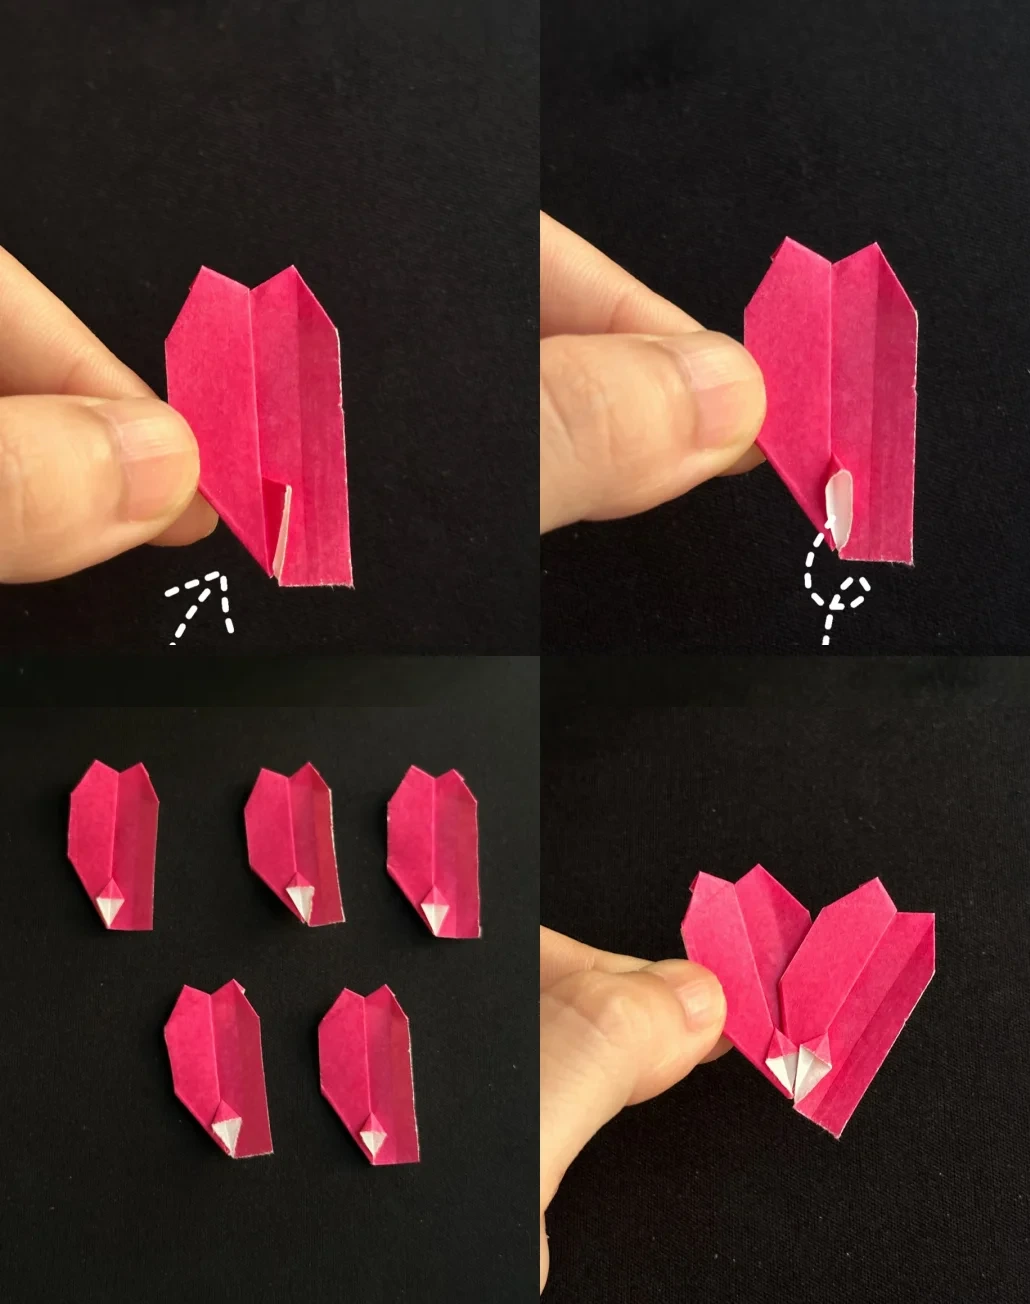 Open image at full size ↗
Fold the extra lower corner behind and open the small pocket, flattening it as shown.
Make five matching petals. Connect them in sequence by fitting each joining flap into the adjacent petal’s pocket. Use a little glue if the joins need support.
Open the blossom
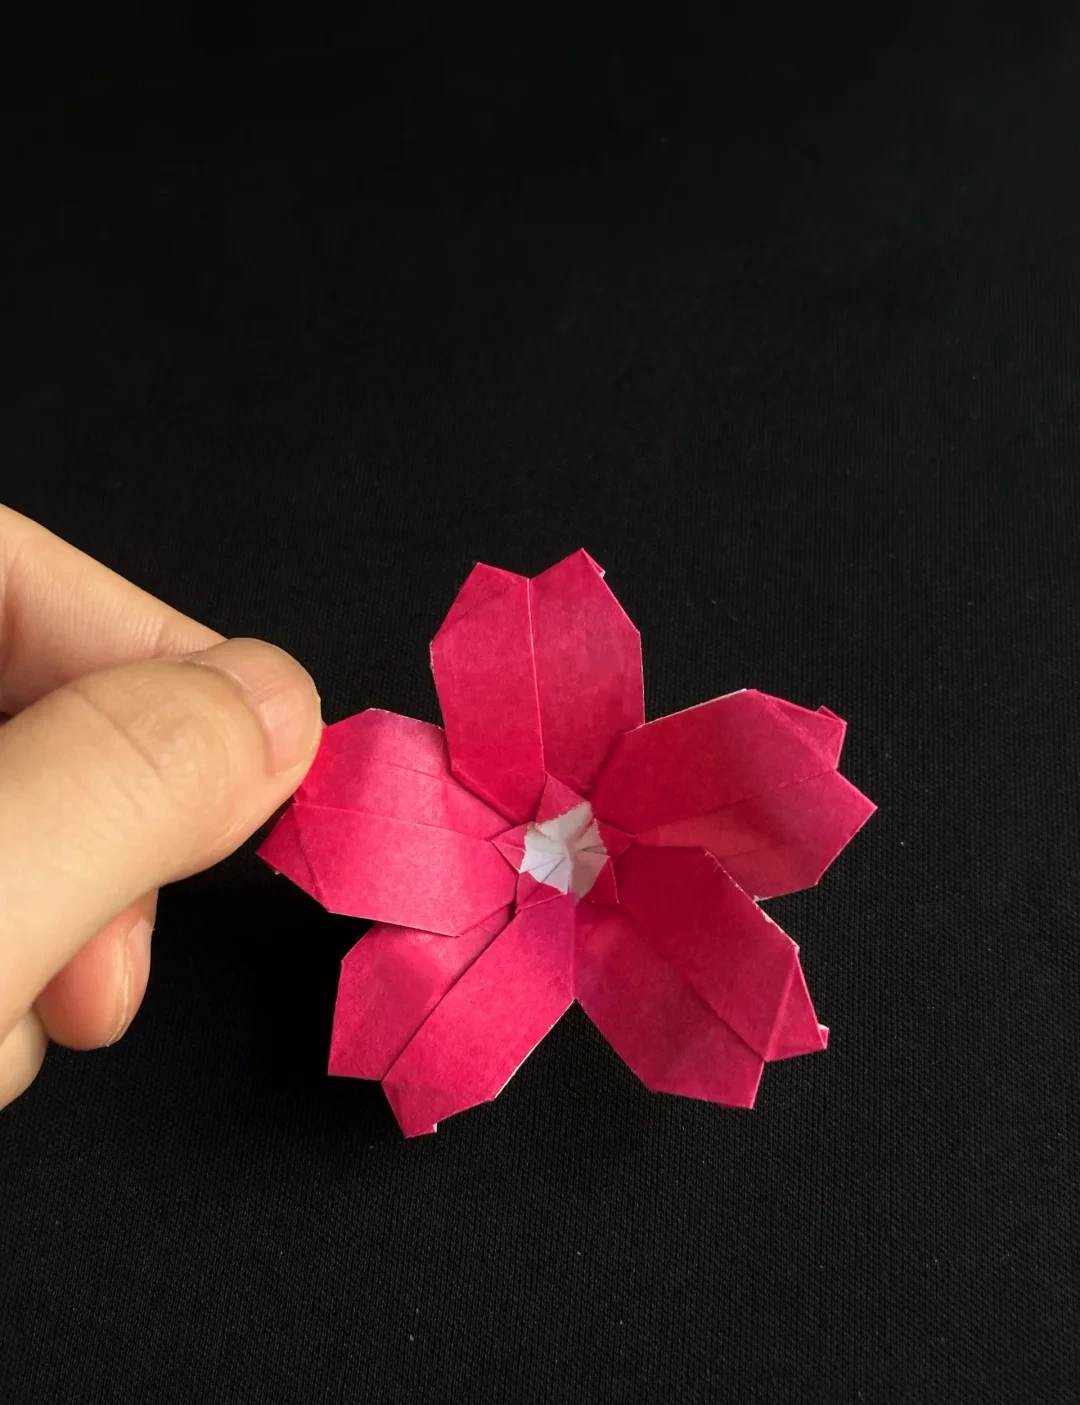 Open image at full size ↗
Spread the five petals evenly around the pale center and adjust the small notches at their tips.
Finished model
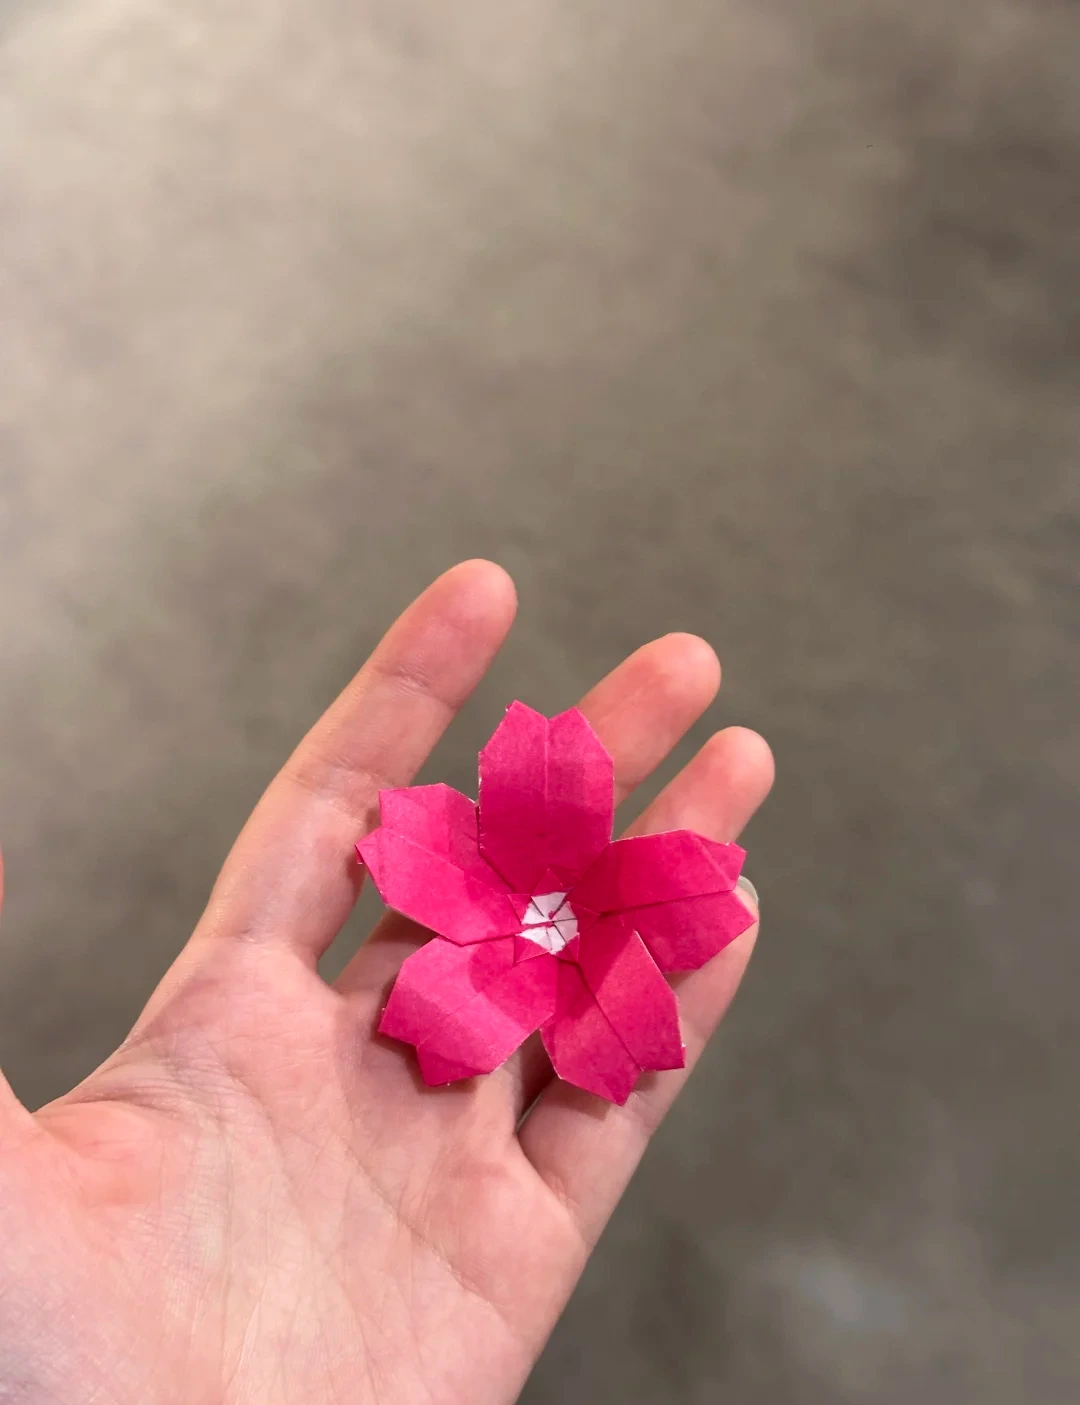 Open image at full size ↗
Use this finished example to compare the shape and proportions of your model.
Finished model
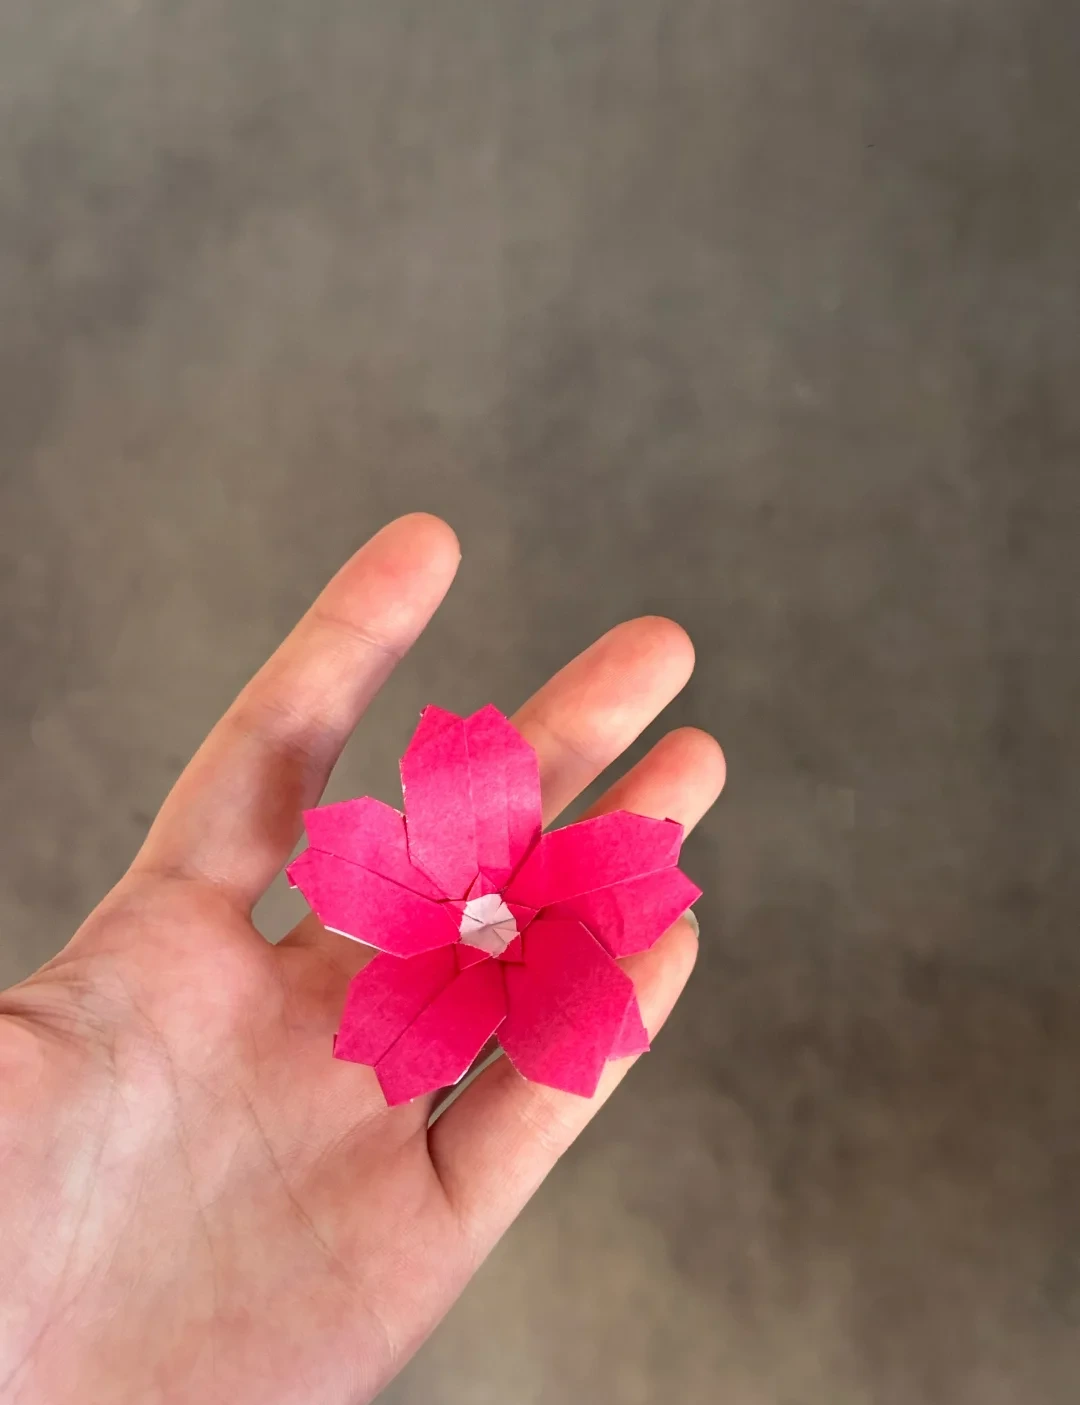 Open image at full size ↗
Use this finished example to compare the shape and proportions of your model.
Follow the diagrams alongside the step-by-step English instructions.
Choose your next project →