
Flowers & nature · Step-by-step guide
Eight-Unit Lotus Bookmark
Join eight folded paper strips into a layered lotus bookmark.
What you’ll need
- Eight 2 × 8 cm paper strips
Origami · Folding and shaping
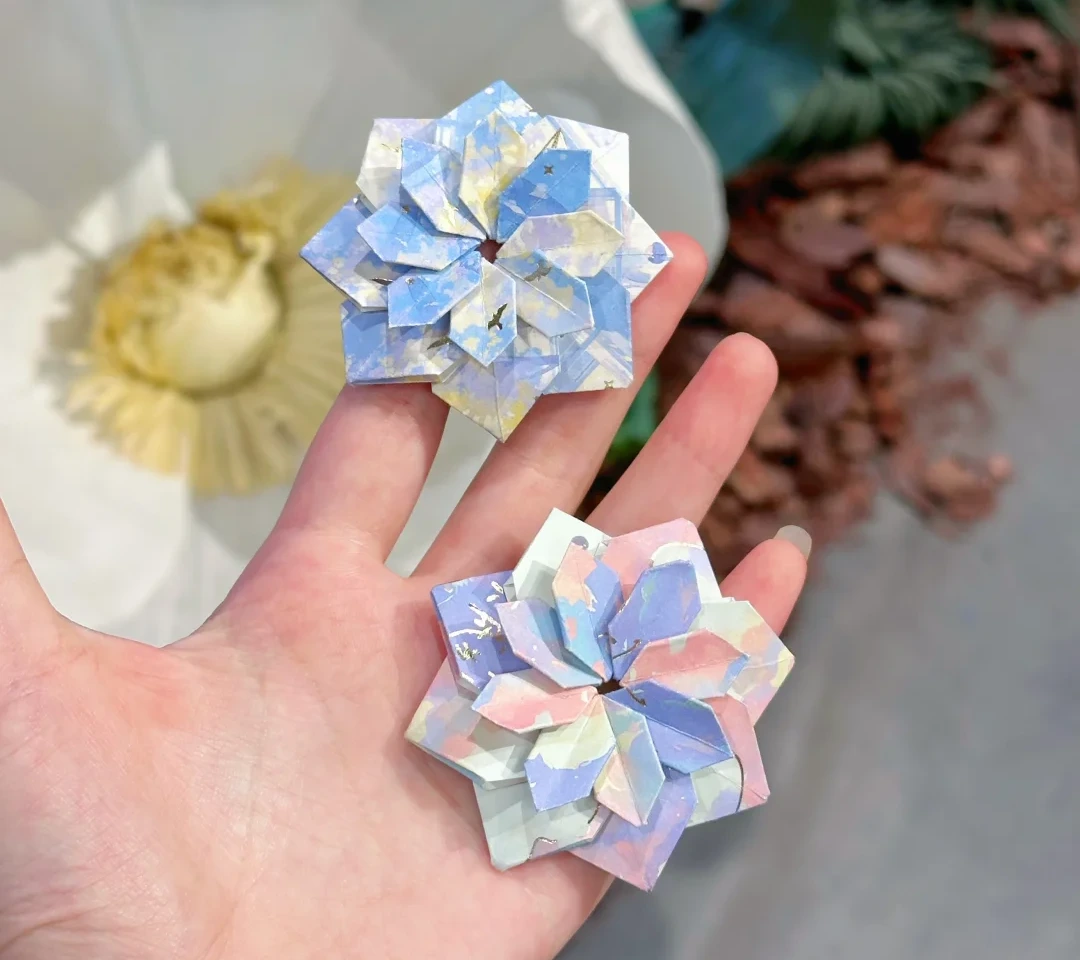
Make it, step by step.
13 steps · Original diagrams with English instructions
Read each picture from left to right, then top to bottom. The assembly picture shows the interlocking arrangement; work slowly when joining the small pockets.
Finished model
 Open image at full size ↗
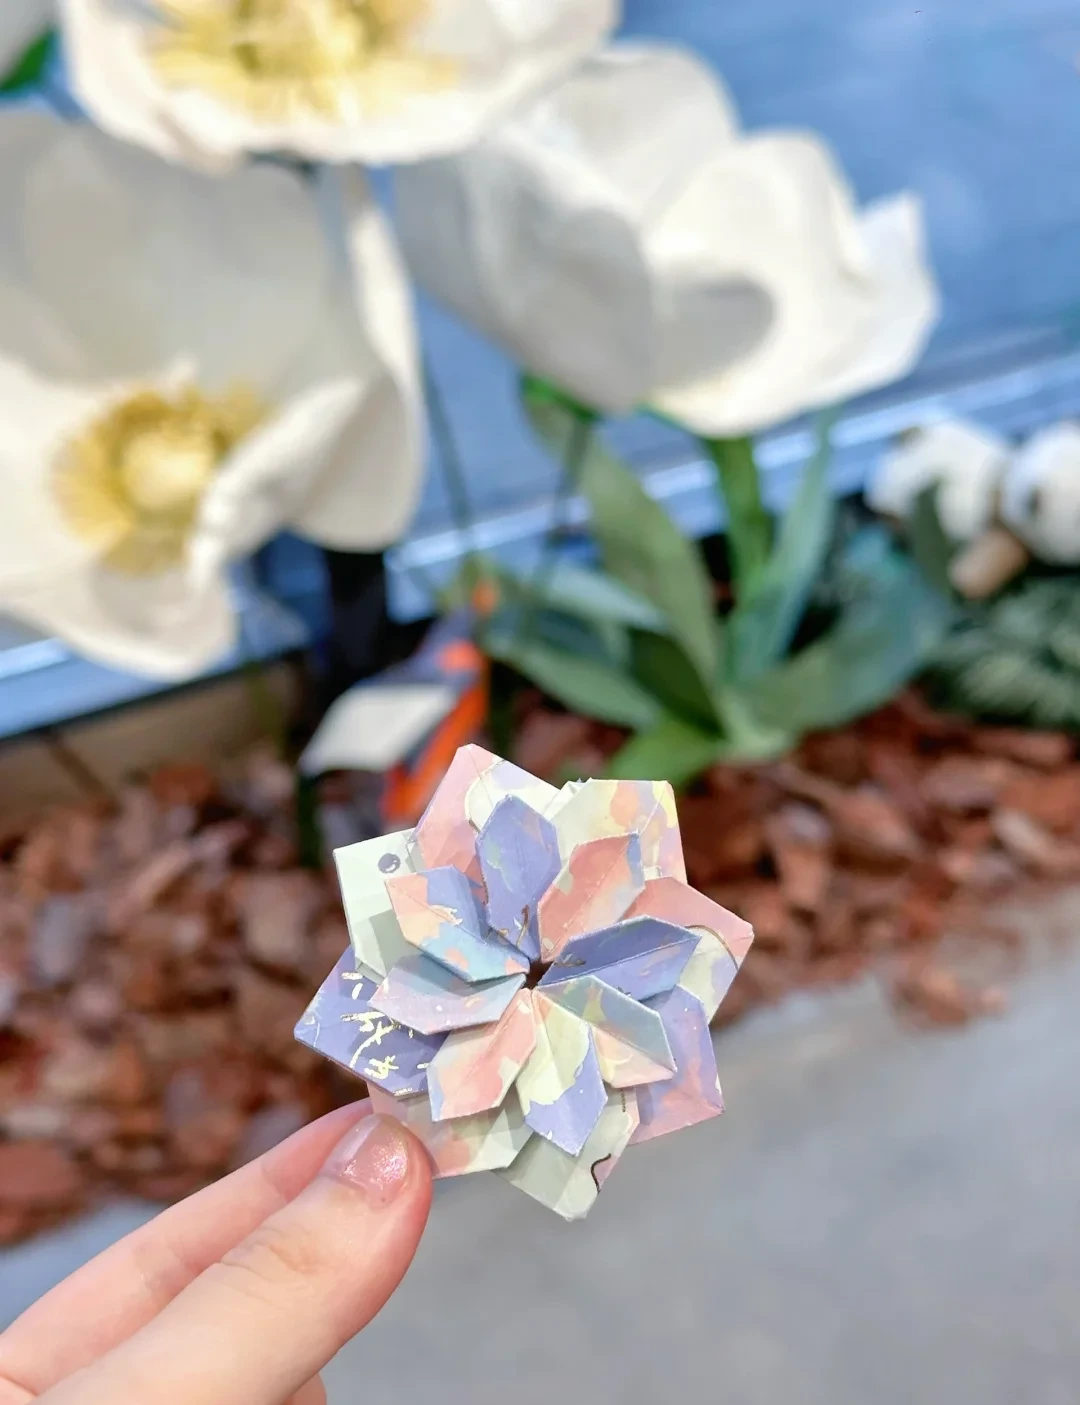
Use this finished example to compare the shape and proportions of your model.
Finished model
 Open image at full size ↗
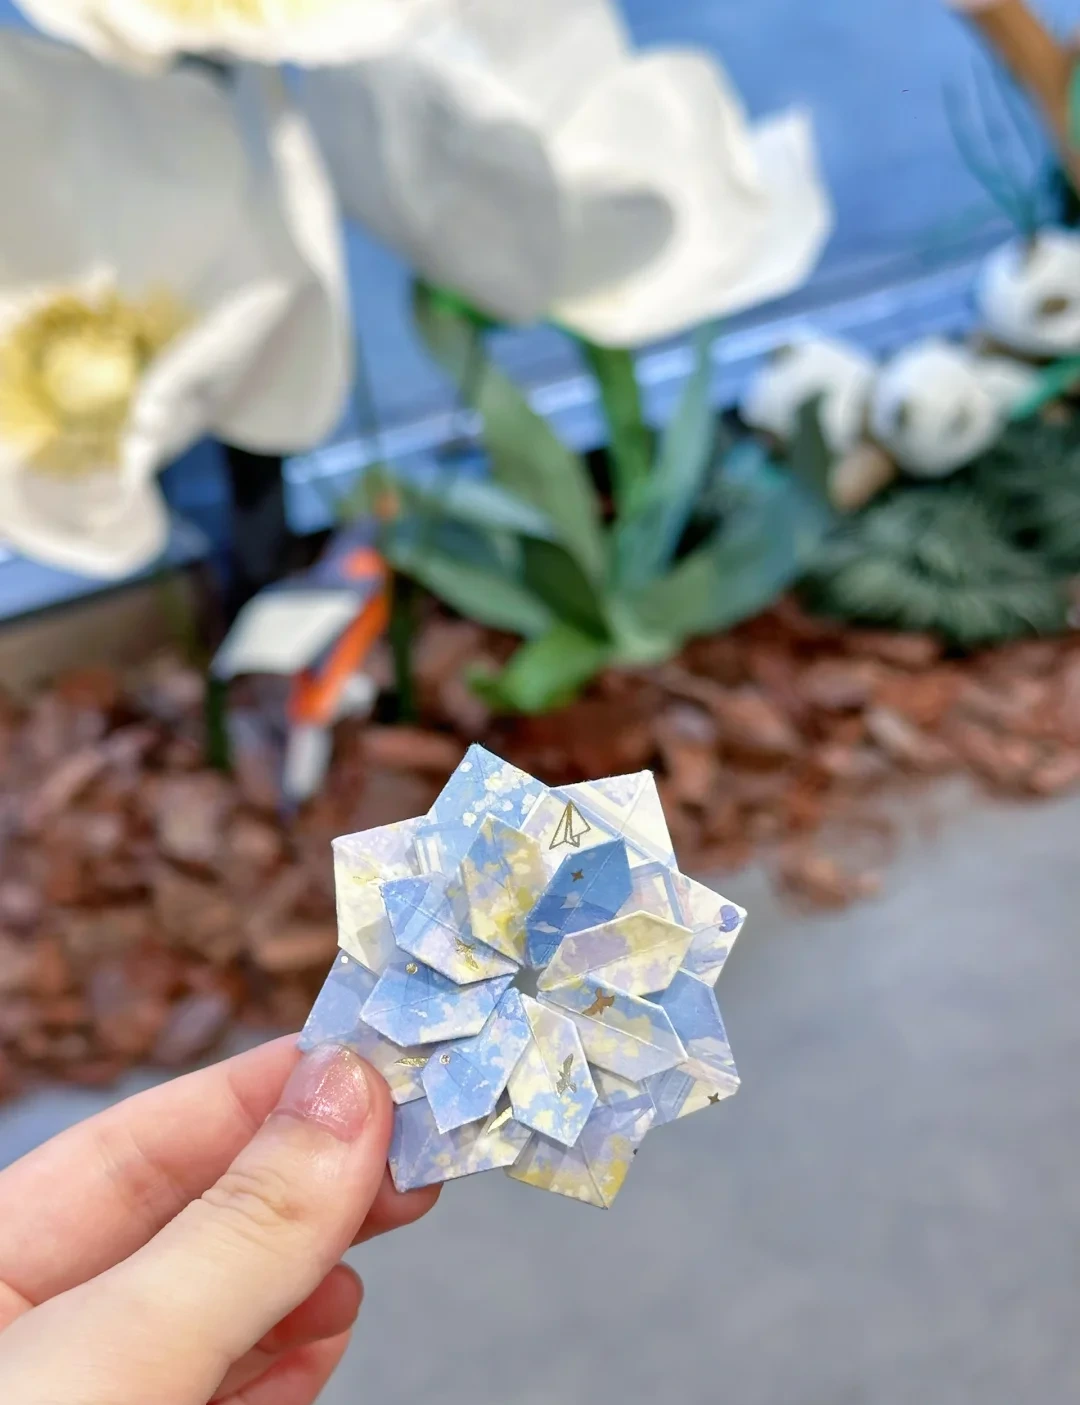
Use this finished example to compare the shape and proportions of your model.
Prepare eight strips
 Open image at full size ↗
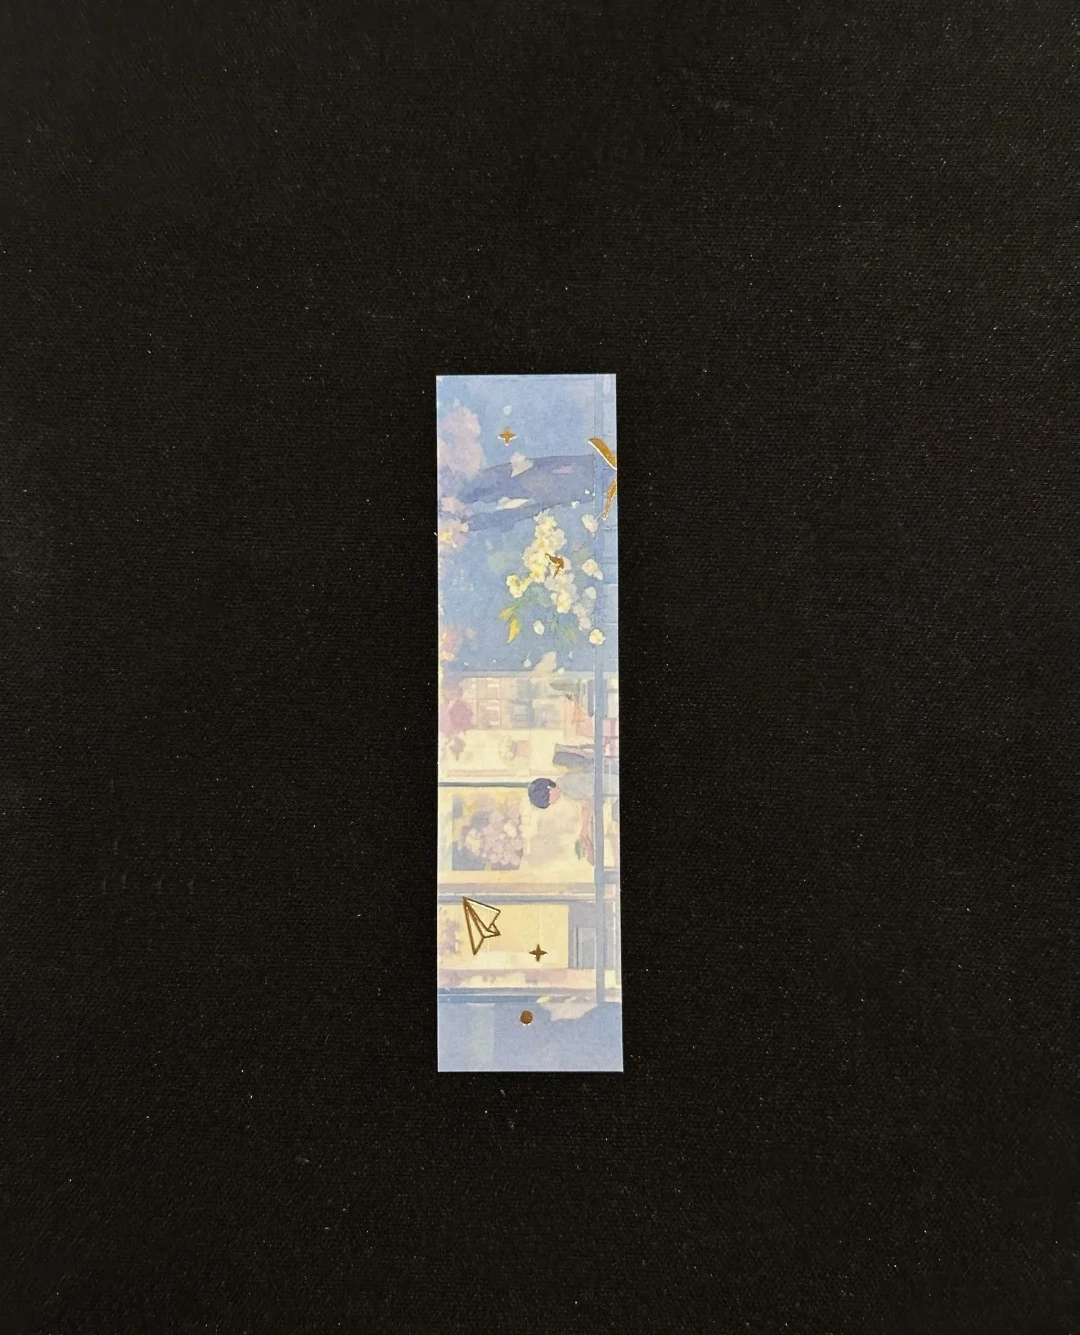
Cut or select eight matching strips, each 2 cm wide and 8 cm long.
Precrease a petal unit
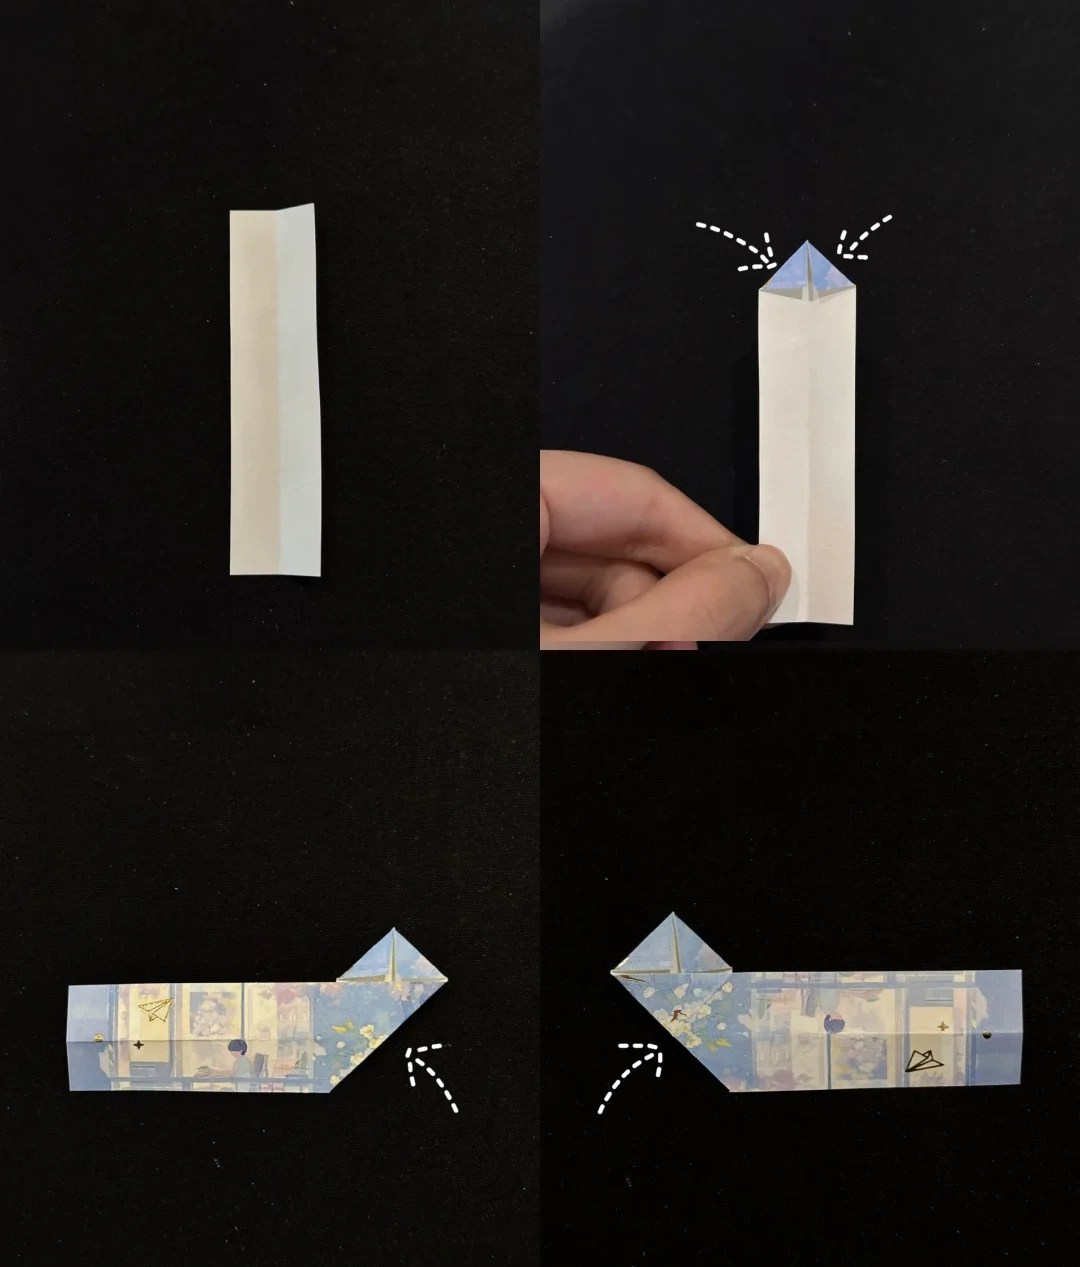 Open image at full size ↗
Fold one strip in half lengthwise and open it. Fold the two upper corners toward the middle.
Fold the long lower section diagonally to the left, then to the right, opening after each fold.
Collapse the petal base
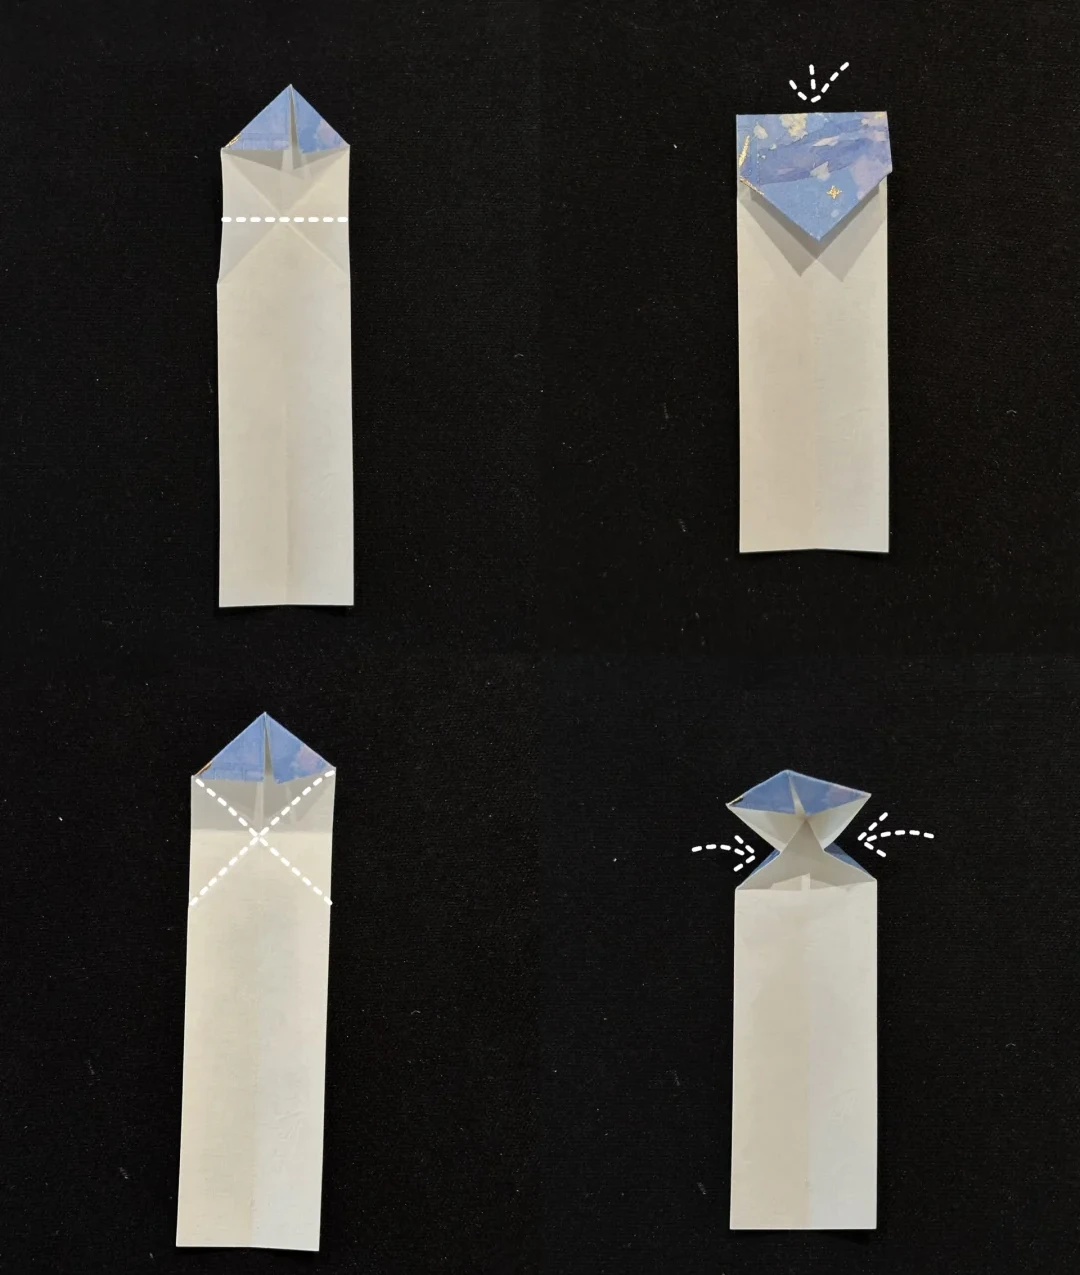 Open image at full size ↗
Open the diagonal folds. Fold the upper section downward along the horizontal guide and unfold.
Bring the two sides inward along the crossing creases.
Shape the small petal
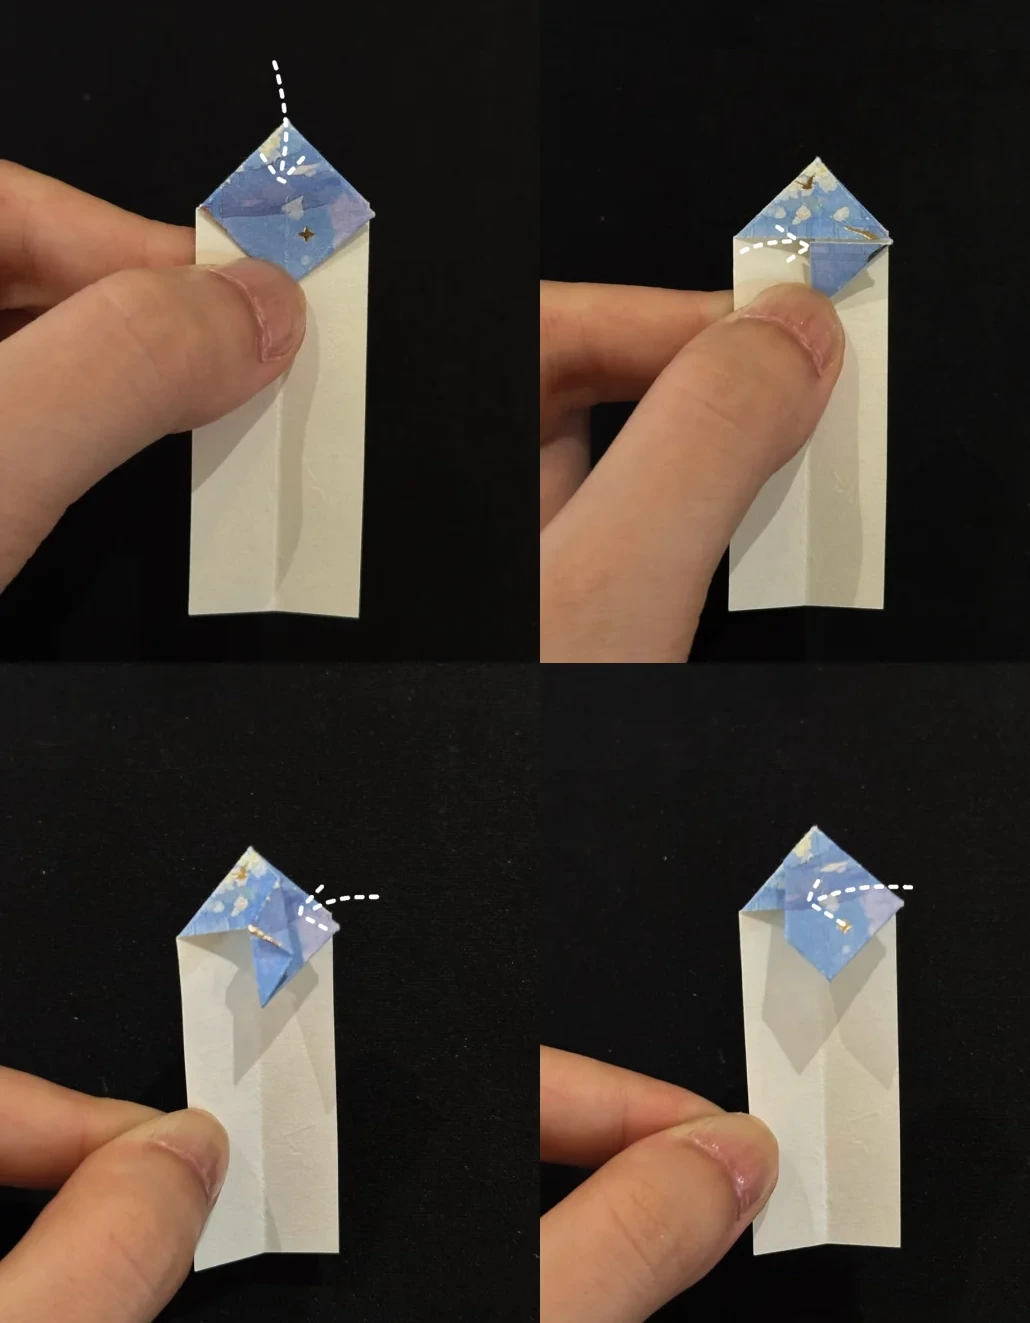 Open image at full size ↗
Squash the upper layers downward. Fold the small right-hand flap across.
Fold the little left section inward, then refold the right section along its guide.
Fold the other end
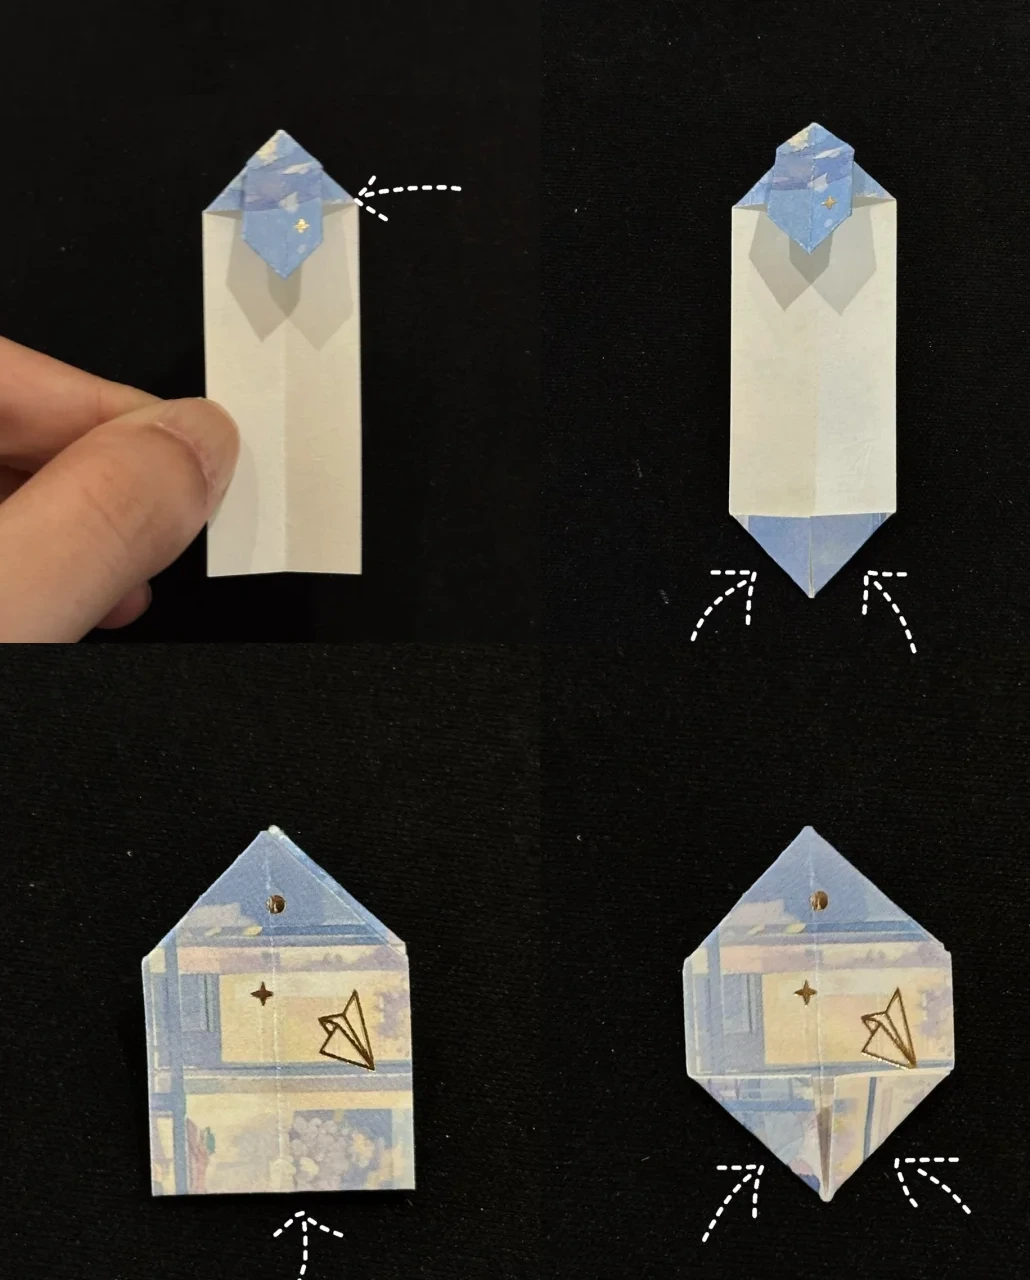 Open image at full size ↗
Repeat the corresponding small fold on the opposite side. Fold both lower corners to the center.
Fold the lower section upward, then bring its lower side edges to the center.
Close the unit
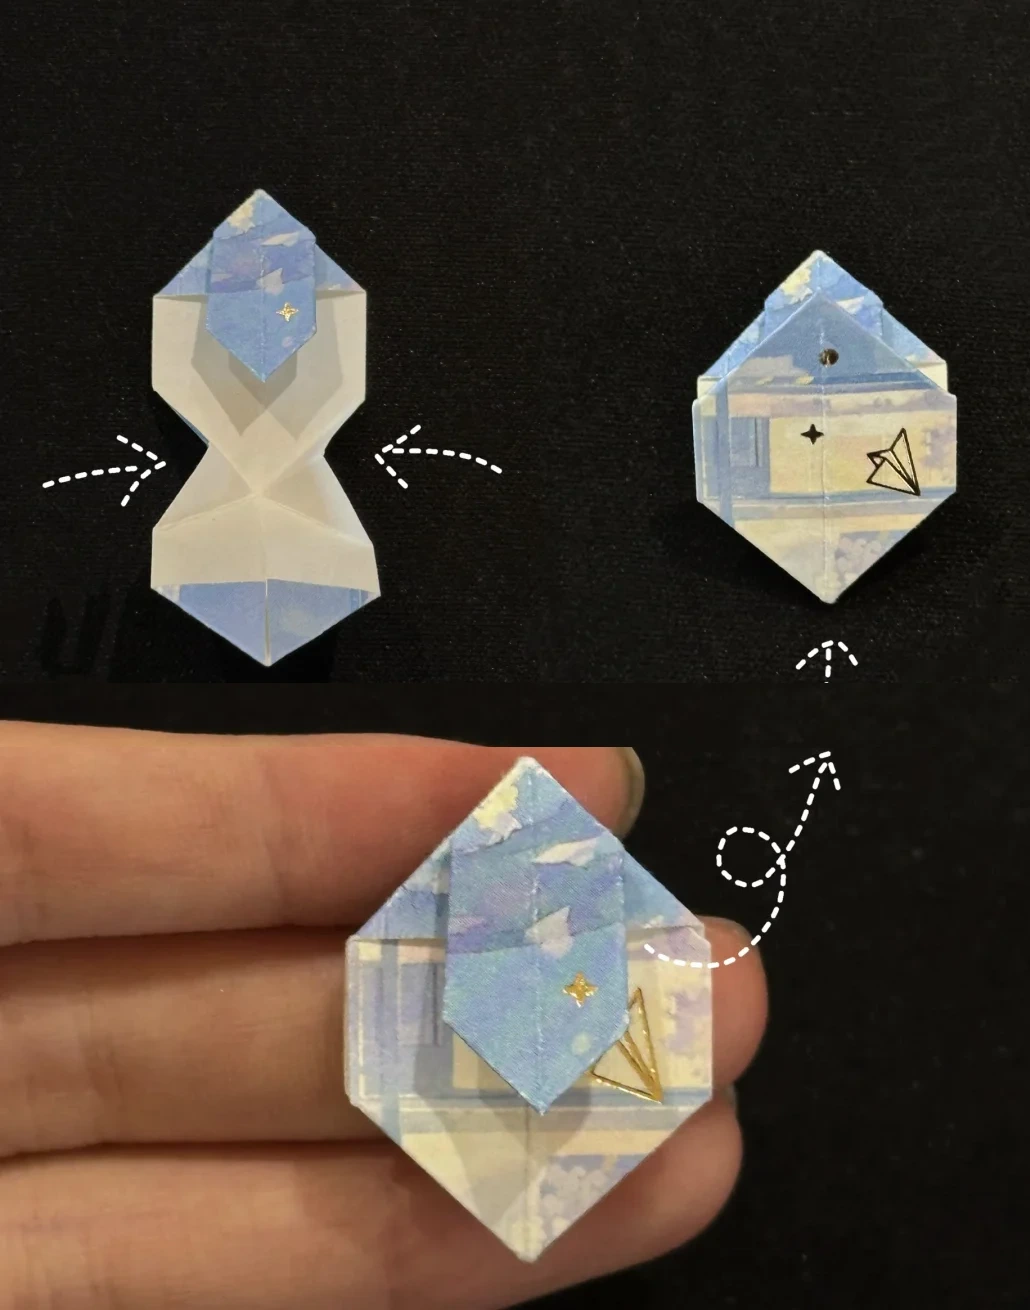 Open image at full size ↗
Open the lower section and bring the side creases inward toward the center.
Fold the lower section up and tuck the loose flap into the pocket to close the unit.
Join eight petals
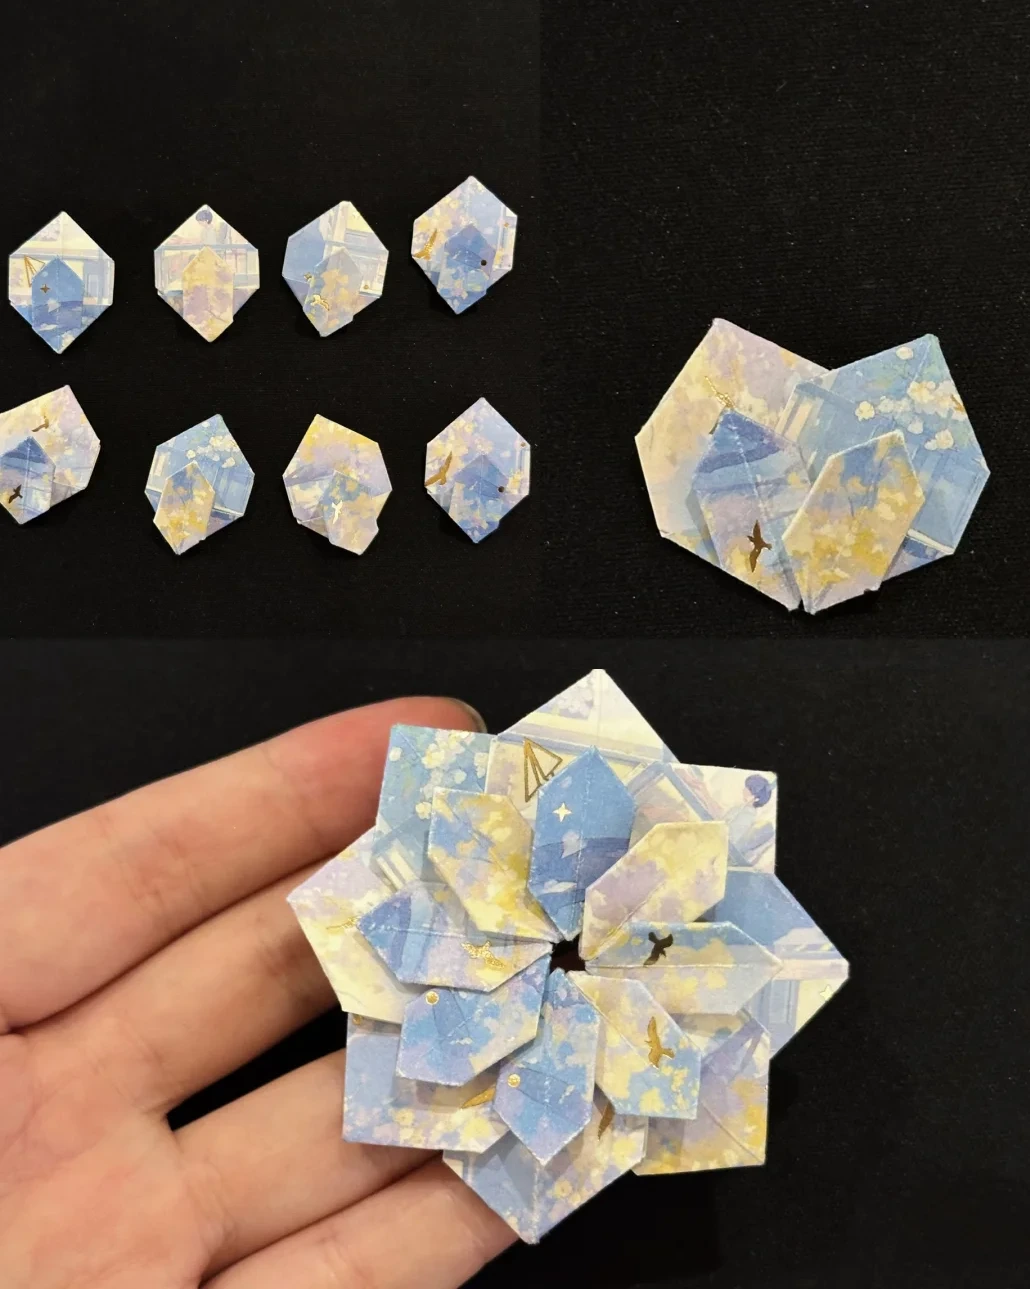 Open image at full size ↗
Repeat to make eight matching units. Interlock neighboring units in the arrangement shown.
Continue around the circle and connect the last unit to the first, then spread the layers into a lotus.
Finished model
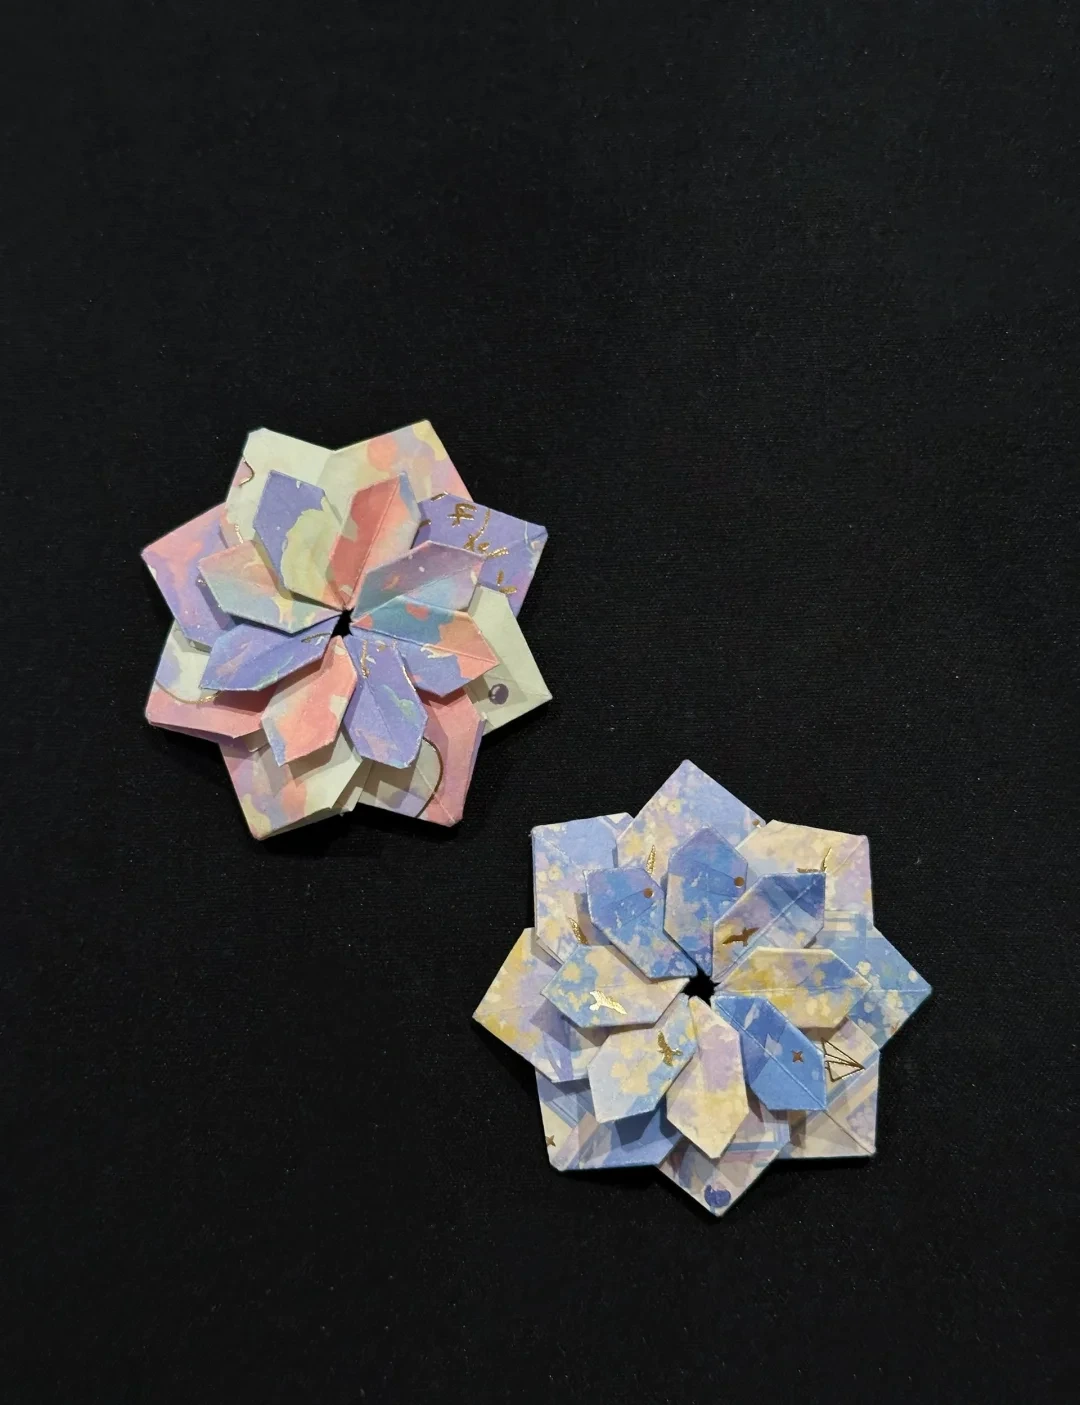 Open image at full size ↗
Use this finished example to compare the shape and proportions of your model.
Finished model
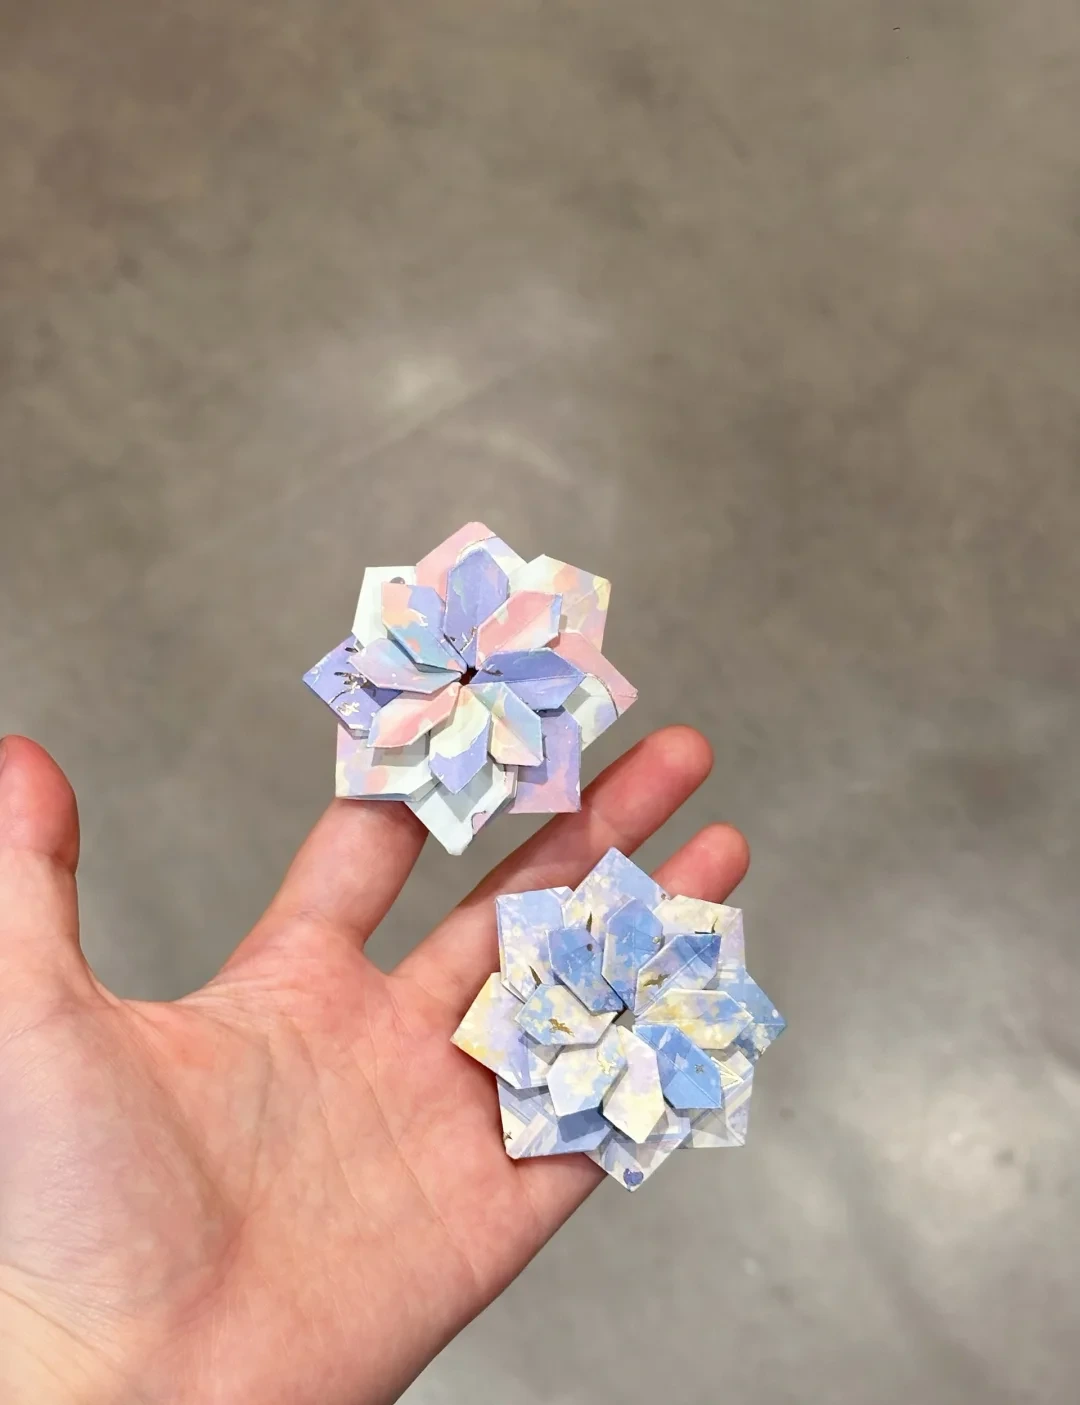 Open image at full size ↗
Use this finished example to compare the shape and proportions of your model.
Follow the diagrams alongside the step-by-step English instructions.
Choose your next project →