
Flowers & nature · Step-by-step guide
Double-Layer Ruffled Blossom
Stack two sheets to fold a flower with a tight inner layer and broader outer petals.
What you’ll need
- Two equal paper squares
Origami · Creasing, collapse folds & shaping
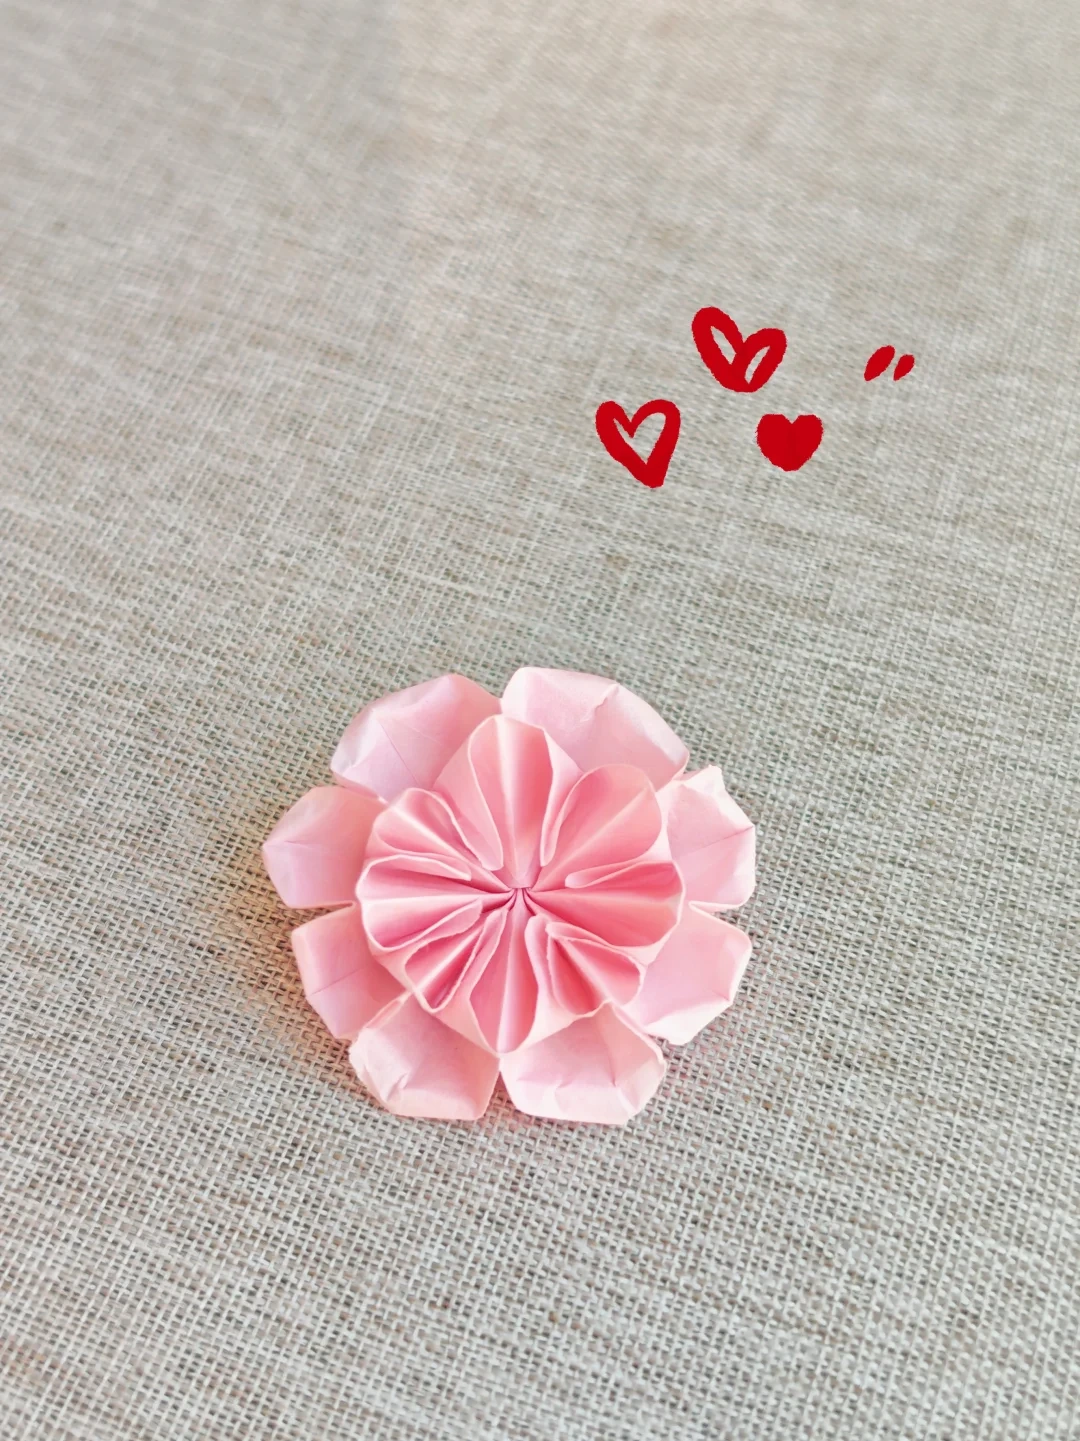
Make it, step by step.
12 steps · Original diagrams with English instructions
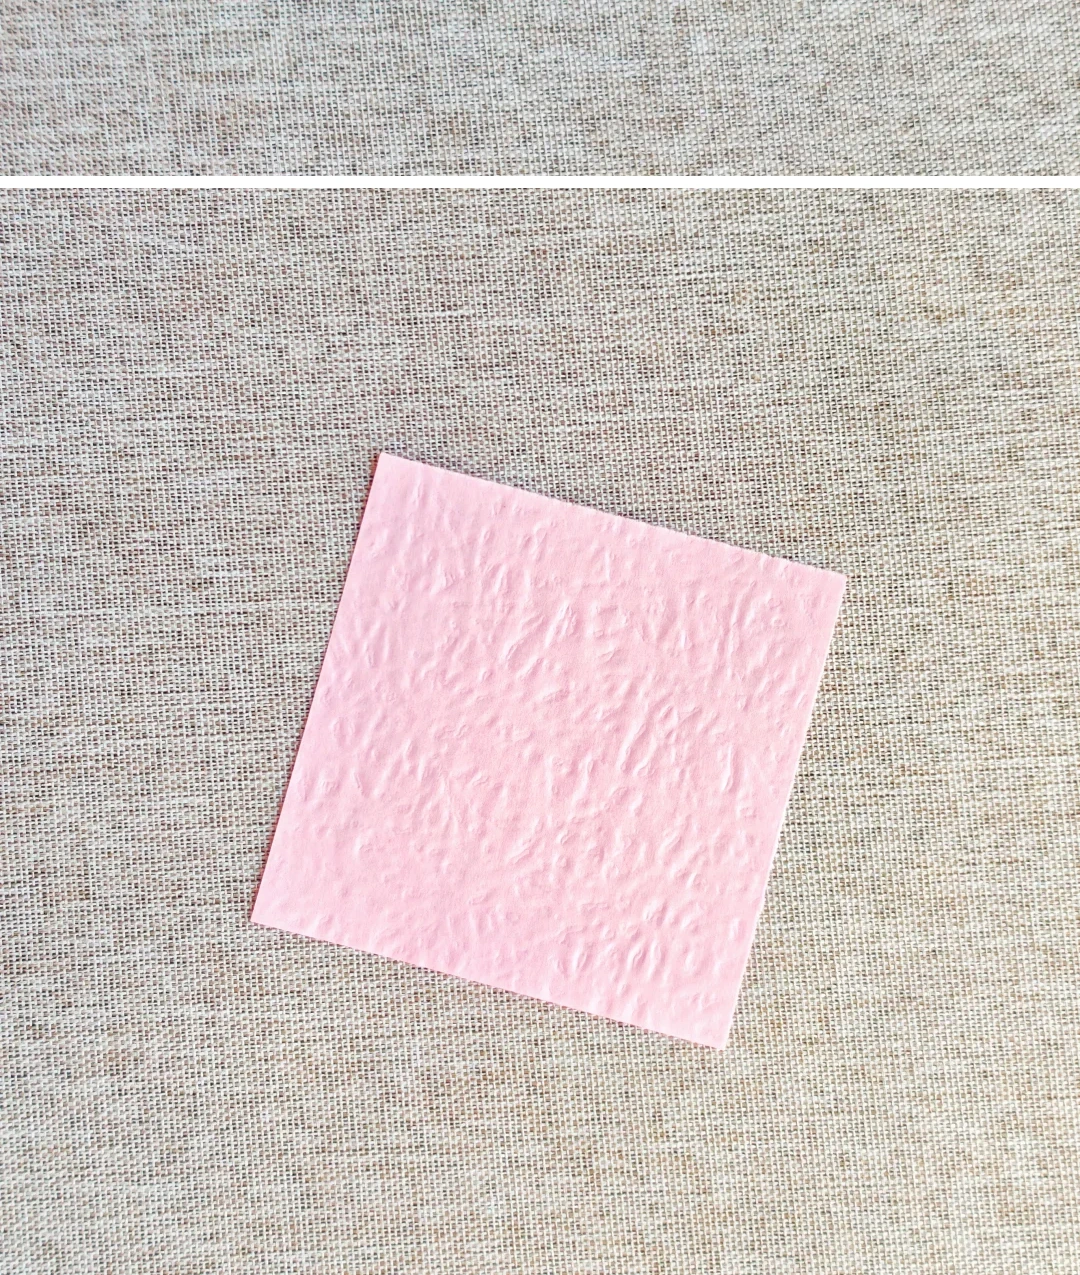
Prepare both sheets
 Open image at full size ↗
Choose two thin squares of equal size, using matching or contrasting colors.
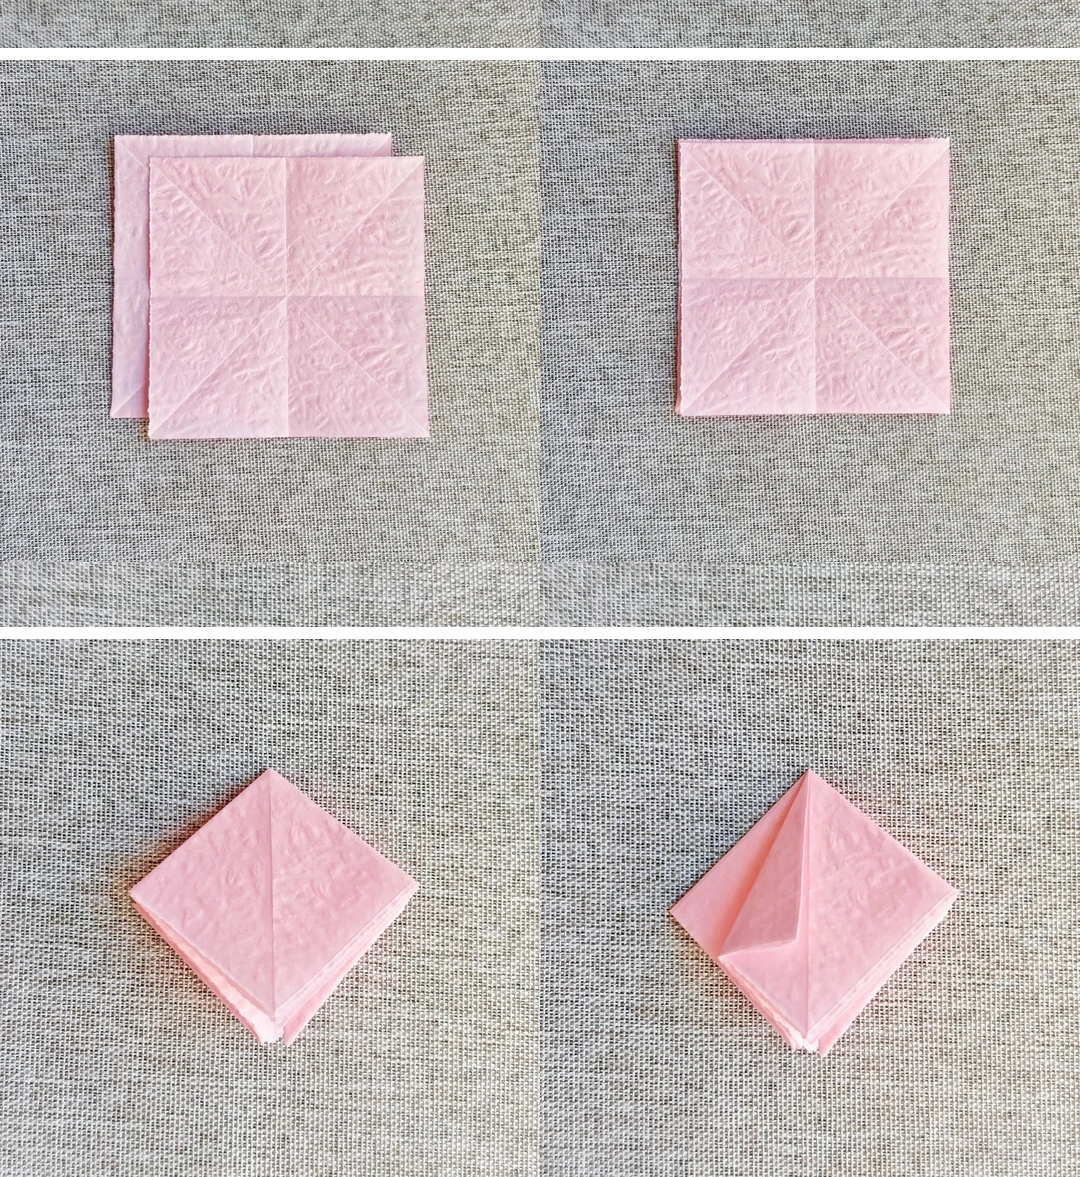
Fold the stacked base
 Open image at full size ↗
Stack both squares. Crease the diagonals and midlines together, collapse into a square base and fold the sides inward.
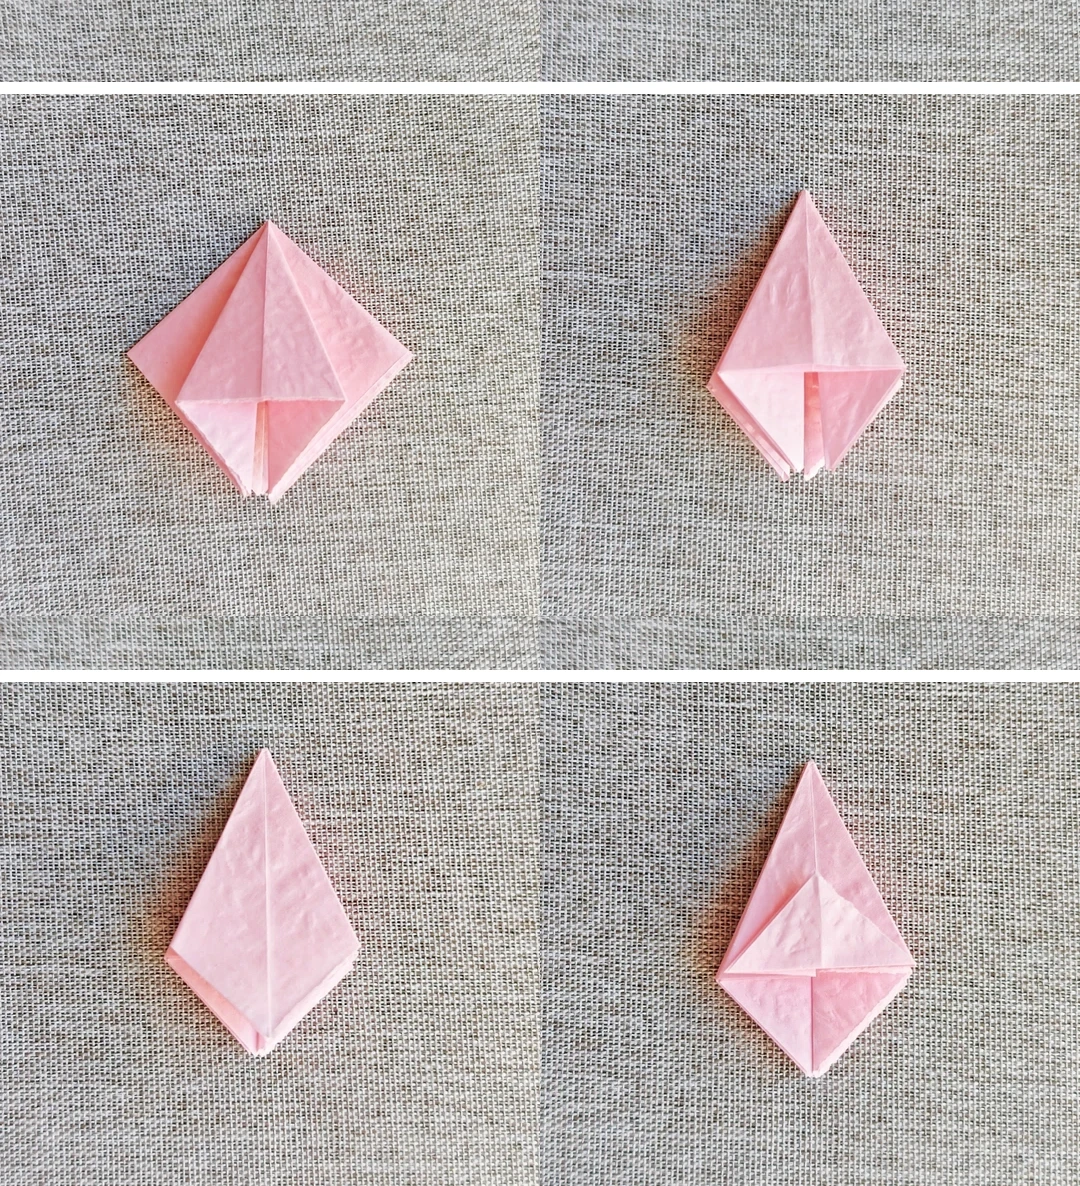
Open the pockets
 Open image at full size ↗
Open and flatten the folded pockets on every face. Turn the front flap right and the rear flap left, then fold upward.
Tuck the layers
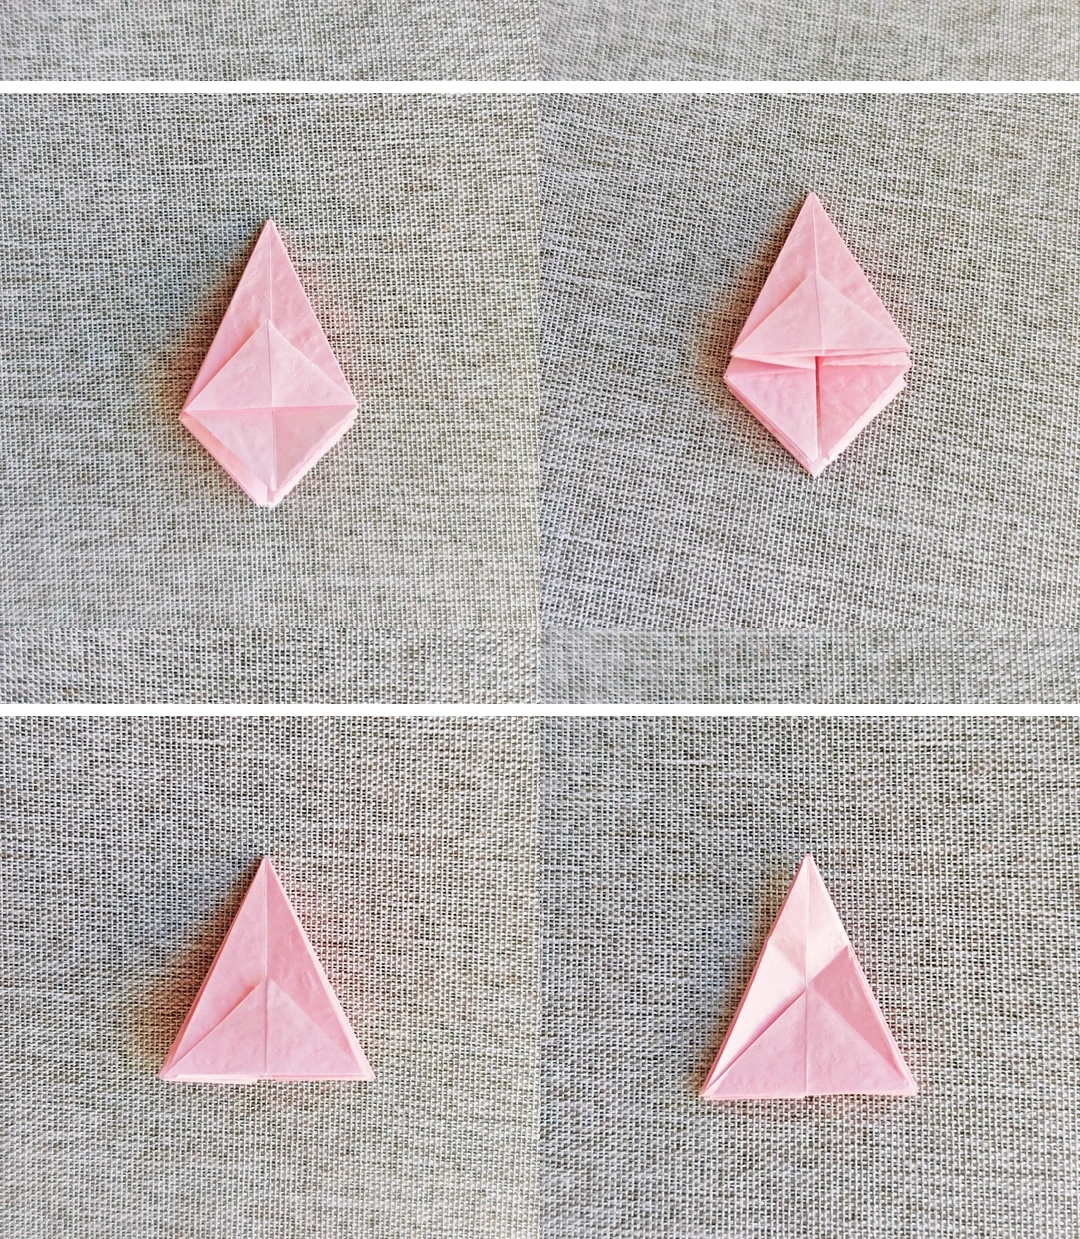 Open image at full size ↗
Fold the top layer down and tuck it into the gap above. Repeat around the base and make the pictured reference crease.
Fold the sides
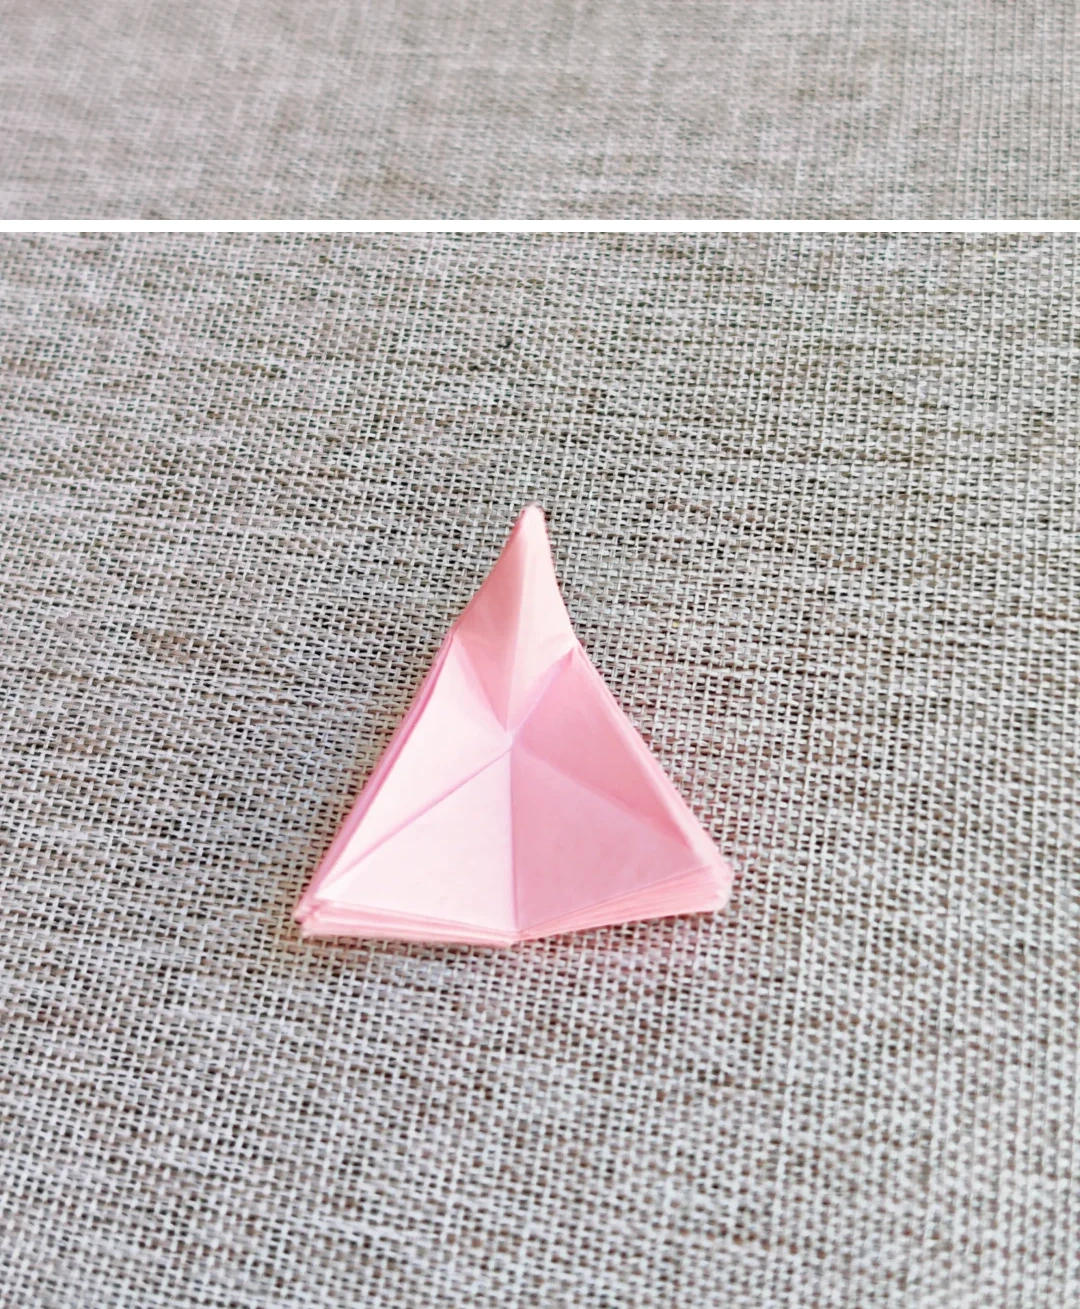 Open image at full size ↗
Bring the edges inward along the creases shown, keeping both sheets aligned.
Fold toward the middle
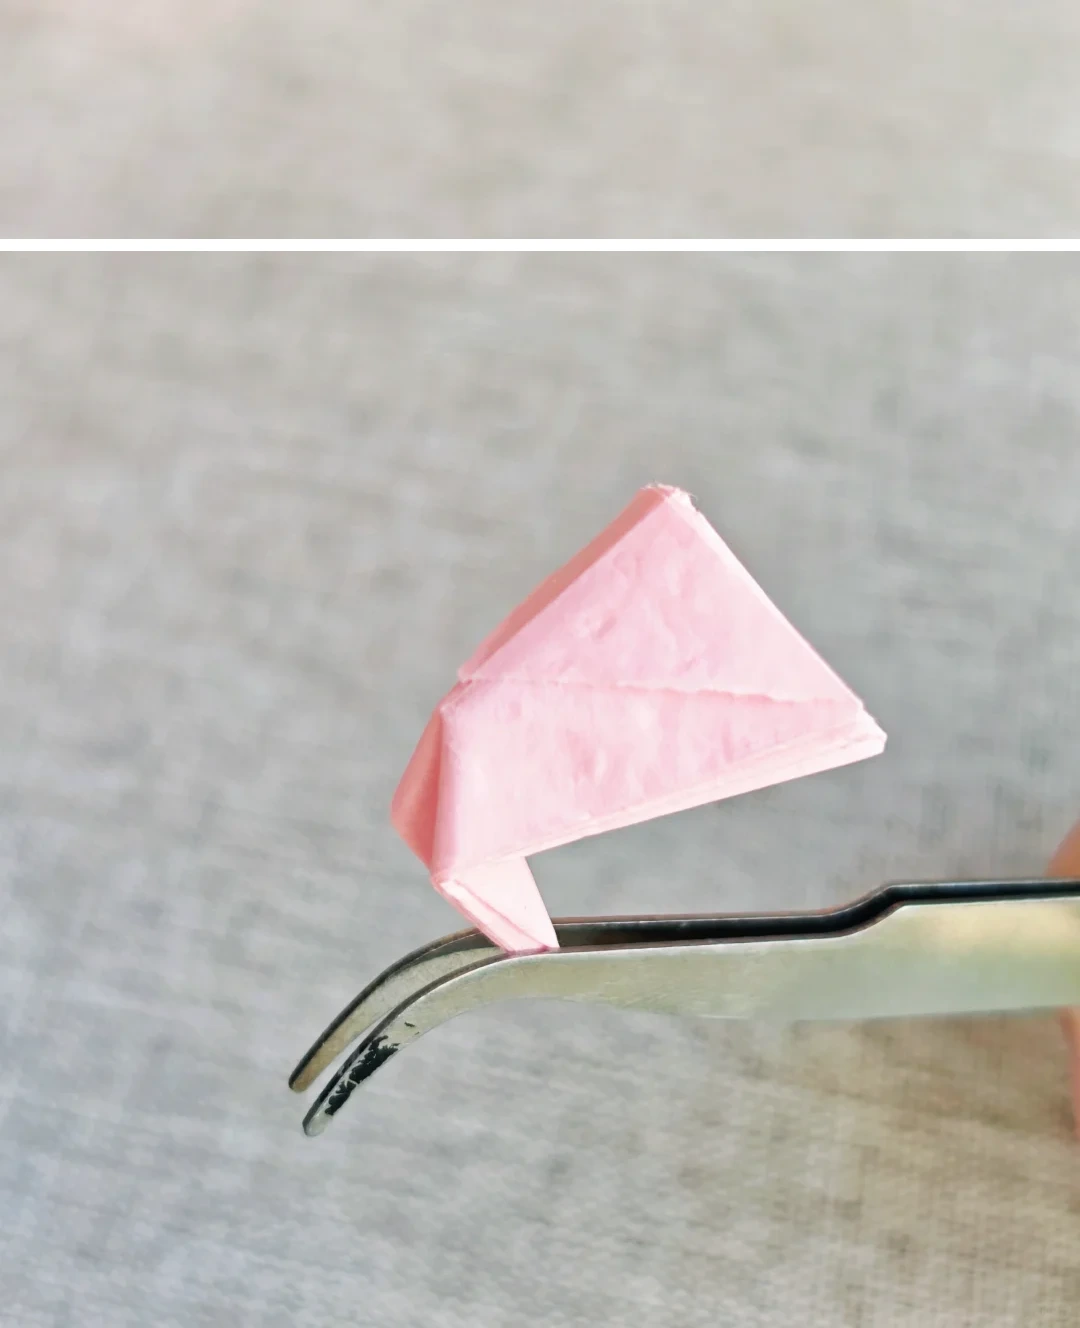 Open image at full size ↗
Fold the model toward its center as pictured.
Fold the top layer
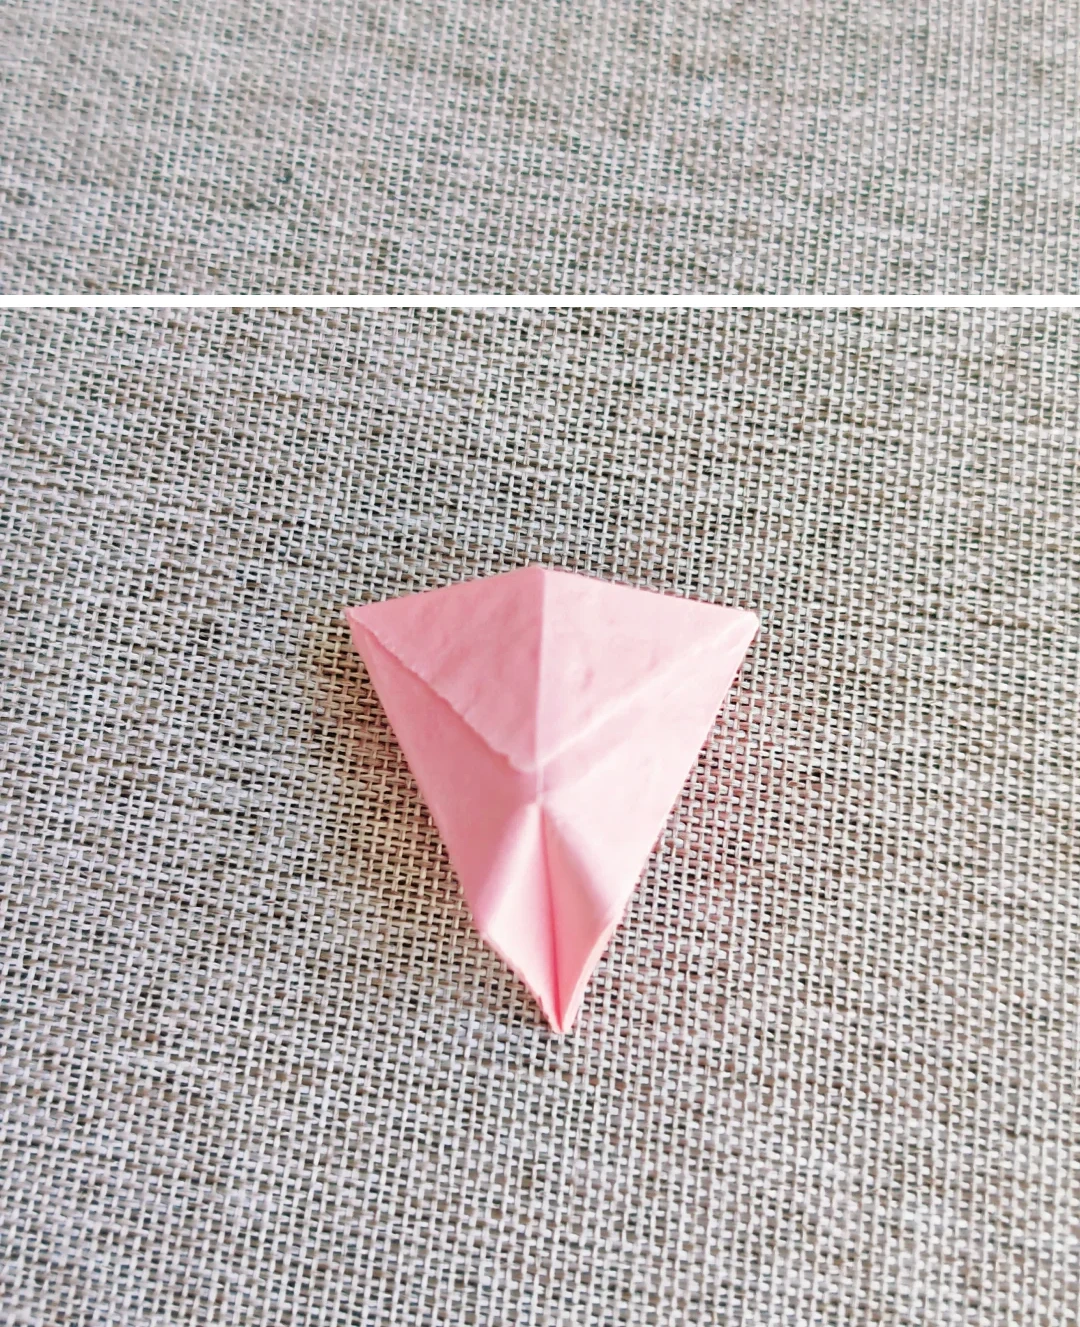 Open image at full size ↗
Fold the uppermost layer along the center line.
Check the opening
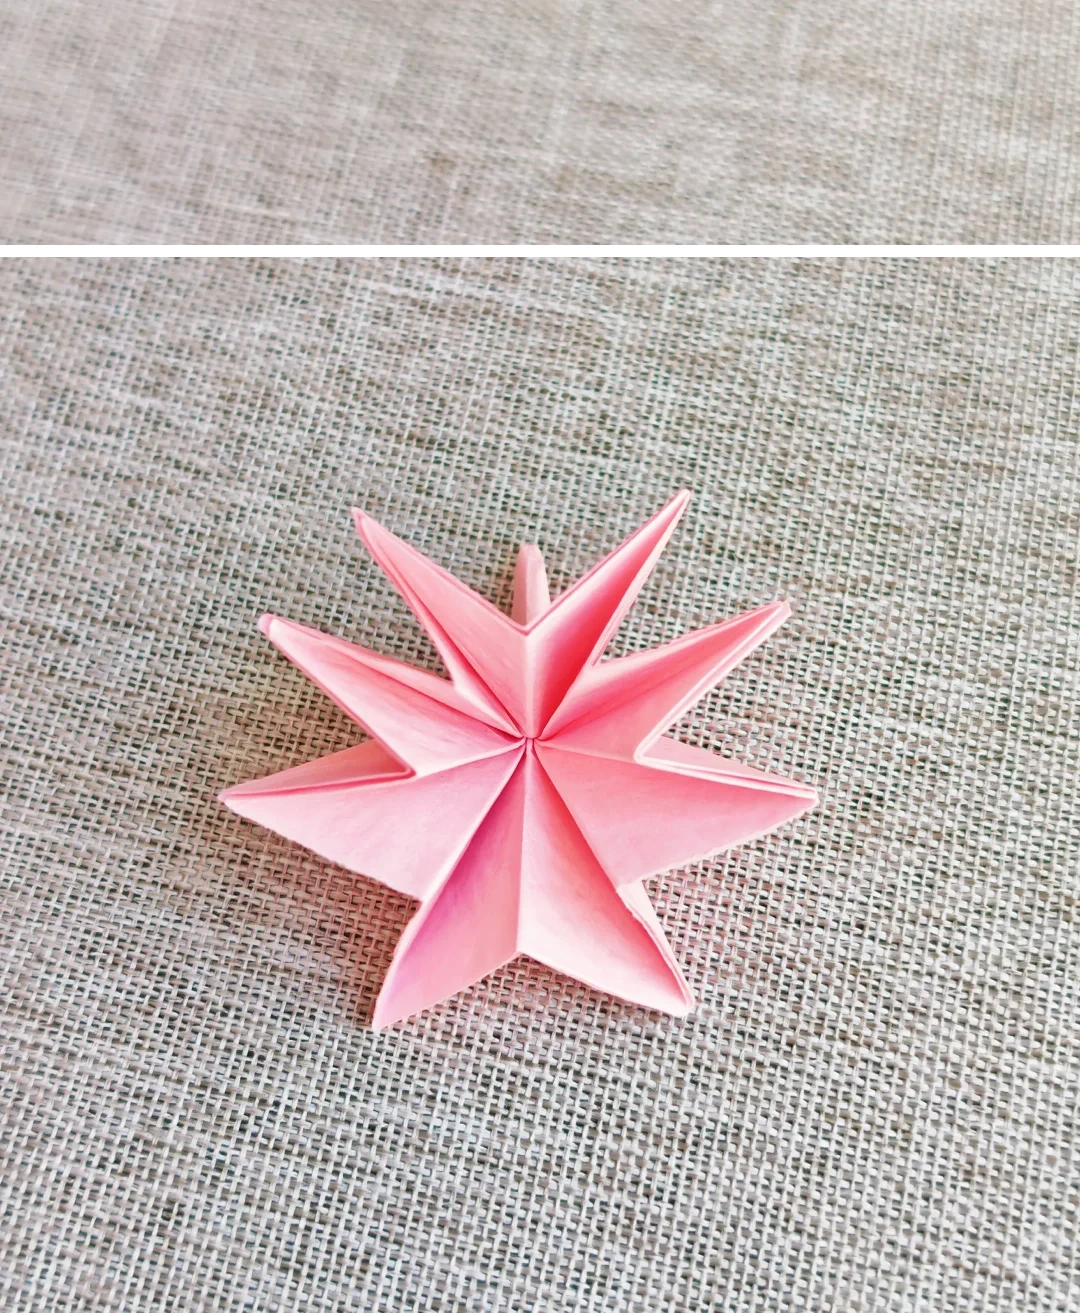 Open image at full size ↗
Look down into the top and gently separate the inner and outer layers.
Fold the inner petal
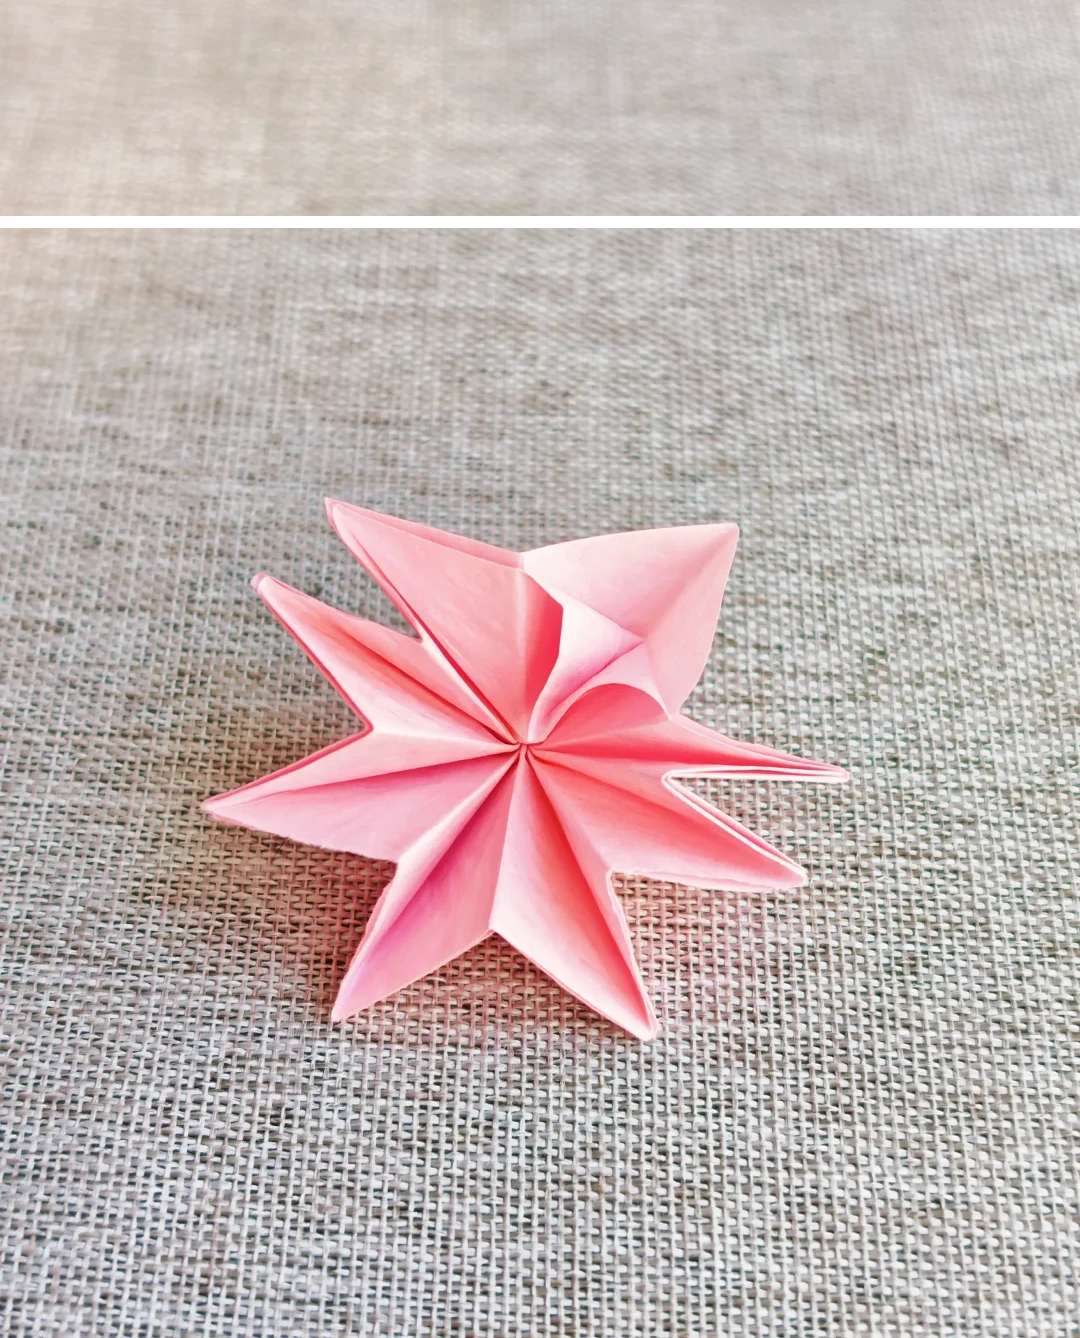 Open image at full size ↗
Fold the tip of one inner layer toward the center of the base.
Repeat the inner layer
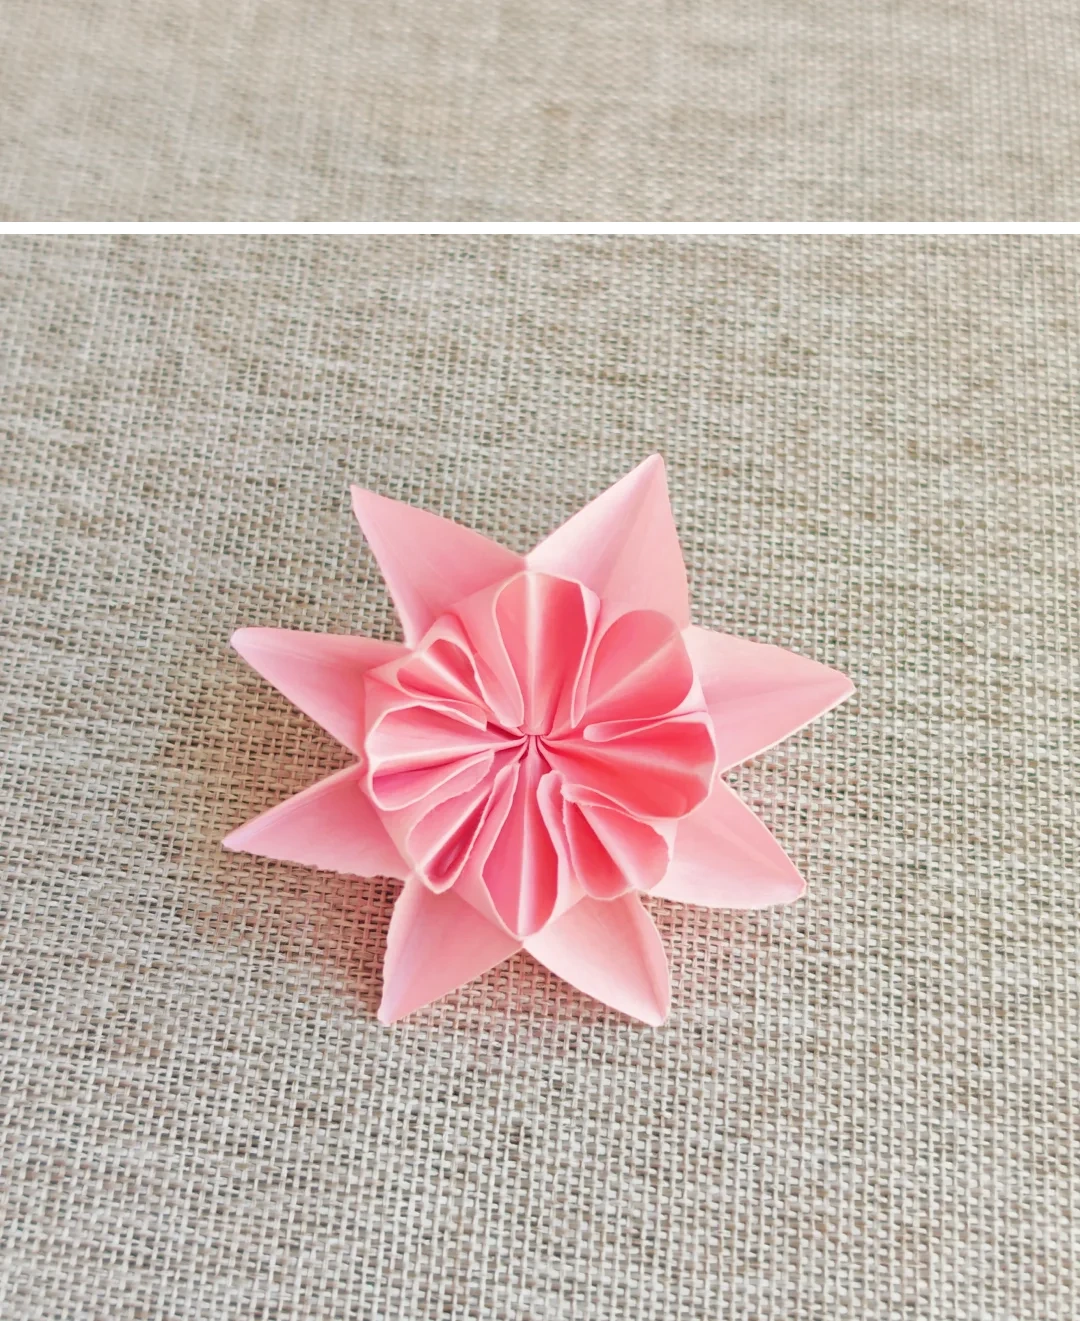 Open image at full size ↗
Repeat this fold on the remaining inner petals.
Open the outer layer
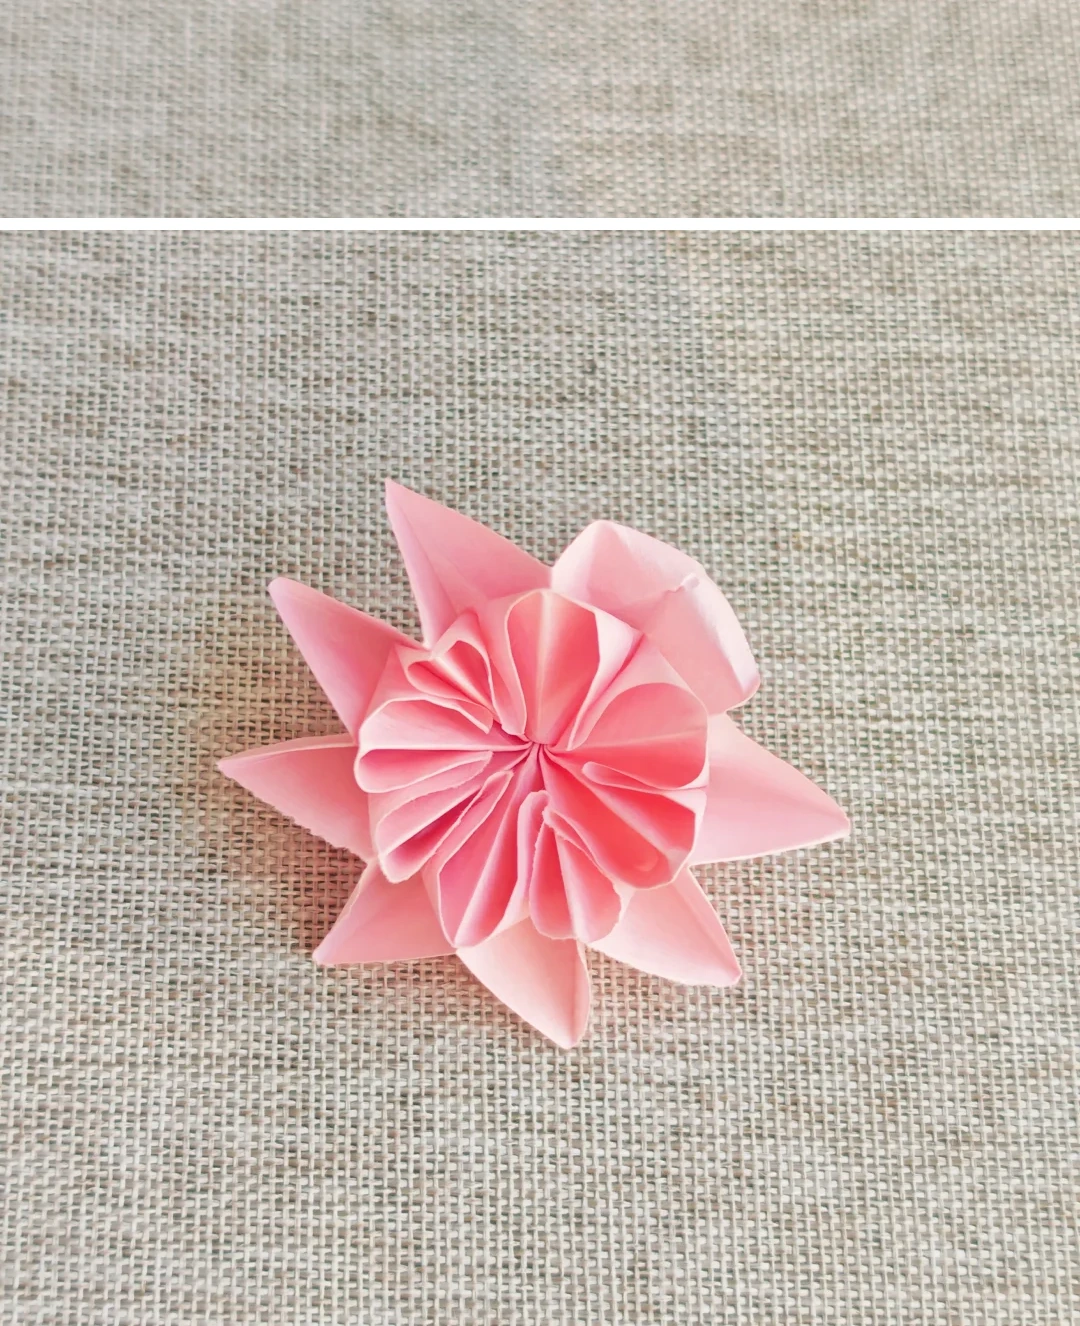 Open image at full size ↗
Fold the outer petals away from the center.
Finish the blossom
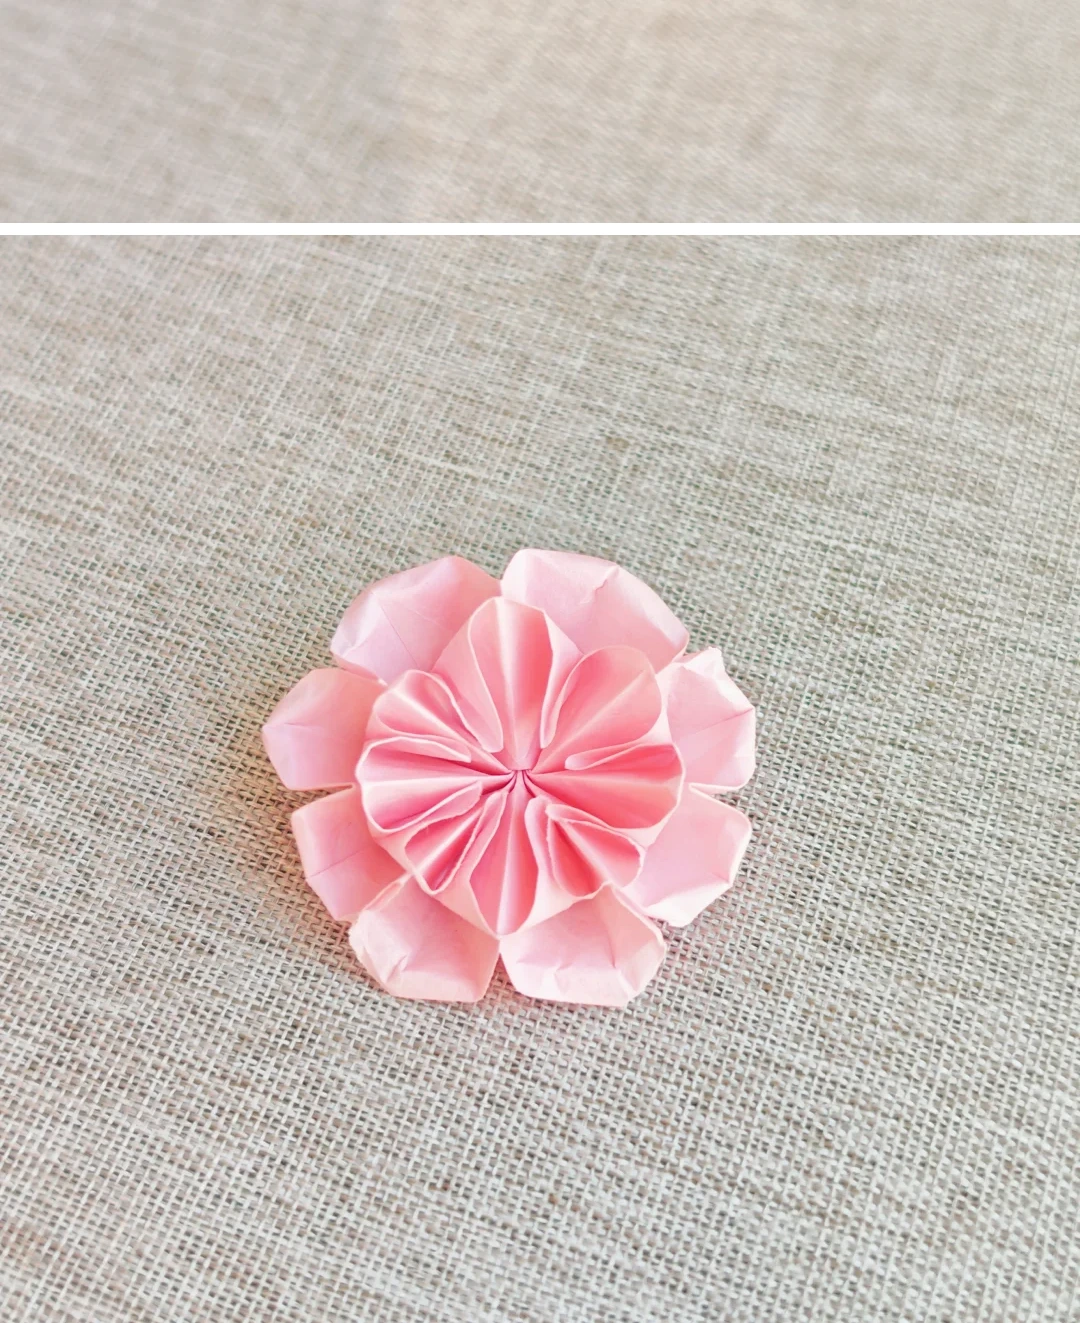 Open image at full size ↗
Repeat around the outer layer and adjust the spacing between petals.
Follow the diagrams alongside the step-by-step English instructions.
Choose your next project →