
Flowers & nature · Step-by-step guide
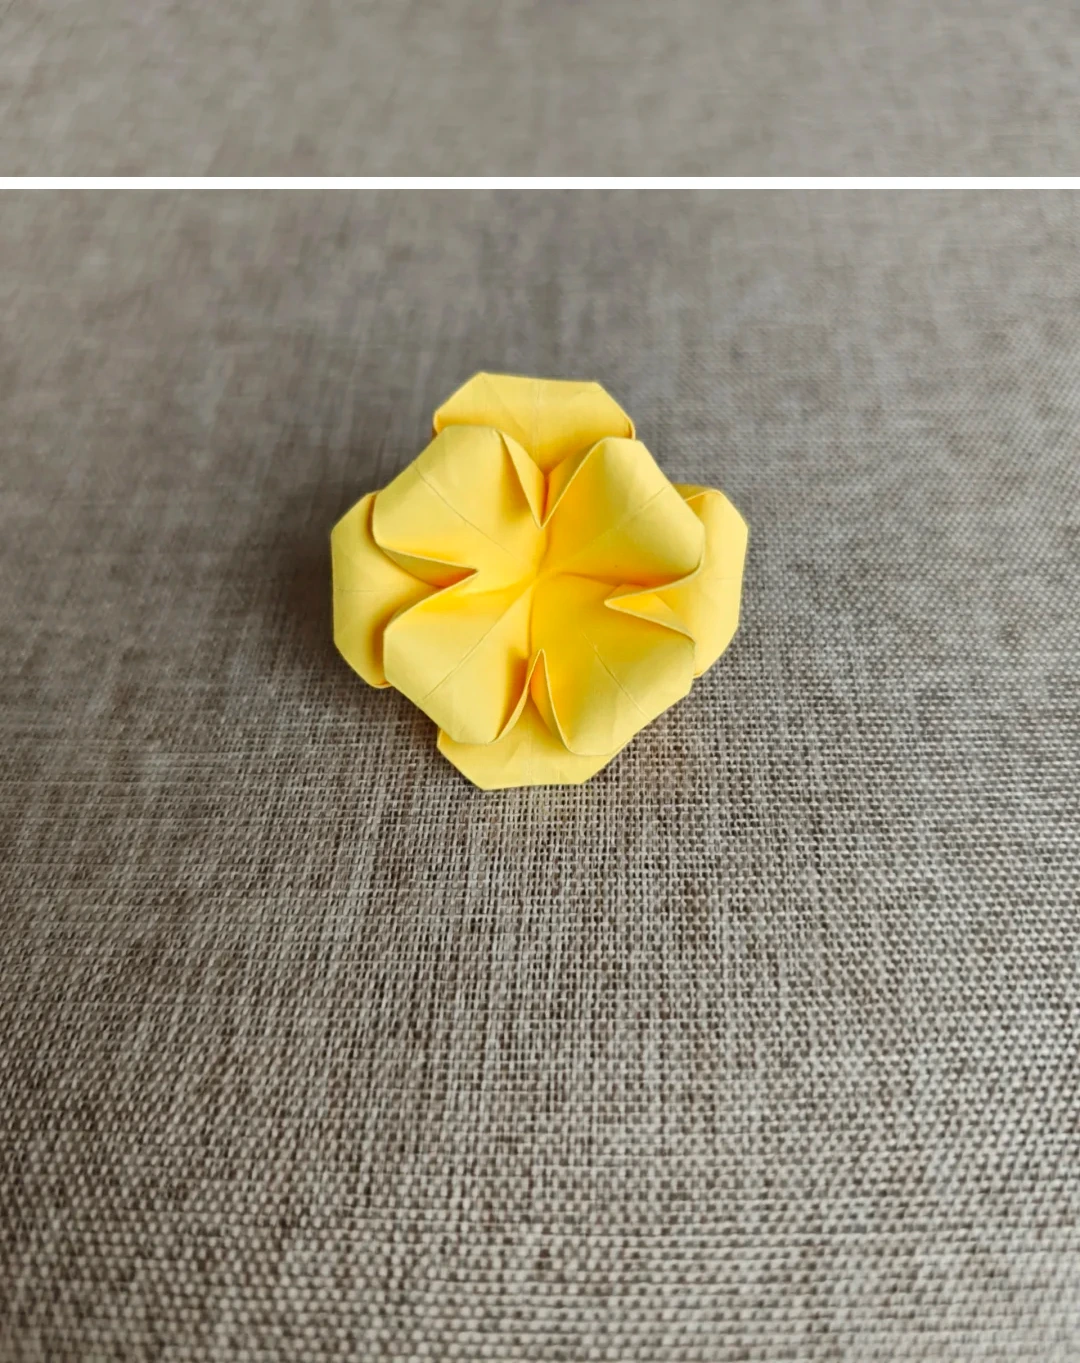
Double-Layer Camellia
Fold two four-petal flowers in different sizes and nest them together.
What you’ll need
- One 7.5 × 7.5 cm square
- One 6 × 6 cm square
- Glue, optional
Origami · Creasing, collapse folds & shaping
Make it, step by step.
15 steps · Original diagrams with English instructions
Start the larger square
 Open image at full size ↗
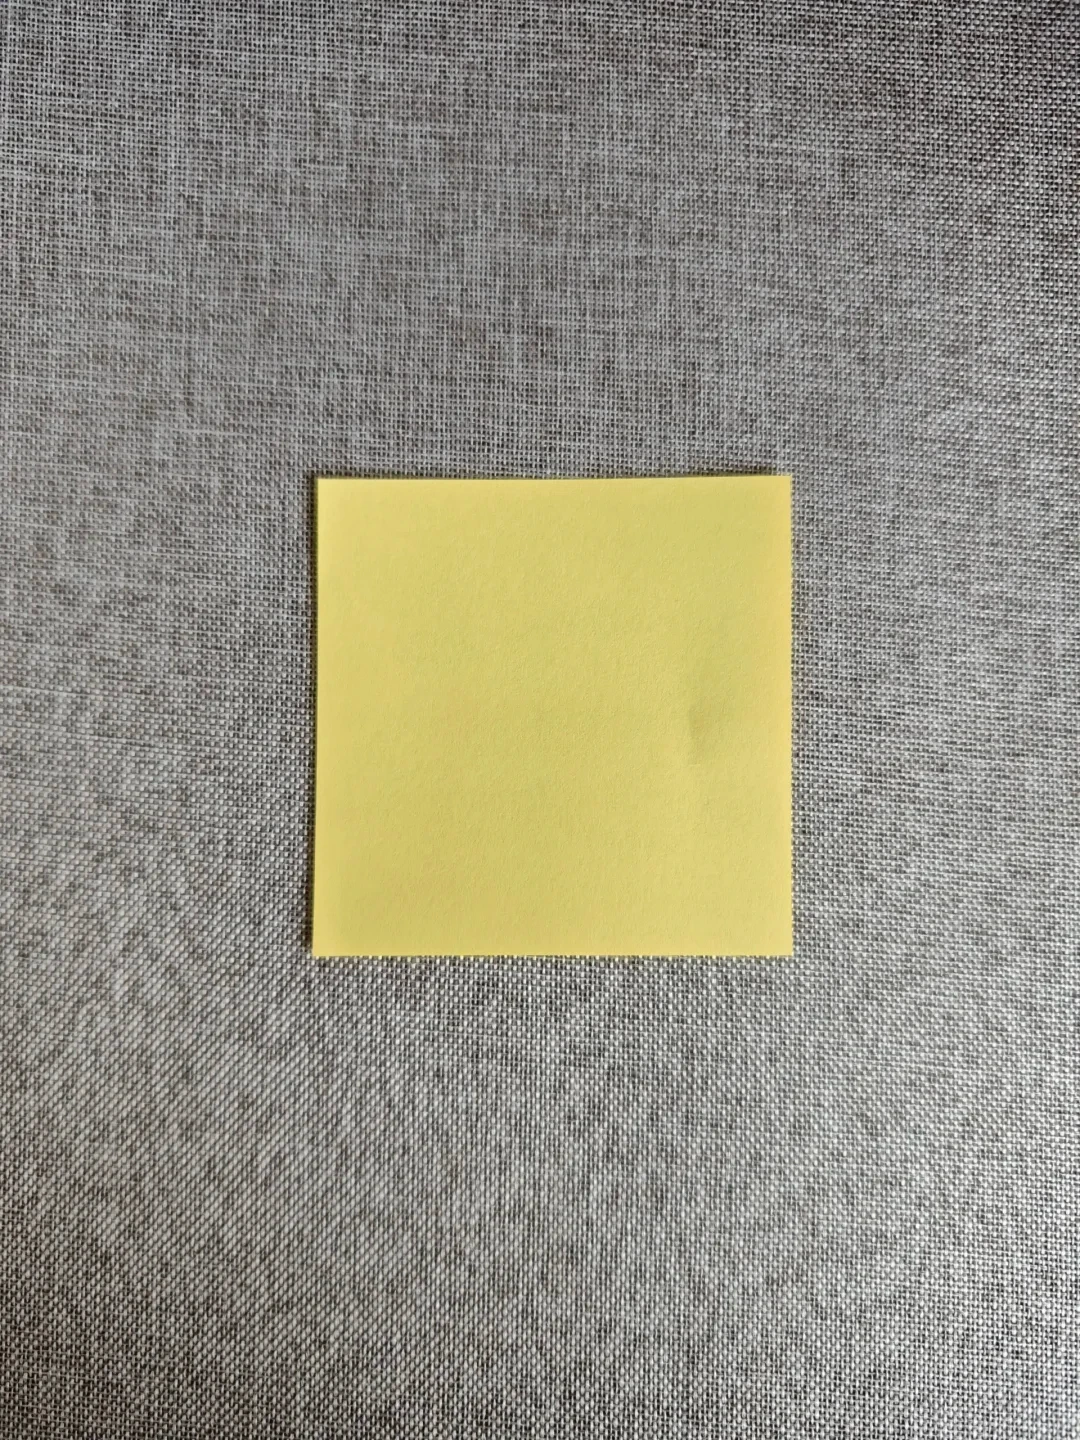
Use the 7.5 cm square for the outer flower.
Make the base creases
 Open image at full size ↗
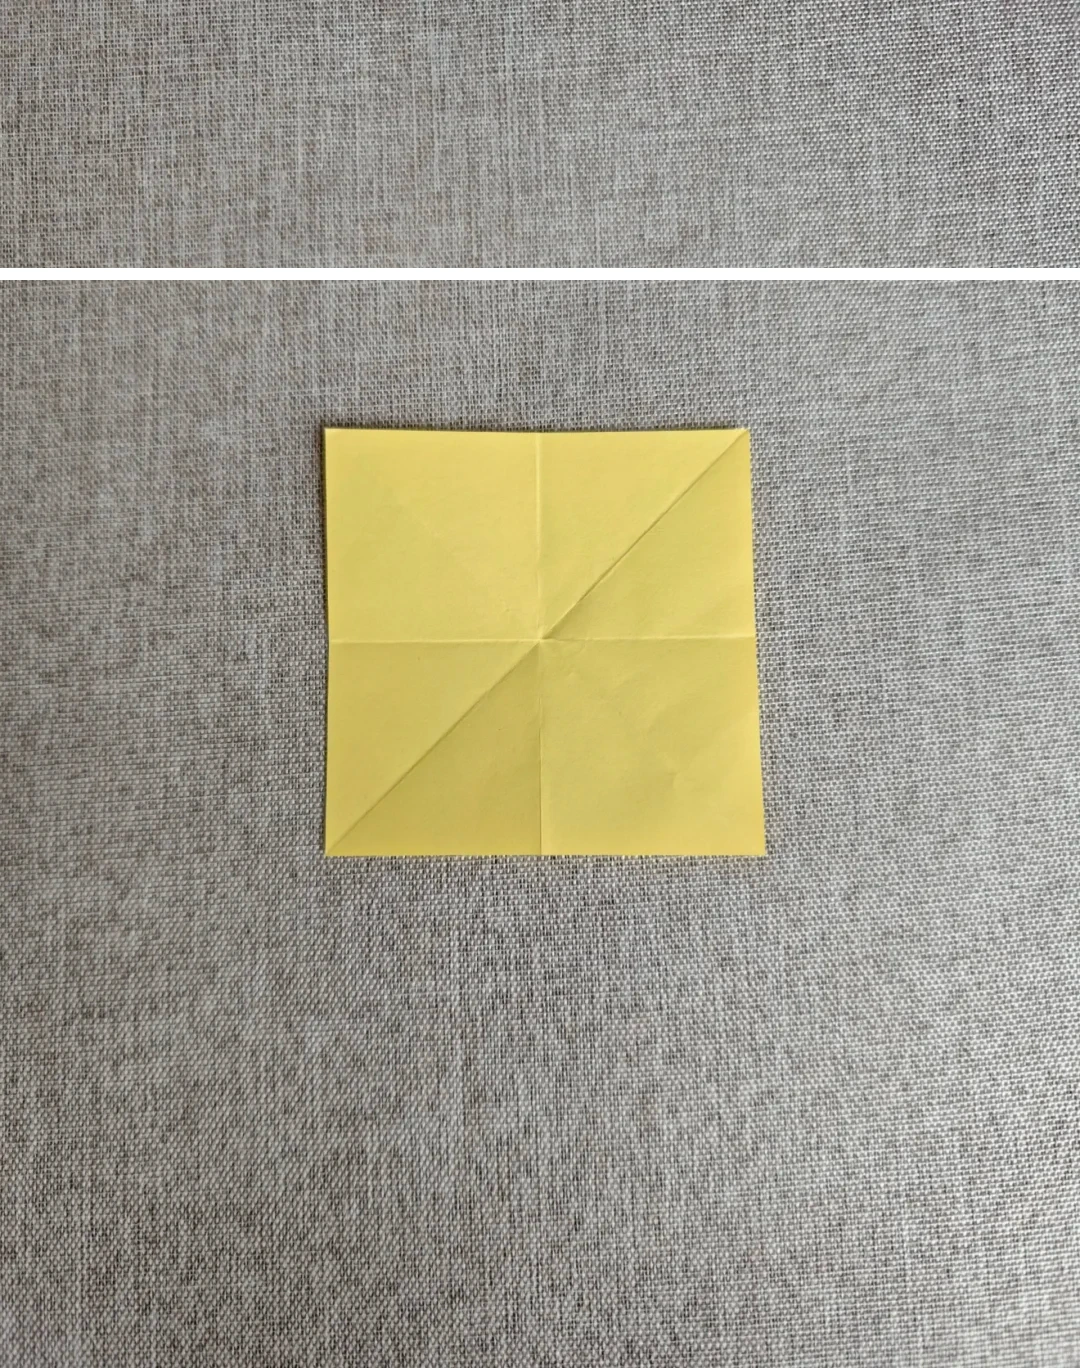
Fold and unfold both diagonals and both midlines.
Fold all corners inward
 Open image at full size ↗
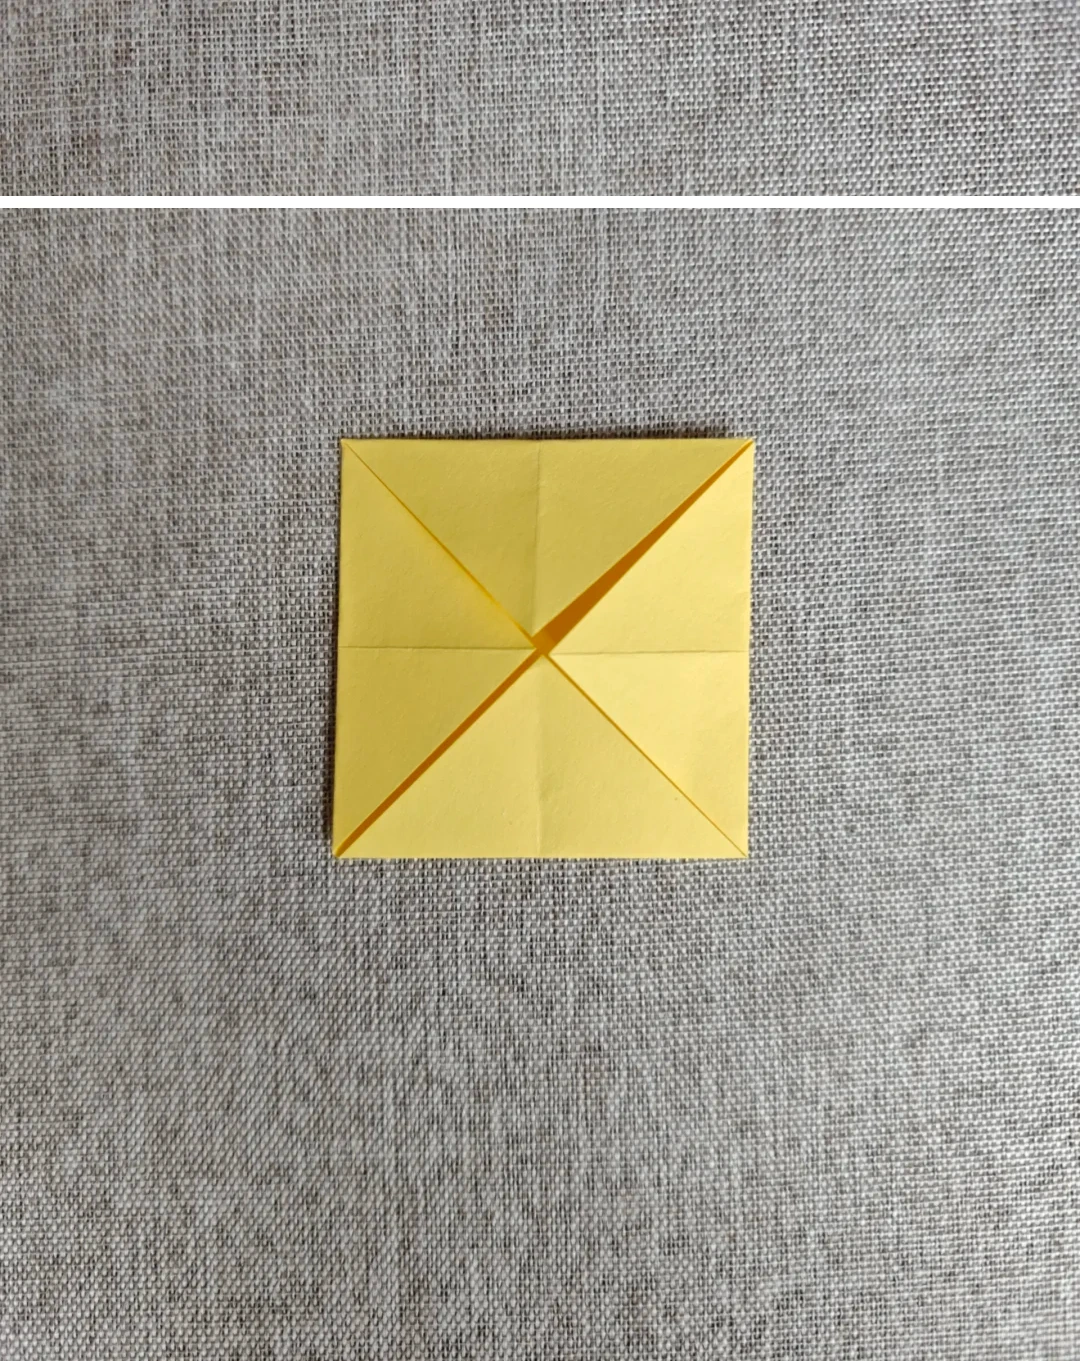
Bring the four corners to the center.
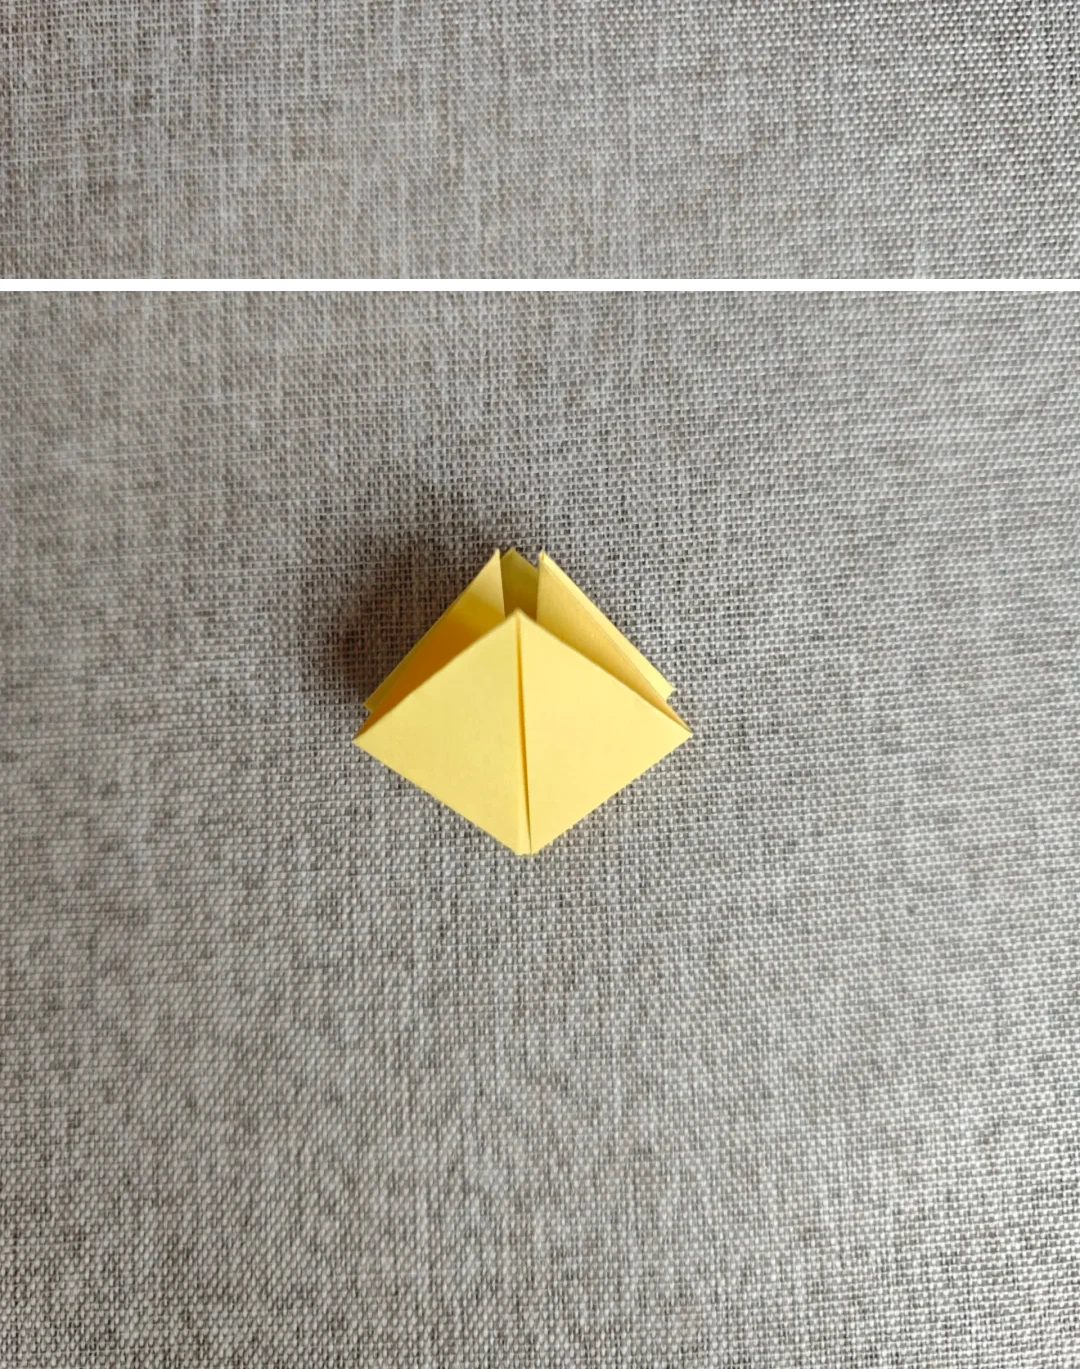
Collapse into a diamond
 Open image at full size ↗
Bring the creases together into the layered diamond shown.
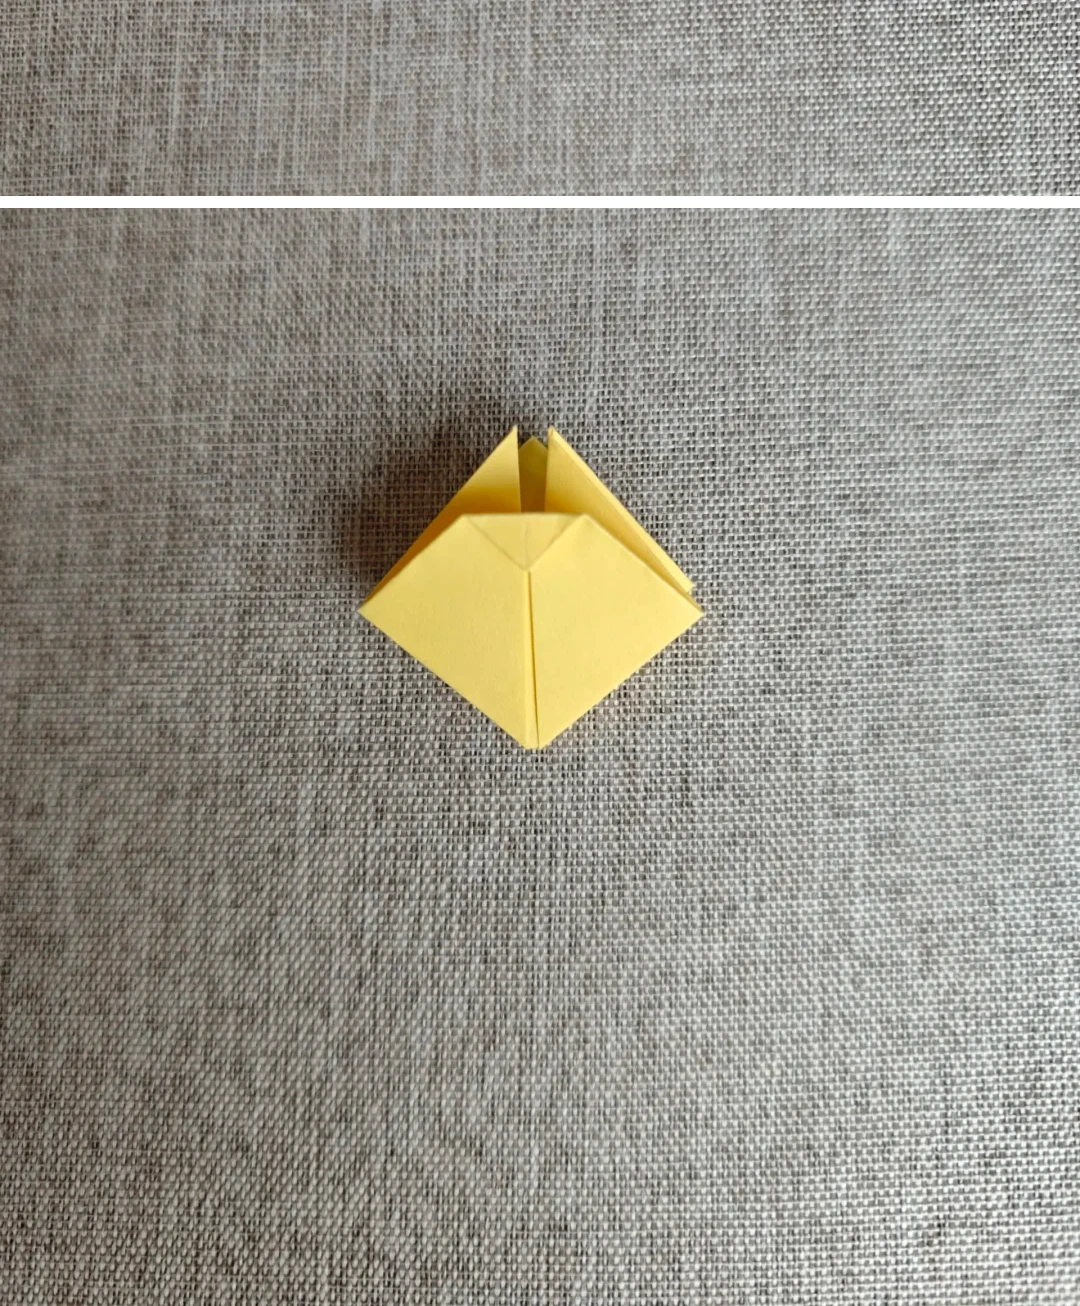
Crease a small triangle
 Open image at full size ↗
Fold a small triangle down at the top. The size of this fold controls the petal's shape.
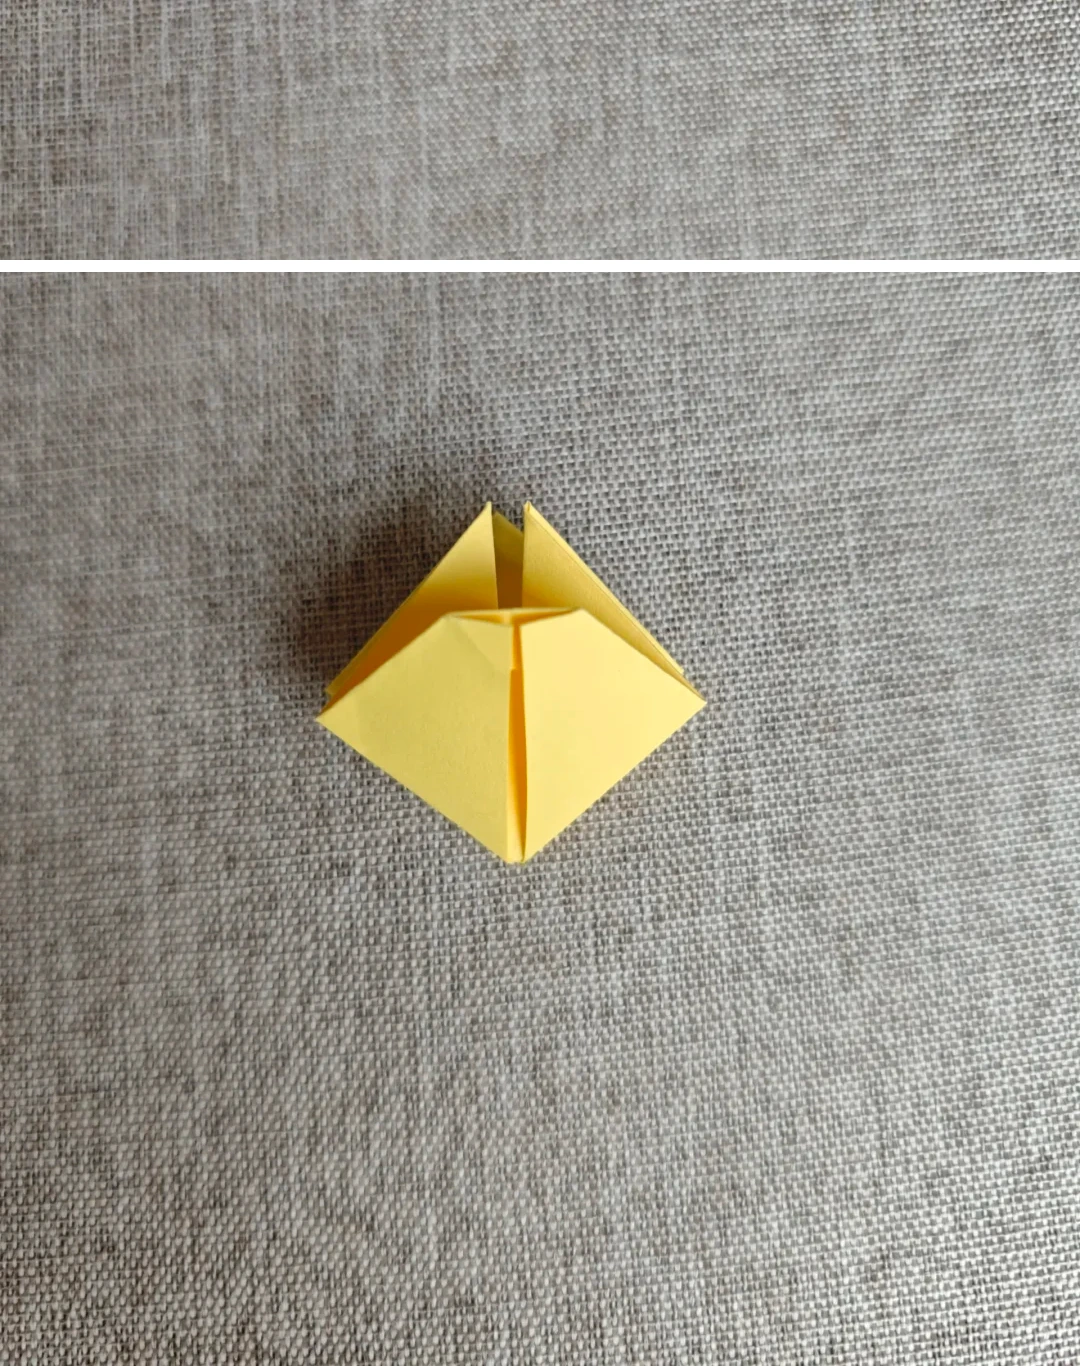
Tuck the triangle inside
 Open image at full size ↗
Open the triangle and push it inward along its crease.
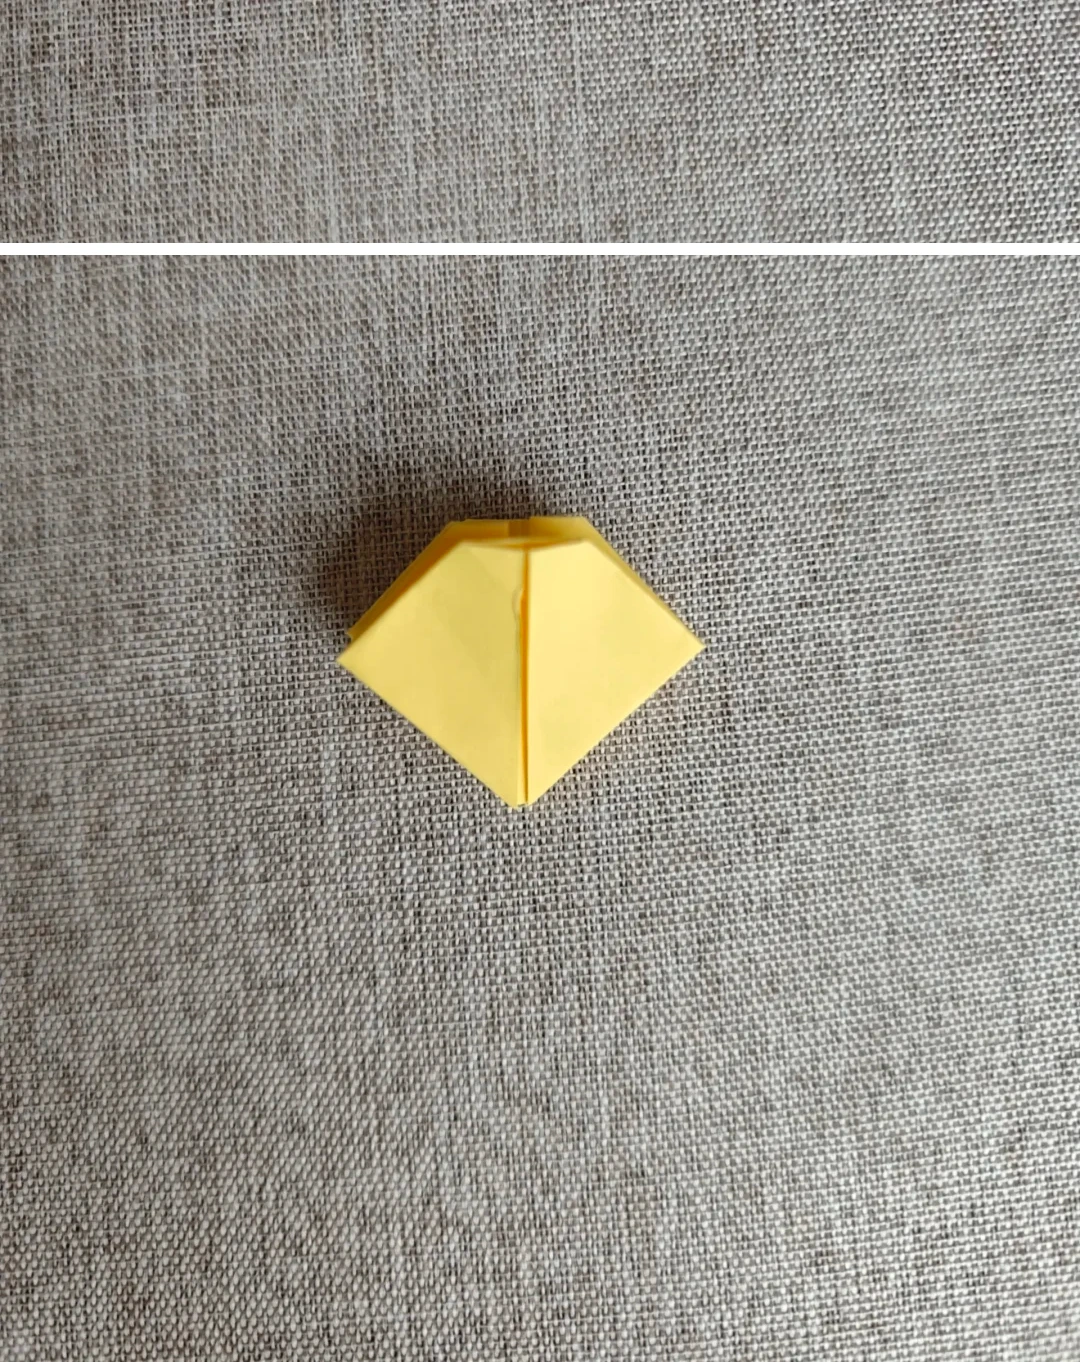
Repeat around the base
 Open image at full size ↗
Make the same tuck on the other three faces.
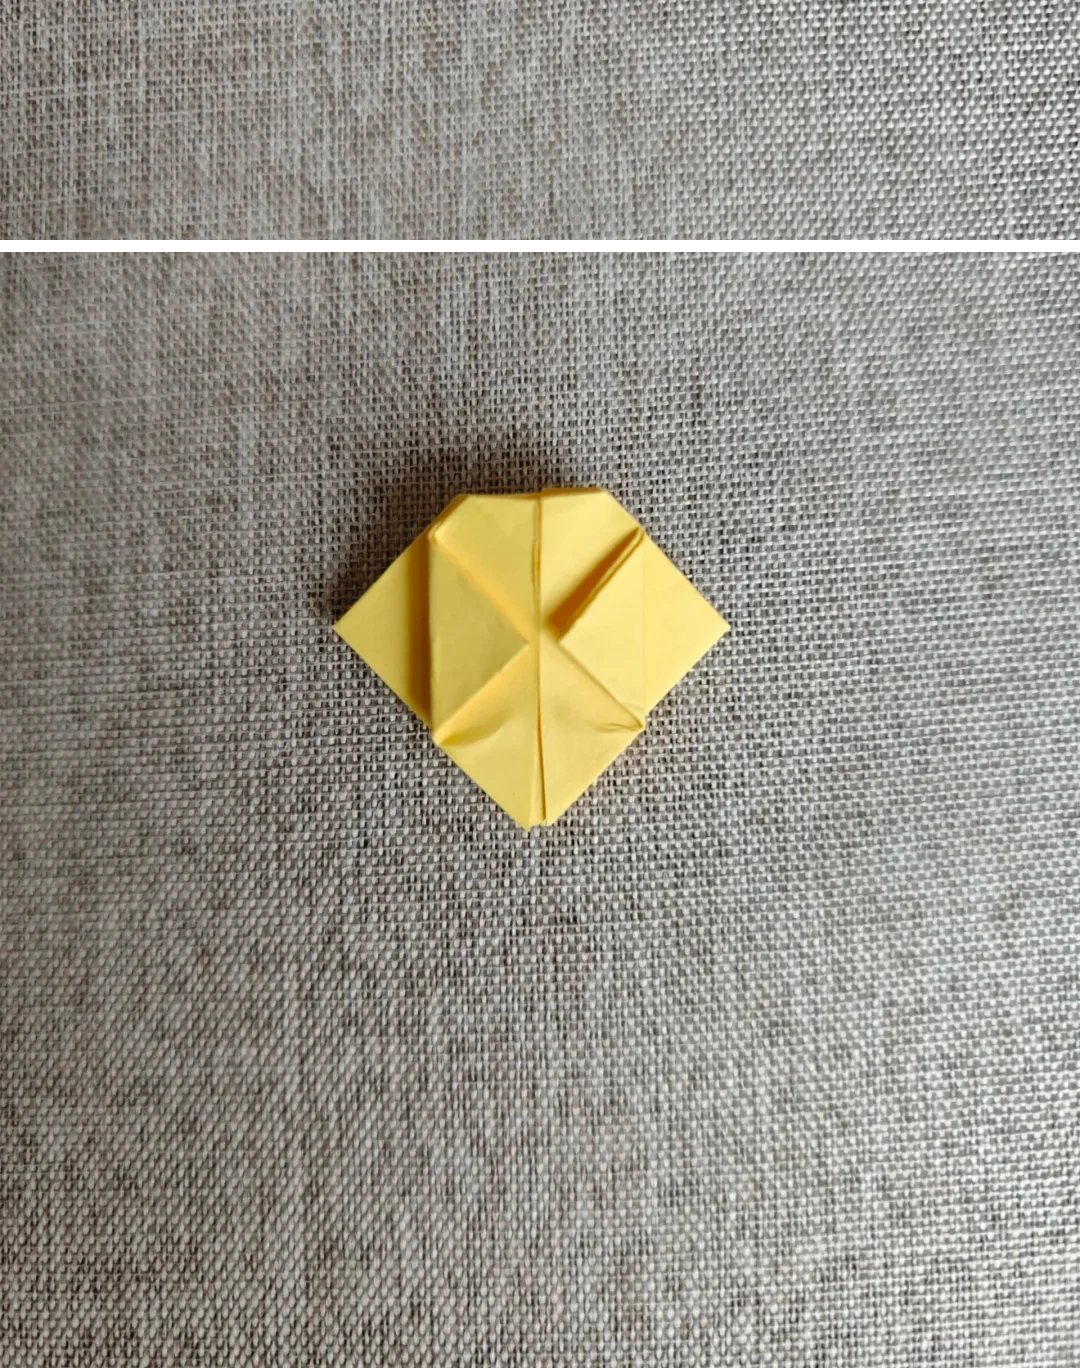
Fold toward the center
 Open image at full size ↗
Fold both side edges inward as triangles.
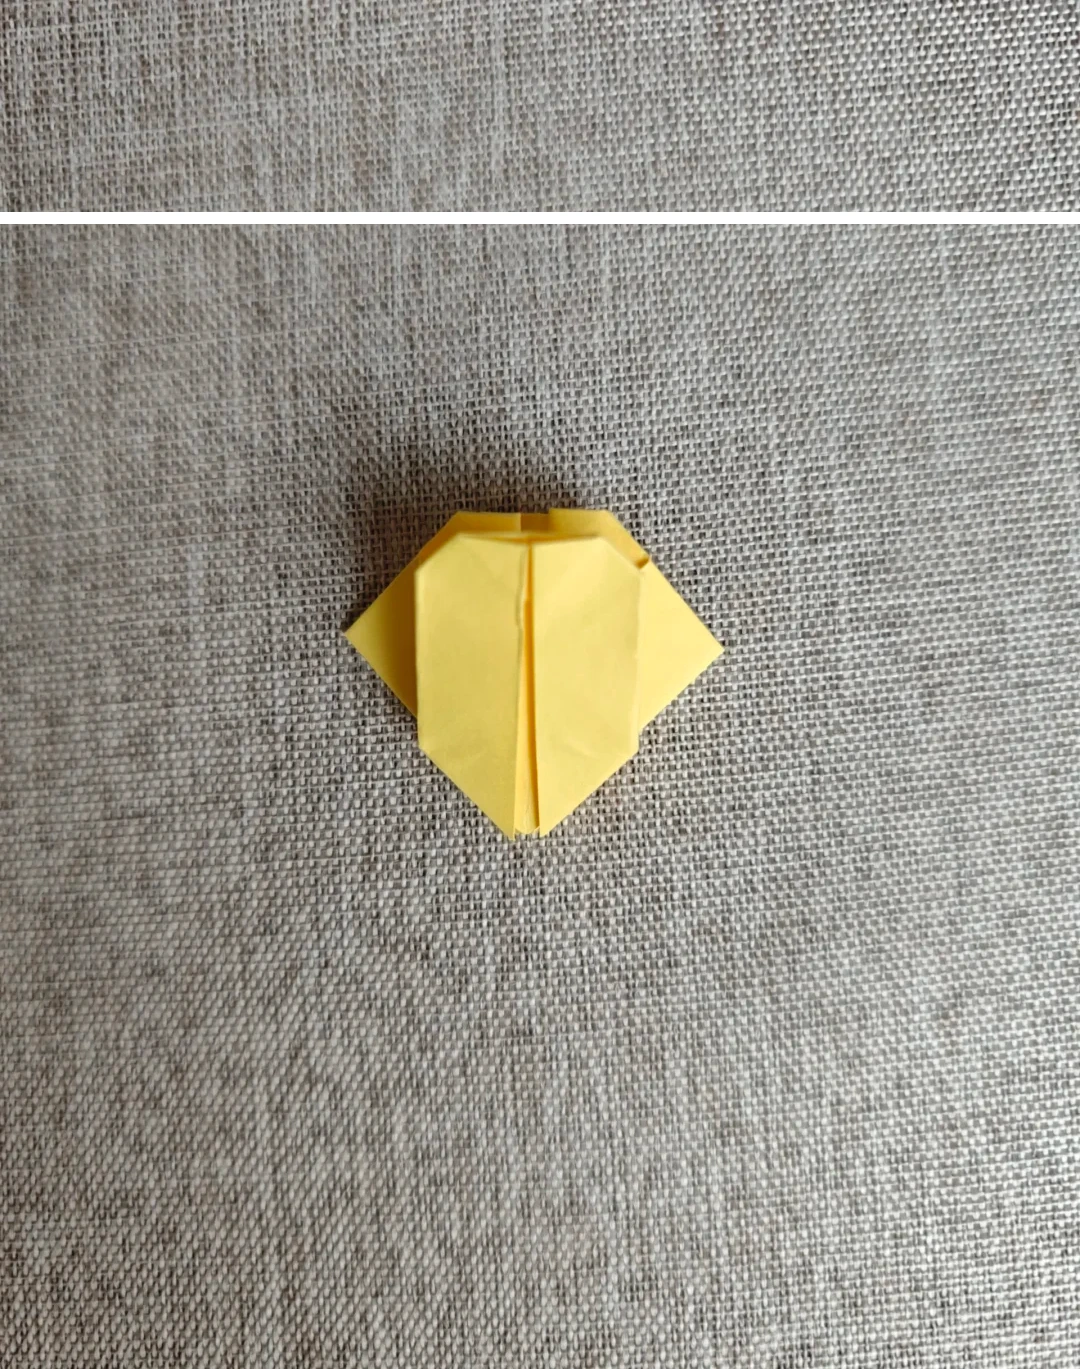
Open and tuck
 Open image at full size ↗
Open these triangles and fold them inside along their creases.
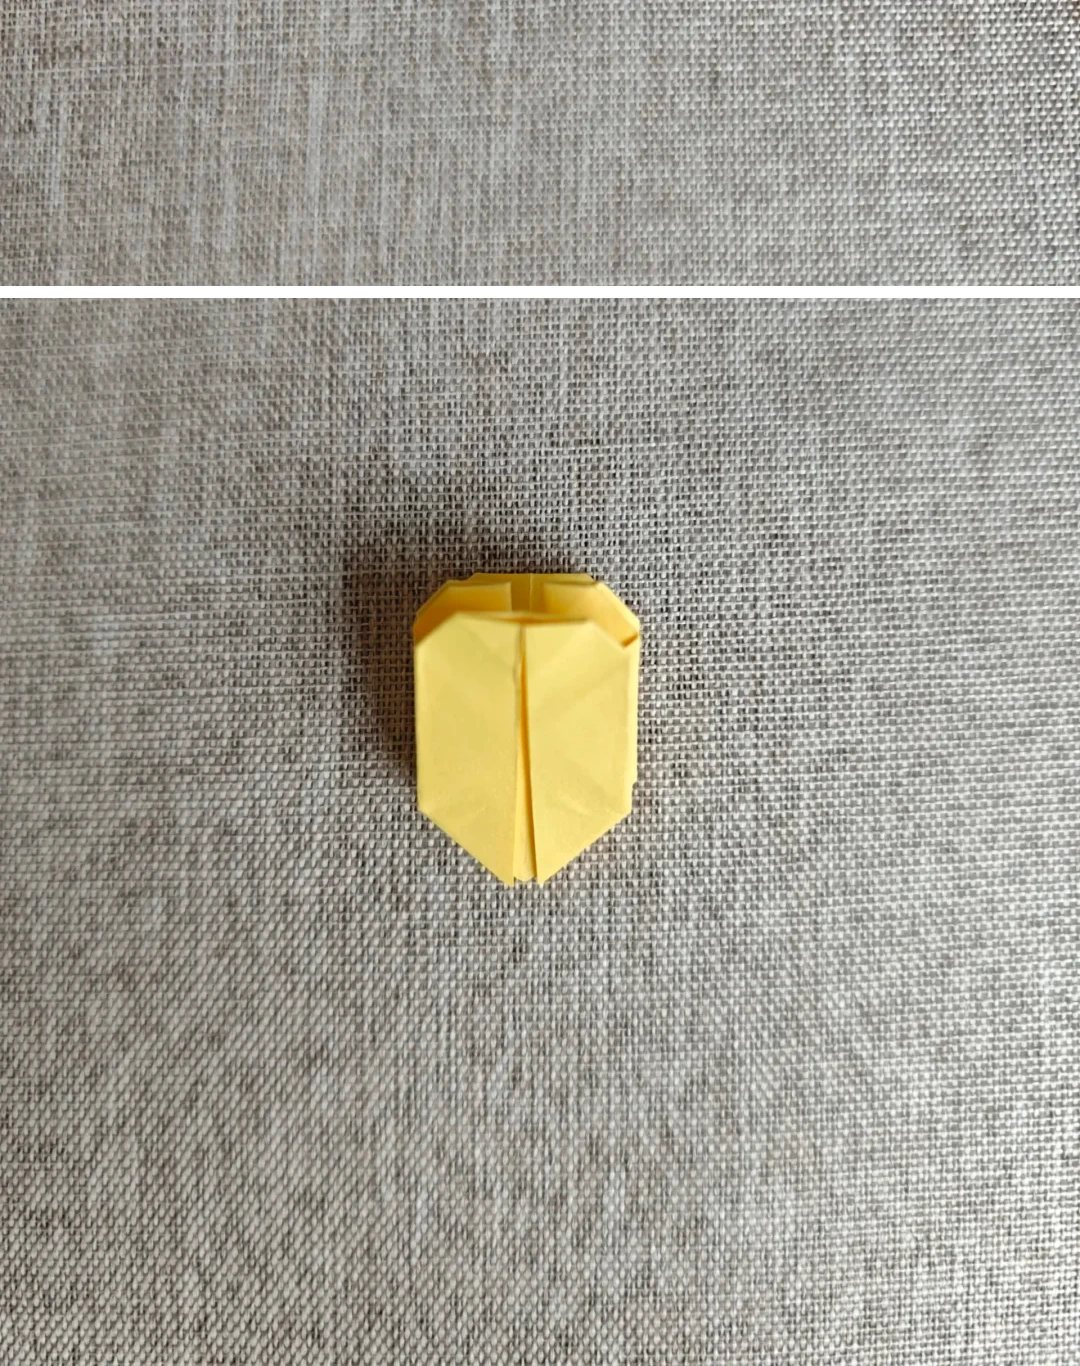
Repeat on the back
 Open image at full size ↗
Make the same inward folds on the reverse face.
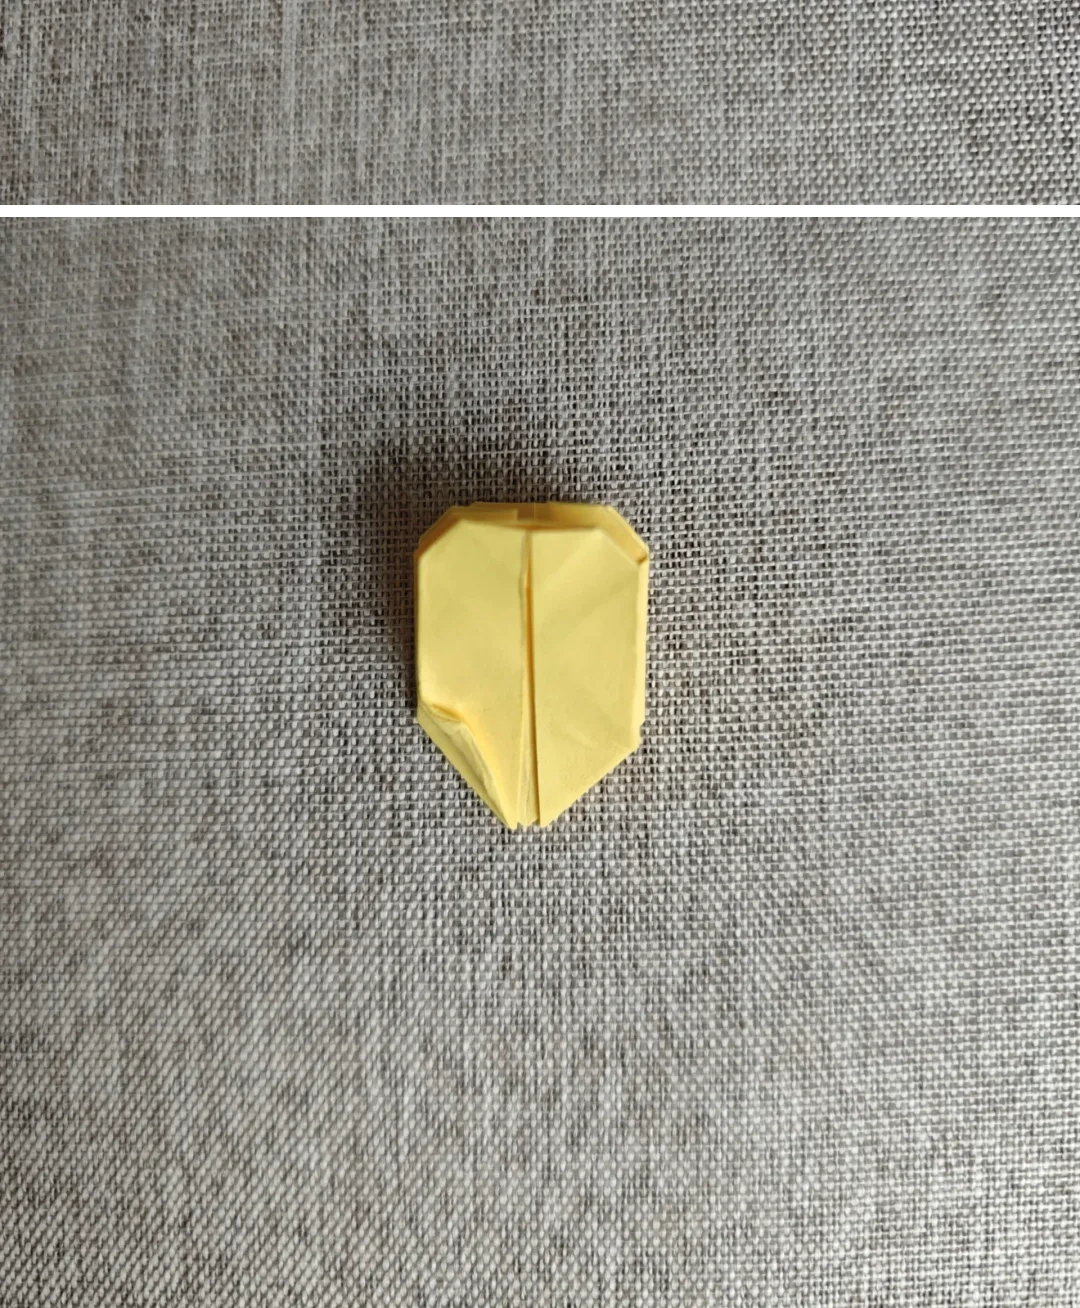
Crease the lower corner
 Open image at full size ↗
Fold a slanted triangle at one lower edge.
Repeat all four corners
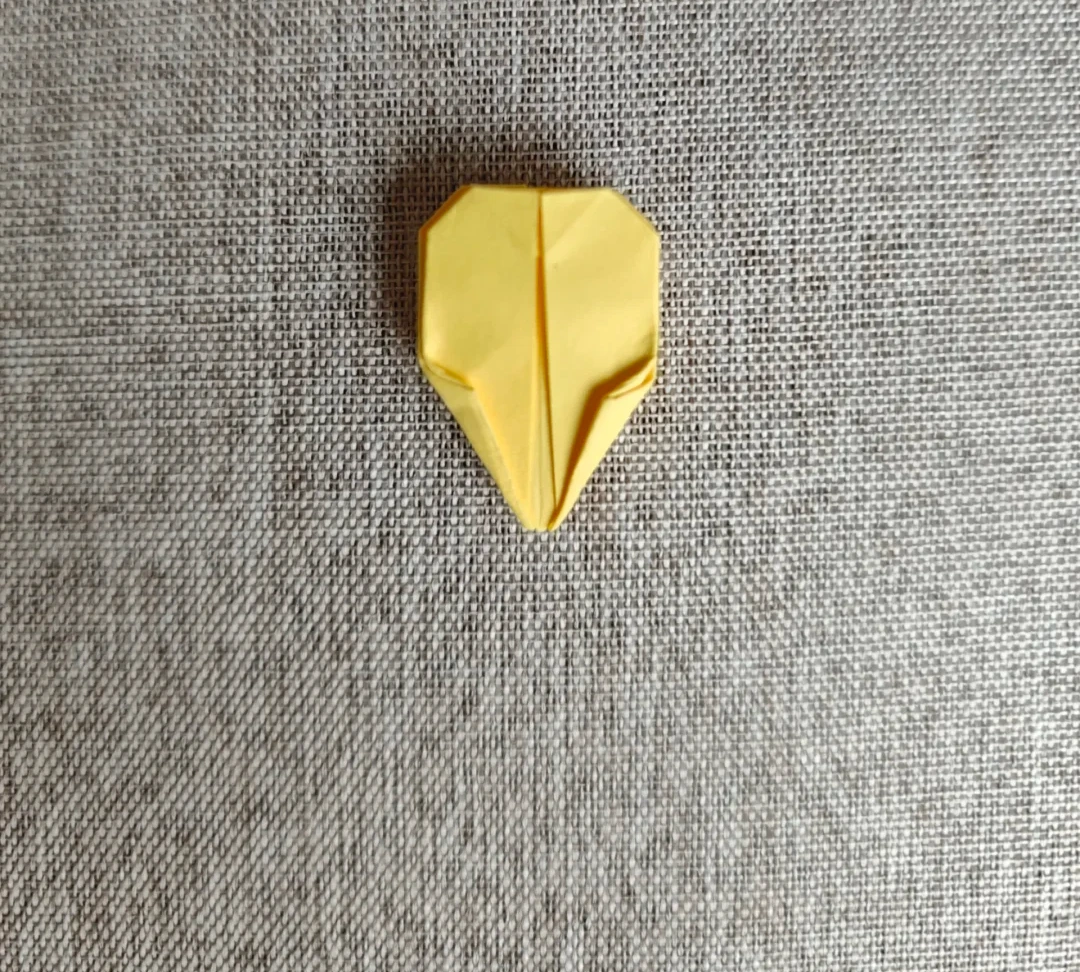 Open image at full size ↗
Make the same fold on the remaining three sides.
Open the flower
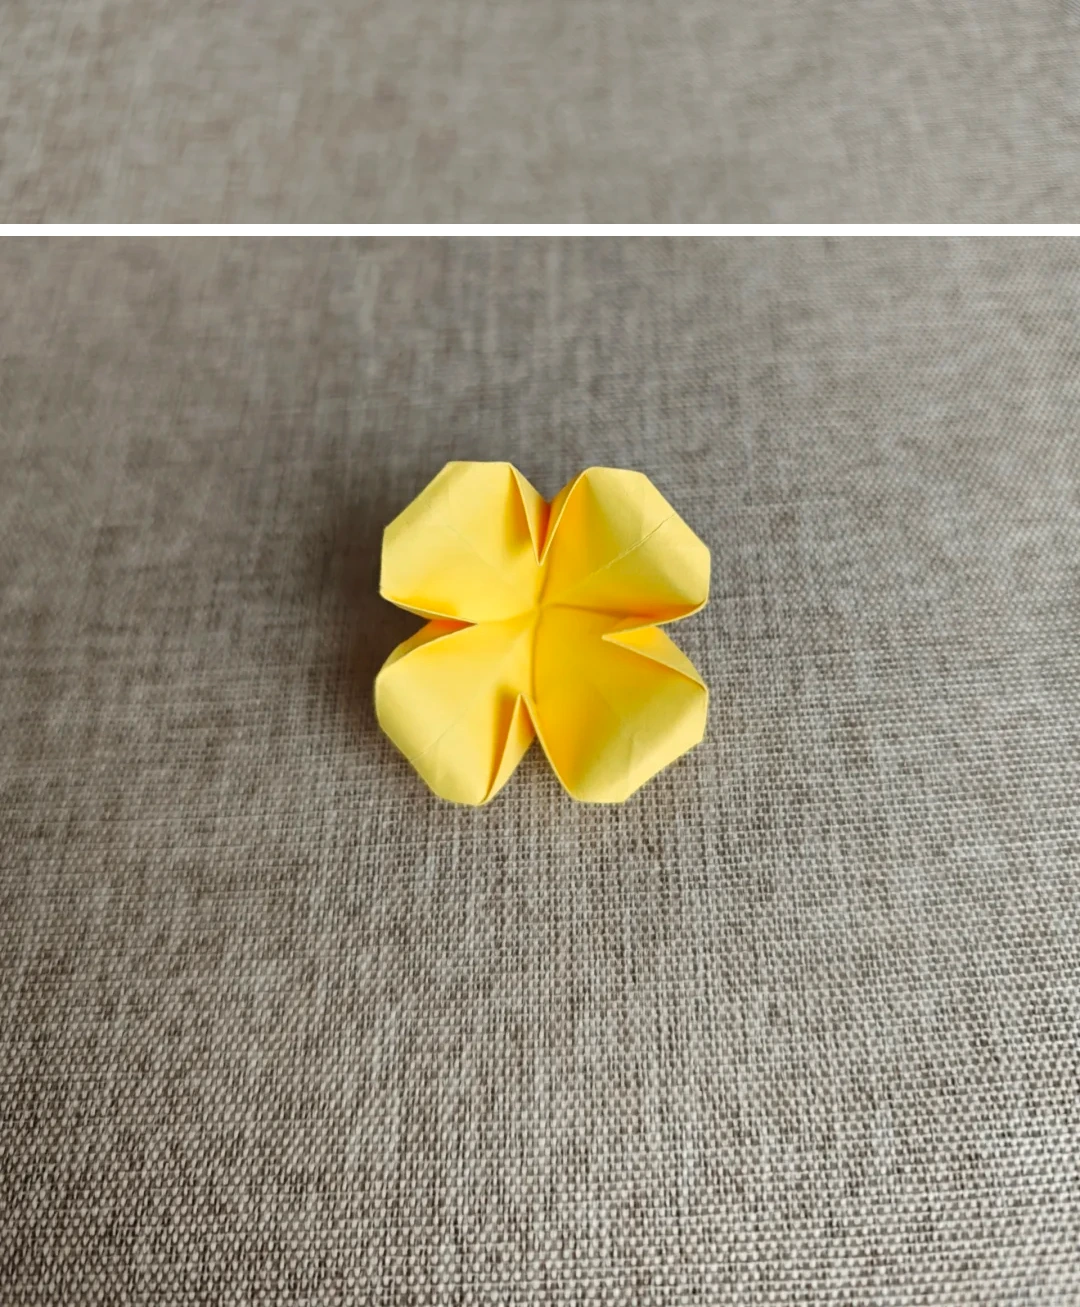 Open image at full size ↗
Open the lower end, spread the four petals and curl their edges slightly.
Make the smaller flower
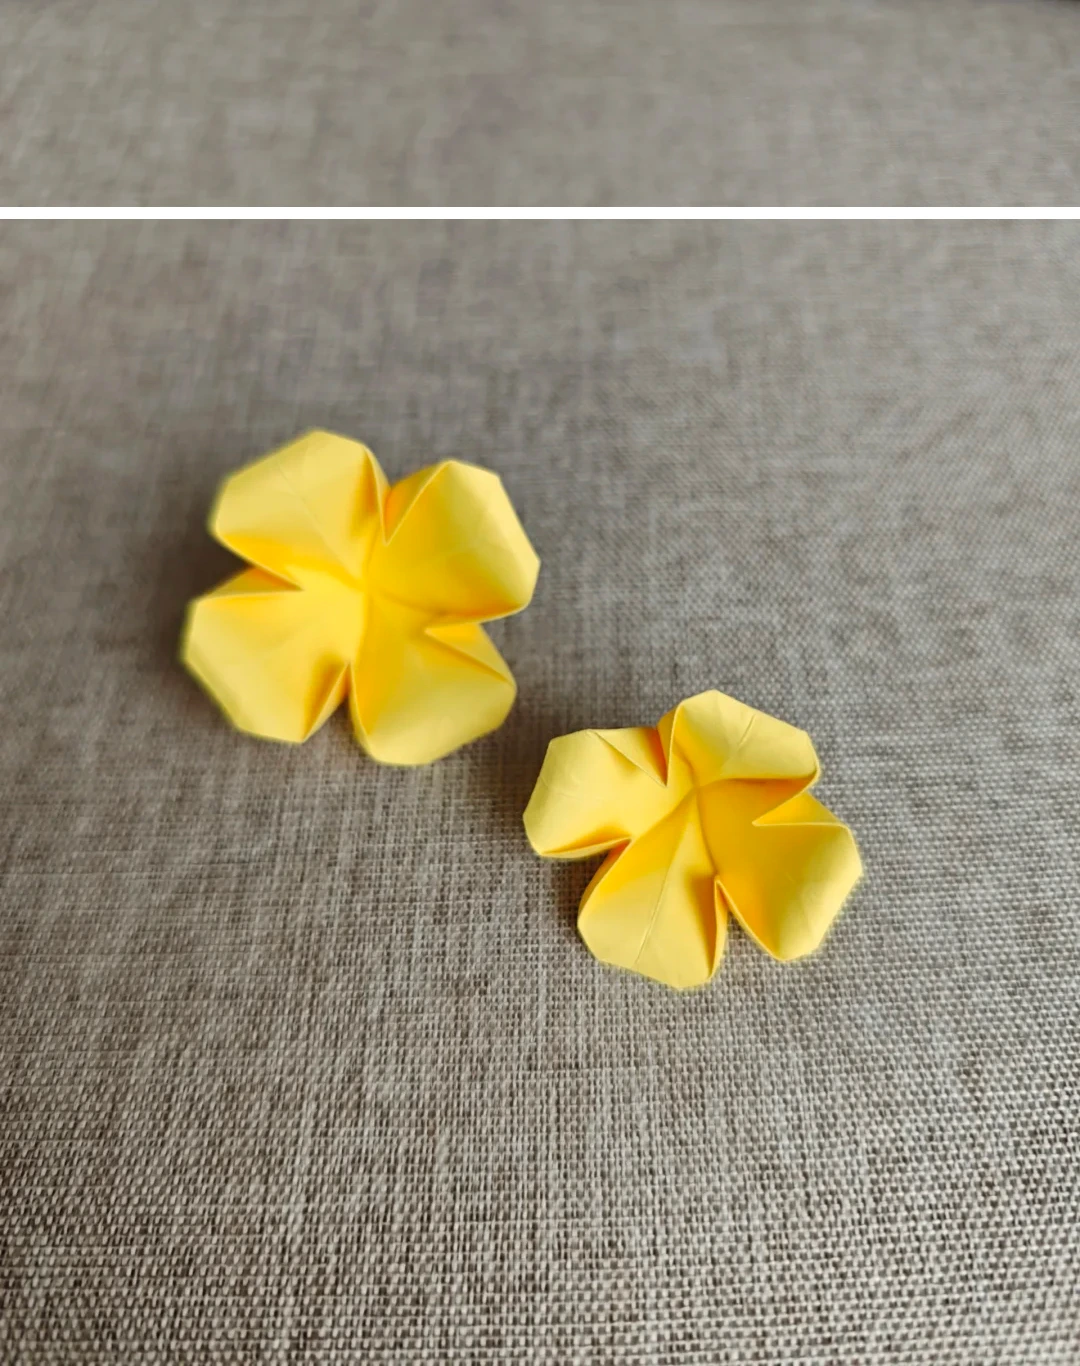 Open image at full size ↗
Repeat the whole sequence using the 6 cm square.
Nest the two layers
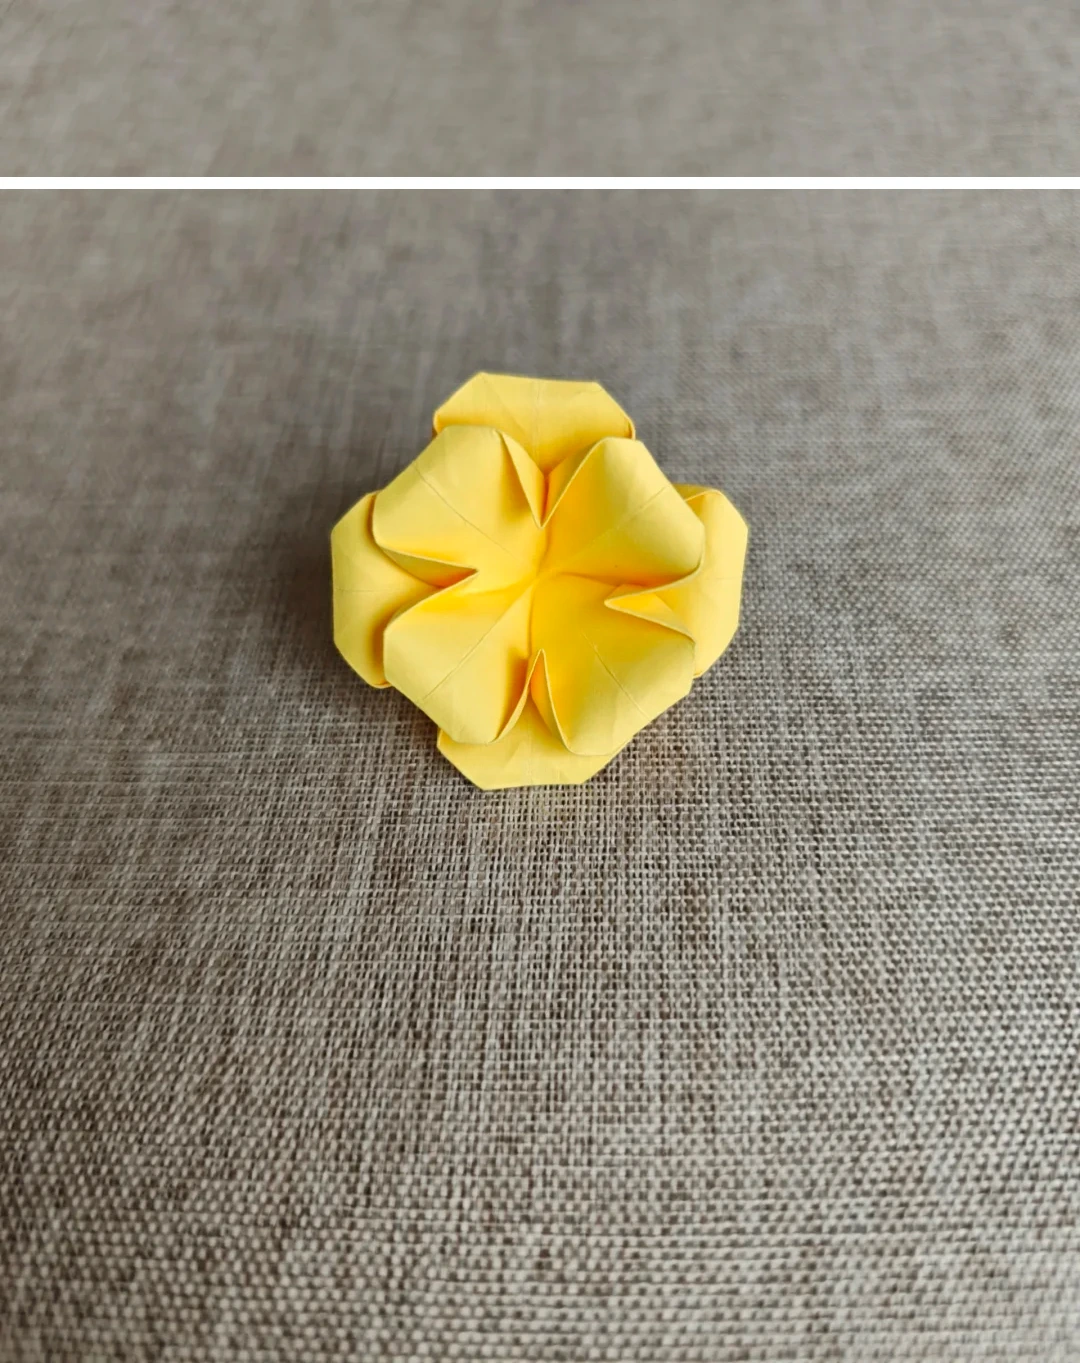 Open image at full size ↗
Place the smaller flower inside the larger one and rotate it to stagger the petals. Secure with a little glue if needed.
Follow the diagrams alongside the step-by-step English instructions.
Choose your next project →